
This Dead Rising walkthrough is divided into 9 total pages.
You can jump to nearby pages of the game using the links above.
Case 2
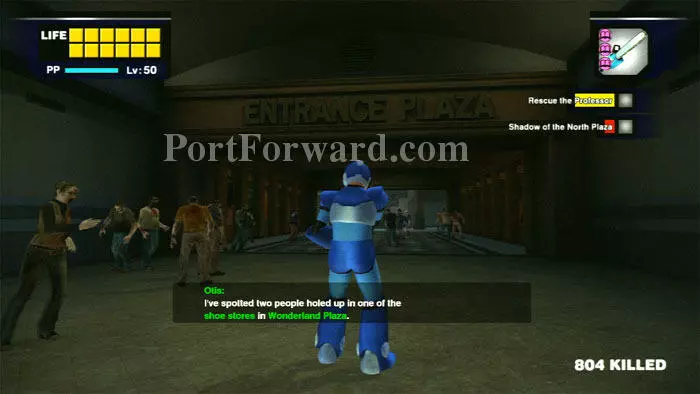
Be in the Security Office by 6:00 am on day two to trigger the opening cutscene that comprises Case 1-1, Image in the Monitor. You've got to rescue the professor. Head through the warehouse and Otis rings news that the gate to the Entrance Plaza is now open. He later phones with new scoop - Lovers A and B.
A cutscene plays as you enter the Entrance Plaza. You and Brad are up against a sniping Carlito.

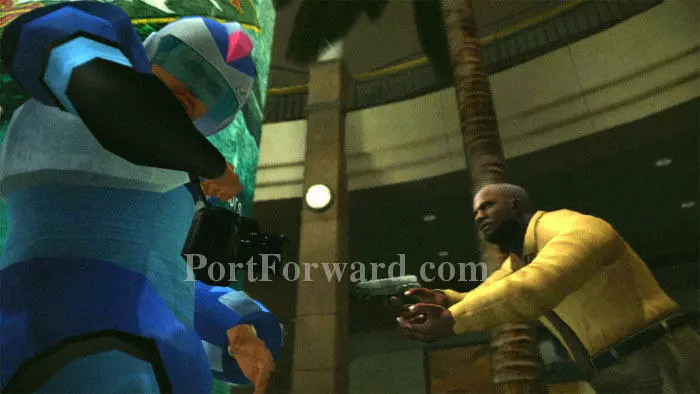
Brad tells you to stay safe, but in fact you'll need to help Brad defeat Carlito. Follow Brad up the stairs.
Take cover in this doorway while Brad takes pot shots at Carlito.
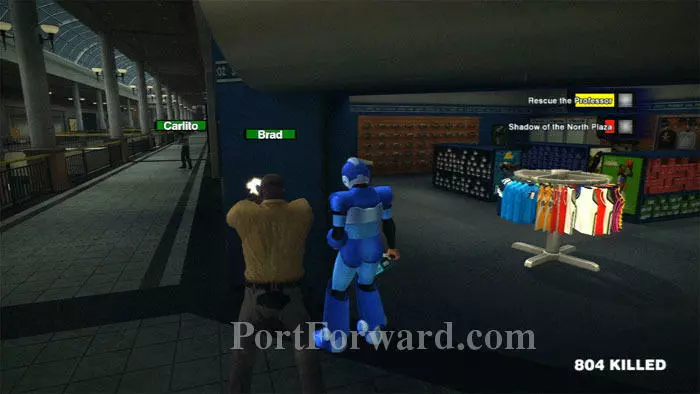
If you still have the Small Chainsaw, this will be pretty quick and easy. Sprint out from your hiding place as Carlito charges Brad. A couple swipes is all it takes to bring Carlito down.

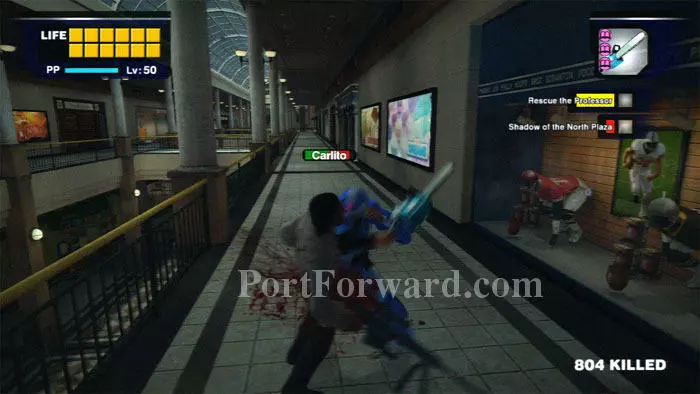
The first time I played this I didn't have the Small Chainsaw, but judicious use of a firearm helped tremendously. If you have the sniper rifle you can at least try to get some distance, but Carlito has an uncanny ability to spot you from afar. You'll need to be cagey and take cover, popping out briefly to quickly aim and shoot. Once Carlito's health is diminished, a cutscene plays and Carlito gets away yet again.
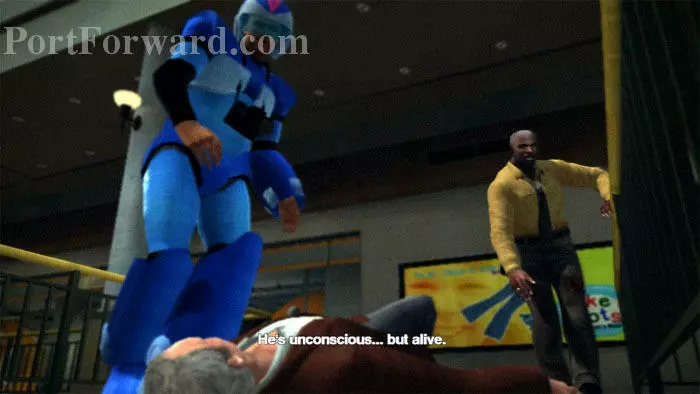
Later in the cutscene, Barnaby is rescued and you carry him back to the safety of the security office.
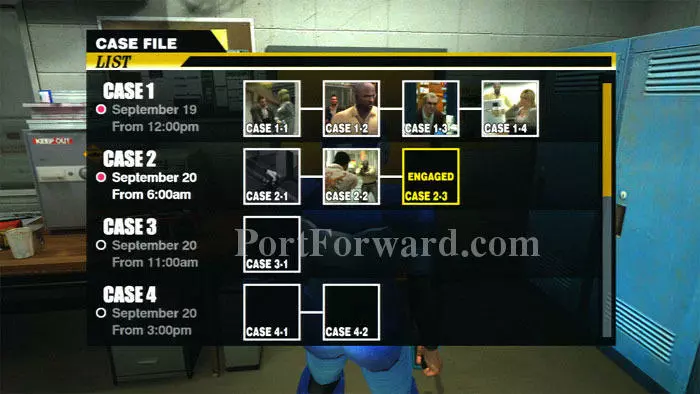
You receive a 30,000 PP bonus for defeating Carlito. This completes Case 2-2. Case 2-3 begins with your next objective: obtain medicine for the injured Brad.
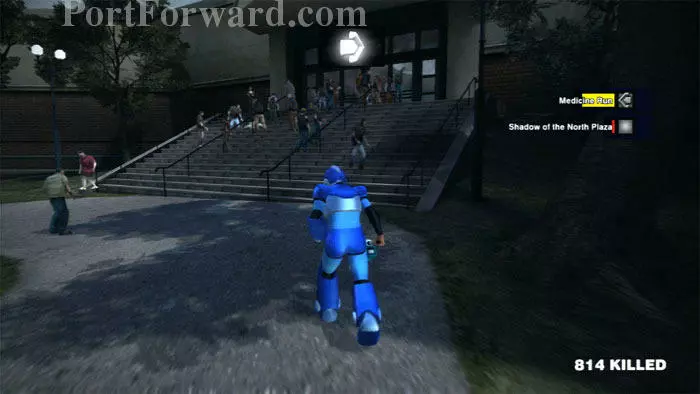
Your Medicine Run takes you to the North Plaza, accessed through Paradise Plaza then across Leisure Park to these stairs.
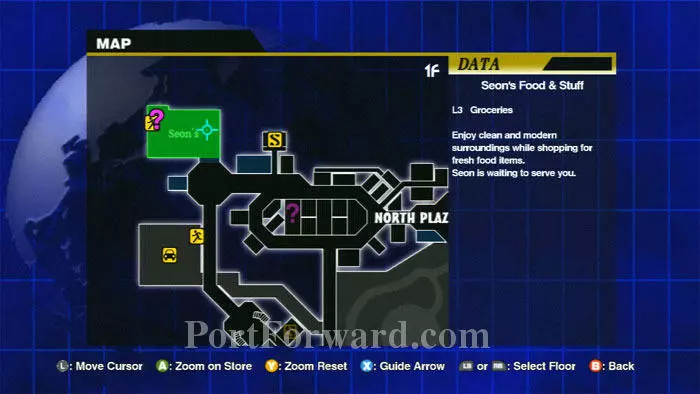
Seon's Food & Stuff (upper-left) is your destination.

For those that haven't realized -- you can shoot these gas canisters to generate an explosion, useful for taking out large crowds. Just be sure to keep your distance. You'll encounter several canisters on the way to Seon's.
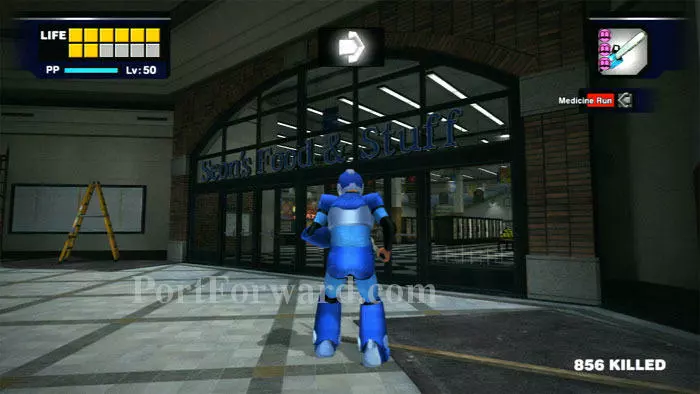
Here's your destination, Seon's Food & Stuff grocery.
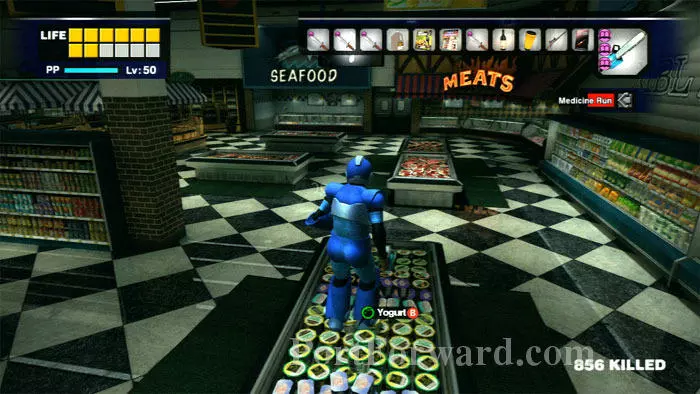
There's plenty of health-restoring food in the supermarket. One of my favorite items to stock up on is Yogurt. Note the door ahead, between the seafood and meats sections.
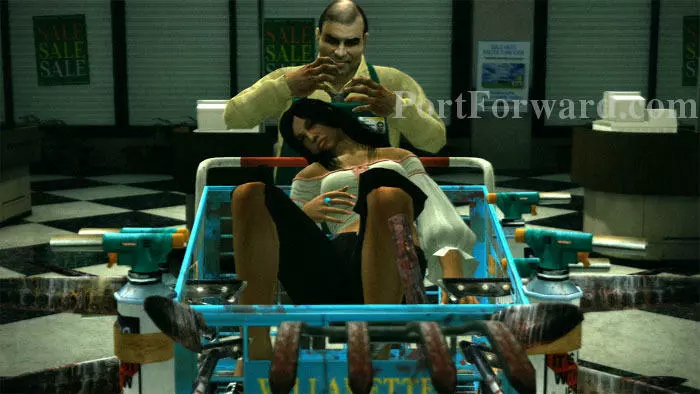
Use the door to activate the cutscene introducing your next boss - Steven, the psychopathic grocer.
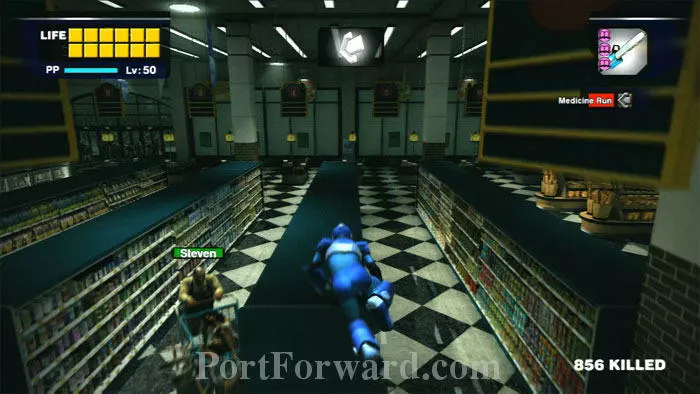
Be ready to hoist yourself onto one of the shelves once the cutscene ends to avoid receiving damage from Steven's tricked-out shopping cart.
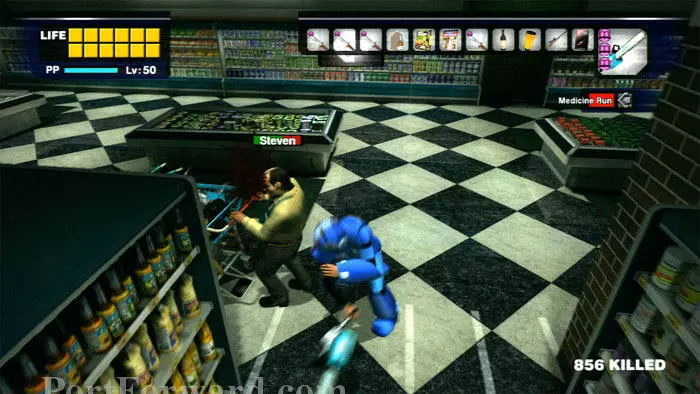
As before with Carlito, defeating Steven is much easier if you still have one of the two Small Chainsaws. Hop down to the floor when Steven has his back to you and swing away.
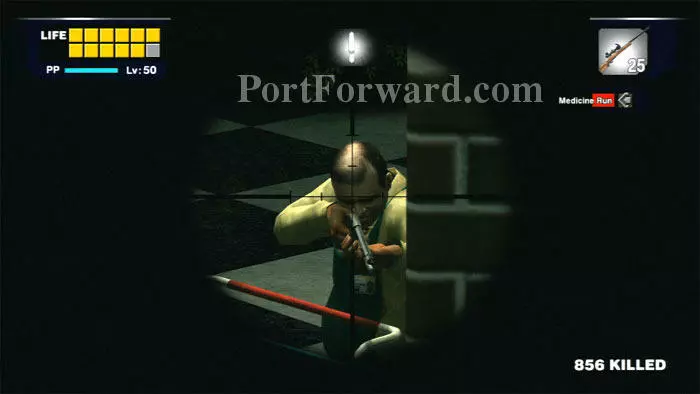
If you don't have a Small Chainsaw, a Sniper Rifle will do. In fact, the first time I defeated Steven I used a handgun. Just be sure to dodge both his cart and his shotgun. The shelves provide excellent cover, and the abundant food in the store should keep you healthy.
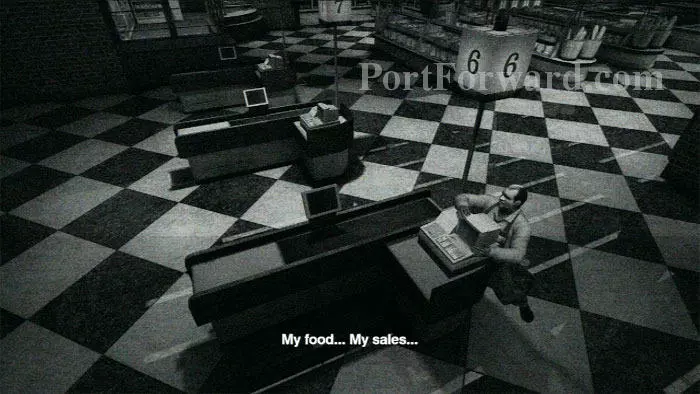
The victory cutscene plays once Steven's health is depleted. Cleanup at register six!
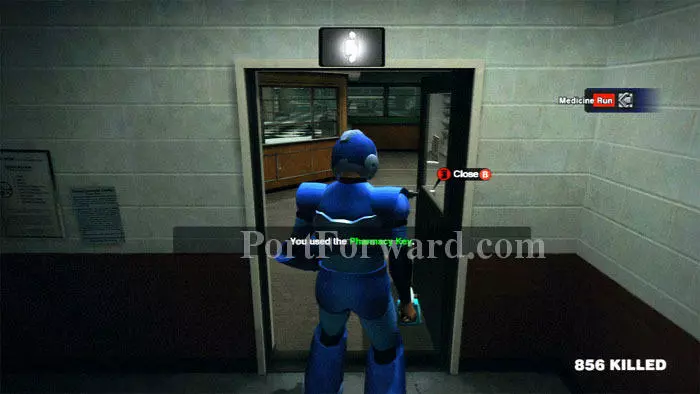
Following the cutscene you obtain the pharmacy key. Return to the door between the seafood and meats sections then follow the hallway to open this door with the pharmacy key.
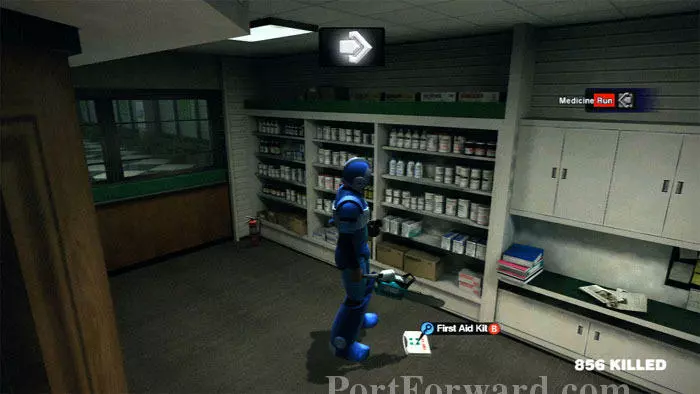
Find the First Aid Kit here.
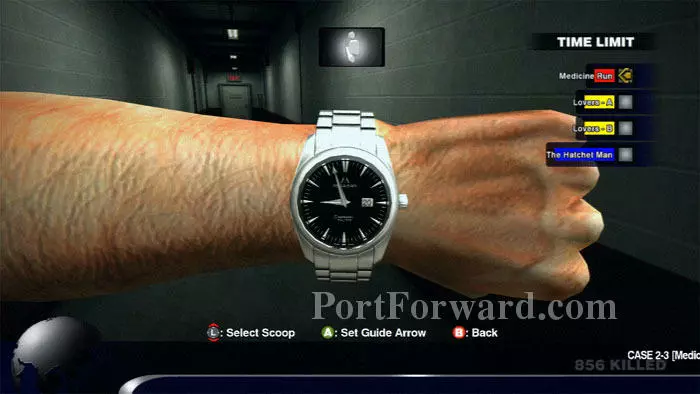
Your objective now is to return the medicine to Brad before time runs out. If you've got at least as much time as I have here, you should consider doing the nearby Hatchet Man scoop.
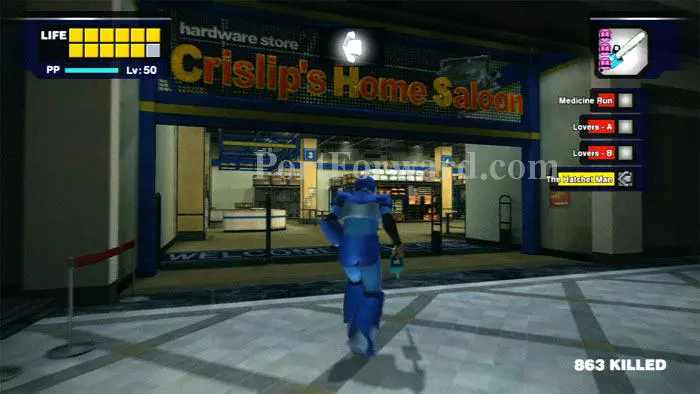
The Hatchet Man is found here at Crislip's Home Saloon, near the North Plaza exit to Leisure Park.
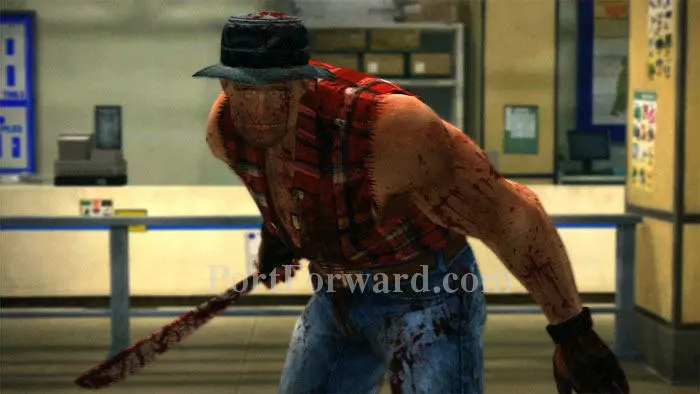
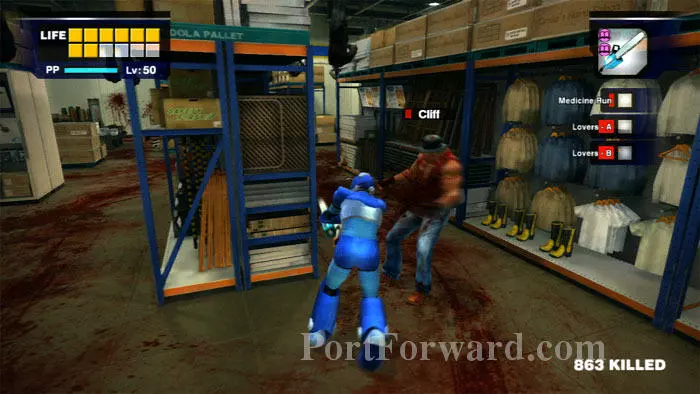
And that's quite a big hatchet he's got there. This cutscene plays as you enter the store.
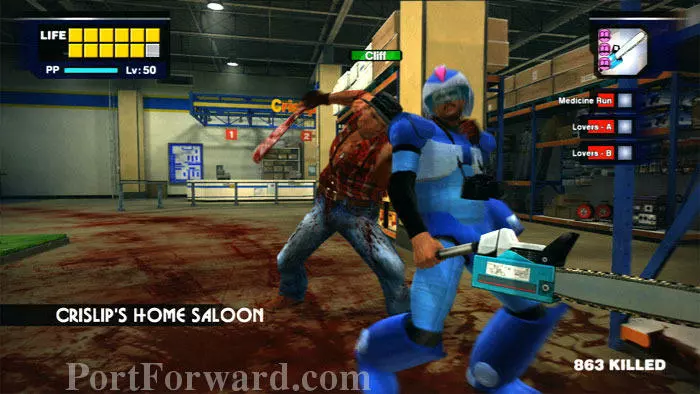
You really don't want Cliff taking you from behind like this. His hatchet will send you flying for major damage.
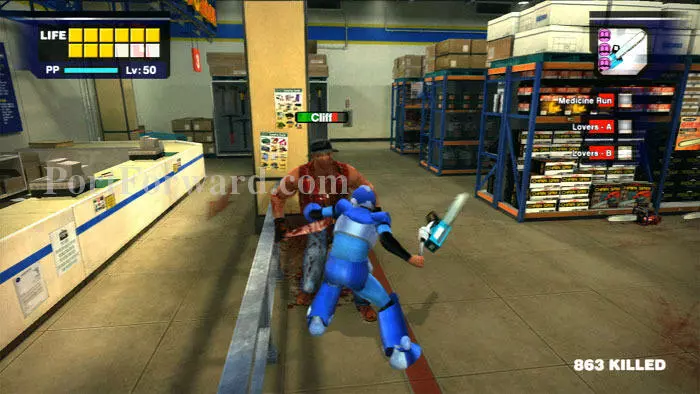
As before with Steven and Carlito, the Small Chainsaw is the way to go. Charge Cliff and attack him from behind if you can to avoid his large blade. Note the regular chainsaws to the right -- I found these to be almost useless as they are too slow.
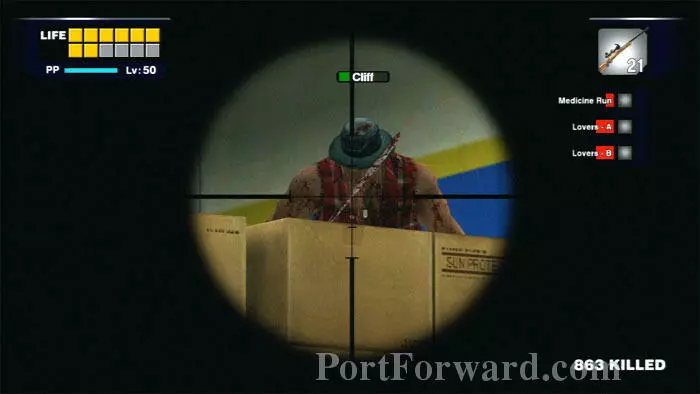
Another good weapon to use against cliff is the Sniper Rifle. This is especially effective while Cliff is on the tall shelving, tossing flares and grenades your way.
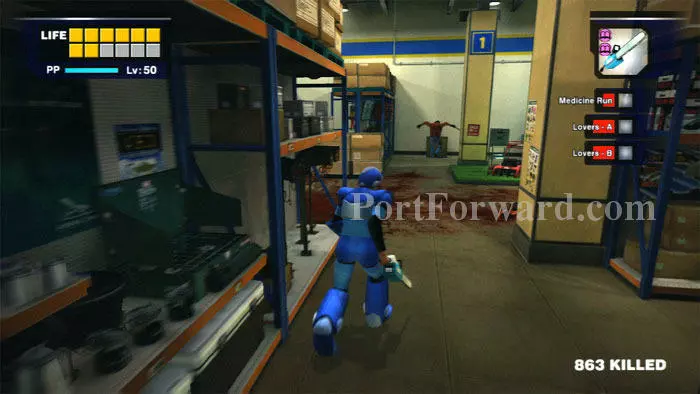
Cliff will use floor hatches as seen ahead to safely travel from one end of the store to another. Be careful to avoid these as he may pop up when you least expect it.
Cliff is hard - really hard. If you are determined to beat him, I definitely recommend saving your game at the North Plaza restroom before taking him on.
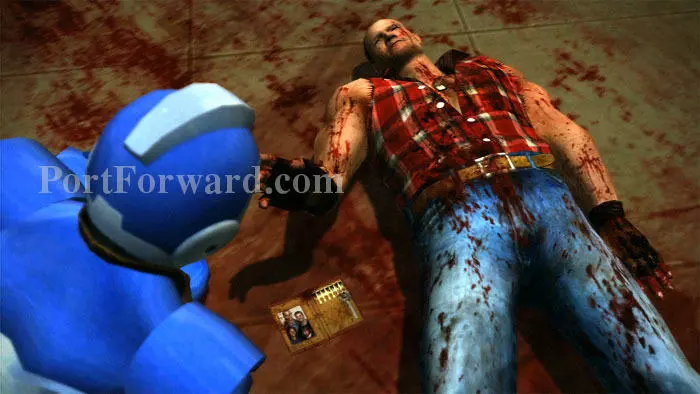
Once you've finally nailed Cliff, he gives you the key to a nearby empty store. Plus, you get his most-awesome hatchet.
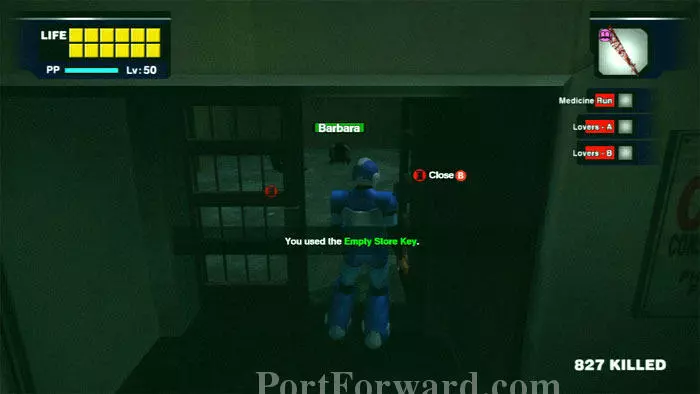
Fight your way past the newly-entered zombies (the lawnmower works great) and head right to find the empty store.
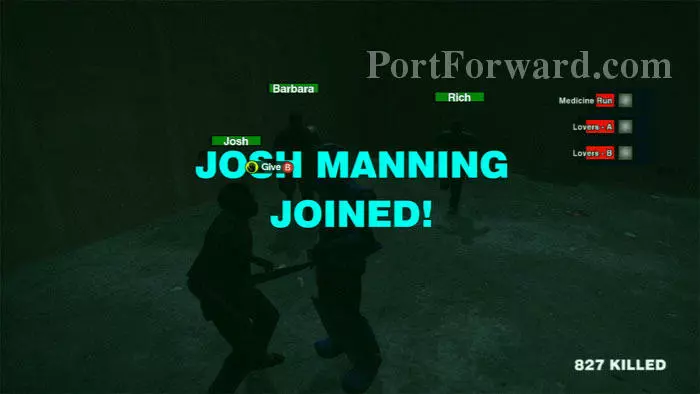
Speak with any of the terrorized folks inside and all three will join. The Survival book is also found here, which will increase food healing by 100%.
Give away melee weapons as your inventory permits (my preference is to give escorts Hunting Knives). Clear a path the short distance to the Leisure Park exit.
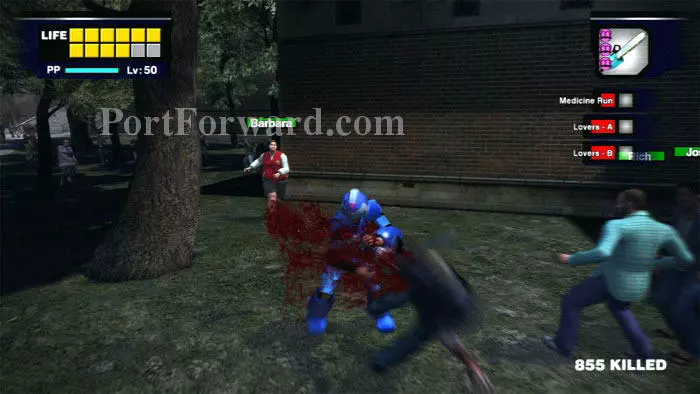
Once everyone is down the stairs, hug the left wall to avoid as many zombies as possible on your way to Paradise Plaza. Rich and Josh keep pace rather well, but you'll need to keep a careful eye on Barbara, who tends to lag behind.
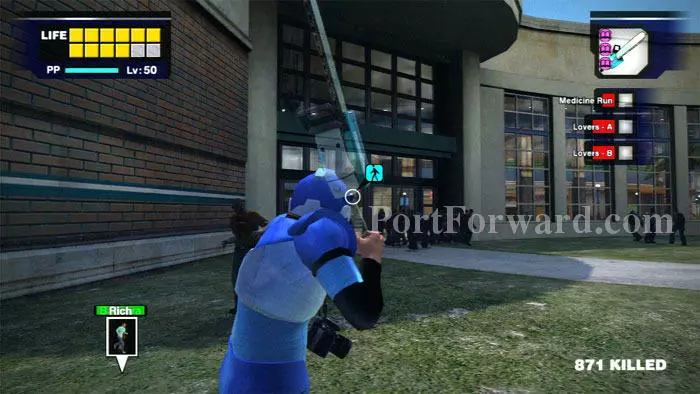
Setting waypoints for your escorts is critical. Hold the right trigger then press "Y" to send them to your target. Here, I'm sending my escorts to the Paradise Plaza entrance.
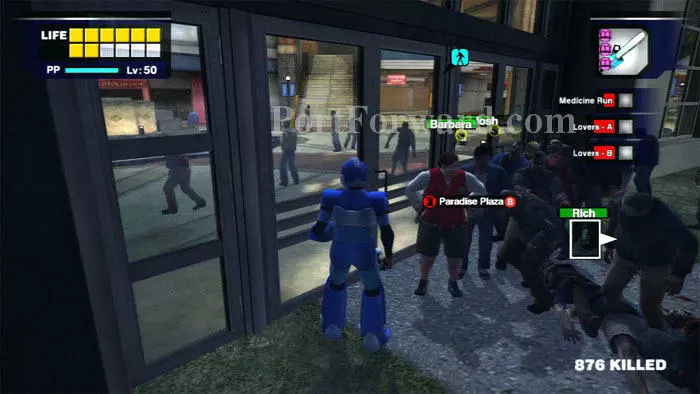
It doesn't matter if your escorts get ensnared in zombies here, as their proximity to the doors will allow them to zone with you when you press "B".
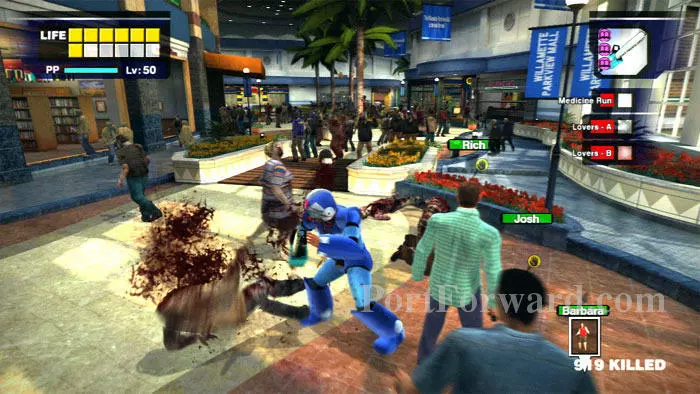
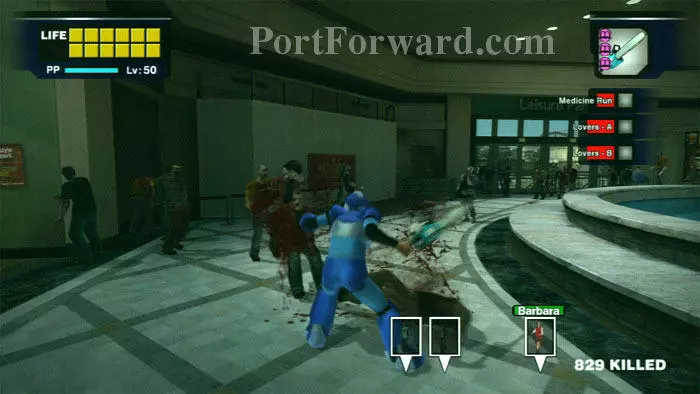
Take your time clearing a path through Paradise Plaza. If you rush ahead, your escorts are likely to die a horrible zombie death. The Small Chainsaw clears a path right quick.

Keep an eye out for Queen-bearing zombies like this guy. The telltale sign is the raised arms.
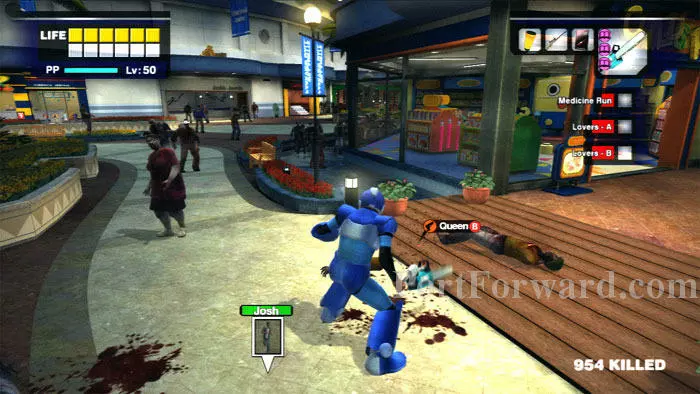
Here's my second Queen. I ran this several times and always encountered at least one Queen.
Here's why you want a Queen. A new escort opportunity presents itself on your way to the Warehouse. Pamela is surrounded by zombies and getting her free is much easier when you have at least one Queen.
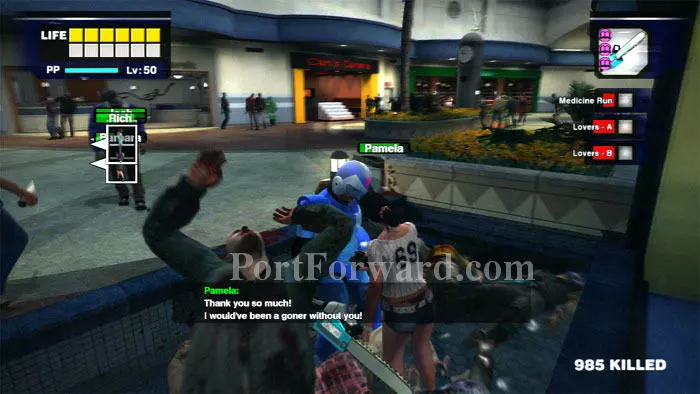
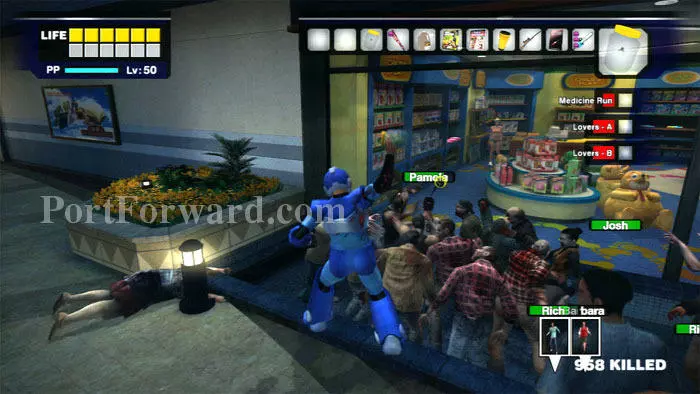
Talk to Pamela and get her to join you. She presents a different kind of challenge because, while you don't have to escort her far (the Warehouse door is just to the right of Cam's Camera, seen ahead) she will die if you don't get to her quickly. Note the raised arms on the zombie next to us -- a third Queen for the picking! I suspect the developers seeded extra Queens in this area to help you with Pamela.
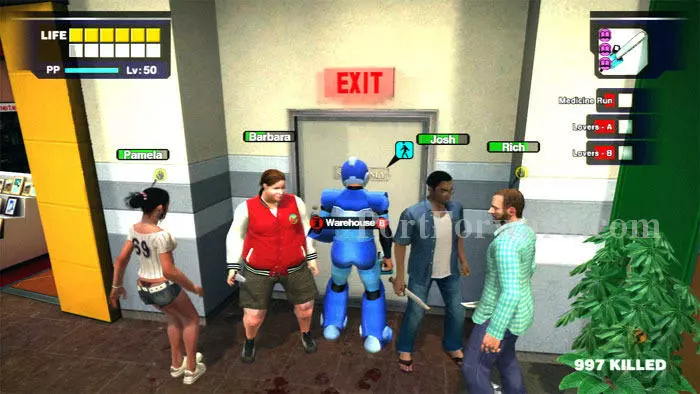
Send everyone to the Warehouse door and clear a path.
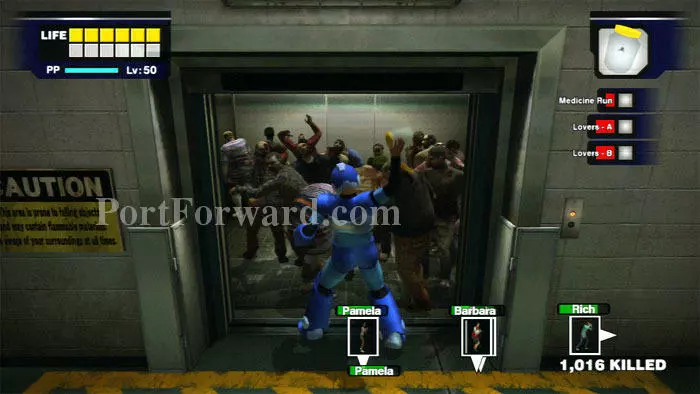
Clear out the warehouse ahead of your escorts. Extra Queens will help you at the Warehouse elevator.
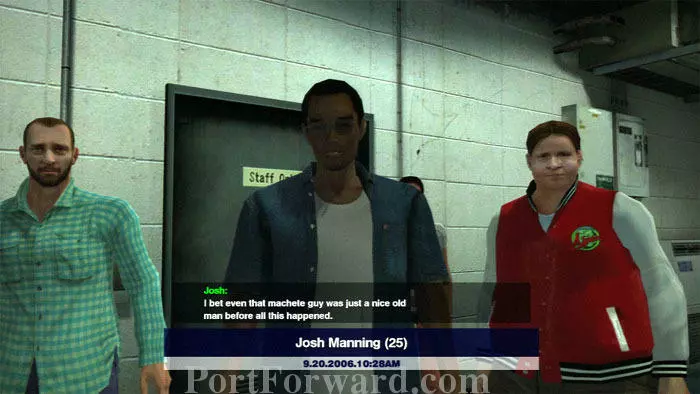
Get everyone through the air vent and into the Security Office for a whopping 120,000 PP.
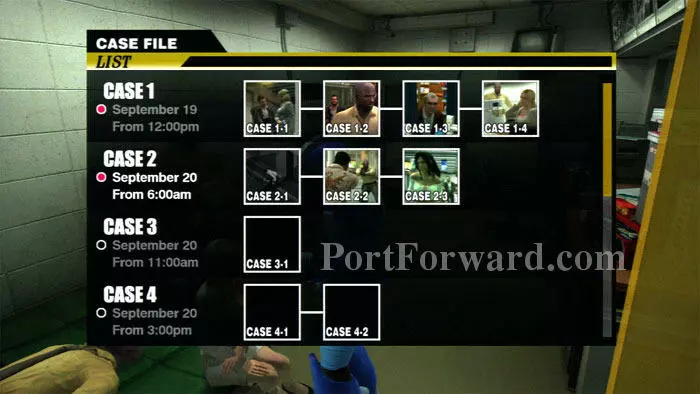
Talk to Jessie and she'll thank you for getting the medicine for Brad. This completes Case 2. The next case begins at 11:00 am.
More Dead Rising Walkthroughs
This Dead Rising walkthrough is divided into 9 total pages.


