
This Dead Rising walkthrough is divided into 9 total pages.
You can jump to nearby pages of the game using the links above.
Case 7
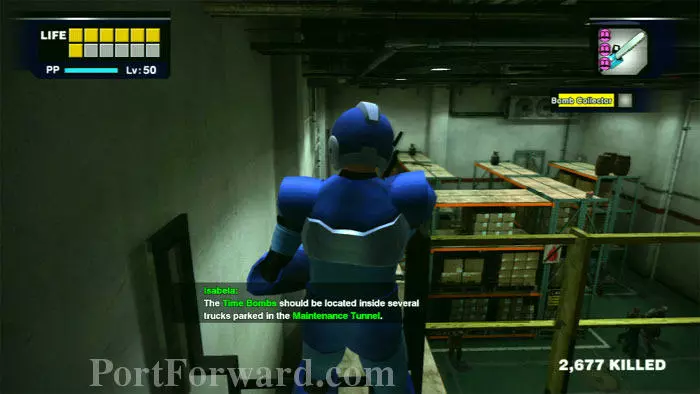
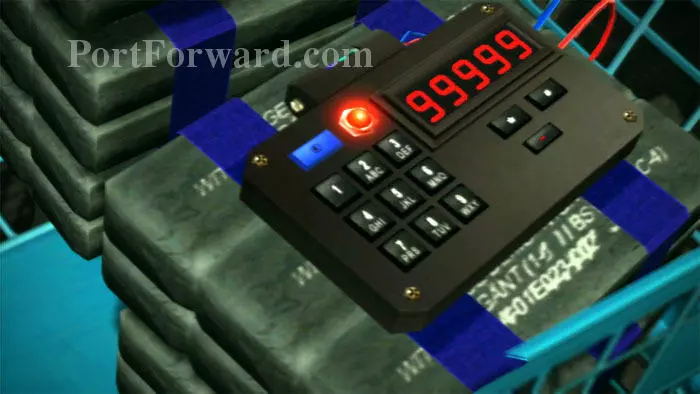
Be in the Security Office at 11:00 am to trigger the cutscene that comprises Case 7-1, The Last Resort. Isabela phones as you enter the Warehouse. There are five time bombs, all located inside trucks parked in the Maintenance Tunnel.
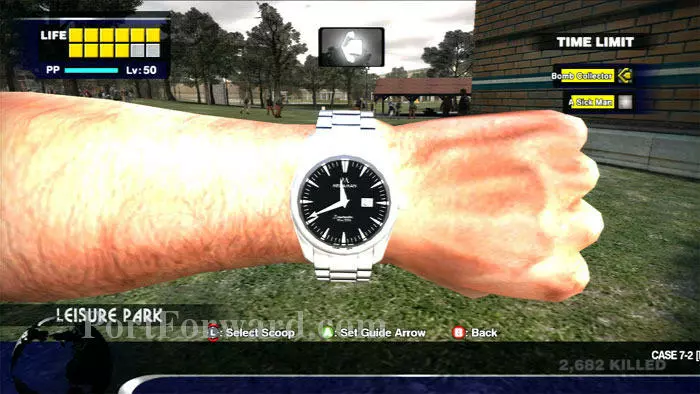
Exit Paradise Plaza to Leisure Park. Bring up your wristwatch (D-Pad, Left) and select the Bomb Collector mission and receive directional assistance.
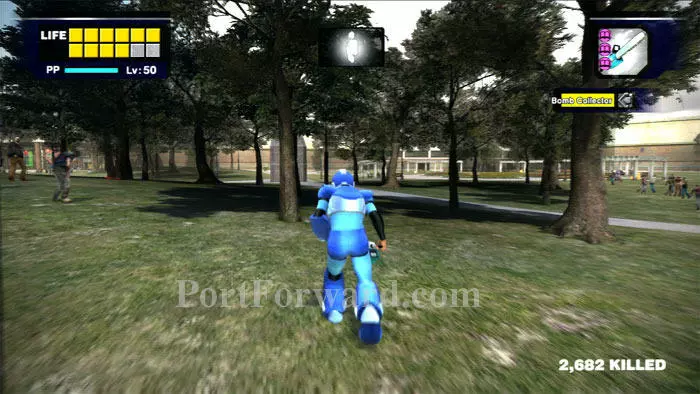
Follow the large arrow at the top of your screen across Leisure Park. You'll run just to the right of the clock tower.
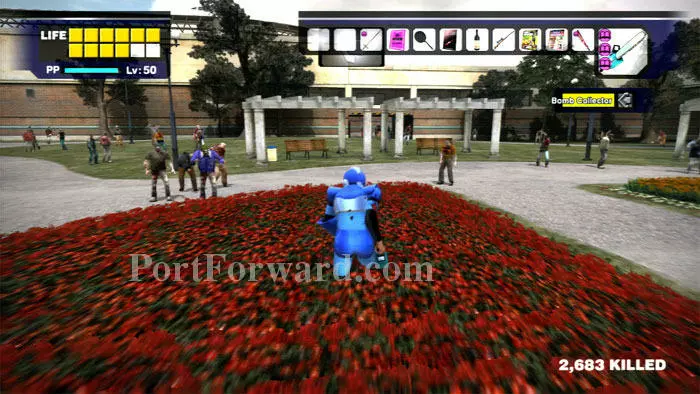
Cross the flower beds and cut between the benches ahead.
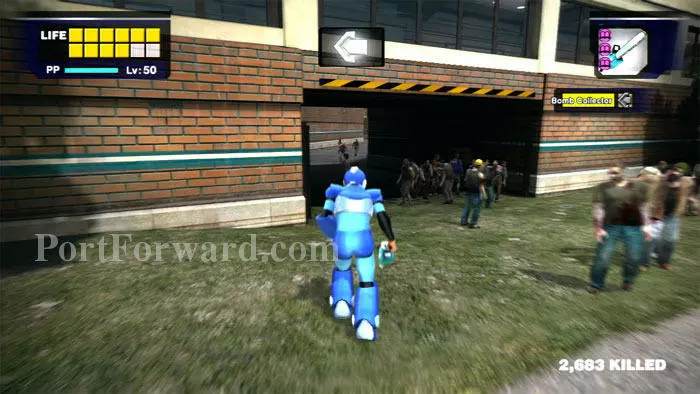
This tunnel is where you want to go.
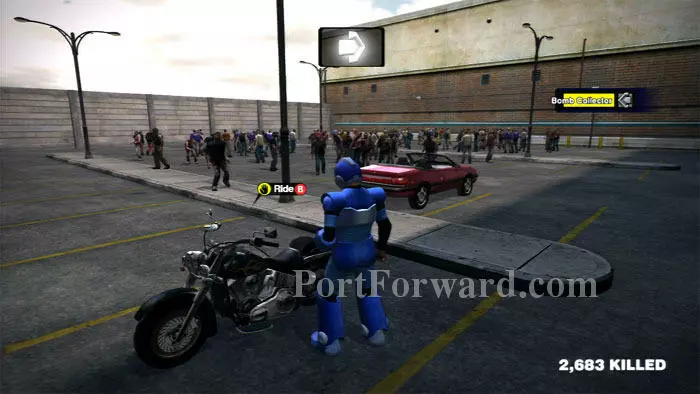
Follow the tunnel to this motorcycle and get on. Do not get in the red convertible.
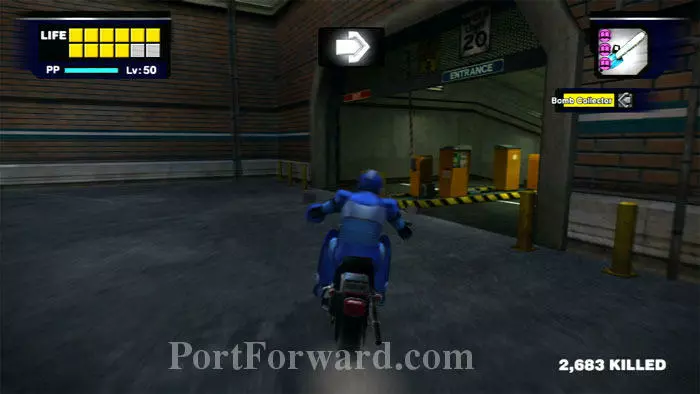
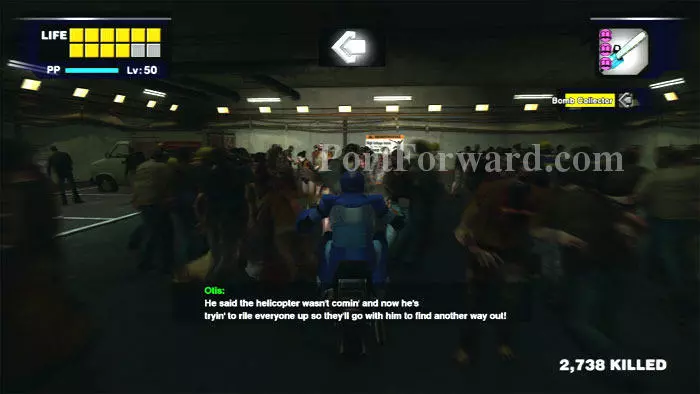
Ride the motorcycle down this entrance ramp.
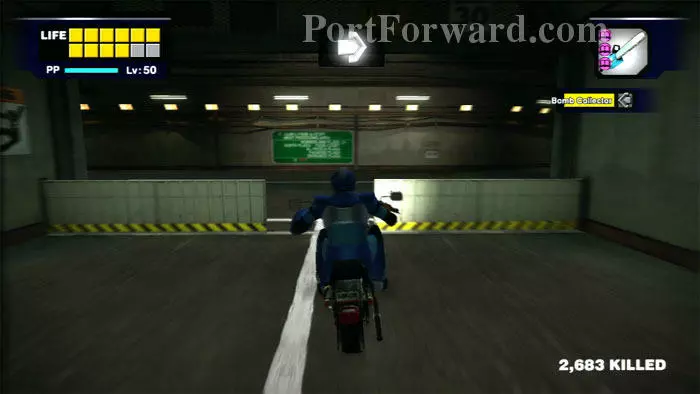
After you zone into the tunnels you'll see the reason that the red convertible is the wrong vehicle choice -- it wouldn't fit through this barricade.
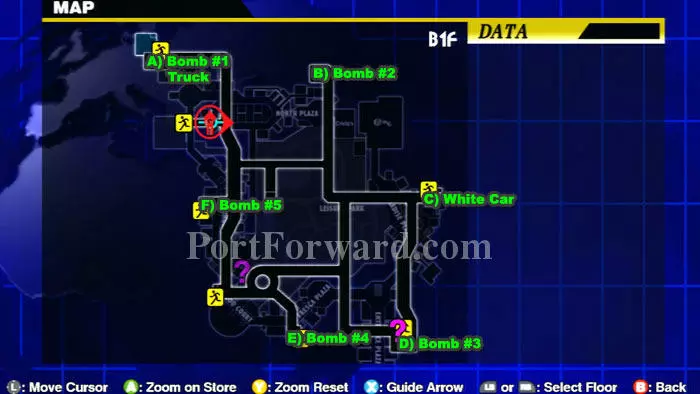
Pull up your map and compare it to the one above. I've added the locations of the five bombs, as well as the locations of the two vehicles available to you, the Truck and the White Car. If you follow these locations is order, you will be able to disable all five bombs more quickly than if you were to follow the arrow guide.
Turn left past the barricade and ride your bike to location A on the map.
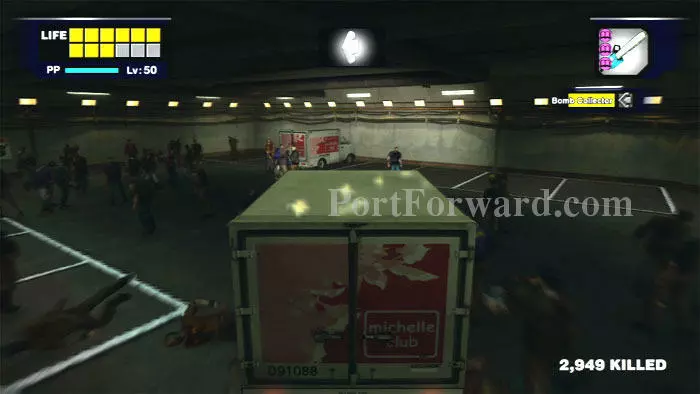
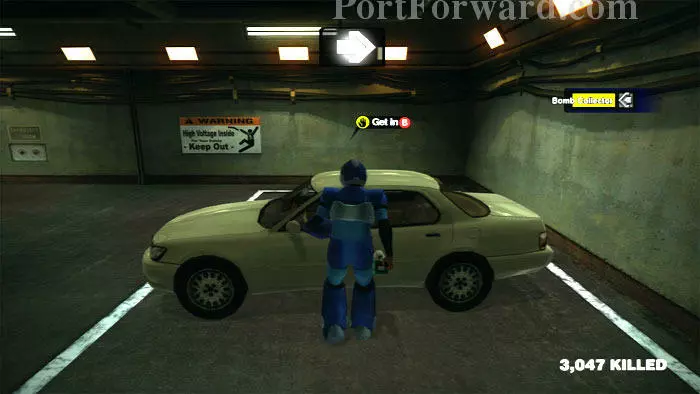
Exit your bike and clear the area of zombies behind this truck - the one parked face-in. Note the other truck in the distance -- that truck does not have its tires slashed and is drivable.
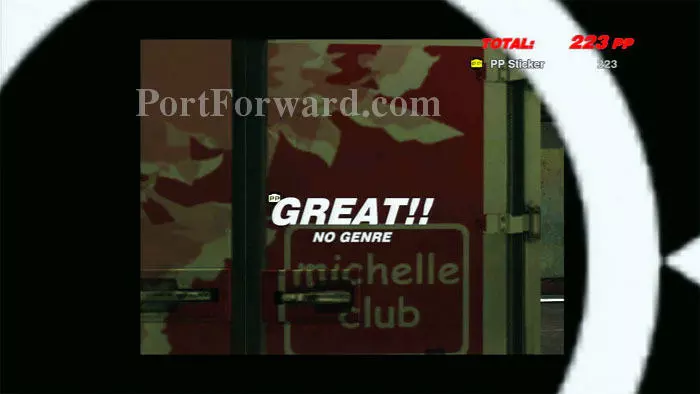
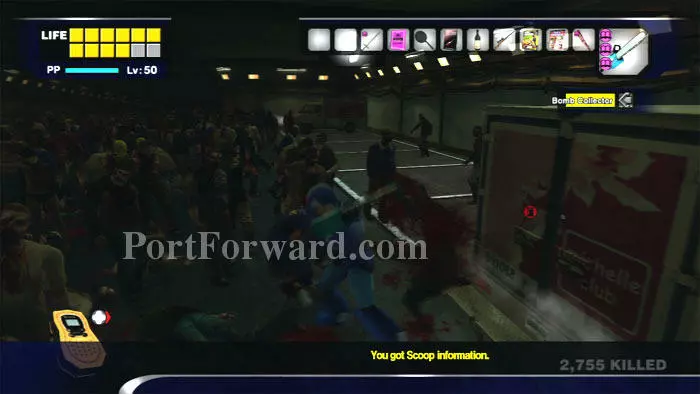
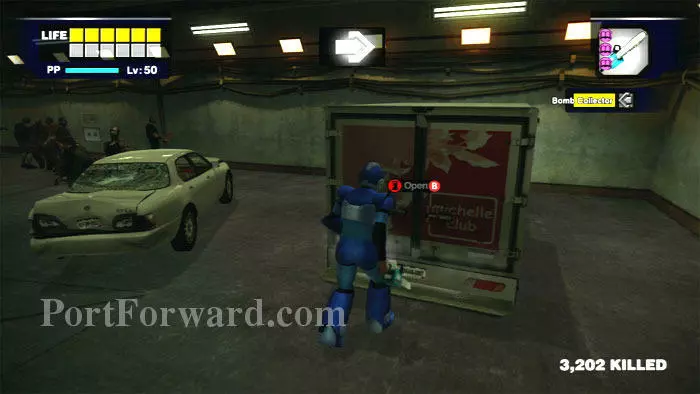
If you're going for the PP Collector Achievement, you'll want to photograph the PP stickers on the backs of the trucks. Don't worry if you forget -- the stickers and the trucks are always here.
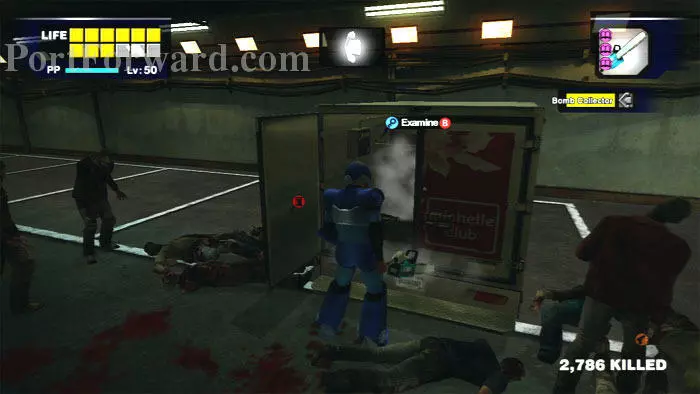
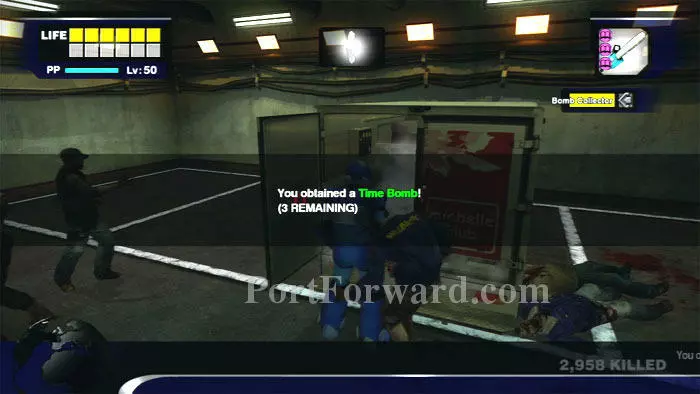
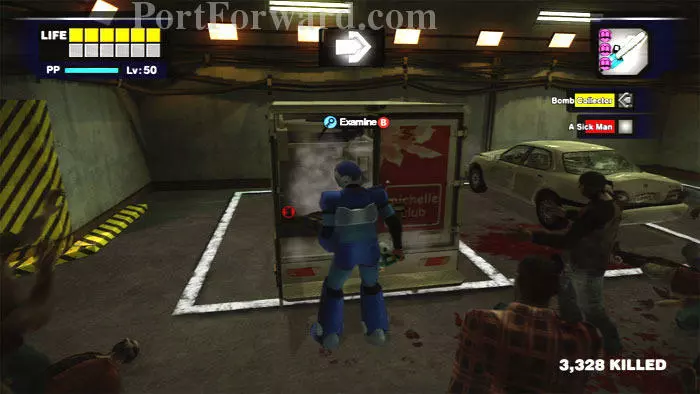
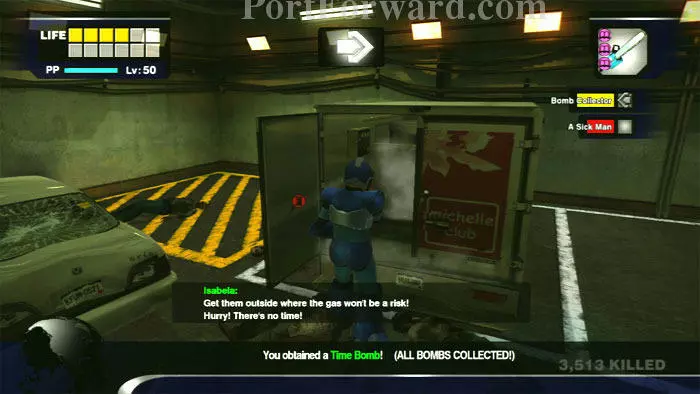
Open the back door of the truck and step close to have the "Examine" option. Press B to disarm the bomb.
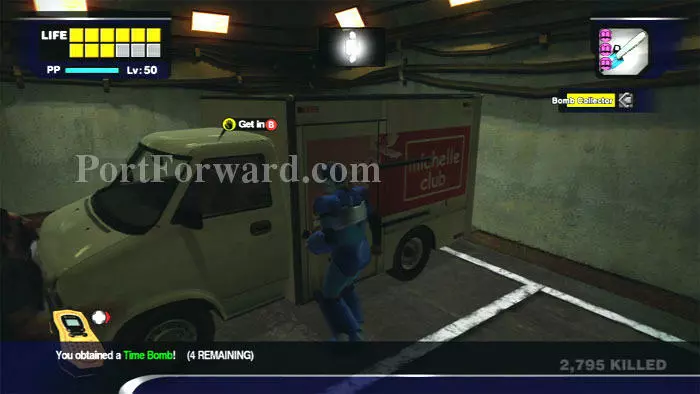
Rush over to the other truck and hop in. This vehicle is much more durable than the motorcycle.
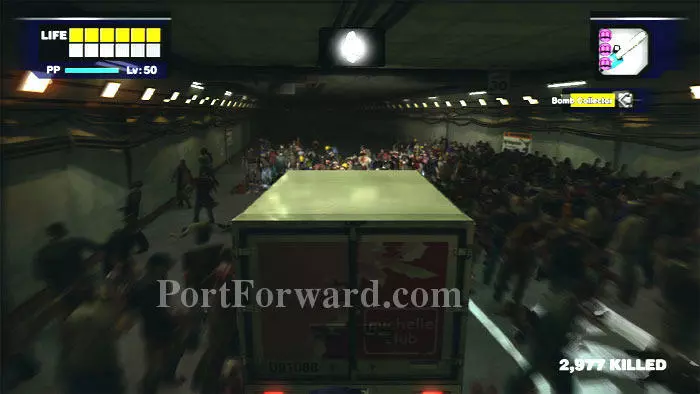
Even so, it's not indestructible. You'll want to avoid collisions with gas canisters, shopping carts, even zombies to keep your truck going.
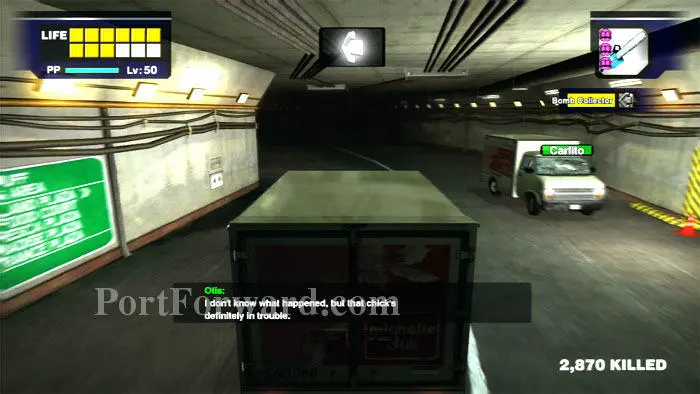
You'll also need to avoid Carlito, who has a truck of his own.
Reference the map and drive your truck to location B, where you'll find bomb #2.
Again, open the back door of the truck and disable the bomb.
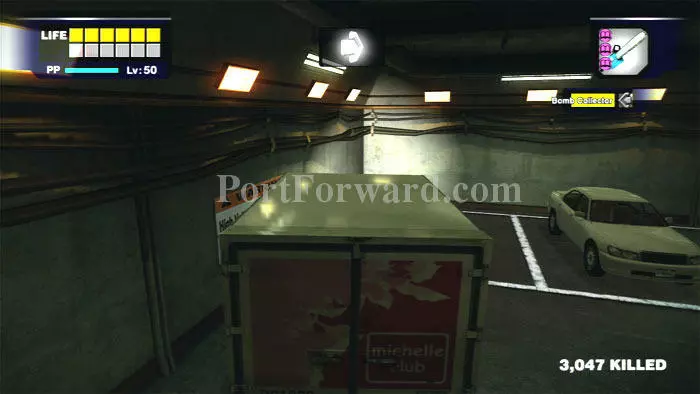
Next, drive the truck to location C on the map to find the white car. This is a fresh vehicle that will hopefully last you the rest of the mission.
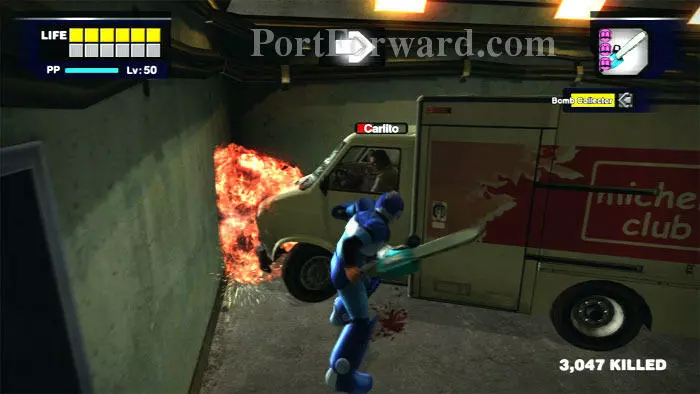
This is also where I had my showdown with Carlito. A few swipes of the Small Chainsaw on the front of his truck and Carlito is down for the count. You don't have to fight Carlito, but I think the mission is much easier once he's out of the way. The Shotgun is another effective weapon against Carlito's truck.
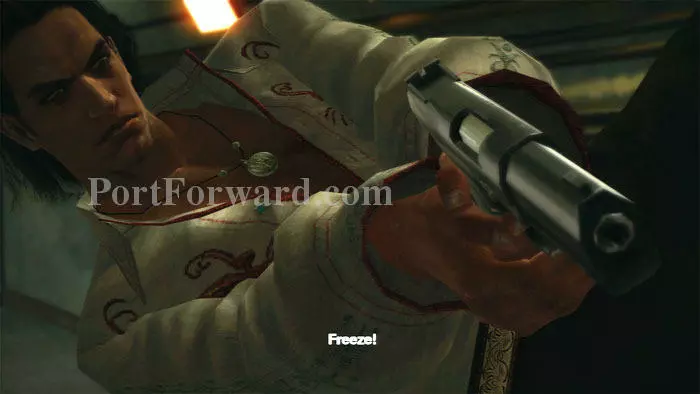
Once his health is depleted, you'll be treated to this gunfight between Carlito and Brad.
After the cutscene you'll have a short run to get back to the white car, making this an ideal spot to defeat Carlito.
Drive the car to location D on the map to find bomb #3.
Likewise, drive to location E on the map to find bomb #4.
The fifth and final bomb is found at map location F.
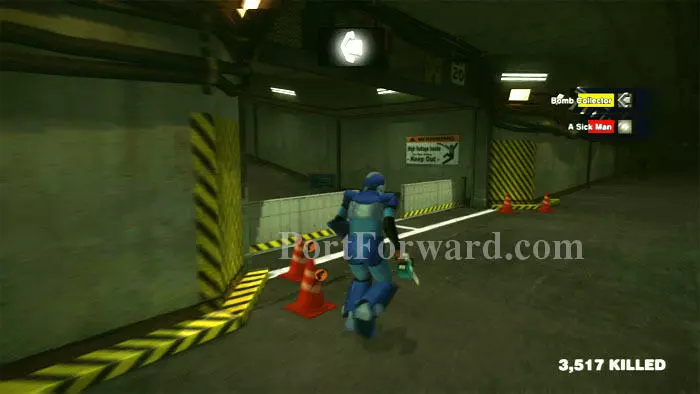
Return to the entrance ramp -- I had to travel the short distance on foot because I accidentally demolished the white car with my chainsaw while battling zombies - duh!
Approach the barricade and a dramatic cutscene unfolds. Frank rushes the bombs outside...
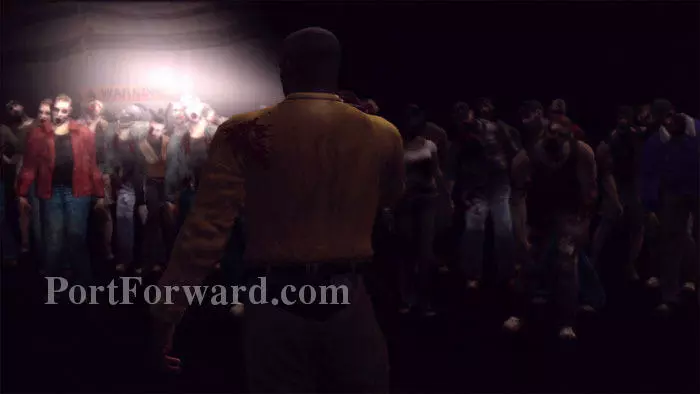
...and Brad confronts the ultimate nightmare.
Case 7 is now concluded, but there are two more things you should do before picking up your next mission.
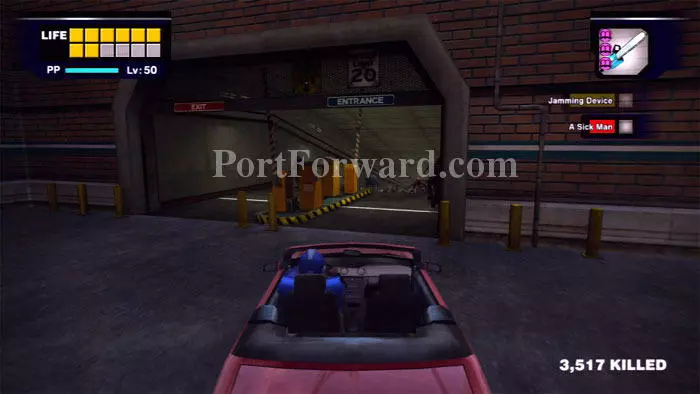
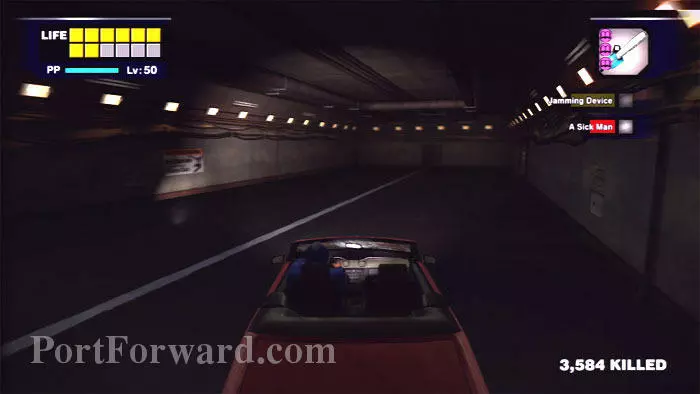
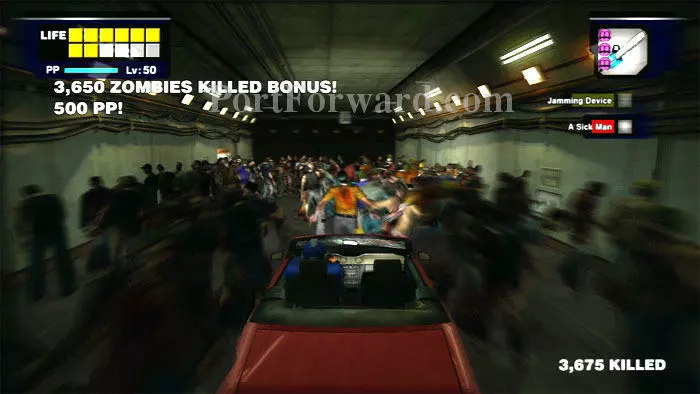
Hop into the red convertible and drive back into the maintenance tunnel.

The barricade is now gone (presumably destroyed by the explosion) and the more-durable red car can now be used in the tunnels.
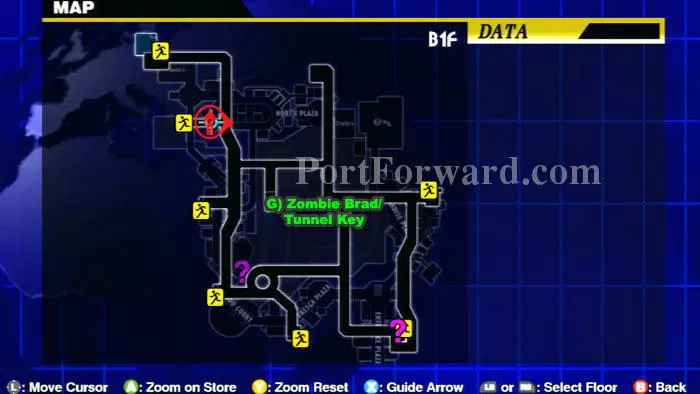
Here is the tunnel map with a new location. Travel to location G to unlock an achievement and to receive a special item.
Pull into this empty dead-end to trigger a cutscene.
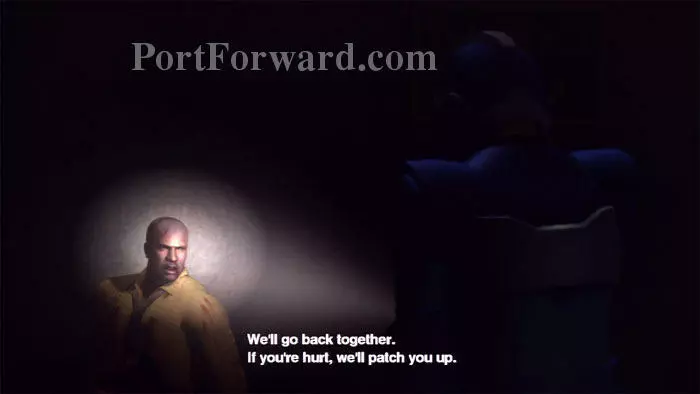
Frank finds Brad, and it doesn't look good.
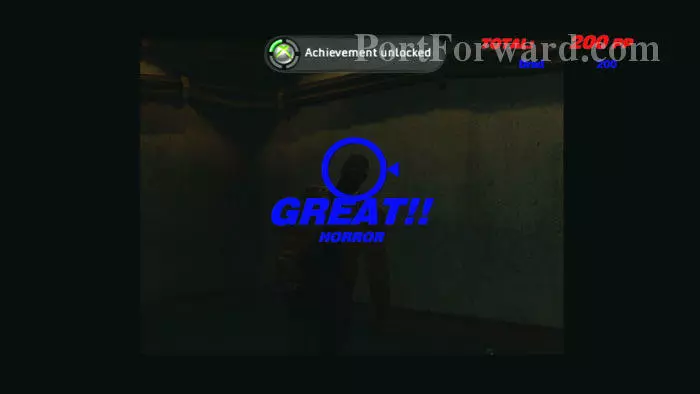
After the cutscene, approach Brad by the rear wall and snap his photo to unlock the Snuff Shot B achievement.
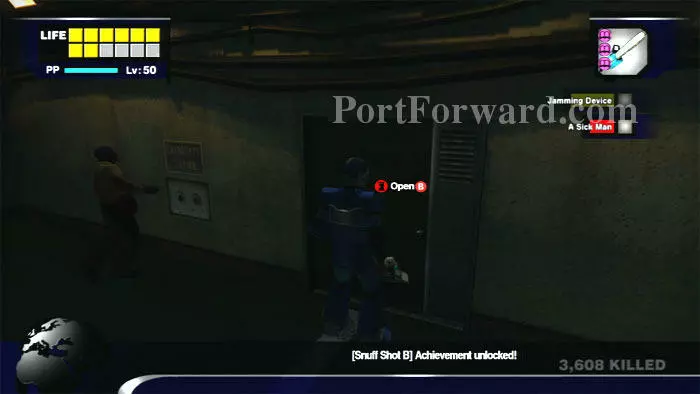
Next, open this nearby door.
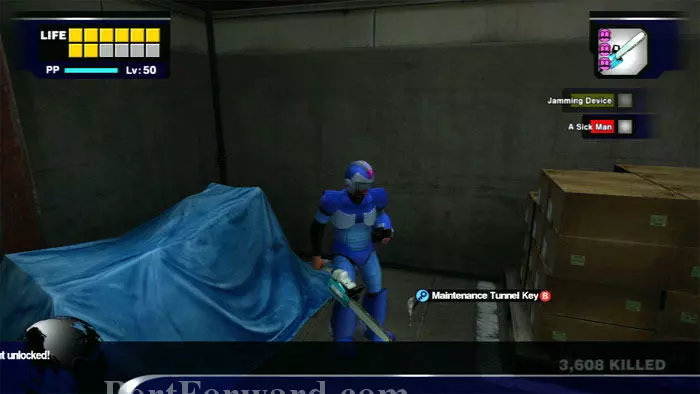
Find the Maintenance Tunnel Key in the far right corner. You now have access to all the doors that lead from the mall to the maintenance tunnels below.
You can now either use these doors (marked with a running man symbol on the map) or get back in the red convertible to exit the tunnels and begin your remaining scoop missions.
More Dead Rising Walkthroughs
This Dead Rising walkthrough is divided into 9 total pages.


