
This Dead Rising walkthrough is divided into 9 total pages.
You can jump to nearby pages of the game using the links above.
Case 8
Case 8-1, Jamming Device, is a cutscene. Isabela reveals that Carlito's computer might offer some useful clues. Time to hustle. You won't be getting an extra time allotment for each component of Case 8. The entire thing must be completed by 11:00 PM or else you cannot solve the mystery. I strongly recommend you stick to Case 8 until it is completed. Do not do any scoop missions at this point if you intend to get Ending A or Ending C.
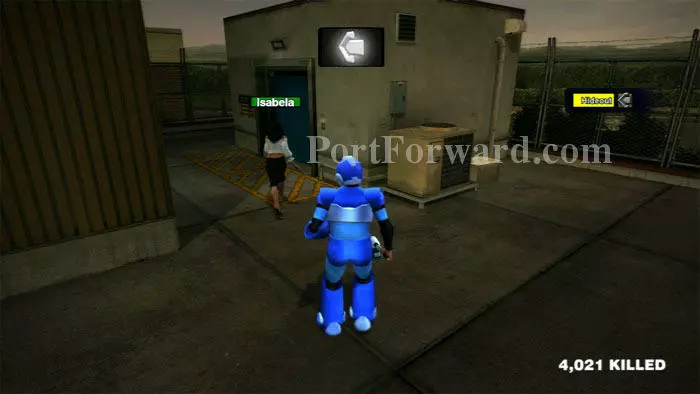
Isabela will be waiting for you on the roof. Talk to her to get going. Seems she prefers the elevator. You can't control Isabela like you can control other escorts, so let her lead the way.
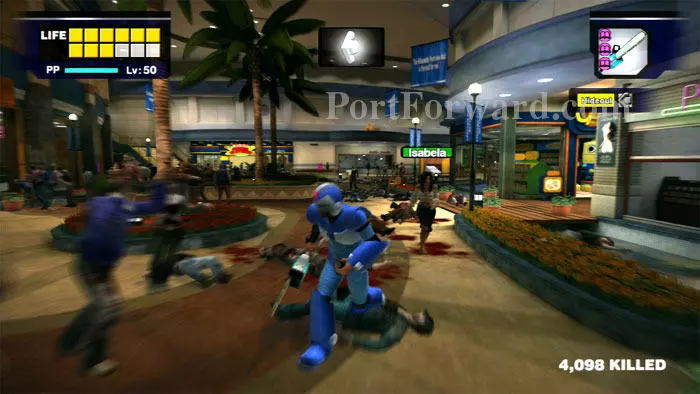
Clear a path through Paradise Plaza for Isabela as she leads you to Leisure Park.
Isabela is much tougher than the typical escort. You can reliably leave her behind while you work your way to the North Plaza stairs. Help her out if she needs it, but I found her to be very capable on her own.
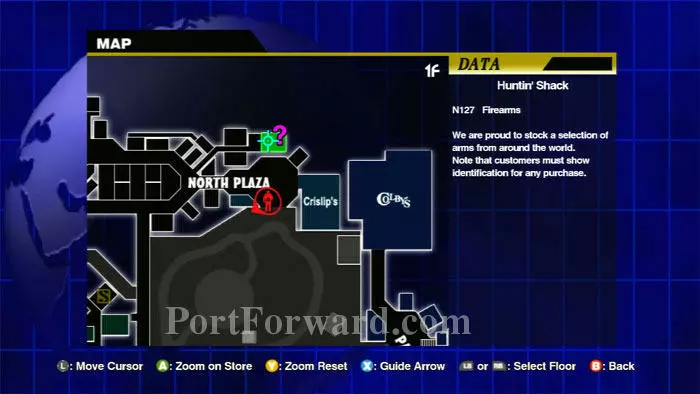
The map shows your destination to be the Huntin' Shack. In truth, your destination is the unfinished shop next door.
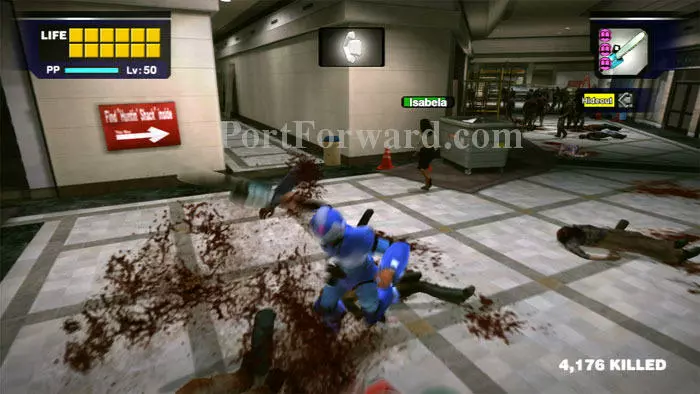
Turn left after entering the North Plaza then help Isabela reach the corridor next to the red "Huntin Shack" sign.
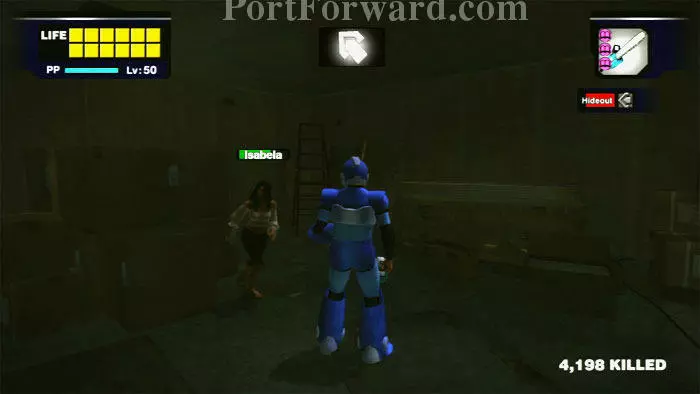
Follow your guide arrow to this unfinished store on the left. Approach Isabela to trigger a cutscene.
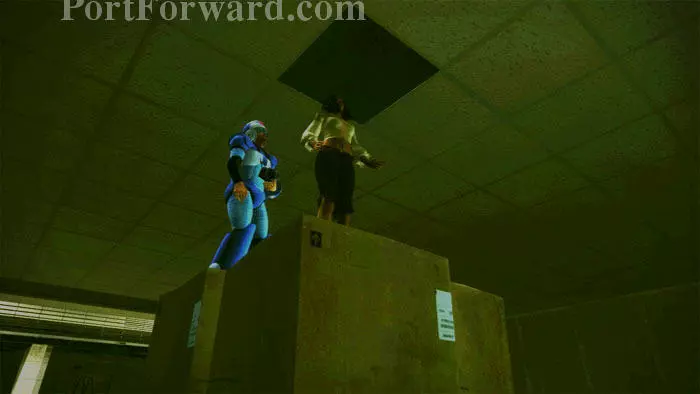
Isabela shows you the hideout entrance is reached from atop these boxes.

Isabela begins attempting to crack Carlito's password. Approach to trigger another cutscene.
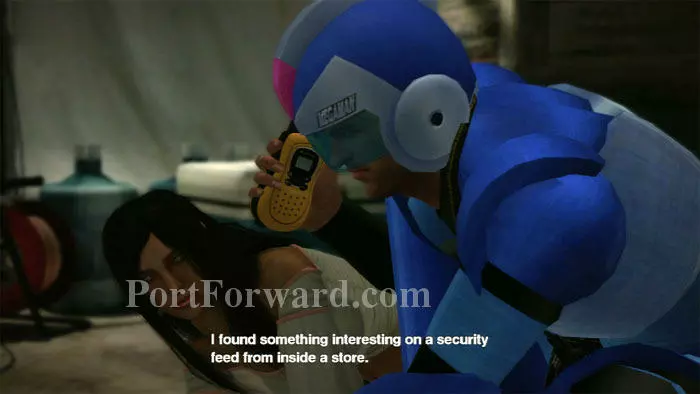
Jessie phones to ask for your help back at the Security Office. This completes Case 8-2.
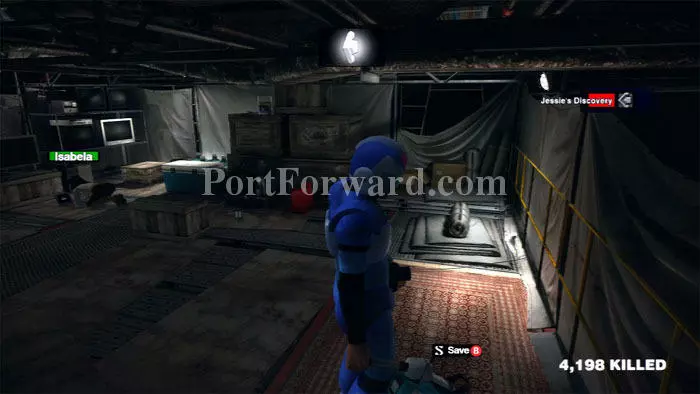
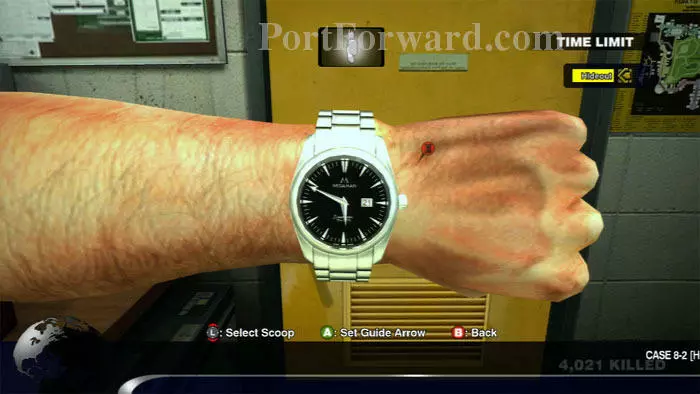
If you are confident about your remaining time, you can save your game at this rug. It's almost 7:30 PM on my watch.

Exit Carlito's hideout at this hatch. I recommend stopping at the nearby Huntin' Shack to pick up a couple shotguns and a sniper rifle before exiting the North Plaza.
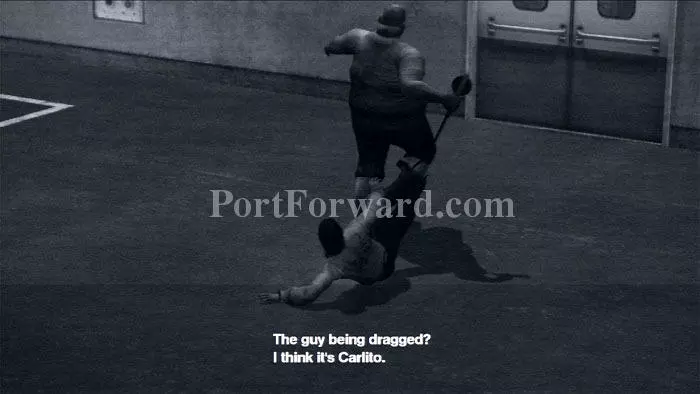
Isabela stays behind as you rush to the Security Office. Enter to initiate this cutscene -- Carlito is being held captive by a crazy butcher. This completes Case 8-3.
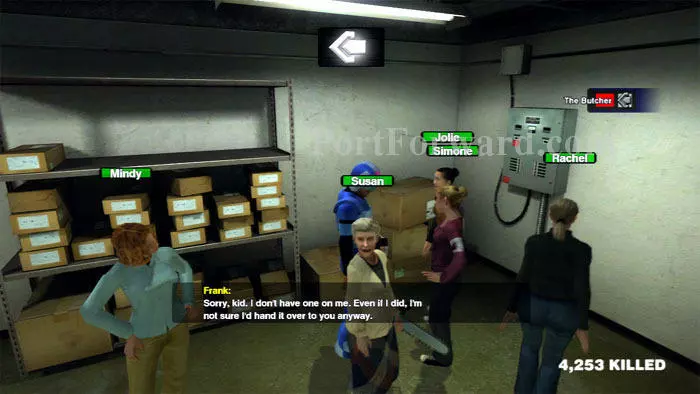
I've got 8:00 PM on my watch and take some time to respond to a couple survivors. Simone wants a gun -- even though I have one, the response is negative.
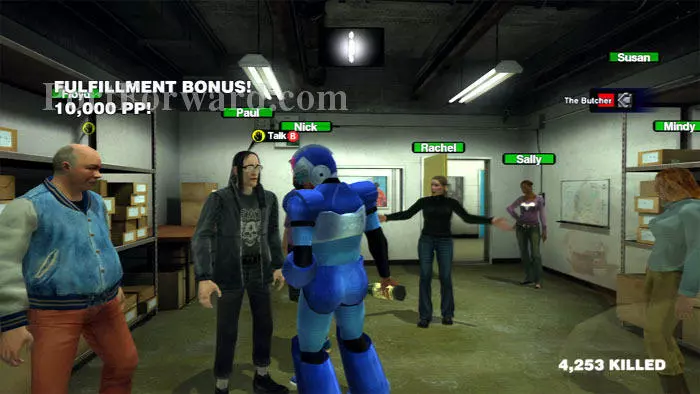
Paul's been wanting to talk to me, too. Once assuring him that I won't tell his story of crazy pyromania, he gives me a new weapon - a Molotov Cocktail.
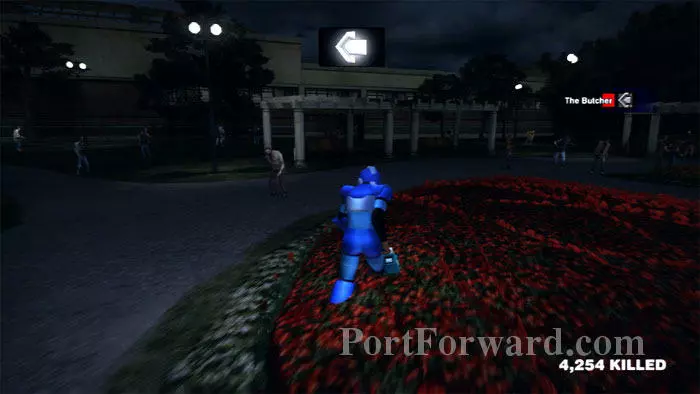
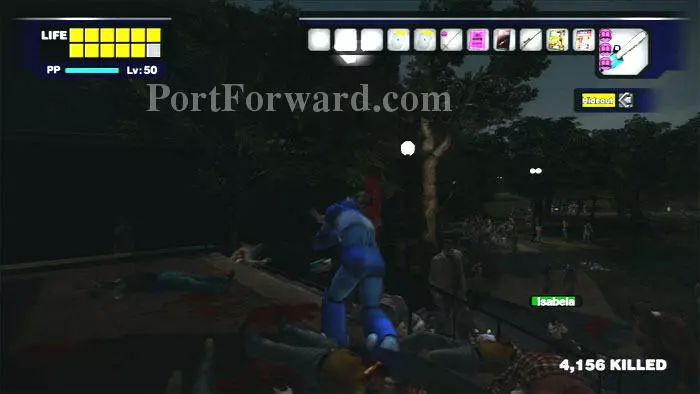
Now for Case 8-4. As previously with Case 7, head across Leisure Park to the maintenance tunnels.
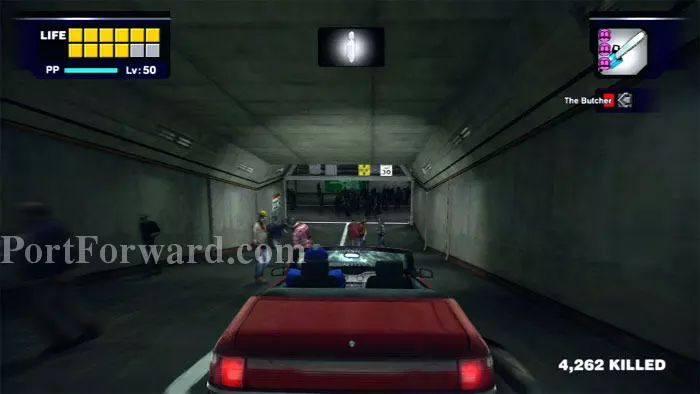
Hop in a vehicle and drive down the entrance ramp. Turn left at the bottom of the ramp.
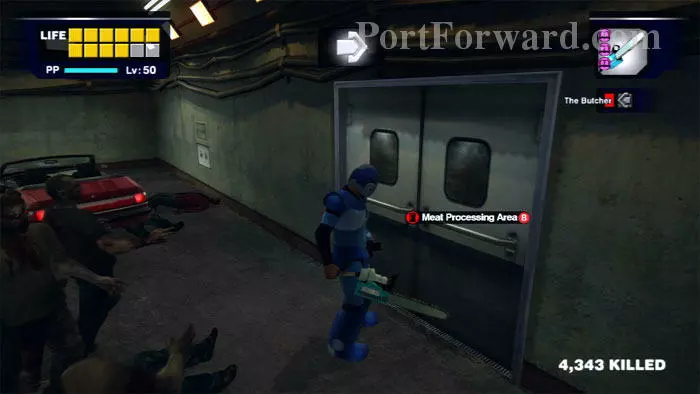
Drive to the dead end then enter the Meat Processing Area at these double doors.
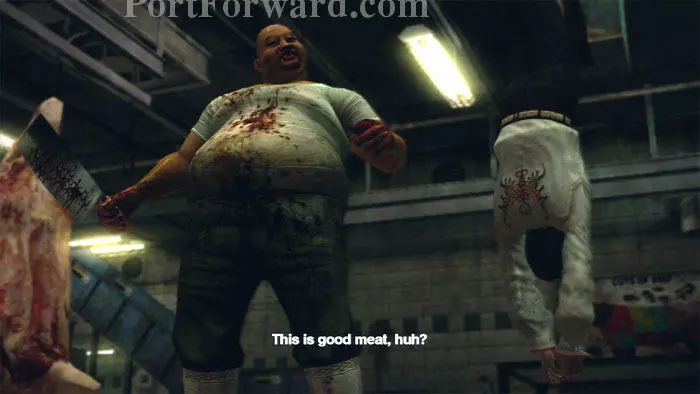
I have to think this obese Japanese butcher is Capcom's penance for ridiculing fat Americans.
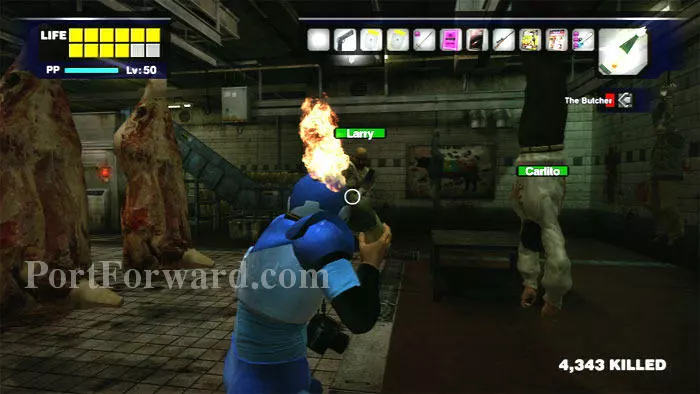
I open with Paul's Molotov Cocktail.
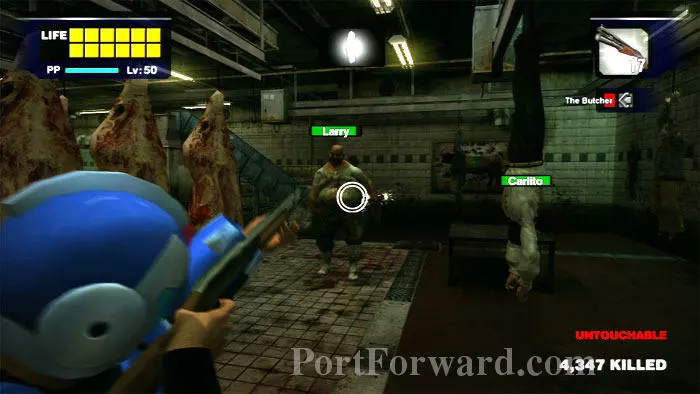
Larry is a tank of a boss. It will take many hits to bring him down. I found the Shotgun to be a good choice.
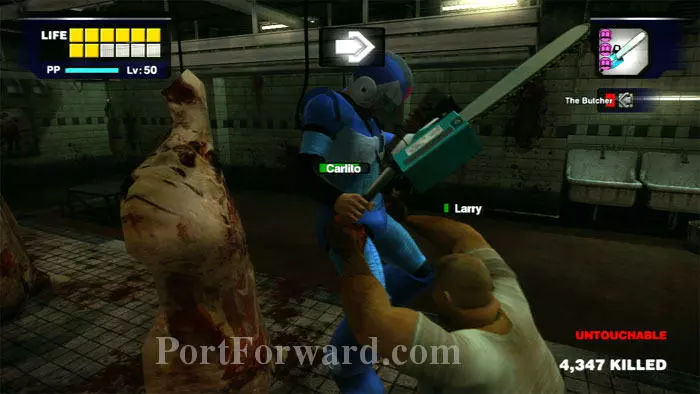
Of course the Small Chainsaw puts the hurt on Larry, but you don't want to get close to him. He'll hang you on a meat hook and beat you until you're dead. Wiggle the left stick to work yourself free. I tried drinking an Untouchable Smoothie and Larry still got me hooked.
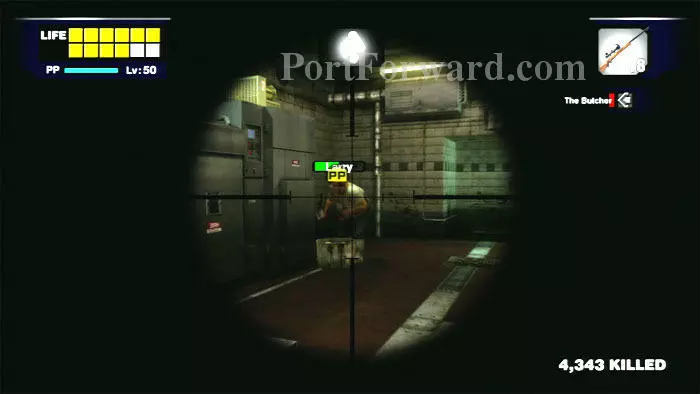
Larry will try to replenish his health at this slop bucket. Snipe him while he feeds.
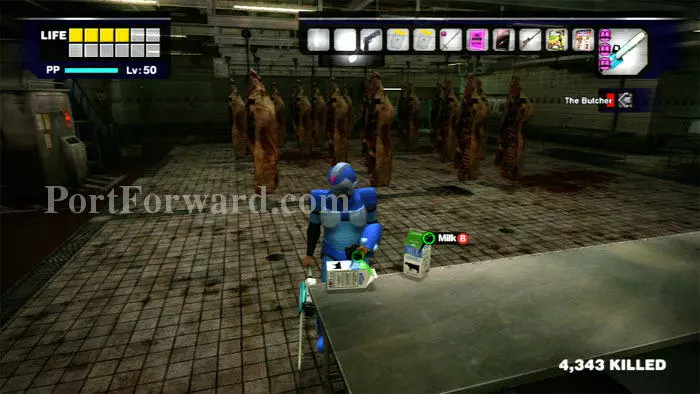
Replenish your health at the Milk found here. A Cleaver is also nearby.
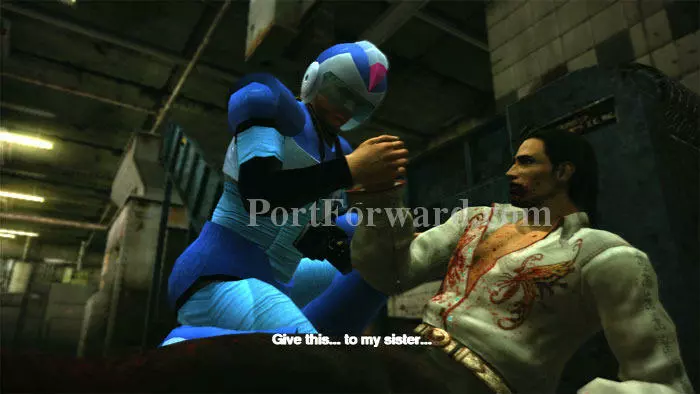
Defeat Larry and Carlito gives you his locket during the victory cutscene. This completes Case 8-4.
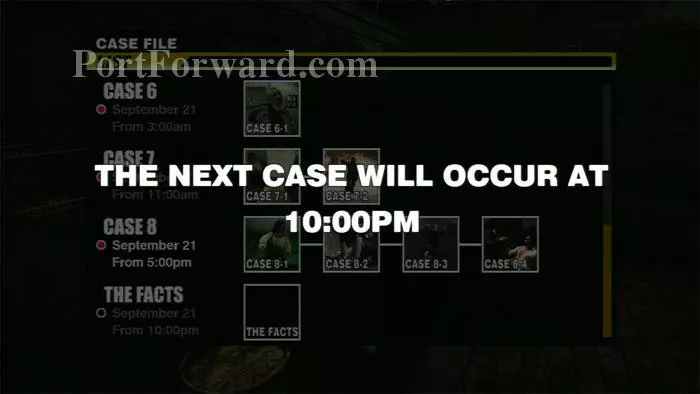
The next case, The Facts, begins at 10:00 PM, but you have until 11:00 PM to finish it.
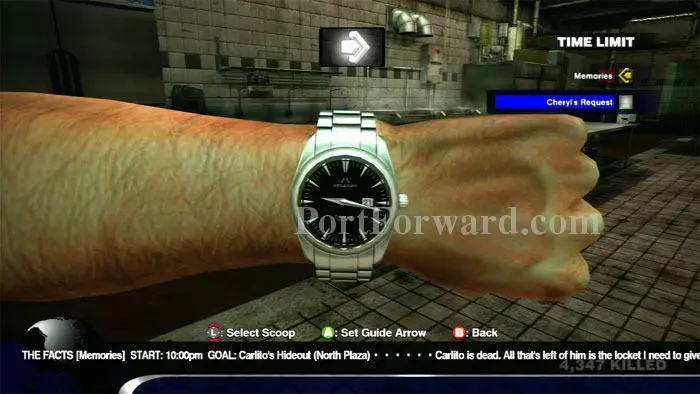
The goal is Carlito's Hideout in nearby North Plaza. Don't make the mistake I did (twice) of returning to the Security Office.
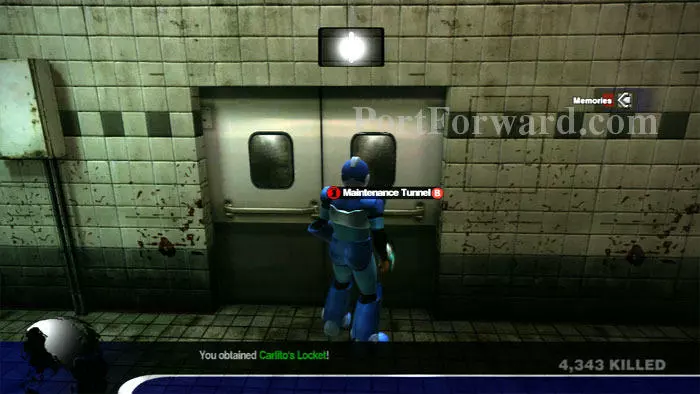
To get to the hideout quickly, exit to the Maintenance Tunnel through these double doors.
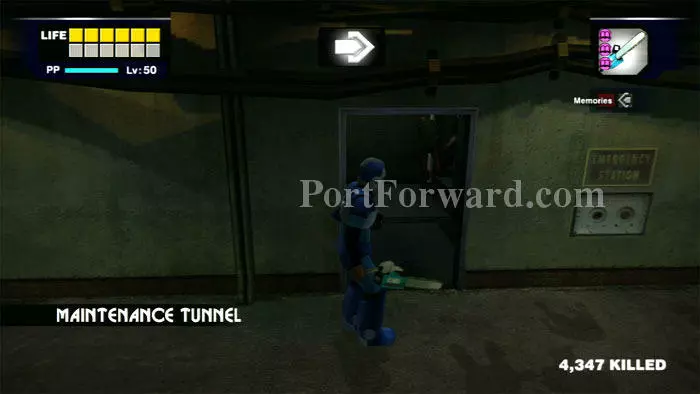
Continue through this nearby door. Ascend the stairs.
Turn left at the top of the stairs and use the Exit door ahead.
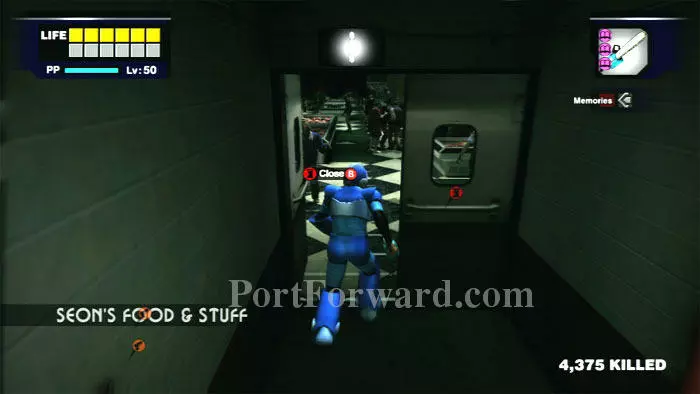
Turn left again and find Seon's Food & Stuff through this door. Replenish your health before exiting the grocery.
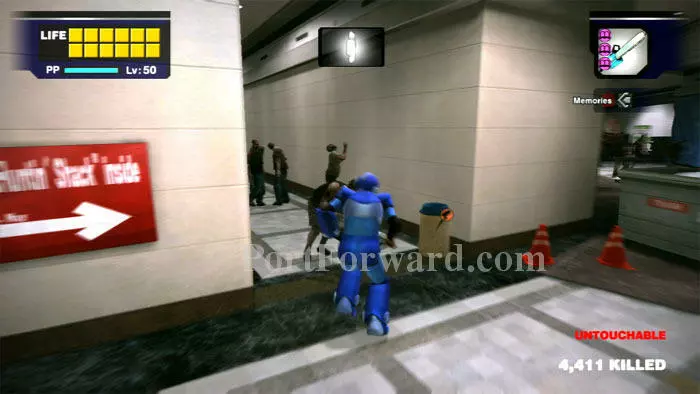
Turn left at this Huntin' Shack sign.
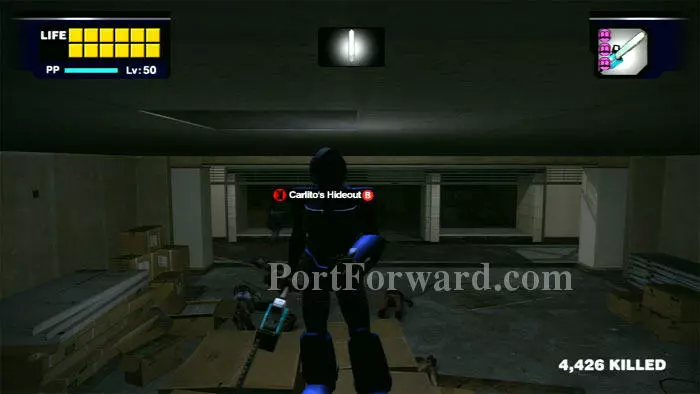
Once again, enter the unfinished store and climb the boxes to find the ceiling hatch to Carlito's Hideout.

Approach Isabela to trigger this cutscene.
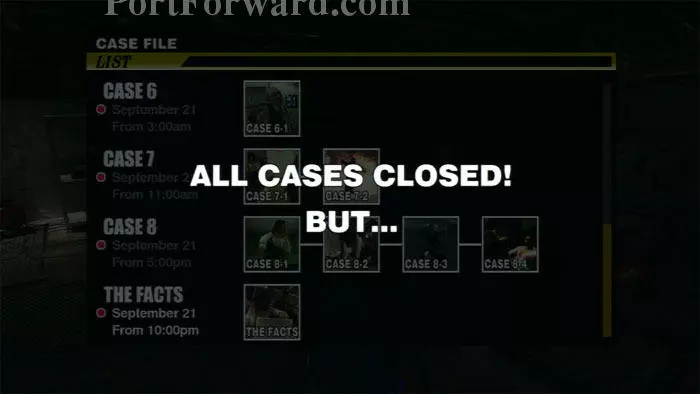
The Facts mission is now completed. But...
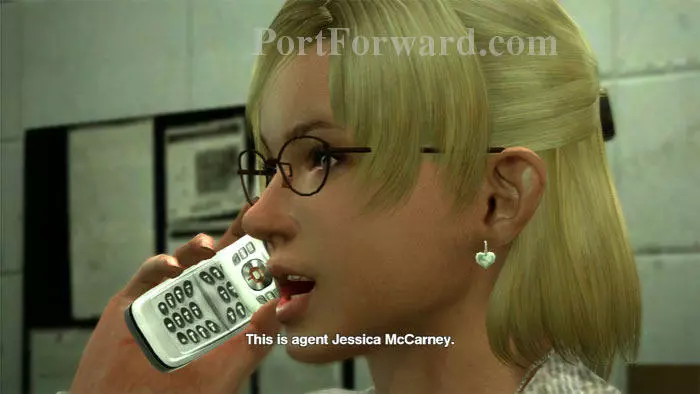
...there's a lot more game to be played. Start heading back to the Security Office. You'll be interrupted by several cutscenes. The phone lines are freed up and Jessie calls DHS HQ.
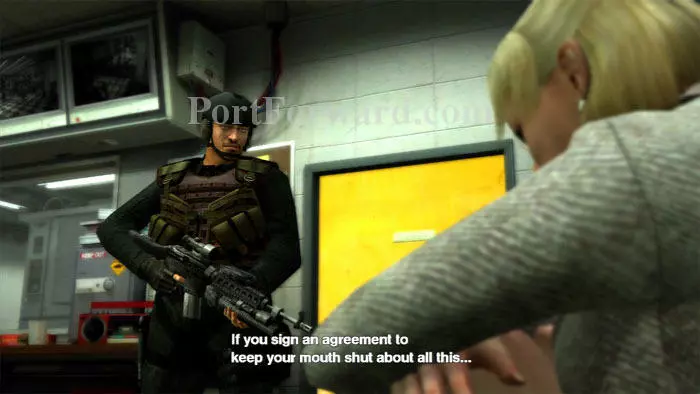
"I'm from the government and I'm here to help."
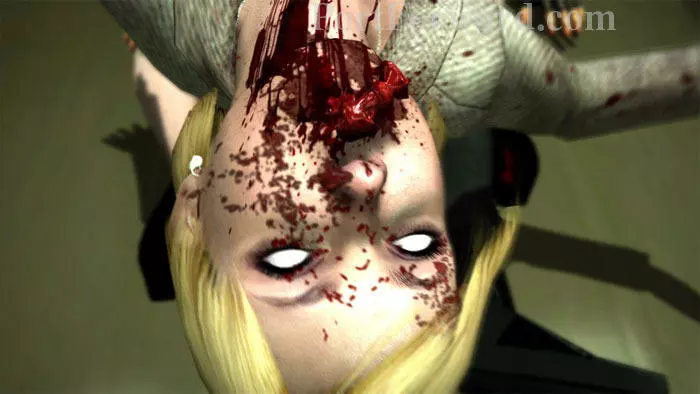
Jessie enjoys her census-taker with some fava beans and a nice chianti.
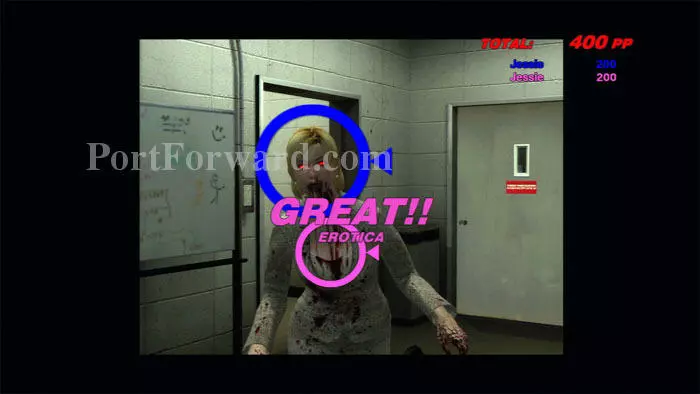
Have your camera ready once you finally return to the security office. Snap a picture of Jessie to get the "Snuff Shot J" achievement.
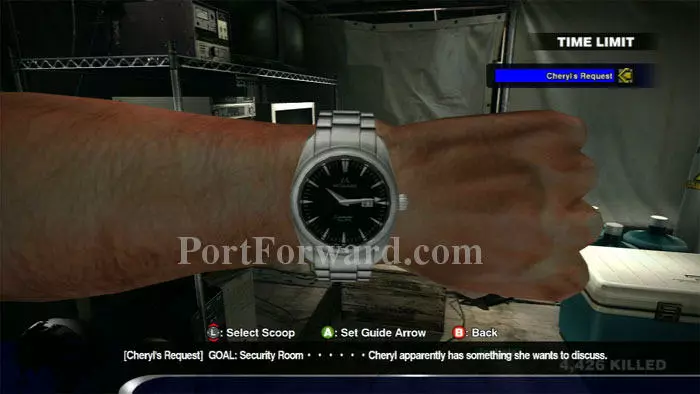
You'll find that everyone is gone from the security room. I had one final Scoop, Cheryl's Request, that I can no longer complete, since Cheryl's gone. Complete this scoop sooner to take some pictures of Cheryl and earn 10,000 PP.

Come midnight, this cutscene introduces your next enemy. Government troops have arrived and are making a sweep of the premises - clearing out zombies, and any survivors - including you.
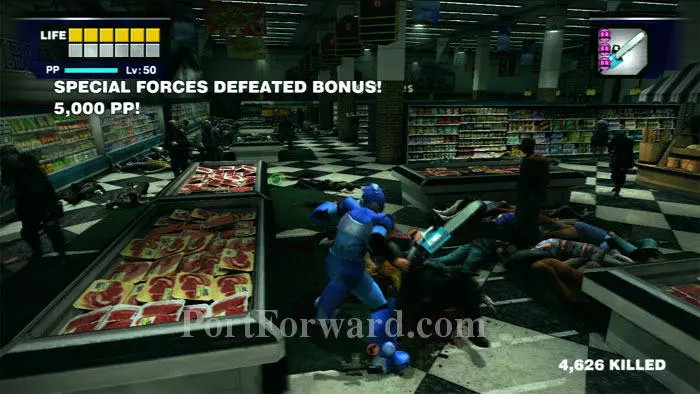
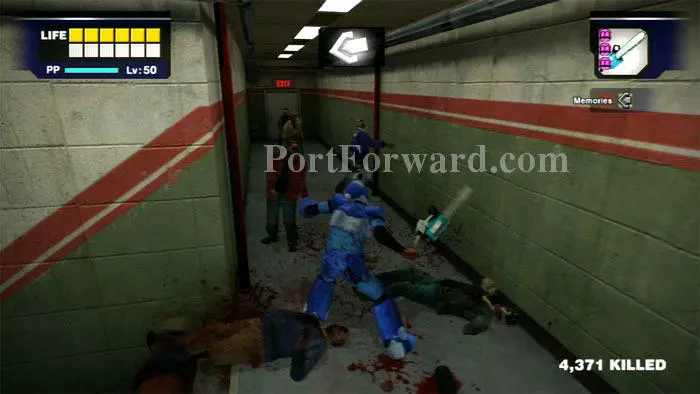
These Special Forces succumb to the Small Chainsaw rather quickly and are worth 5,000 PP each.
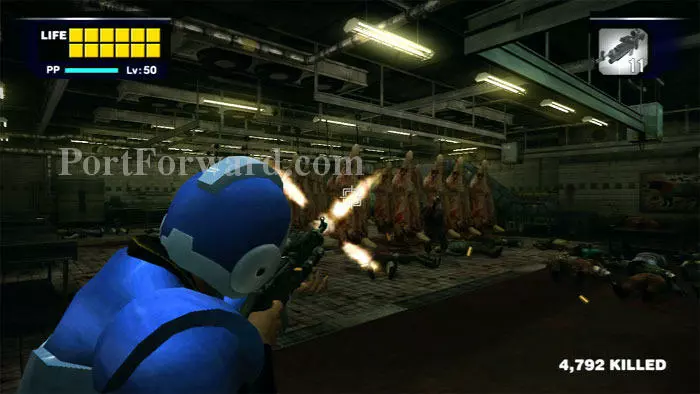
Special Forces drop this Machine Gun. Unload an entire clip without missing and receive the Perfect Gunner achievement, earning you the ammo belt. The easiest way to fulfill this requirement is to fire a full clip into a side of beef here in the butcher shop.
More Dead Rising Walkthroughs
This Dead Rising walkthrough is divided into 9 total pages.


