
This Dead Rising walkthrough is divided into 9 total pages.
You can jump to nearby pages of the game using the links above.
Overtime

Back at the hideout, Frank learns that he's become infected.
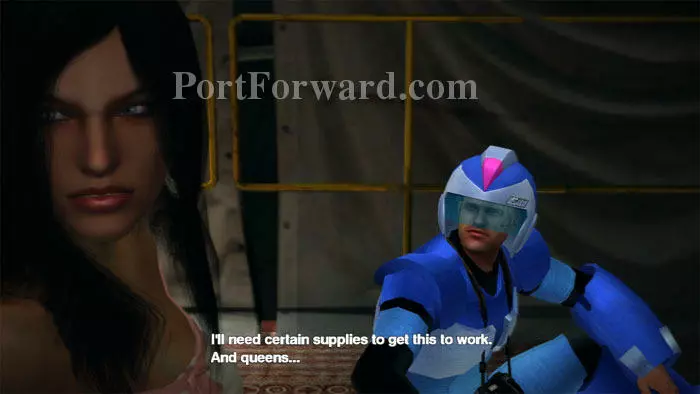
Fortunately, Isabela has an idea that might stop the zombification process.
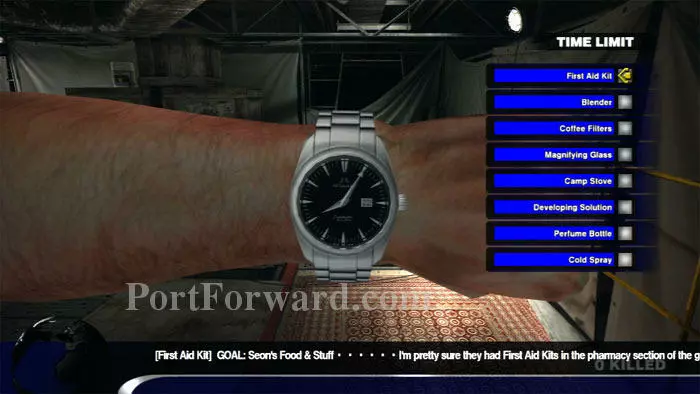
Pull up your watch (left D-Pad) to see the supplies Isabela needs. Select each supply to get a suggestion of where it is located.
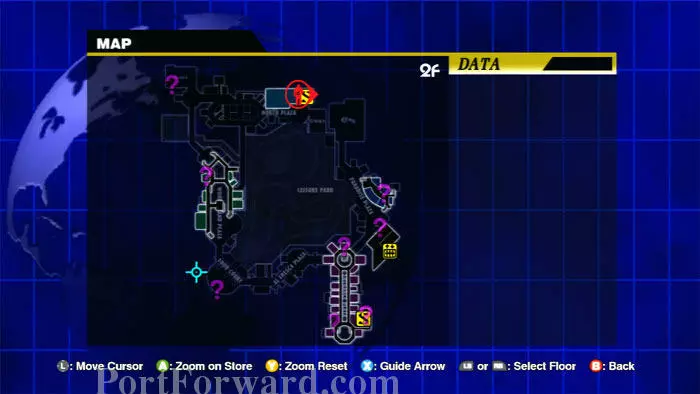
The map also shows locations where the supplies can be found. Note that the closest supply (First Aid Kit) can be found at Seon's grocery.
If you are continuing Overtime Mode immediately following Ending A, you will still have a full inventory. Otherwise, your inventory is empty. I'll assume that you are starting fresh with an empty inventory.
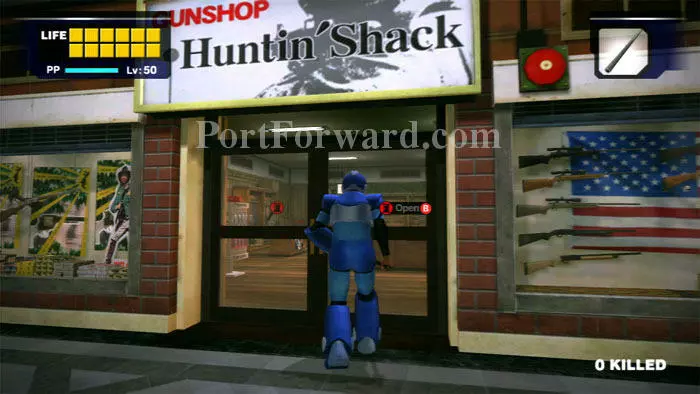
A Lead Pipe is found in the empty store as you exit the Hideout. Head left into the Huntin' Shack to stock up on Shotguns and Sniper Rifles. Note that you will not be able to retrieve a Small Chainsaw from Wonderland Plaza.
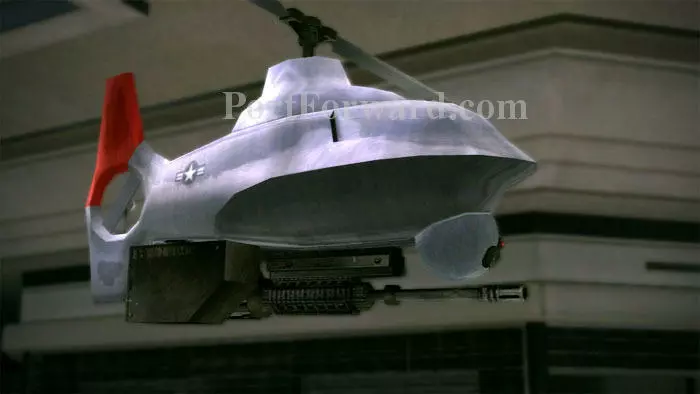
Head to the main part of North Plaza to trigger a cutscene. These UAVs will be on patrol.

If the UAVs spot you they'll sound an alarm and draw additional troops. Fortunately, they're easy to snipe.
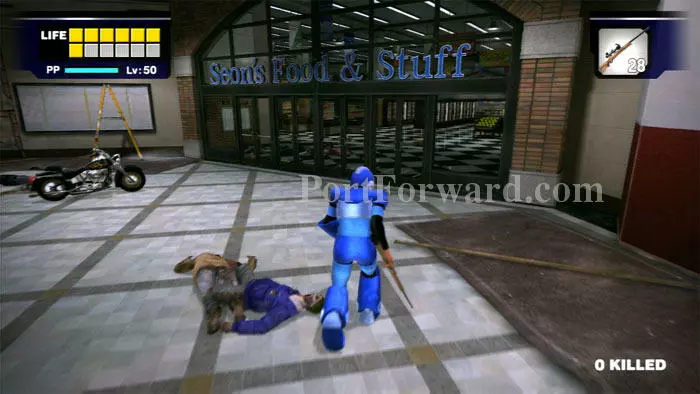
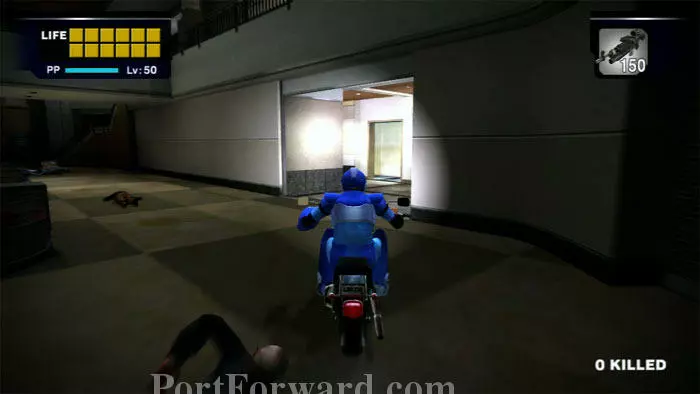
Head over to Seon's grocery. Note Isabela's motorcycle on the left -- you can use this to speed your way through the mall if you like.
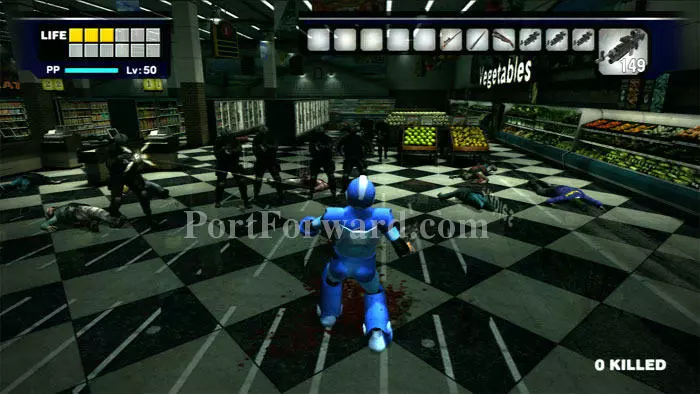
The grocery is crawling with Special Forces. I died many times trying to devise an effective strategy. Ultimately, I found the best thing to do is run.
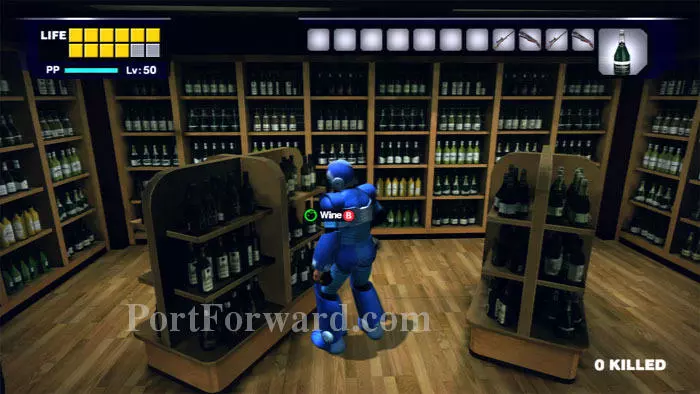
Run like the dickens past the cash registers to this wine section on the left. Grab a few bottles then dash away before you draw a crowd.
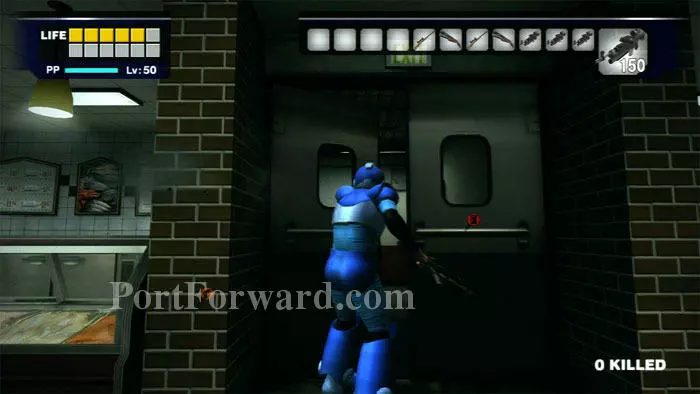
You need to get to the pharmacy you visited previously in Medicine Run. Start through these double doors between the seafood and meat counters.
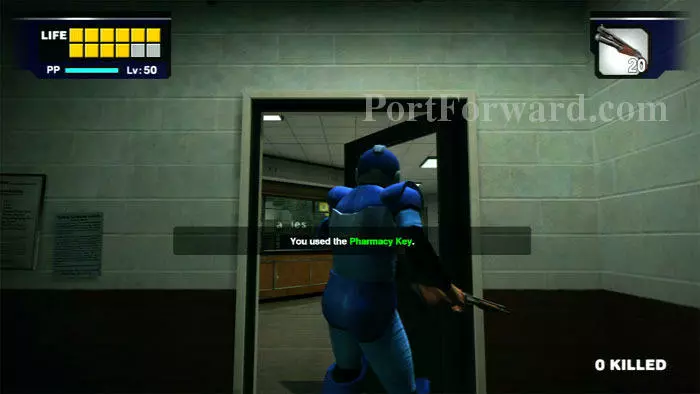
Keep left to find the Pharmacy behind this door.
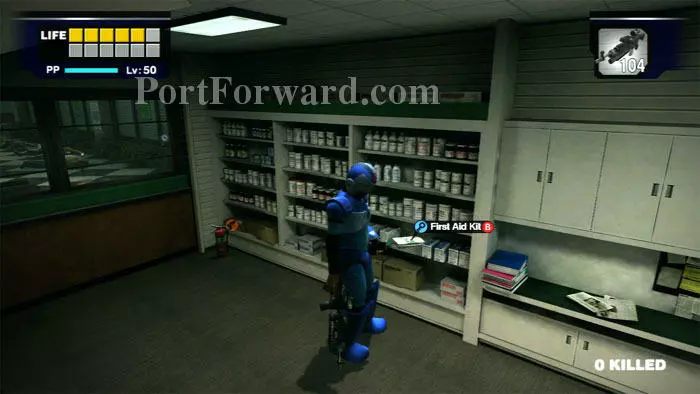
You'll find the First Aid Kit here.
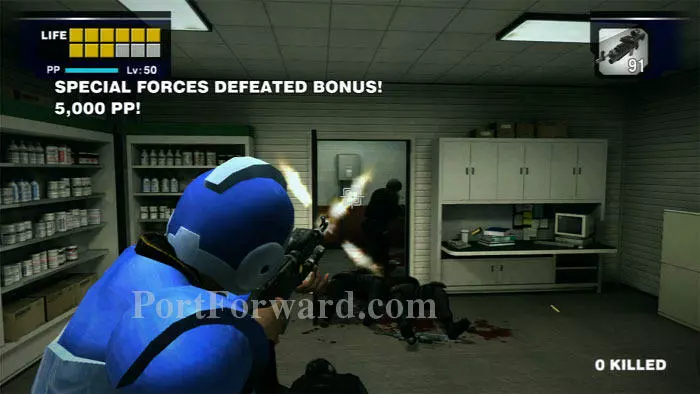
Chances are, the Special Forces are on your tail. Mow them down as they bunch up at the Pharmacy door then take their Machine Guns. If you are able to clear out all the Special Forces you will have an easy time filling up on Wine before you leave the grocery.

Note that there is a Save point just to the east. Hop on Isabela's bike and head over to the bathroom to save your game.
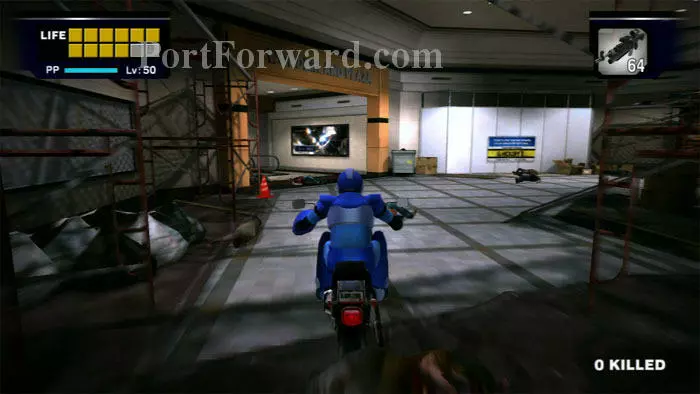
Next up is the Magnifying Glass at Wonder Jewels in Wonderland Plaza.
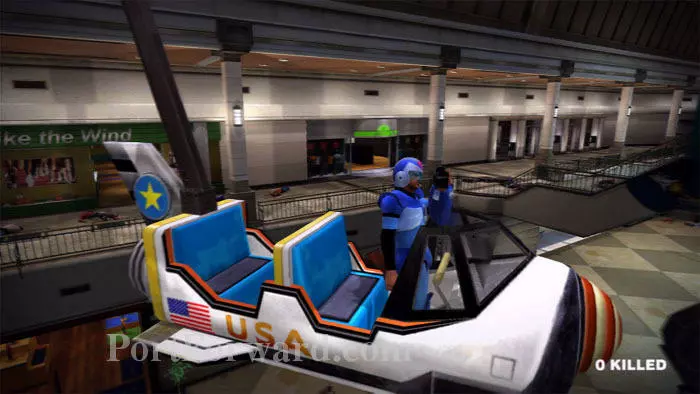
If you're feeling particularly adventurous, ride the Space Rider and receive 10,000 PP.
Wonder Jewels is on the lower level of Wonderland Plaza, a short distance on the right as you enter from North Plaza.
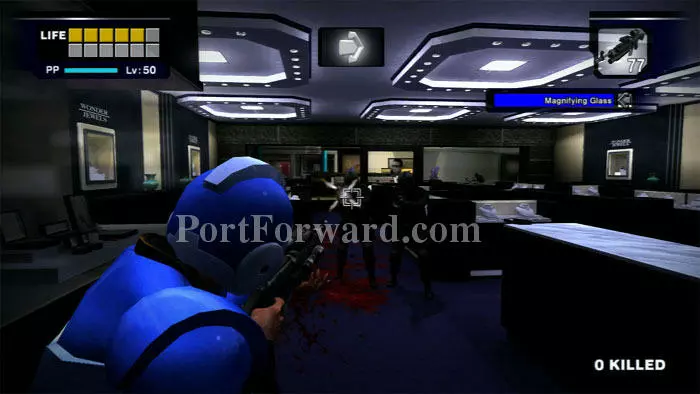
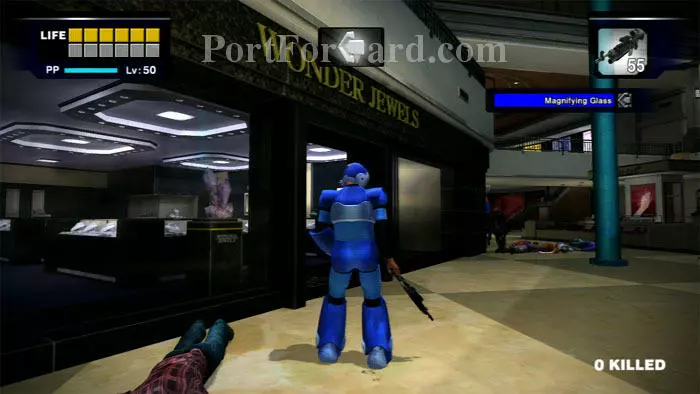
gain, if you have Special Forces in pursuit, try to get them into a chokepoint then mow them down with their own weapons.
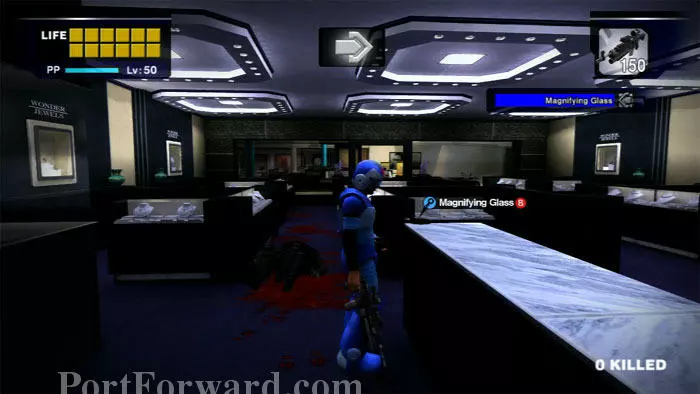
The Magnifying Glass is found here.
You're done with Wonderland Plaza, and Greg's Shortcut is right across the hall. Time to head to Paradise Plaza.

Once in the ladies' room, use the mirror/ceiling hatch to enter Paradise Plaza.
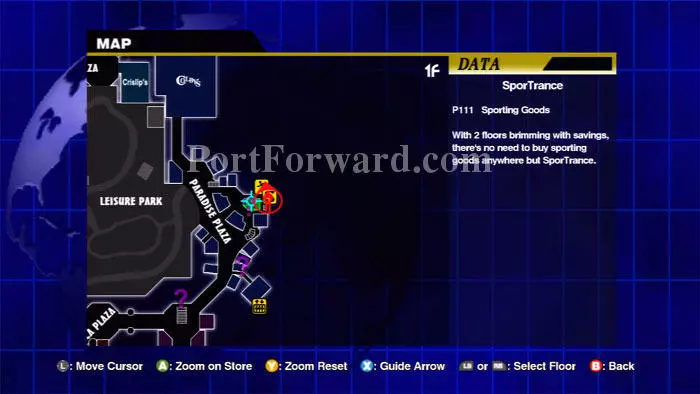
After saving at the Paradise Plaza bathroom, the Cold Spray at SporTrance is the closest supply.

Ascend the nearby stairs to find SporTrance.

Again, if you've got Special Forces on your tail, don't fight them out in the open. Instead, draw them into a tight space and mow them down as they bunch up.
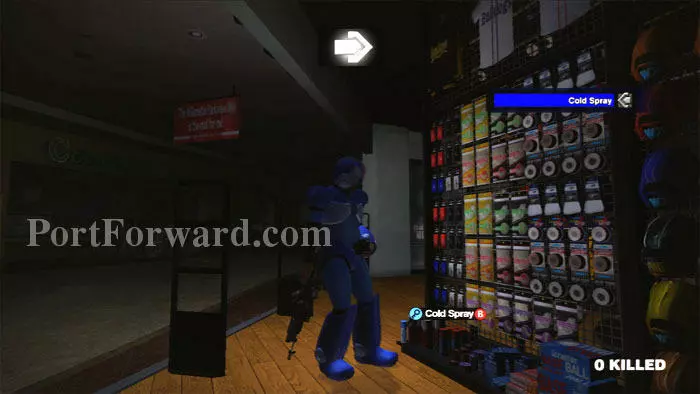
You'll find the Cold Spray near the front of the store. Note that Columbian Roastmasters is directly across the hall.
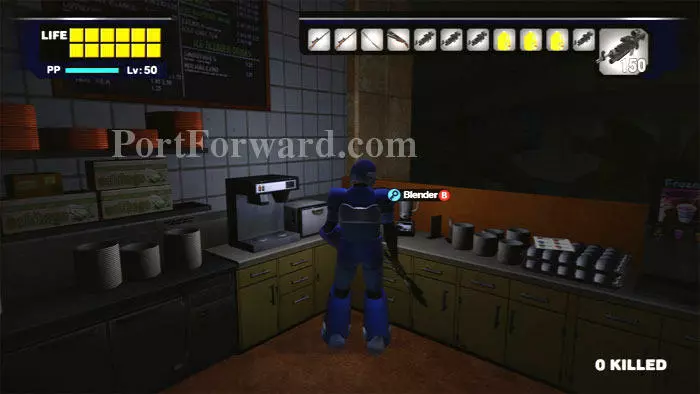
Your next supply is found here, the Blender. Also fill up on orange juice to replenish your health.
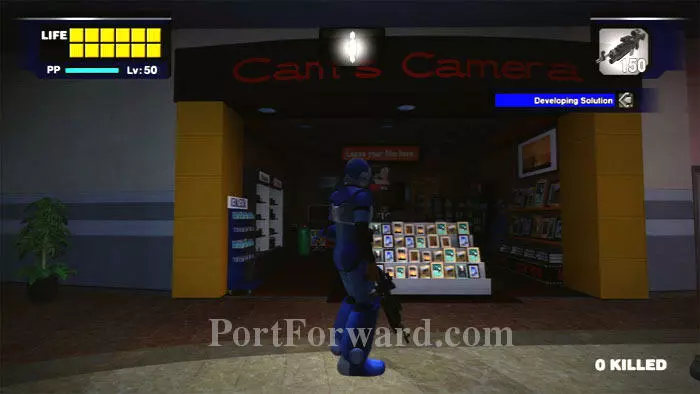
Hop over the railing and run the short distance to Cam's Camera.
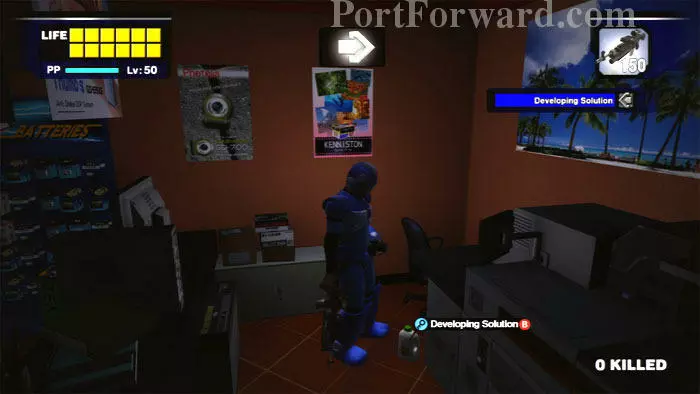
The Developing Solution is found behind the counter.
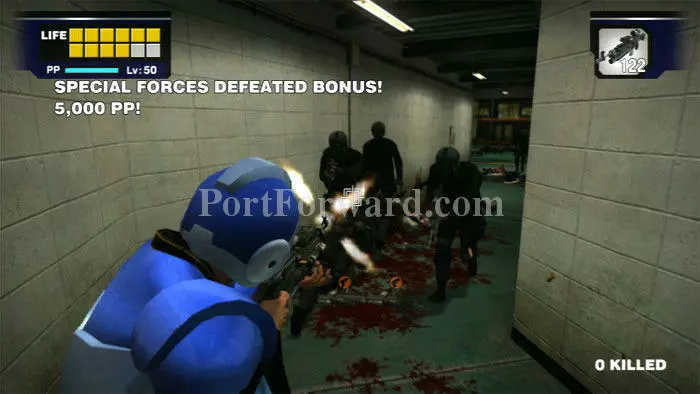
Now to find Coffee Filters back at the Security Office. The Warehouse door is just next to Cam's Camera, so you don't have to go far. This hallway is a great spot to take out the Special Forces.
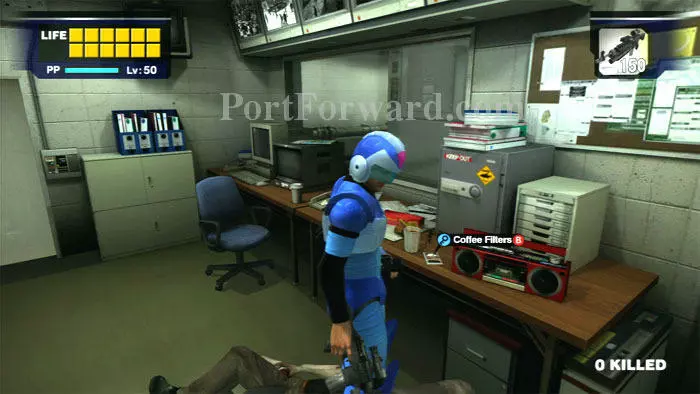
The Coffee Filters are found here. Of course, you can save at the nearby couch.
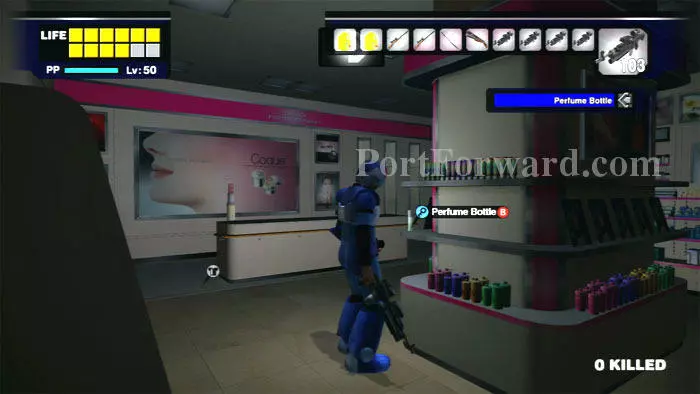
Next, run the short distance to the Entrance Plaza, and climb the stairs to Estelle's Fine-Lady Cosmetics. Find the Perfume Bottle here.
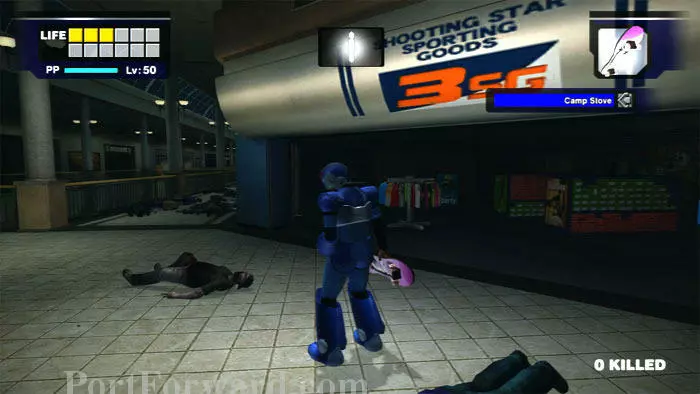
Across the hall is Shooting Star Sporting Goods, where you can find a Skateboard to speed you to your next destination...
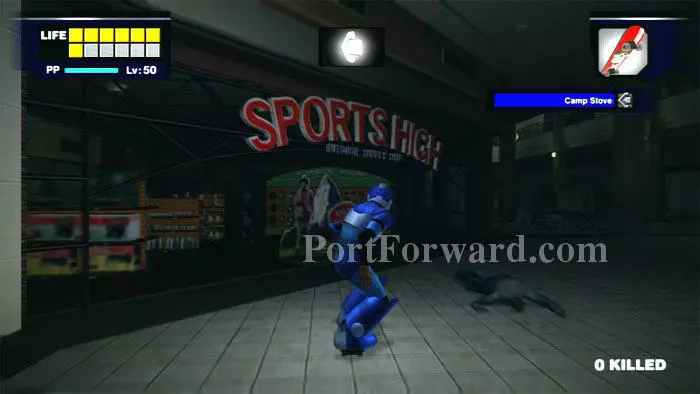
...Sports High, which you'll find on the lower level.
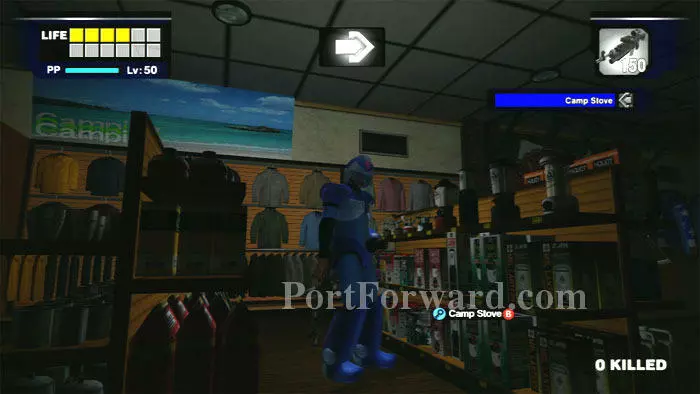
Obtain the Camp Stove here. You now have all of the supplies except the Queens.
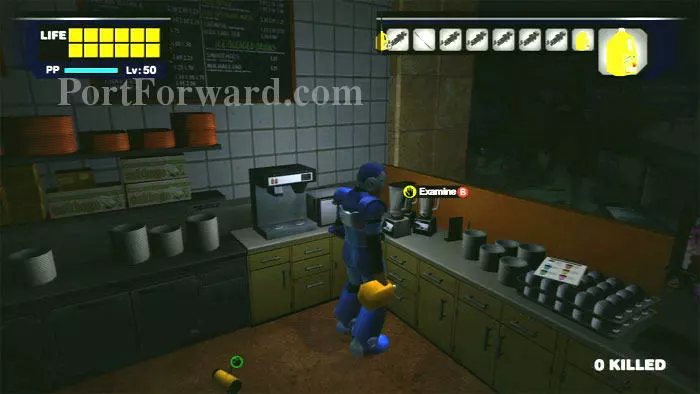
Time to return to Isabela. On your way back, I suggest stopping at Columbian Roastmasters and making some Nectar.
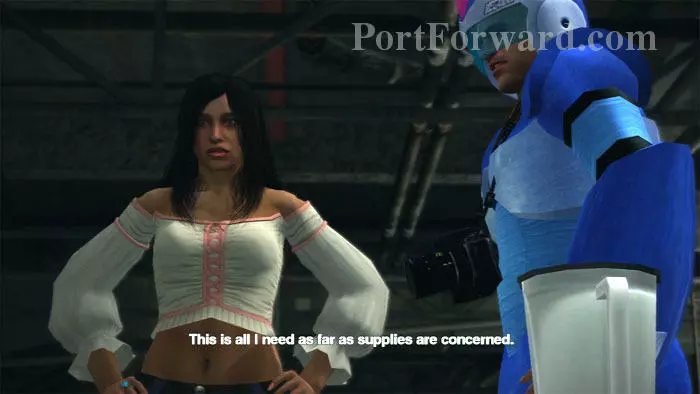
Find Isabela at the hideout and view a pair of cutscenes. Learn that Carlito has sent zombie-children throughout the United States!
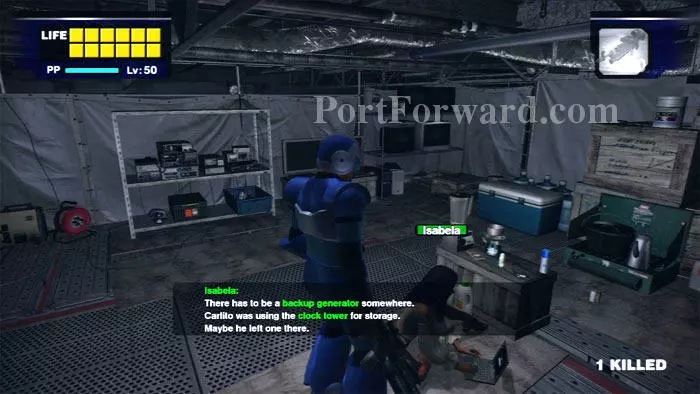
Talk to Isabela after the cutscenes to receive a new task. You need to retrieve a generator from the clock tower.
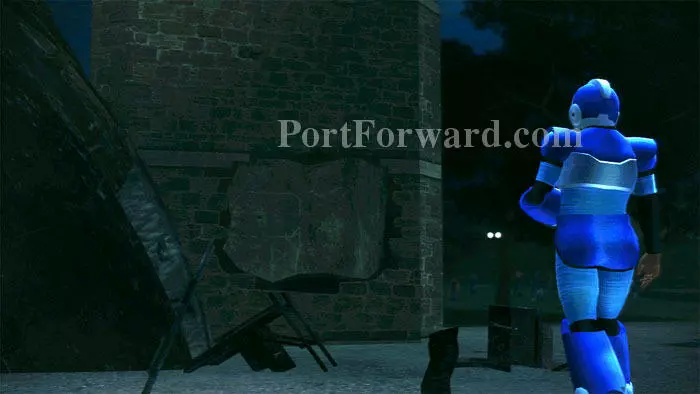
Exit to Leisure Park and approach the clock tower to trigger a cutscene.

Hordes of zombies are in a cave beneath the tower.
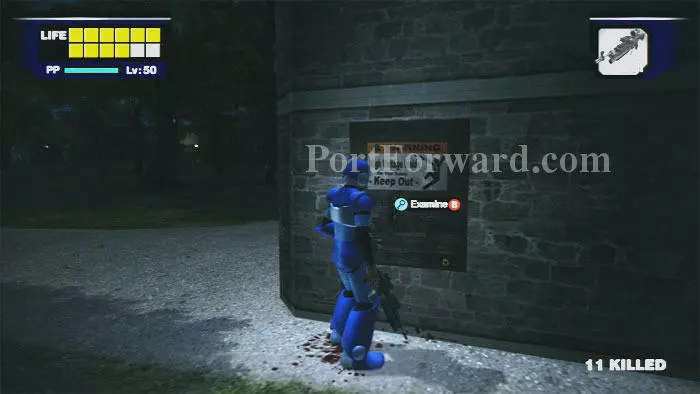
The generator is found here.
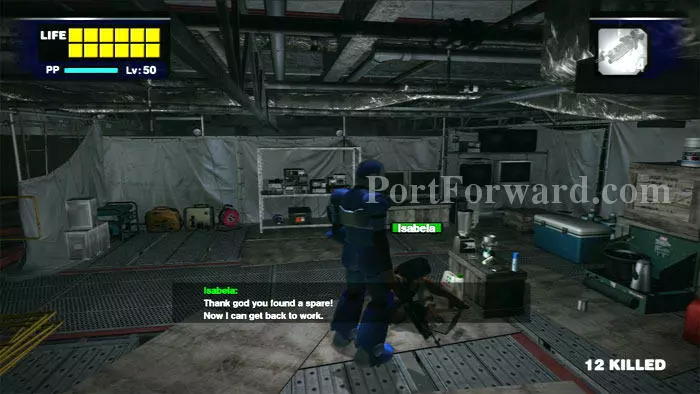
Return to Isabela and let her know you found the generator.
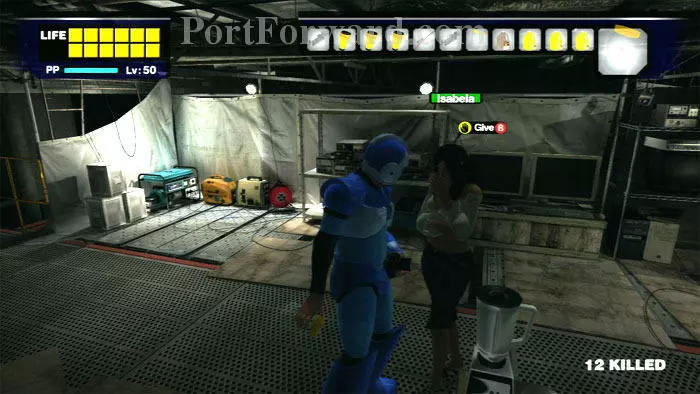
Give Isabela any Queens you have. Select the Queen in your inventory, approach Isabela and press "B" for "Give."
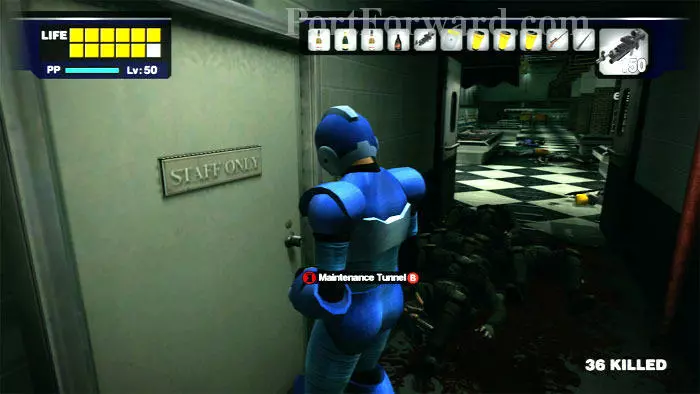
You'll need to give Isabela a total of ten Queens. Here's an easy way to get them fast. Run the short distance from the hideout to Seon's grocery. Use this door to access the Maintenance Tunnels. (This is also a good spot to ambush Special Forces -- note all the bodies on the floor.)
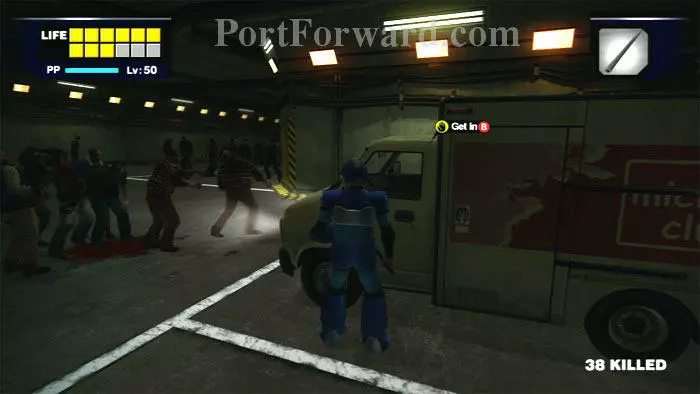
Head down to the garage and get in this truck.
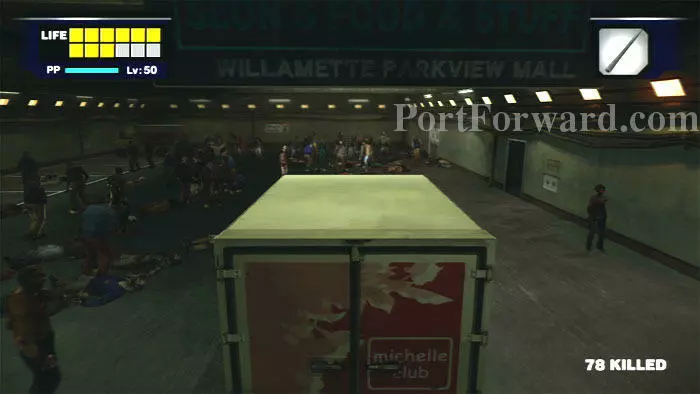
Ride around the immediate area and flatten all the zombies. Be sure not to venture outside this immediate zone or else the zombies will respawn and any Queens you've unleashed will disappear.
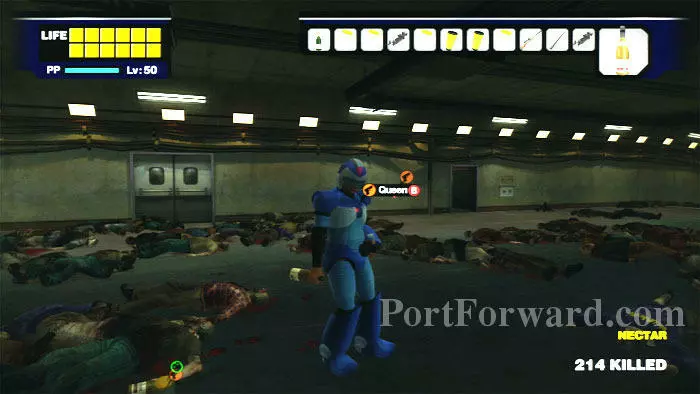
Exit the truck once the area is safe. If you followed my earlier suggestion, you'll have some Nectar with you. Drink it and any Queens in the area will fly to you.
You'll need to make several runs to give Isabela all 10 Queens. Her motorcycle just outside Seon's makes it easy to speed past the Special Forces.
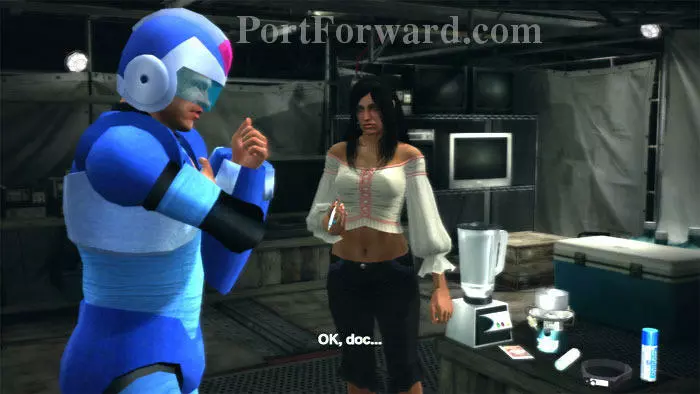
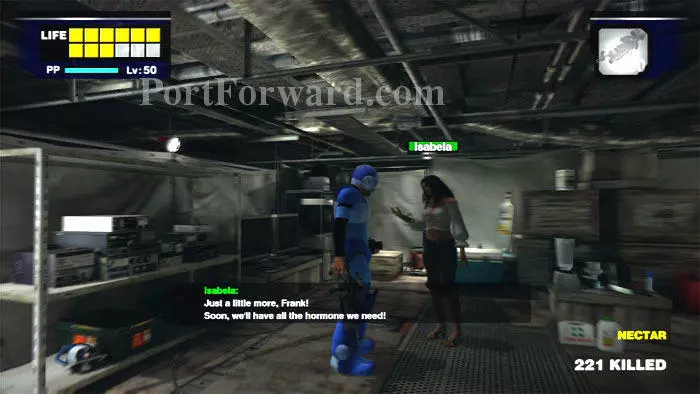
Once Isabela has all 10 Queens, this cutscene plays.
In addition to synthesizing the vaccine for Frank, Isabella has created a new perfume for herself that repels the zombies. Frank hopes that this new perfume will allow them to walk through the zombie horde beneath the clock tower.
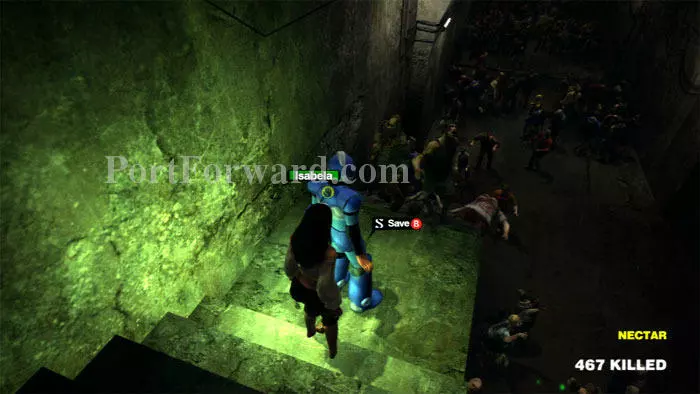
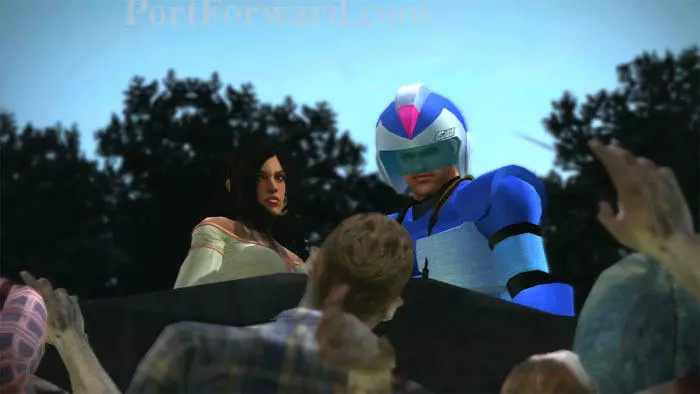
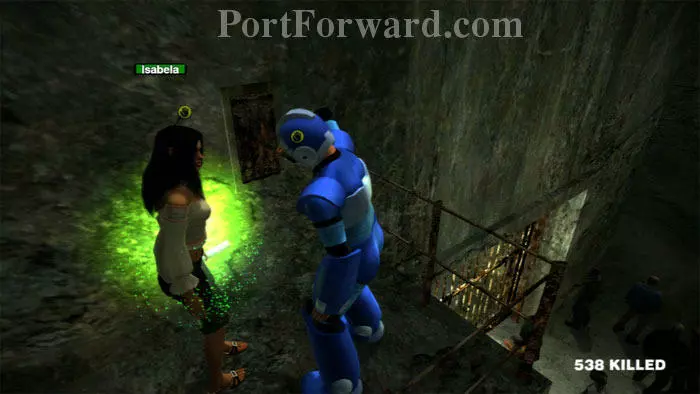
Enter the cave beneath the clock tower and save your game.
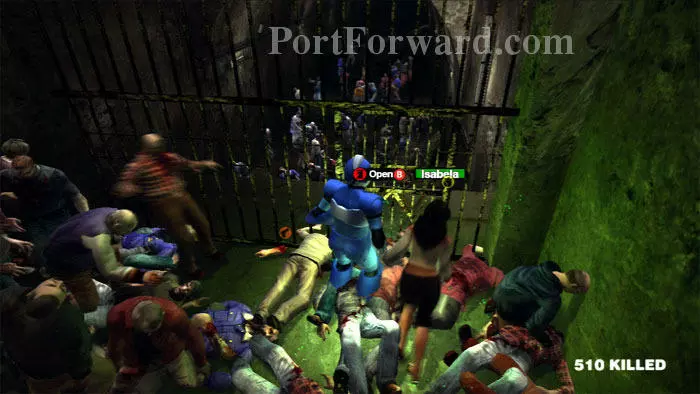
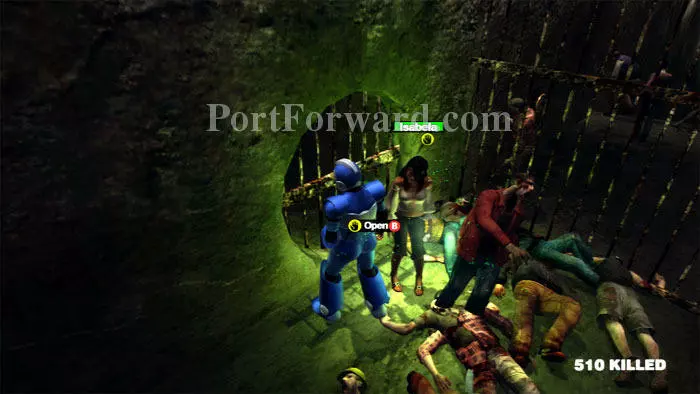
Hold Isabela's hand and you'll be protected by her perfume. Head to the circular gate ahead/left.
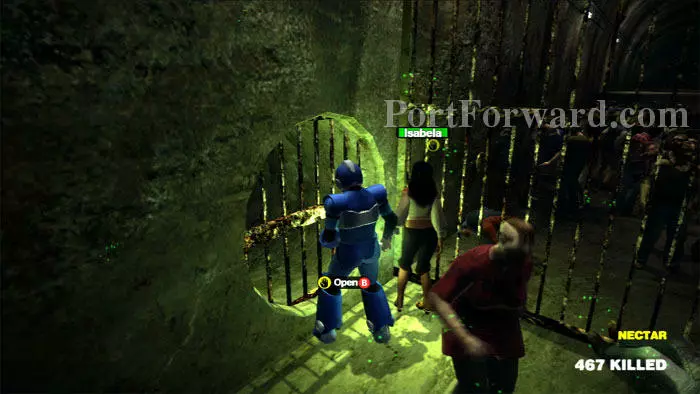
Press "B" and Isabela open's the grate.
Fend off the zombies while Isabella crawls through the grate and opens the gate.
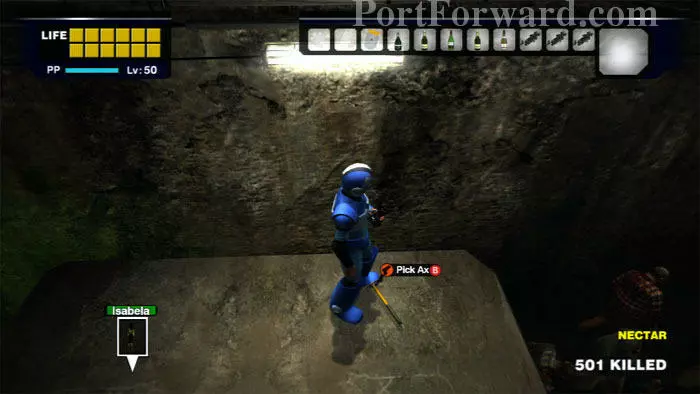
Hold Isabela's hand and climb this block to find a Pick Ax if you need a weapon.
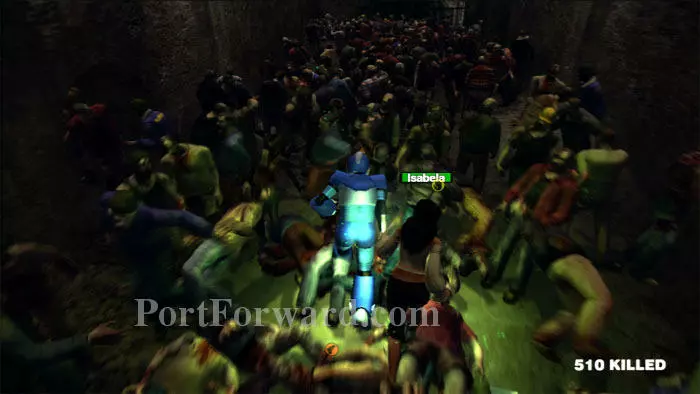
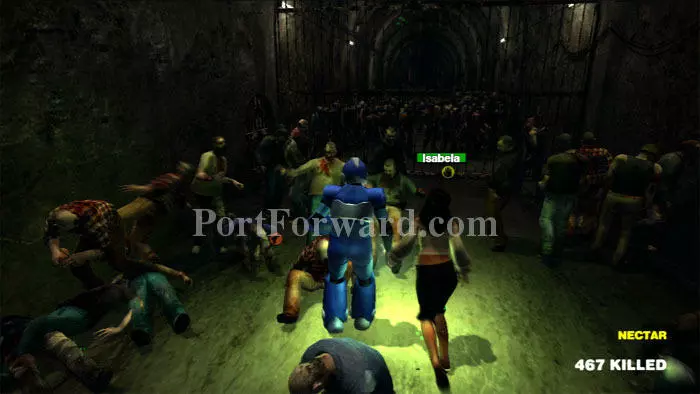
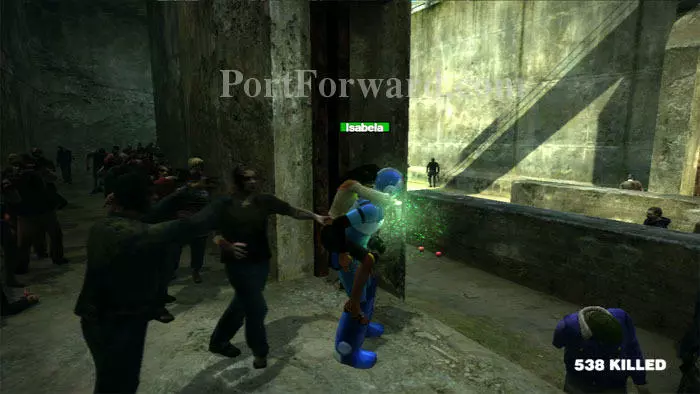
As you continue through the cave, you can go as quickly as you like, just make sure not to spin around, as you'll lose your grip on Isabela. Her perfume is the only thing stopping certain zombie death.
Open this door to load the next zone.
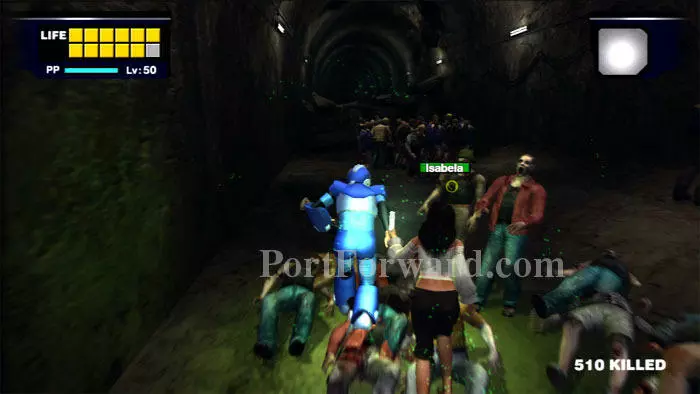
Continue holding Isabela's hand then climb over the rocks ahead/left.
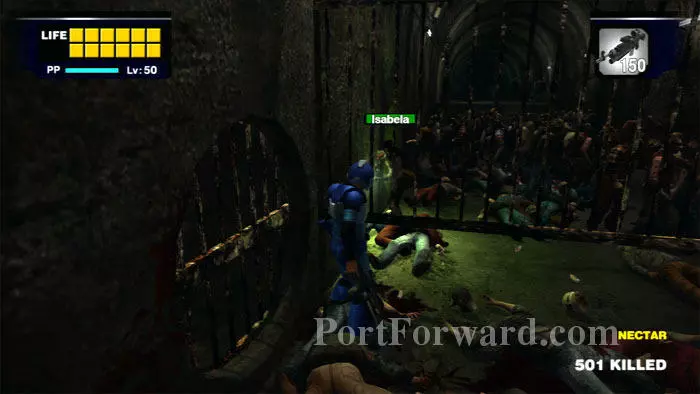
Run the gauntlet to this next grate. Again, open it and Isabela will open the gate on the right.
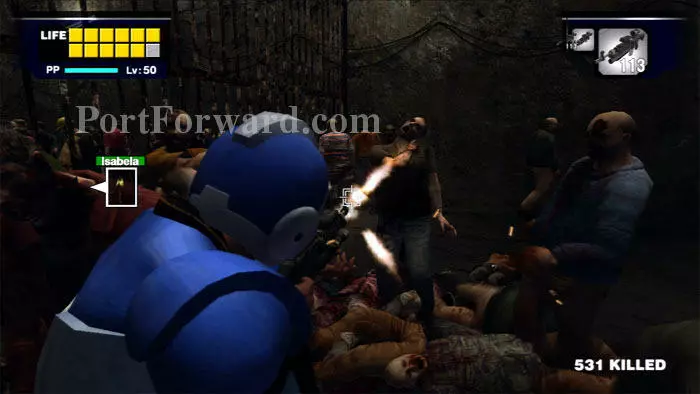
Special Ops machine guns work well to fend off the zombies while you wait for Isabela.

Run down the corridor to view this cutscene. Isabela's perfume is beginning to fade, and you'll need to carry her so its scent can cover you both.
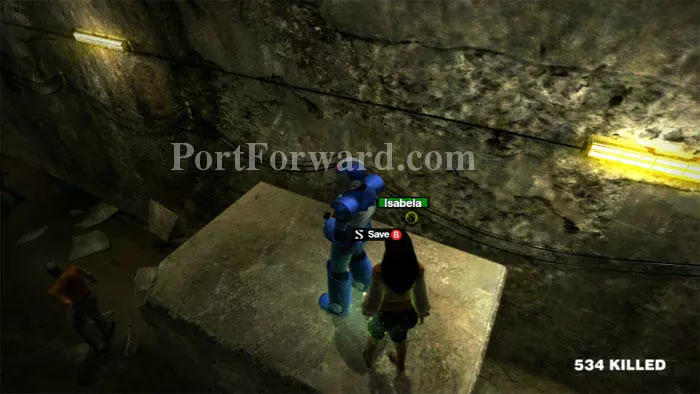
After the cutscene, you'll have a chance to save your game here at this block. Ready a weapon then jump down.
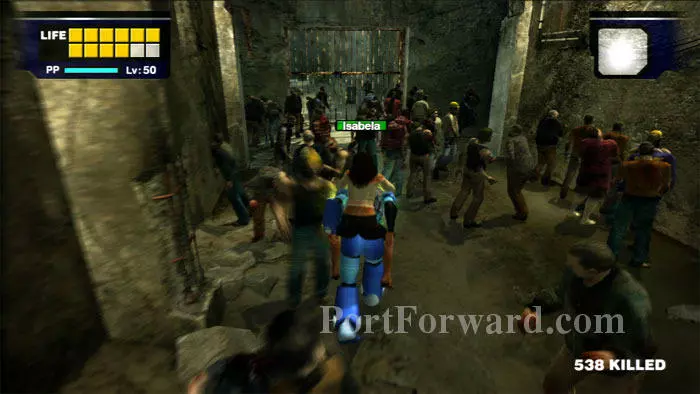
Clear a safe area around the block then carry Isabela to the left of the gate ahead.
Ascend the nearby stairs then pull this lever to raise the gates below.
There are three gates that have been raised. My preference is to avoid the guards by sneaking through this opening on the right. Note the apples ahead/left.
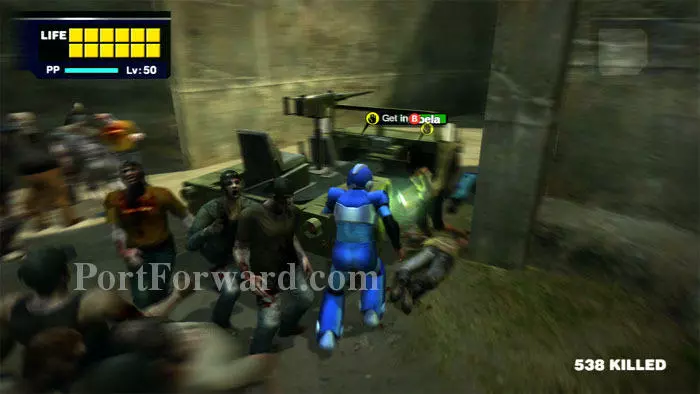
Find this Jeep a short distance on the right. Get in quickly to avoid the zombies.
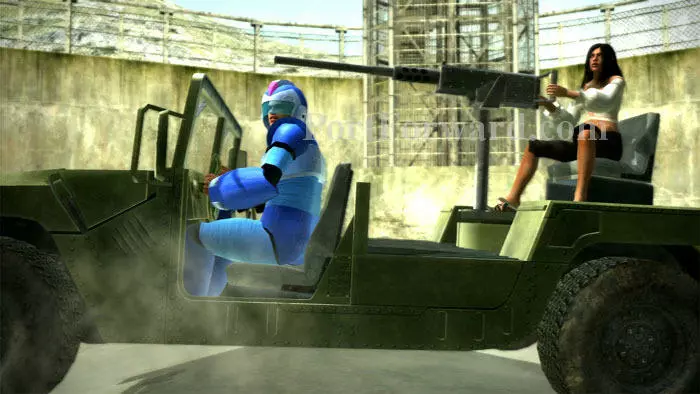
This cutscene plays. It's you and Isabela against - a tank!
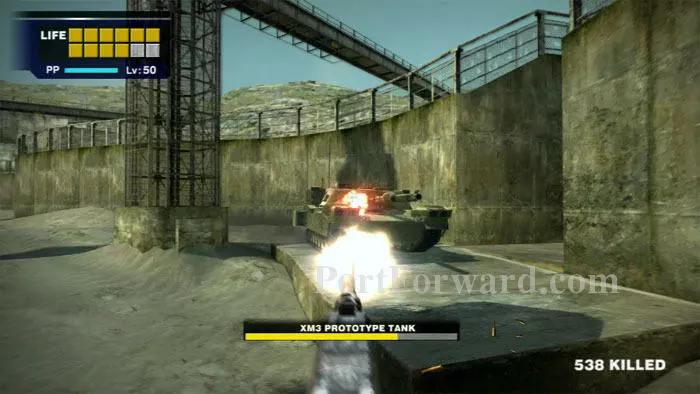
This shooting match is your next boss battle. Aim for the headlights and see flames shoot forth as the tank's health bar diminishes.
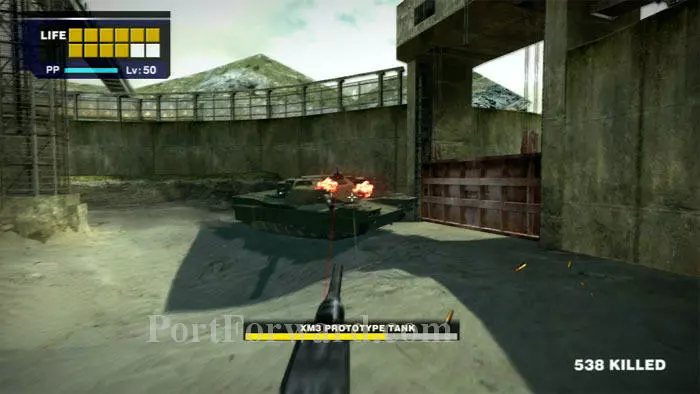
Periodically a laser sight will pop up from the tank. If you shoot it, the laser sight will simply descend back into the tank. Otherwise, the laser turns red as the tank locks onto you, and you will take damage. I found it best to focus on offense and keep aiming for the headlights.
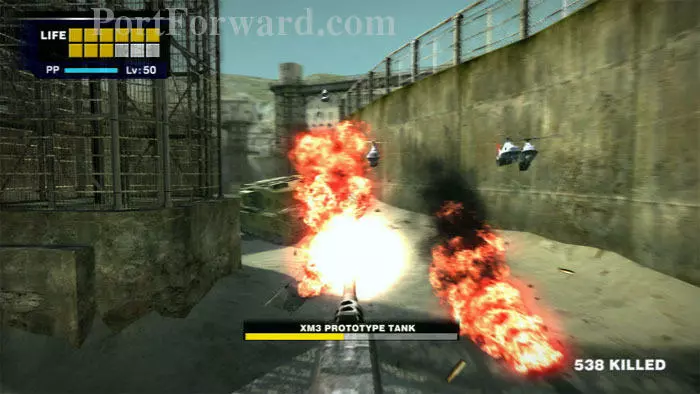
I have the same advice for these mini-choppers. If you keep firing at the tank's headlights, you'll diminish its health faster, and chances are you take out a large number of the choppers as they cross your fire.
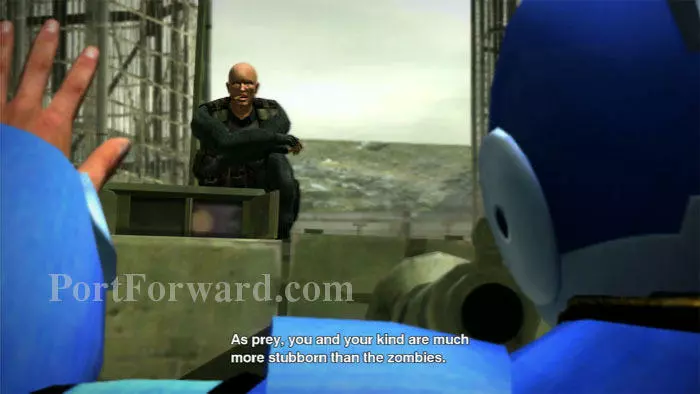
Deplete the tank's health and this cutscene plays. Time for your next boss, the military commander seen earlier in the mall.
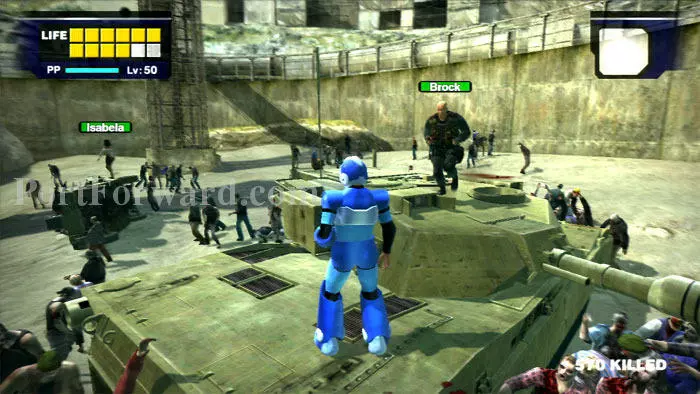
Brock is your final boss. You'll fight him on top of his tank. The best strategy is to pummel him with special moves while he's vulnerable, which he'll be as he moves from the turret to the lower level of the tank. Stay off the turret to lure him down.
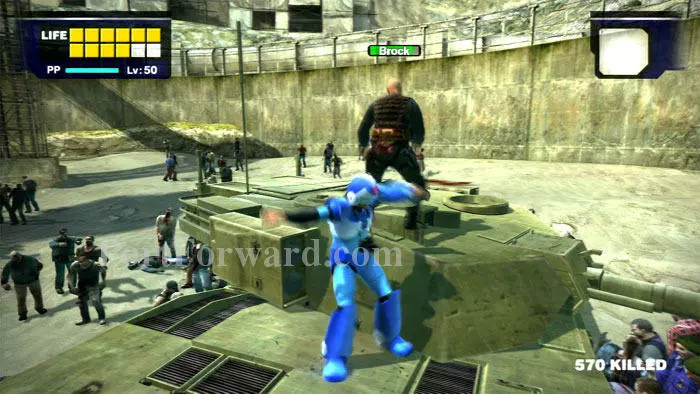
My favorite move for this is the Double Lariat. Hold down the left stick while pressing "X".
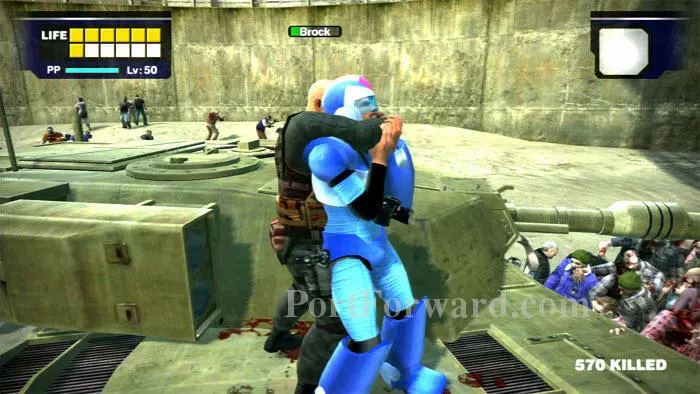
You want to avoid Brock getting you in this head lock. Rock the left stick back and forth to work yourself free when this happens.

Deplete Brock's health and this cutscene plays. Congratulations, you are about to witness the "True Ending."
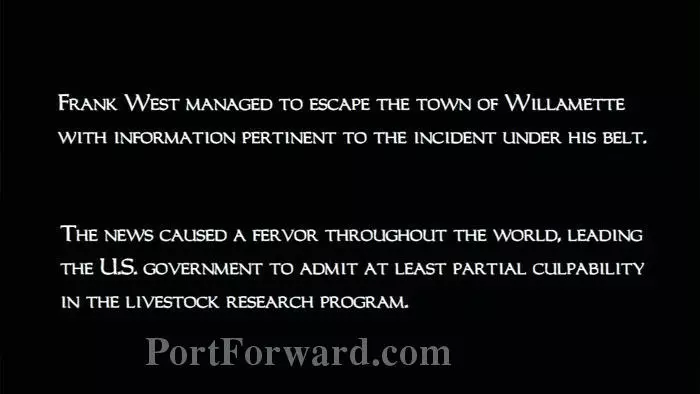
After the final credits you'll get the True Ending text. Frank escapes, the world learns of what actually happened...but the people really don't pay much attention. Congratulations, you've now reached the end of the story and unlocked Infinity Mode. And you're done with Dead Rising! I hope you enjoyed the game and I hope this walkthrough helped you guys. Game on!
More Dead Rising Walkthroughs
This Dead Rising walkthrough is divided into 9 total pages.


