James Bond Quantum of Solace Walkthrough Siena

September 12, 2016 (Last Updated: ) | Reading Time: 6 minutes

This James Bond Quantum of Solace walkthrough is divided into 16 total pages.

You can jump to nearby pages of the game using the links above.
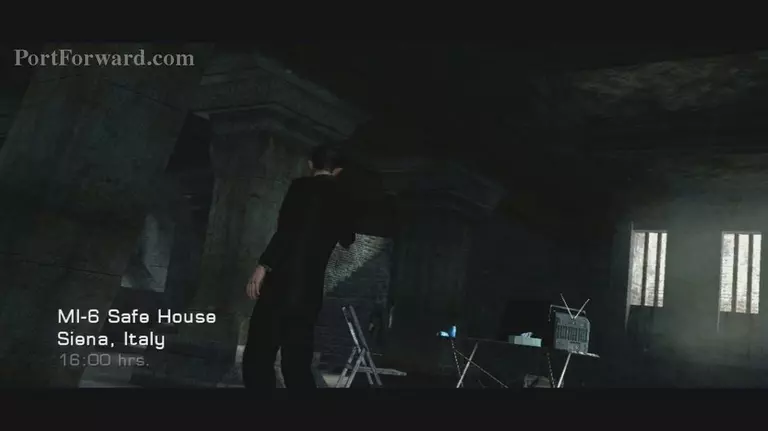
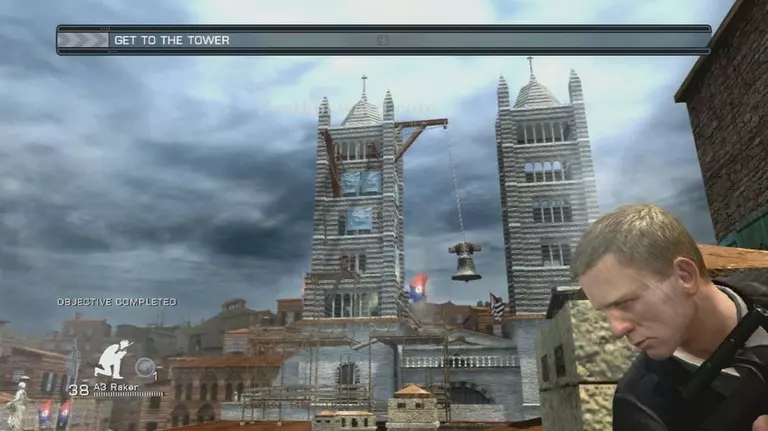
Siena

Mission 2. Siena A scene will play here to kick off Mission Siena

James Bond Quantum of Solace Walkthrough - James Bond-Quantum-of-Solace 45

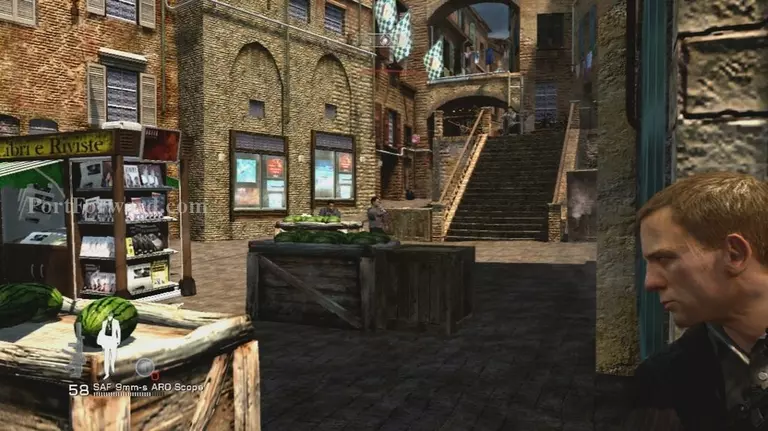
You will start behind cover here
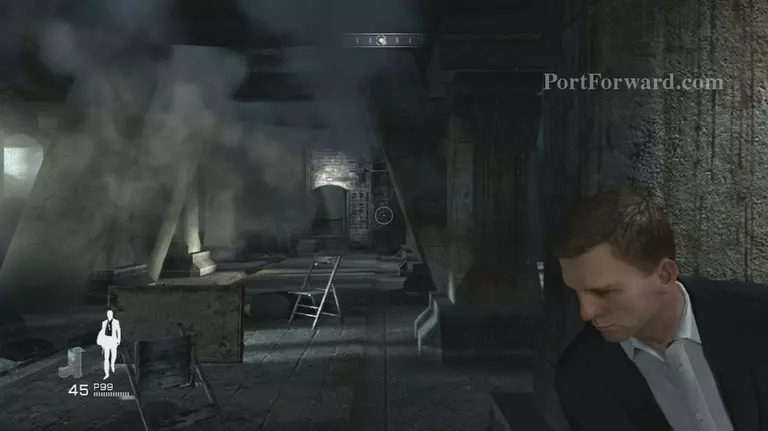
James Bond Quantum of Solace Walkthrough - James Bond-Quantum-of-Solace 46

You’ll need to follow the traitor

James Bond Quantum of Solace Walkthrough - James Bond-Quantum-of-Solace 47

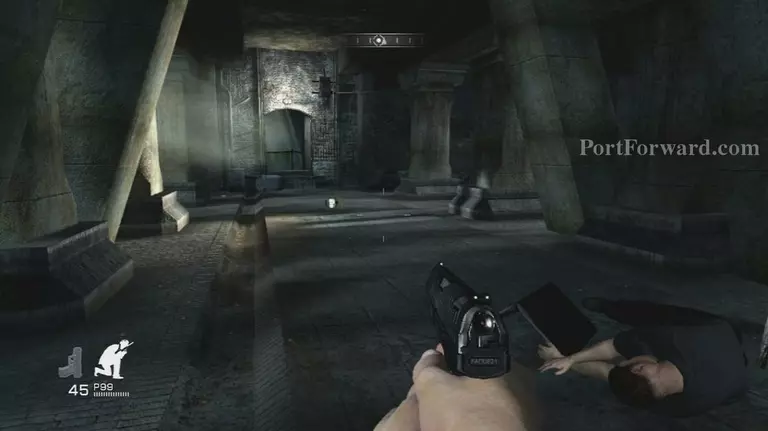
Soon you will come to a spiral staircase that is broken half way down just go ahead and fall off of it

James Bond Quantum of Solace Walkthrough - James Bond-Quantum-of-Solace 48

At the bottom continue to follow Mitchell

James Bond Quantum of Solace Walkthrough - James Bond-Quantum-of-Solace 49

He’ll take a few shots at you, then just run away

James Bond Quantum of Solace Walkthrough - James Bond-Quantum-of-Solace 50

There will be a guard on the left side inside one of the alcoves so be prepared and take him out

James Bond Quantum of Solace Walkthrough - James Bond-Quantum-of-Solace 51

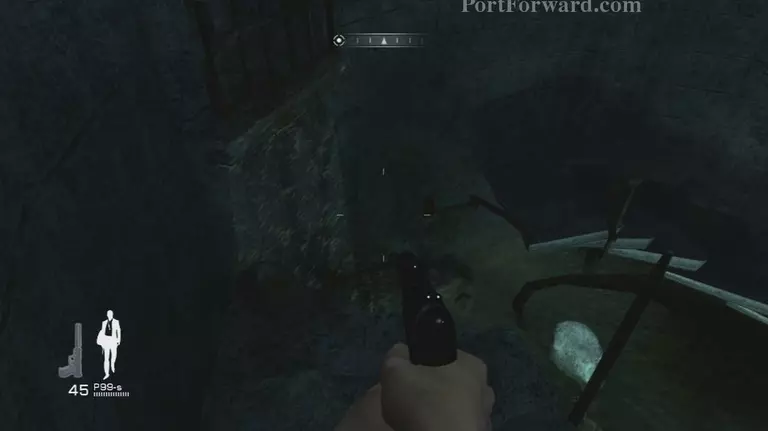
Continue to follow the path until you reach another drop point

James Bond Quantum of Solace Walkthrough - James Bond-Quantum-of-Solace 52

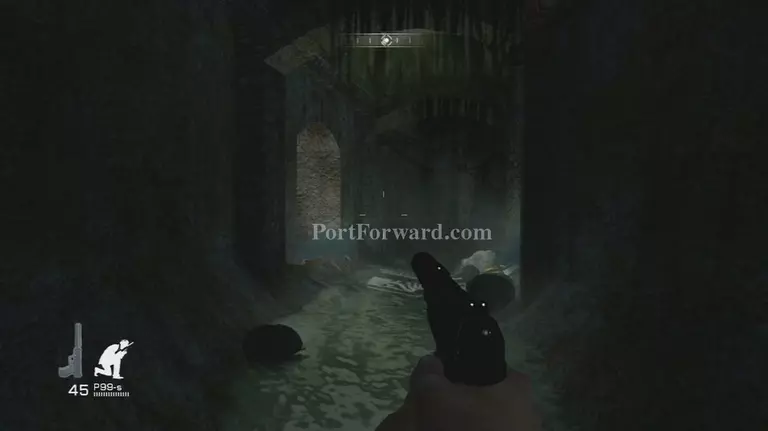
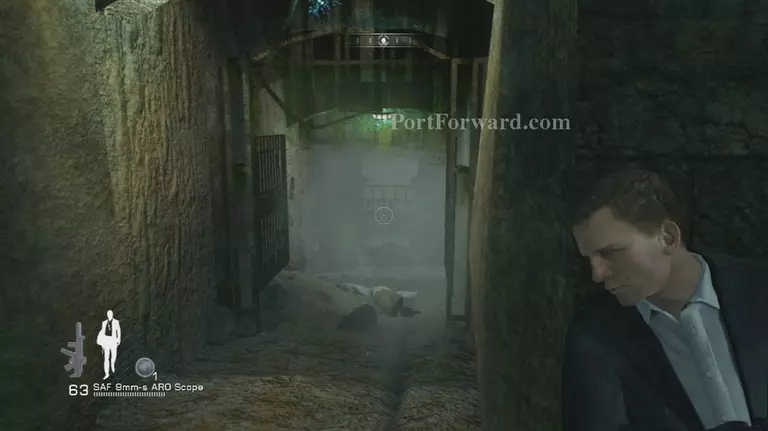
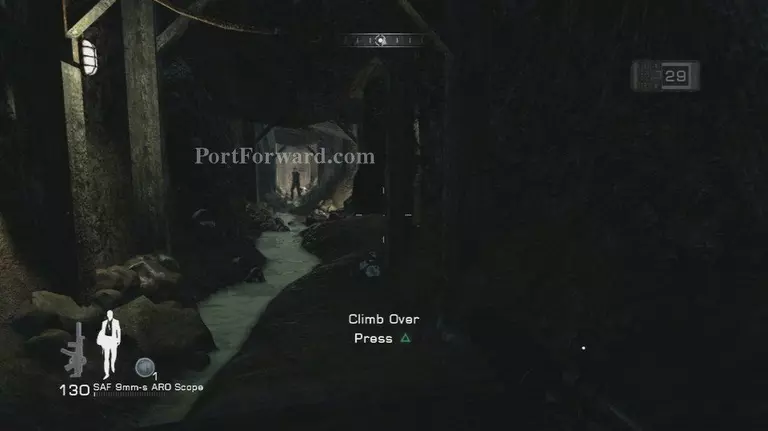
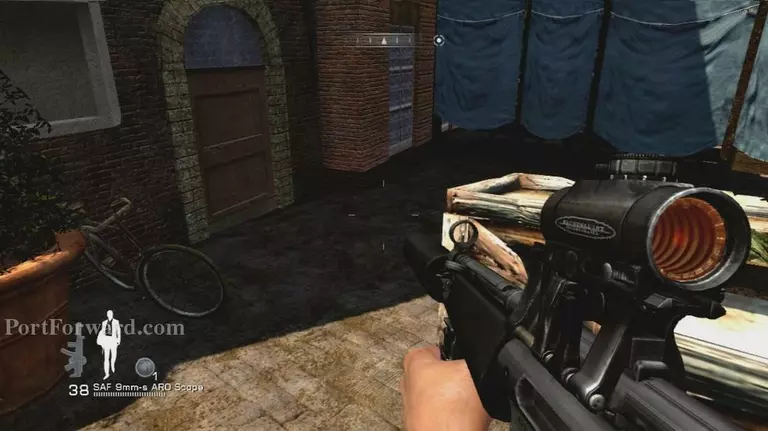
Drop down and crouch O Button and head into the tunnel to your right

James Bond Quantum of Solace Walkthrough - James Bond-Quantum-of-Solace 53

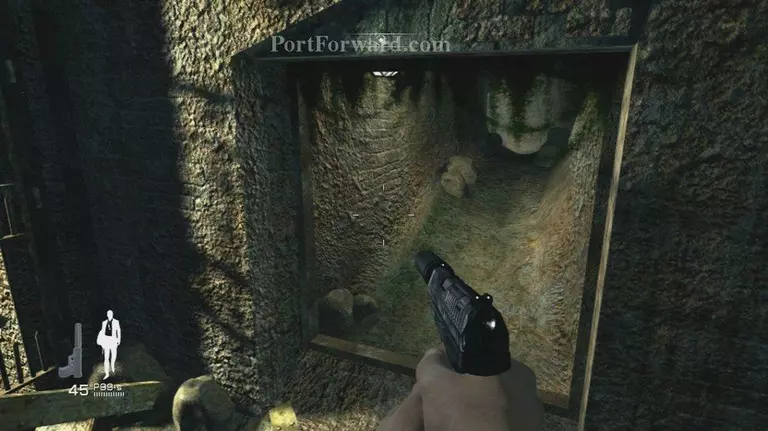
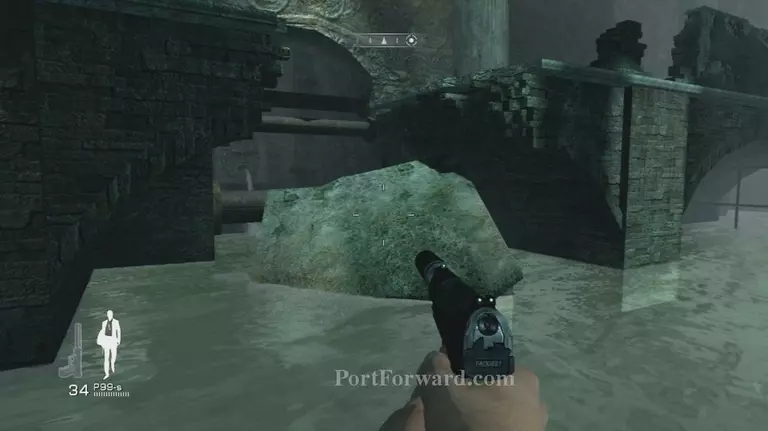
At the end will be a drop off drop down and take cover on the wall in front of you

James Bond Quantum of Solace Walkthrough - James Bond-Quantum-of-Solace 54

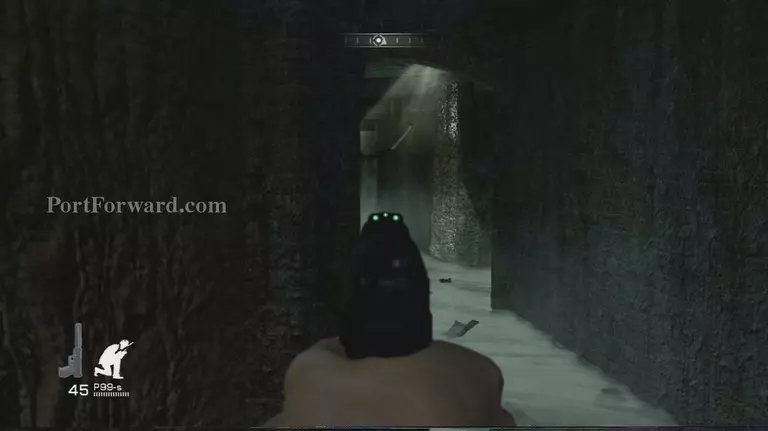
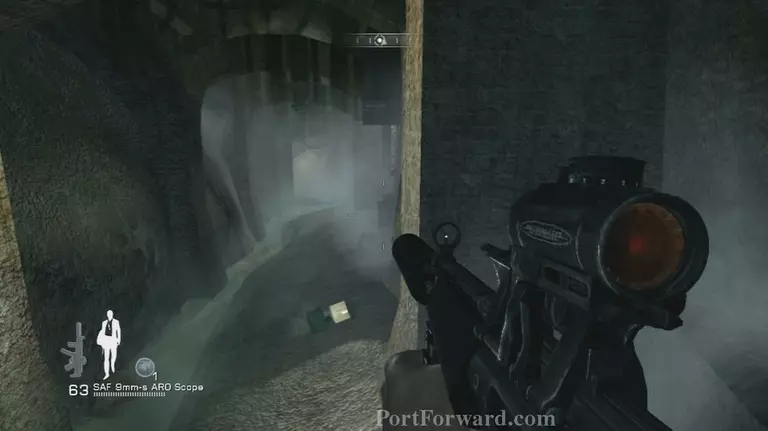
Now take out the guards blocking your progression (look for explosive objects)

James Bond Quantum of Solace Walkthrough - James Bond-Quantum-of-Solace 55

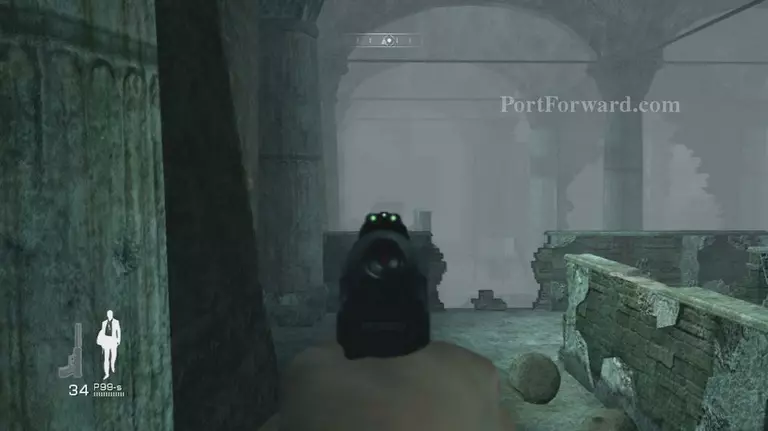
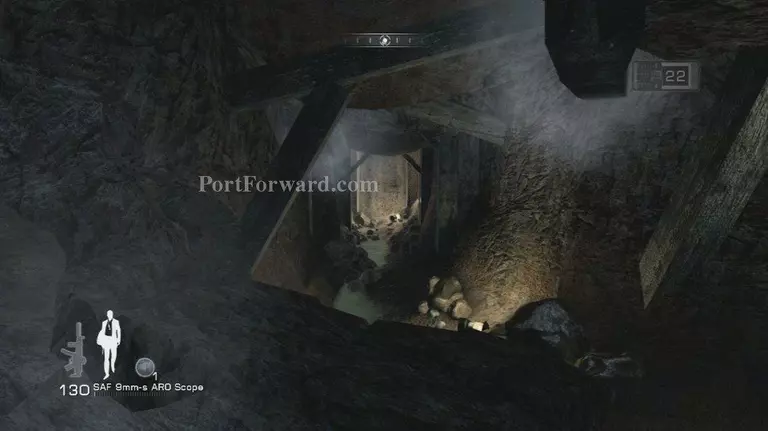
Once this room is clear head to this fallen piece of walkway

James Bond Quantum of Solace Walkthrough - James Bond-Quantum-of-Solace 56

And jump up it to the top, a guard will pop out down the way take him out

James Bond Quantum of Solace Walkthrough - James Bond-Quantum-of-Solace 57

After he is down more will come dispose of them properly

James Bond Quantum of Solace Walkthrough - James Bond-Quantum-of-Solace 58

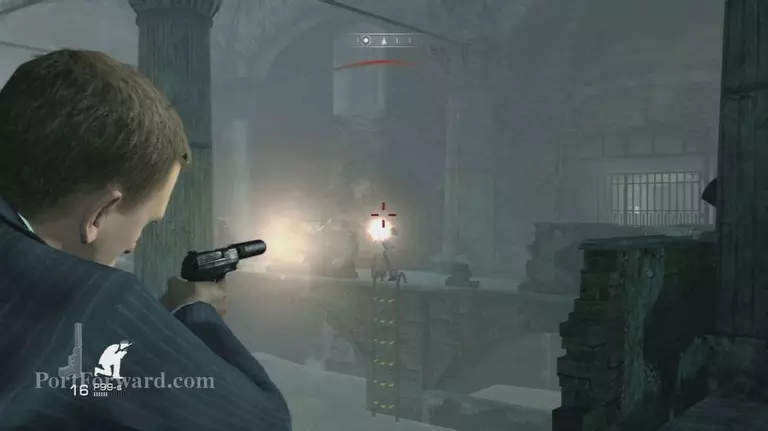
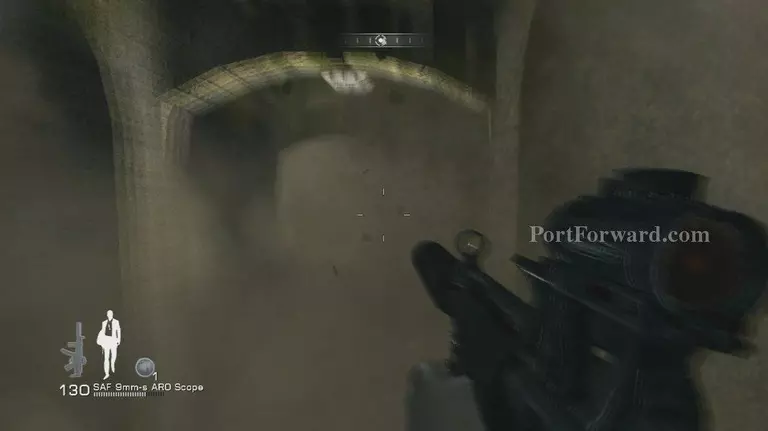
Soon a pop up will tell you that you need to destroy the gate so jump across to the other side of the walkway to your right

James Bond Quantum of Solace Walkthrough - James Bond-Quantum-of-Solace 59

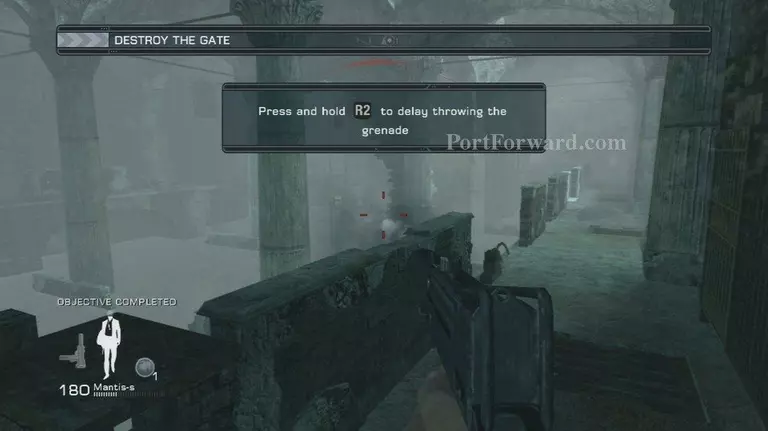
Then take aim at the generator and fire

James Bond Quantum of Solace Walkthrough - James Bond-Quantum-of-Solace 60

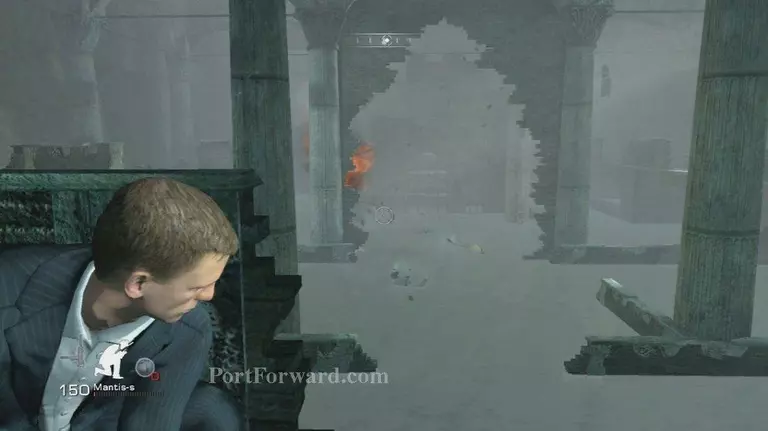
This will blow up a lot of stuff and kill almost all of the guards minus a few

James Bond Quantum of Solace Walkthrough - James Bond-Quantum-of-Solace 61

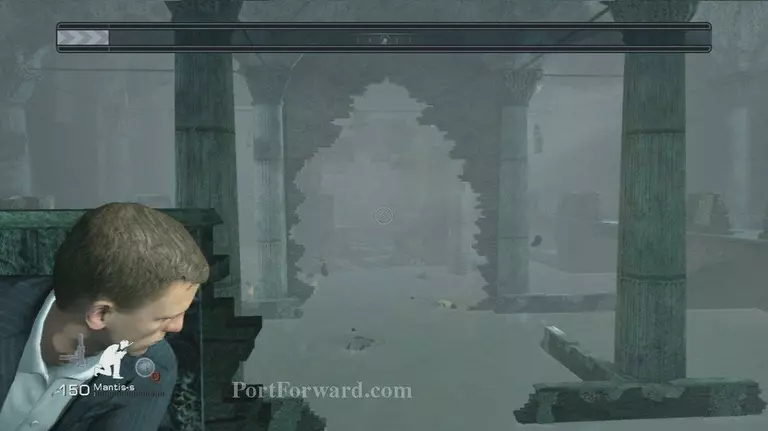
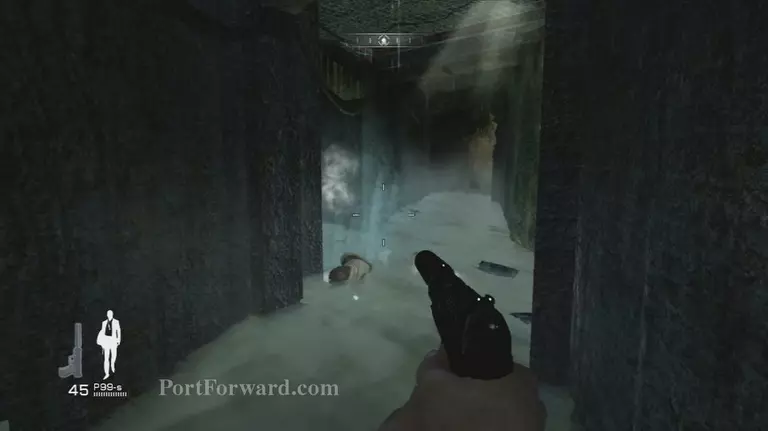
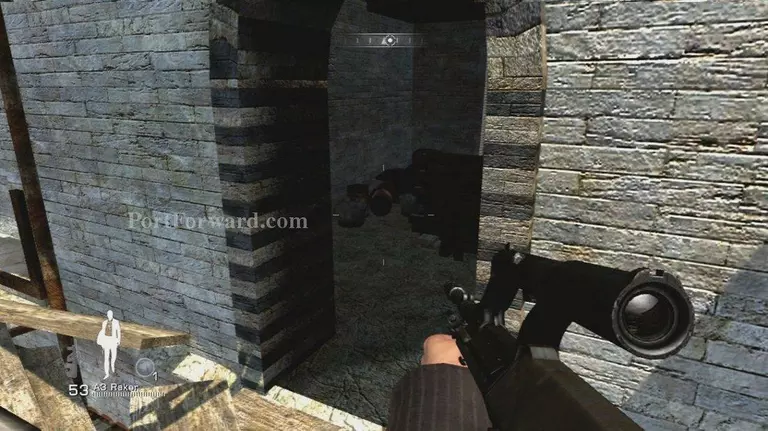
Clean the area up pick up any weapons you find and head for the blown up gate

James Bond Quantum of Solace Walkthrough - James Bond-Quantum-of-Solace 62

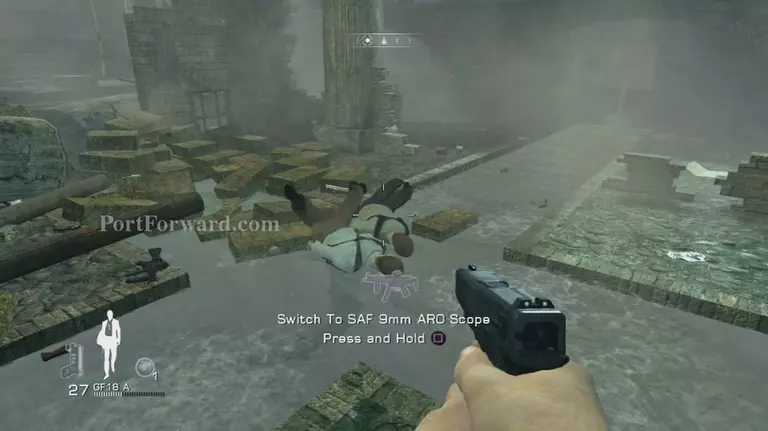
Once inside take cover on the wall and take out the guard that rushes you
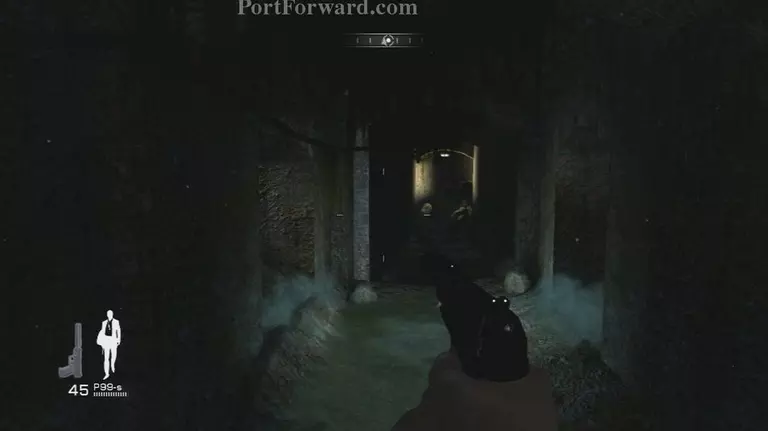
James Bond Quantum of Solace Walkthrough - James Bond-Quantum-of-Solace 63

Continue through the tunnel you’ll see Mitchell

James Bond Quantum of Solace Walkthrough - James Bond-Quantum-of-Solace 64

A few explosions will pop off

James Bond Quantum of Solace Walkthrough - James Bond-Quantum-of-Solace 65

Head straight down the tunnel a guard will be waiting by the way up dispose of him

James Bond Quantum of Solace Walkthrough - James Bond-Quantum-of-Solace 66

Now it is time for a Timed Escape Mission (it’s real easy don’t worry)

James Bond Quantum of Solace Walkthrough - James Bond-Quantum-of-Solace 67

Just run, jump and duck to get through here you have 30 seconds so you should be fine even if you get caught up

James Bond Quantum of Solace Walkthrough - James Bond-Quantum-of-Solace 68

A scene will play here, you start out behind cover

James Bond Quantum of Solace Walkthrough - James Bond-Quantum-of-Solace 69

Run up to the corner and take cover

James Bond Quantum of Solace Walkthrough - James Bond-Quantum-of-Solace 70

A slew of guards to take care of

James Bond Quantum of Solace Walkthrough - James Bond-Quantum-of-Solace 71

Now you have some choices 3 path’s but they all lead to the same place choose one

James Bond Quantum of Solace Walkthrough - James Bond-Quantum-of-Solace 72

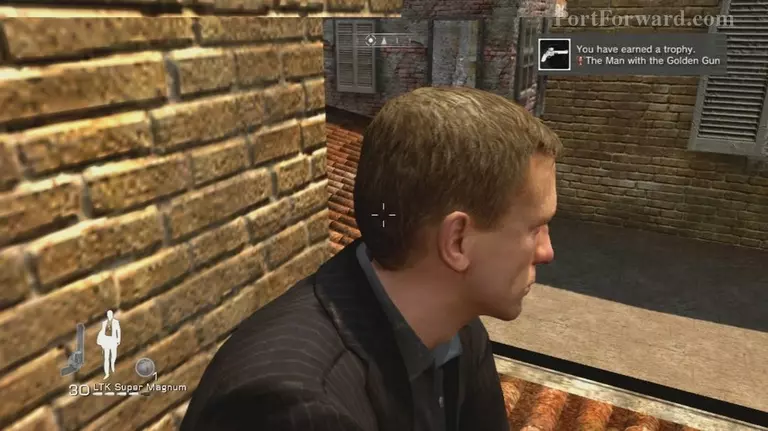
After you reach the building go up stairs

James Bond Quantum of Solace Walkthrough - James Bond-Quantum-of-Solace 73

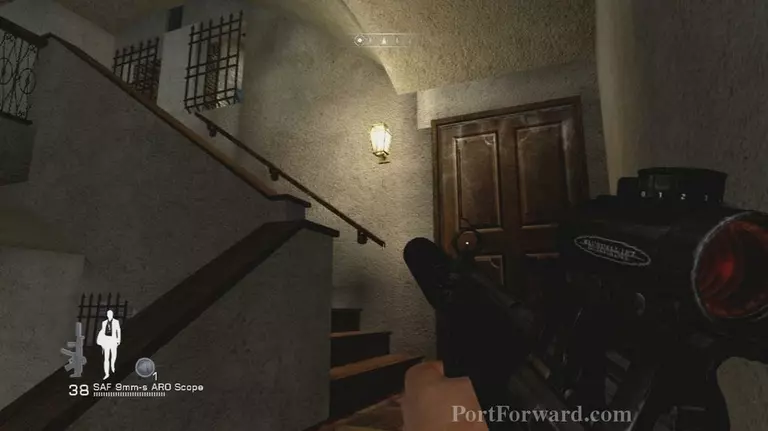
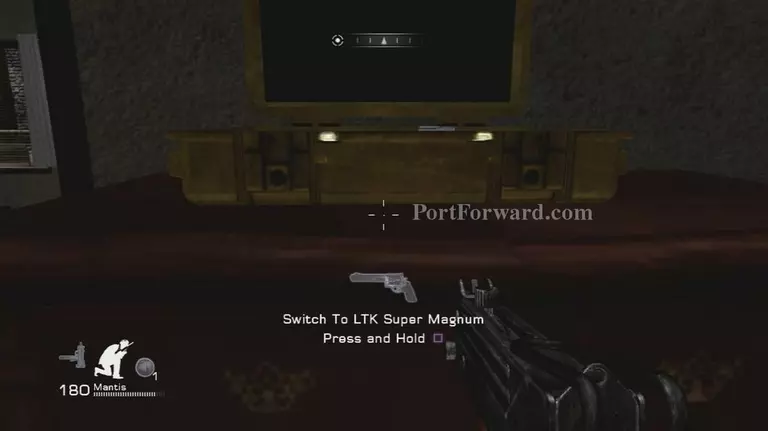
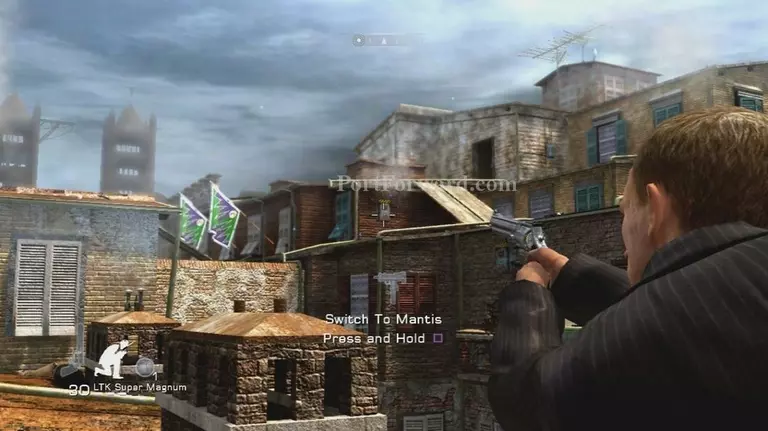
Keep going just around the wall is a case containing the Magnum

James Bond Quantum of Solace Walkthrough - James Bond-Quantum-of-Solace 74

Exit out the back and up the stairs following Mitchell
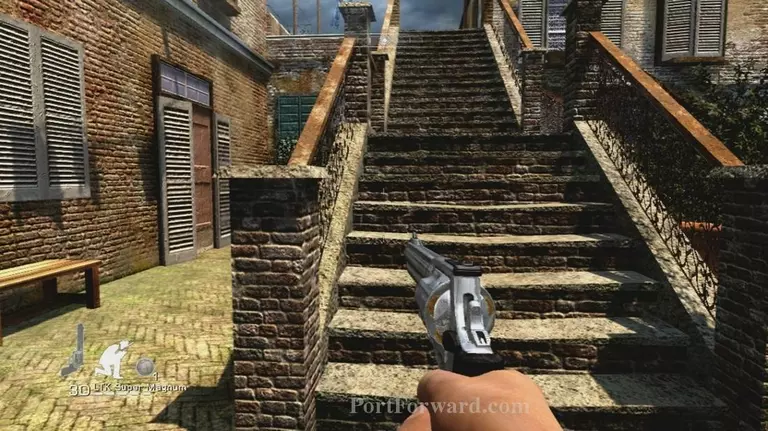
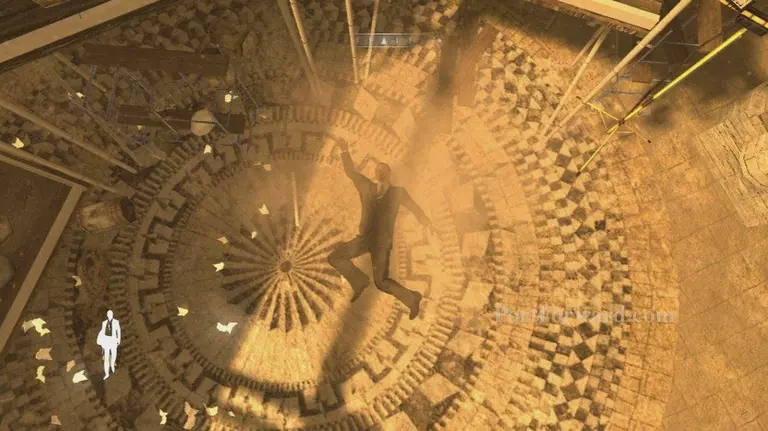
James Bond Quantum of Solace Walkthrough - James Bond-Quantum-of-Solace 75

At the top you’ll be prompted to Jump Triangle Button do as advised

James Bond Quantum of Solace Walkthrough - James Bond-Quantum-of-Solace 76

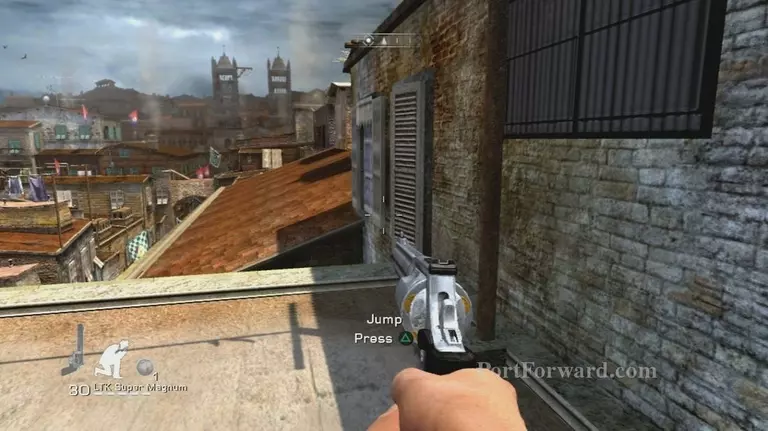
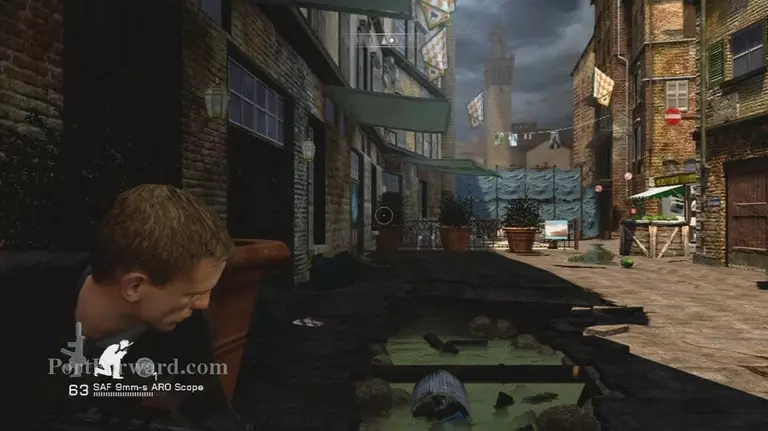
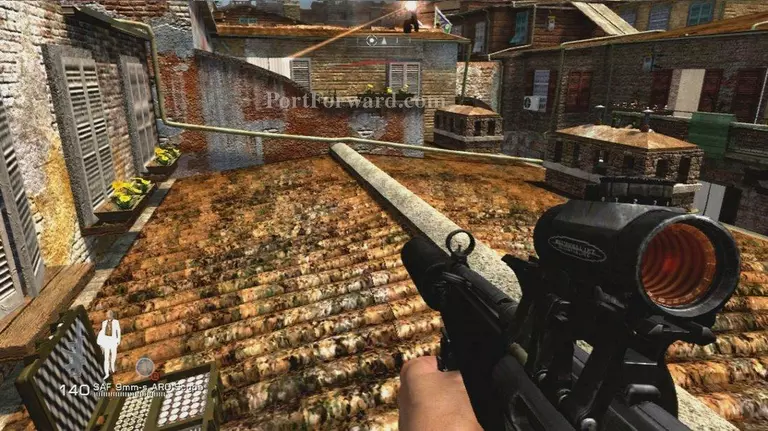
A scene will play showing you jump, after you have control head towards the cover here

James Bond Quantum of Solace Walkthrough - James Bond-Quantum-of-Solace 77

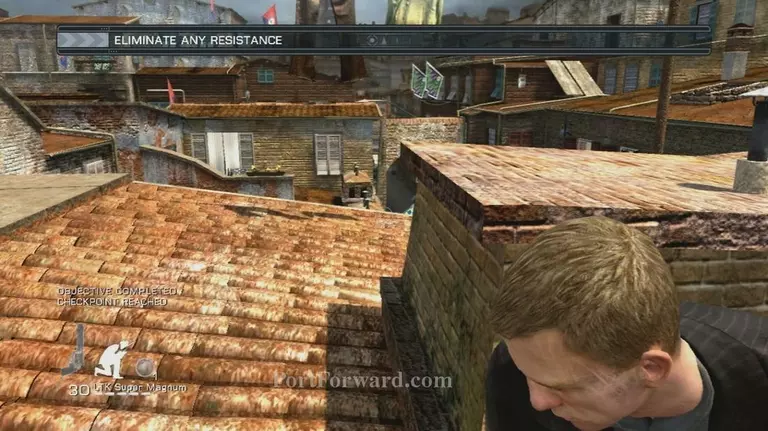
Lots of guards will come take them out accordingly

James Bond Quantum of Solace Walkthrough - James Bond-Quantum-of-Solace 78

And shoot the electric boxes you see

James Bond Quantum of Solace Walkthrough - James Bond-Quantum-of-Solace 79

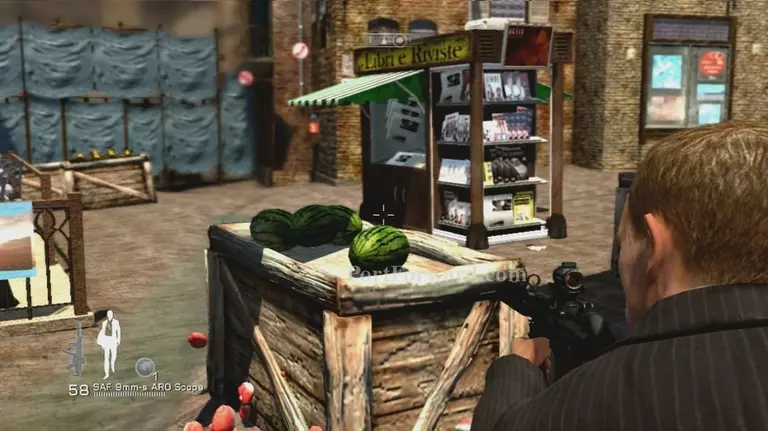
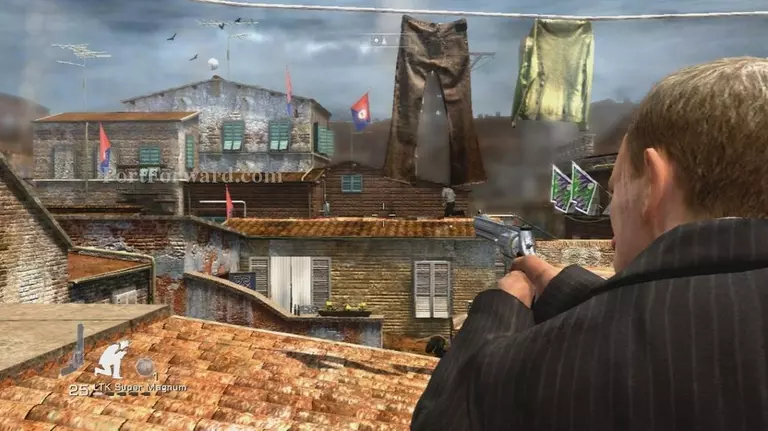
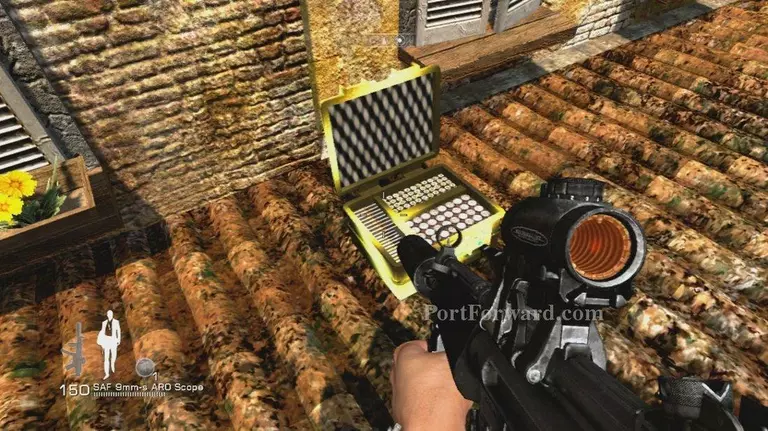
A second wave will show up as you advance down one level is a box of ammo head there

James Bond Quantum of Solace Walkthrough - James Bond-Quantum-of-Solace 80

Take out the remaining guards and shoot the electric box and head into the building on the left

James Bond Quantum of Solace Walkthrough - James Bond-Quantum-of-Solace 81

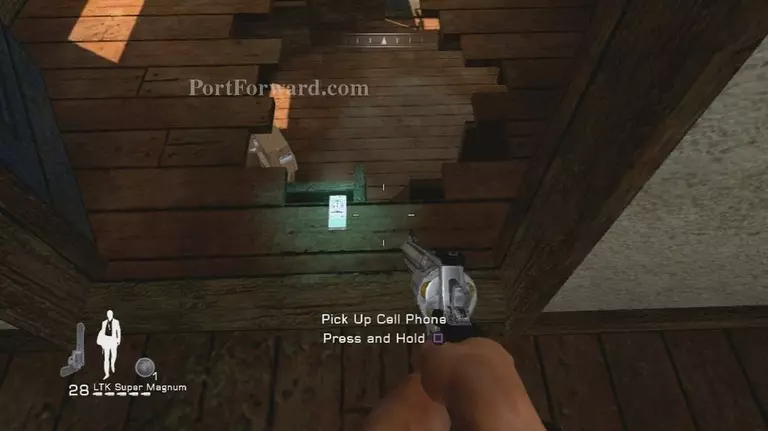
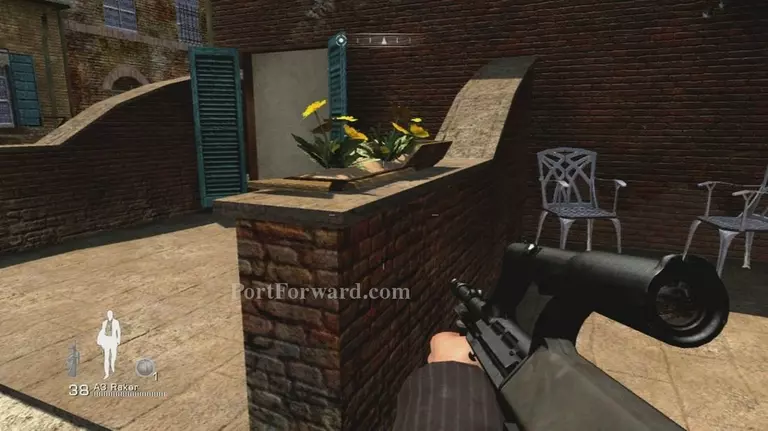
Pick up the cell phone on the ground here

James Bond Quantum of Solace Walkthrough - James Bond-Quantum-of-Solace 82

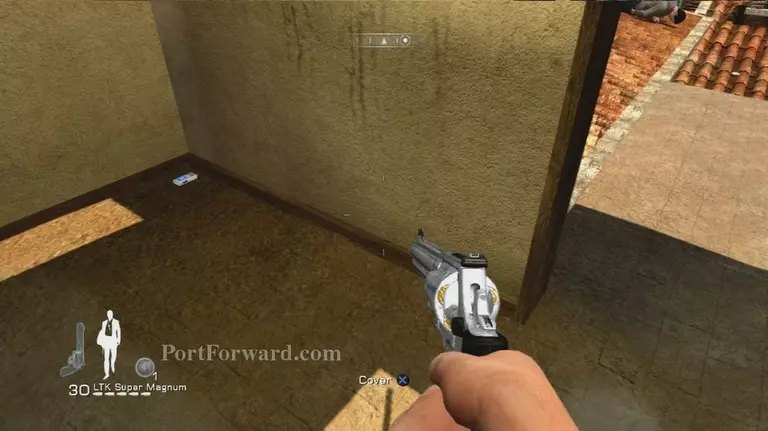
Then take cover and shoot the guards out the doorway

James Bond Quantum of Solace Walkthrough - James Bond-Quantum-of-Solace 83

Go back to the ammo crate before you jump across the roof to the balcony if you need ammo

James Bond Quantum of Solace Walkthrough - James Bond-Quantum-of-Solace 84

Once across head up stairs and pick up the cell phone

James Bond Quantum of Solace Walkthrough - James Bond-Quantum-of-Solace 85

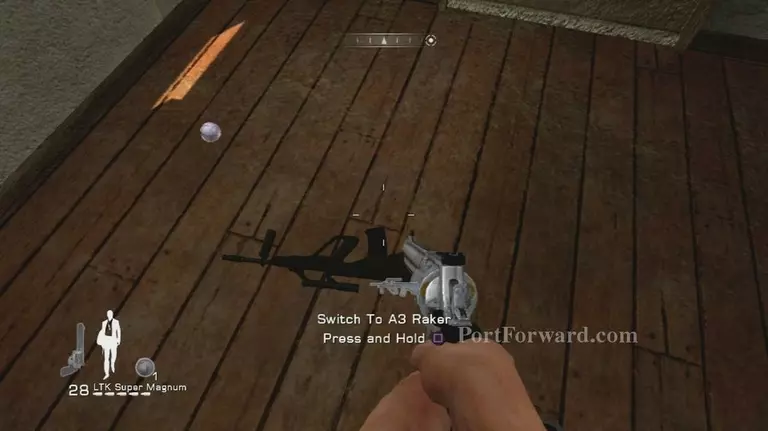
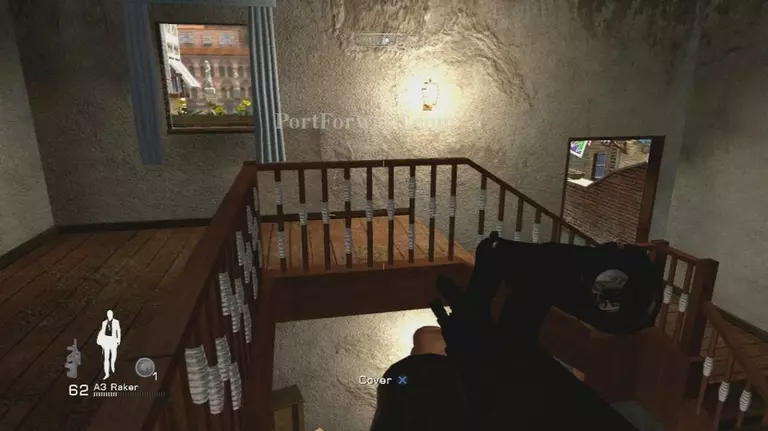
Avoid the hole in the floor and go pick up the A3 Raker by the window here

James Bond Quantum of Solace Walkthrough - James Bond-Quantum-of-Solace 86

Head back to the door you passed

James Bond Quantum of Solace Walkthrough - James Bond-Quantum-of-Solace 87

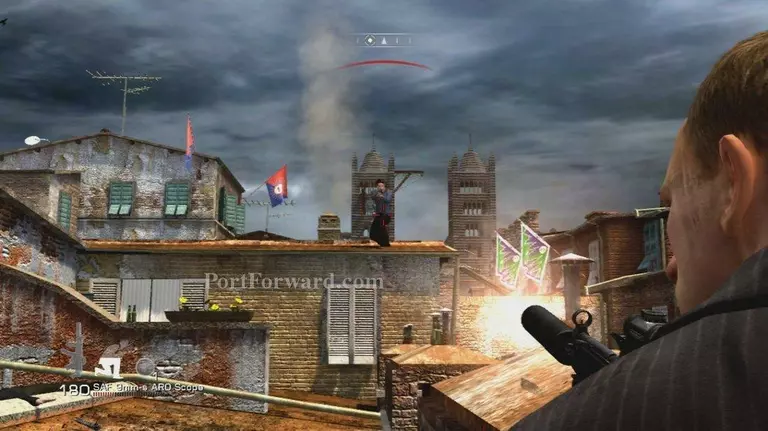
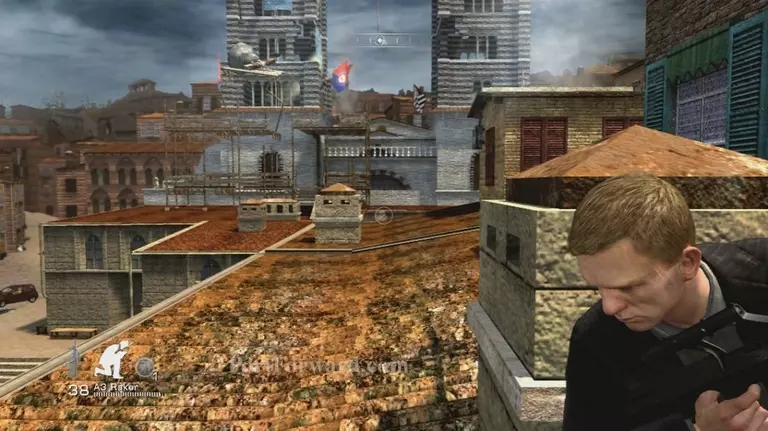
After it guards will snipe at you take them out

James Bond Quantum of Solace Walkthrough - James Bond-Quantum-of-Solace 88

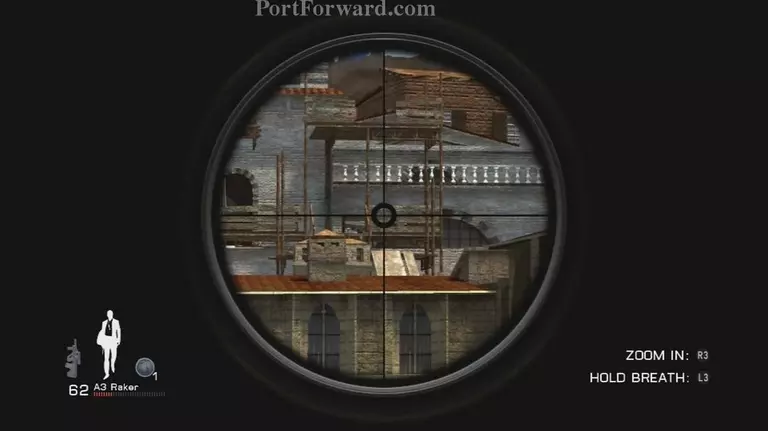
Once they are down head for the edge of the roof and jump down onto the school bus

James Bond Quantum of Solace Walkthrough - James Bond-Quantum-of-Solace 89

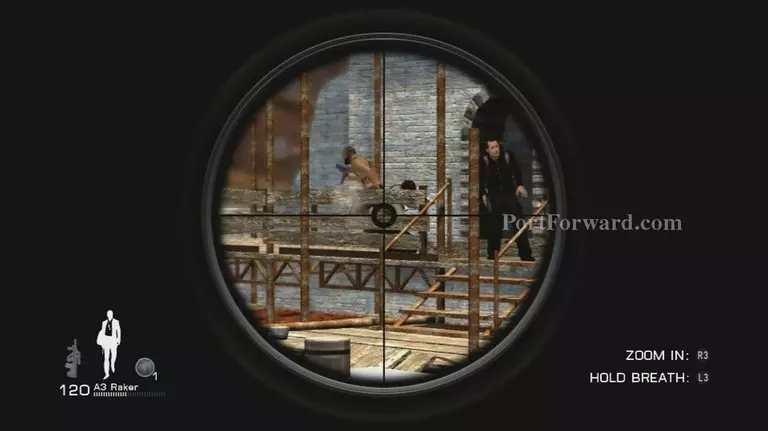
Climb up the pole on the other side

James Bond Quantum of Solace Walkthrough - James Bond-Quantum-of-Solace 90

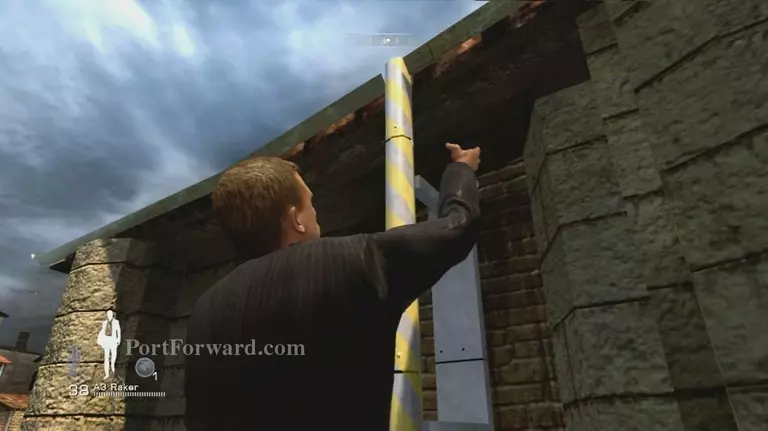
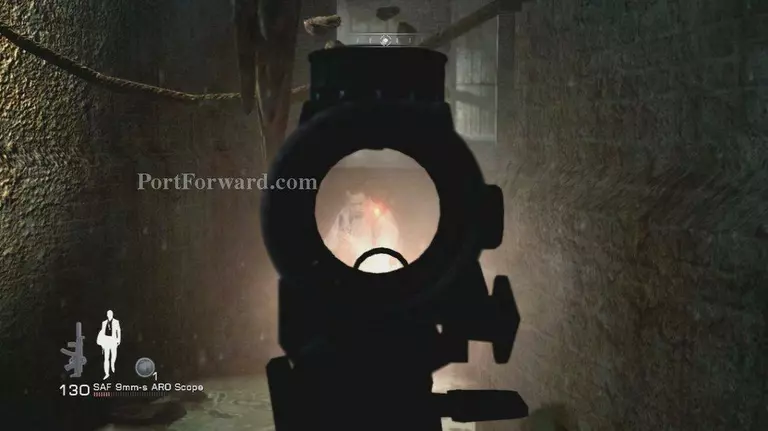
Instantly take cover here and snipe the rope holding the bell up

James Bond Quantum of Solace Walkthrough - James Bond-Quantum-of-Solace 91

This will kill the gunman and cause some chaos

James Bond Quantum of Solace Walkthrough - James Bond-Quantum-of-Solace 92

Advance and more will come deal with them

James Bond Quantum of Solace Walkthrough - James Bond-Quantum-of-Solace 93

After they stop coming head for the door way by the busted down bell

James Bond Quantum of Solace Walkthrough - James Bond-Quantum-of-Solace 94

This will kick off a scene Half way through it a mini-game will pop off hit the correct buttons to win

James Bond Quantum of Solace Walkthrough - James Bond-Quantum-of-Solace 95

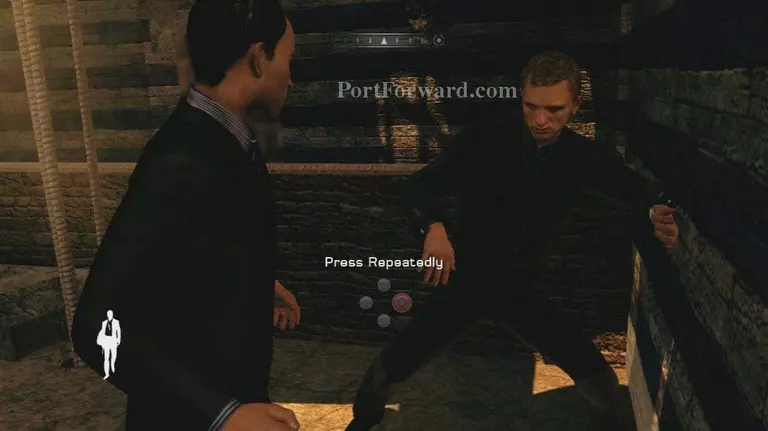
This will end Mission Siena

James Bond Quantum of Solace Walkthrough - James Bond-Quantum-of-Solace 96

More James Bond Quantum of Solace Walkthroughs

This James Bond Quantum of Solace walkthrough is divided into 16 total pages.

More From Portforward