This Lego Lord of the Rings walkthrough is divided into 28 total pages.
You can jump to nearby pages of the game using the links above.
Weathertop
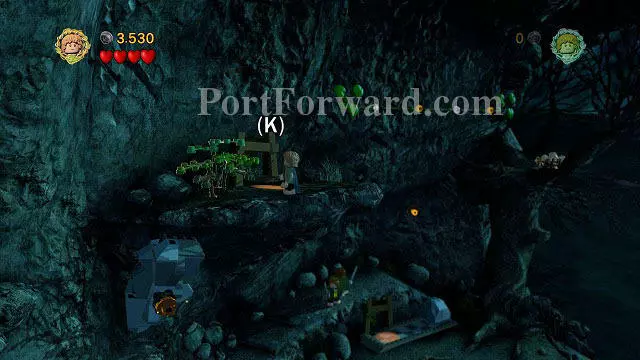
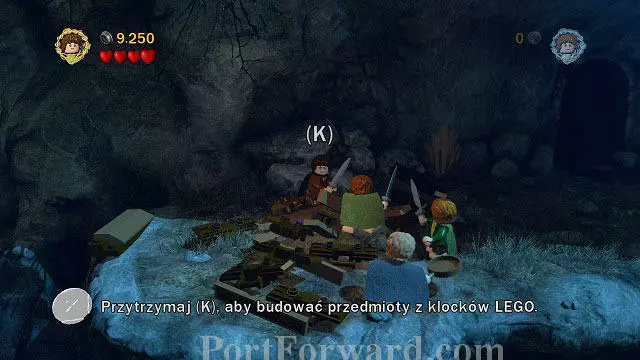
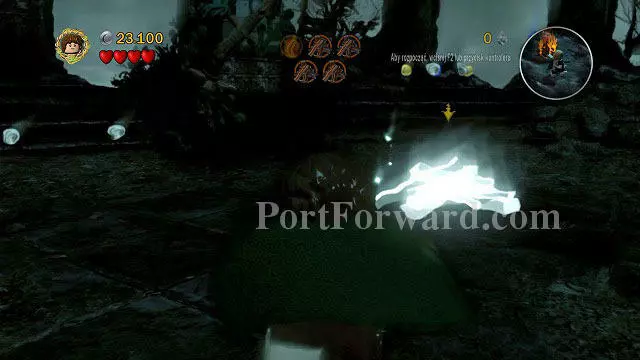
"Time for some dinner! You will have to use skills of all party members for that. The first step is starting a fire - you will need three pieces of wood for that. You can find them hidden below the shining bushes (visible in the lower part of the above screenshot) - just hit them a couple times and place the obtained wood in the designated spot. The second bush can be found above the bonfire. To reach the third bush, you will have to try a bit harder.
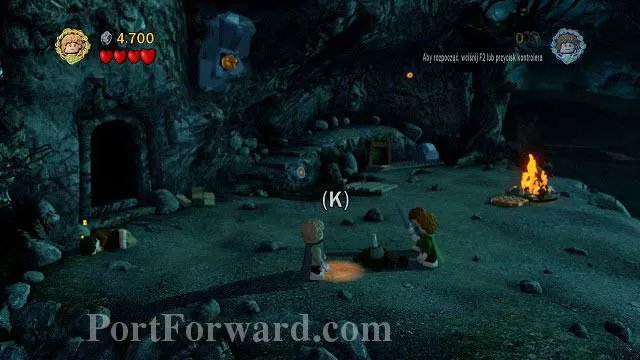
Now just hit the last bush a couple times and take the wood. You can also use the nearby rail and get to the bird nest - an egg will fall out of it, which is a port of the Hobbits' meal. Head back down and place all the wood pieces in the designated spot.
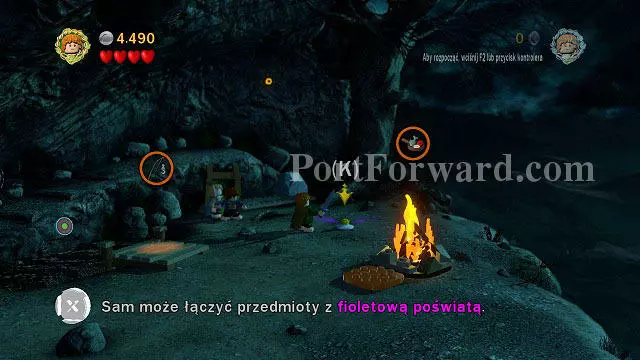
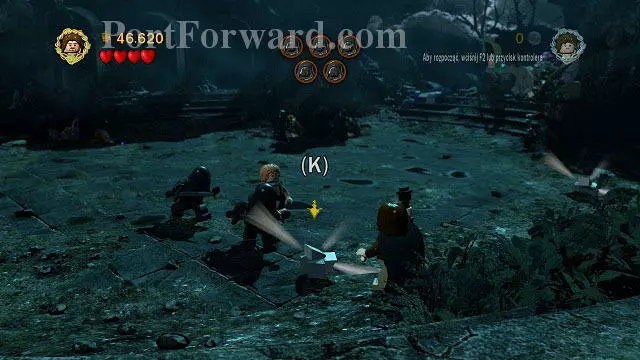
To start the fire, switch to Sam and press (K) while beside the wood. The Hobbits will take out a flint and start the fire. Remember about this skill as you will need it a few more times on the Weathertop. Now you will have to gather ingredients needed for a proper meal, once again with help of Sam's skills. This time you will have to combine items: just place the Hobbit beside the egg that you have knocked down before, press (K) and choose the frying pan to combine the items.
Now you have to obtain a fish and a tomato. As for the first ingredient, choose Merry and catch a fish using the fishing rod on the nearby bridge. The second one is a job for Sam: put the plant into the designated place, hit it a couple times and you will receive a ripe fruit. If you picked up one of the items with and improper character, just throw it to the ground with (K). To finish this mission, use the pan on the bonfire to prepare a meal.
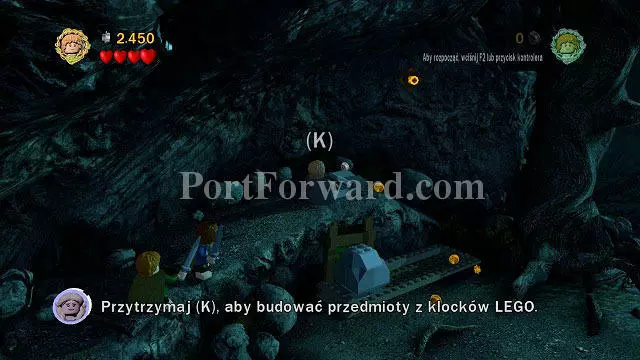
Time to reach the top of the hill. Save your game by the map stone and head further to the left - unfortunately the road will be blocked by a chasm. To cross it, you will have to collect various LEGO bricks by breaking up the nearby items. When you get enough of them, you will be able to hold down (K) to build a bridge.
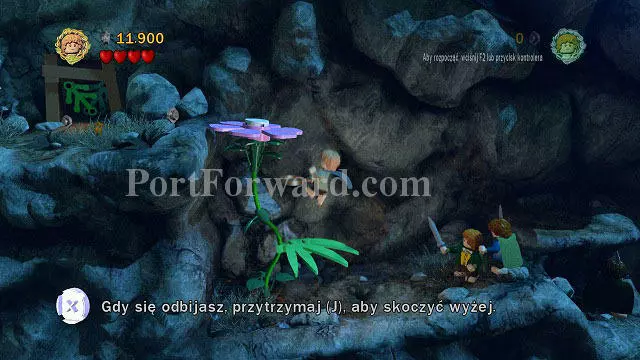
After crossing the chasm, Sam will have to place a plant thanks to which you will receive two stones. You can use them to knock down the two nearby bushes which will let you move onwards. Another plant placed by Sam will give you a big flower with a leaf which you can use as a spring-board. Just hold down the jump button (J) to jump higher. After reaching the ledge above, choose Sam and head inside the narrow tunnel. Below you will have to start a fire which will unlock the further path.

"After reaching another dead end, you should look out not to step on any thorns. You should use the rock stairs on the left and grab onto one of the vines. After choosing the next Hobbit, grab onto the other vine and build a bridge below with the LEGO tiles.
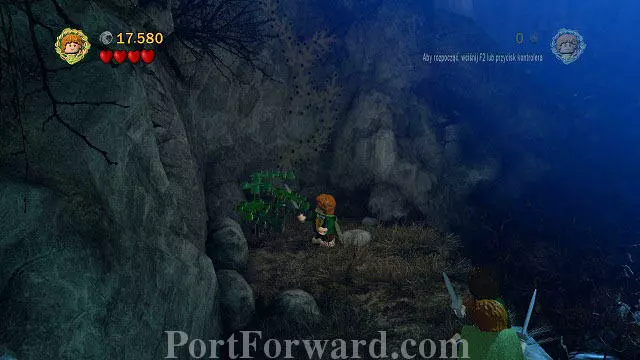
Another rock wall and another dead end. This time you just have to cut the nearby bushes, build a campfire from the branches and set fire which will burn the nearby leaves and unlock a further path. Move onwards while grabbing onto the rails until you reach a place where Sam can place a plant. After getting past the gulf by using the newly grown plant, you can head to the top of the hill - just climb the rock stairs in the background.

You will reach a location known as Amon Sul. This time you will have to fight off Nazguls in a direct fight. In the first part of the battle you will be in control of Sam and Frodo, who has put on his ring, thanks to which he can see otherwise invisible items built of phantom LEGO bricks. I'd recommend starting off by switching to Sam (U) and save your game with the stone in the northern part of the map.
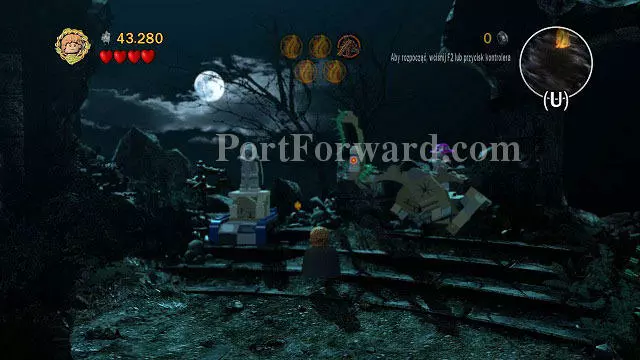
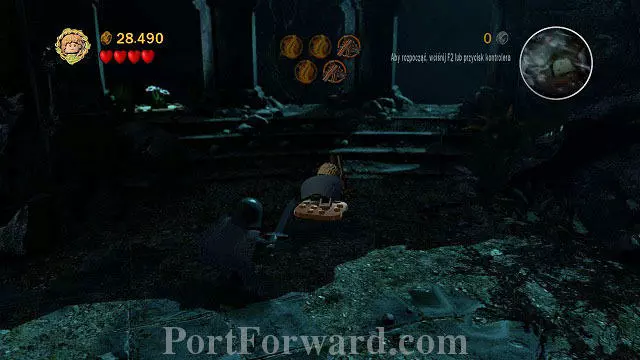
Your first task will be light five fires. For that, you will have to firstly gather five stacks of wood. The first can be found in the middle of the stage, whereas in order to start the second one you will have to destroy the carriage nearby the save stone. The third bonfire can be stated only after placing a plant in the left part of the location and then smashing it to pieces. To gather materials for the fourth one, you need to throw the statue from the pedestal (visible on the above screenshot). Unfortunately the bricks will be transparent so you will have to switch to Frodo (U) to use them.
The Hobbits won't have too much to do - you just need to use him to build a bonfire form the hallow LEGO bricks. Just approach them and hold down (K) for a while. There are two groups of materials which you need to work on: one of them - remains of the statue knocked down by Sam - is in the back part of the stage. The second pile is in the right side of the location and should easily notice it. If Nazguls happen to catch you, you need to free yourself by pressing (K). after building two bonfires, switch back to Sam.
This time you have to light the bonfires (K). Unfortunately the Nazguls will be constantly disturbing you in this and they will often destroy a lit bonfire, forcing you to create another once. To gain some time, you can move away from the pile which you want to light - Sauron's minion should follow you. When you draw the Nazgul away from the bonfire, run back to it, create a pile and light it. With five bonfires lit, the next part of the fight will begin.
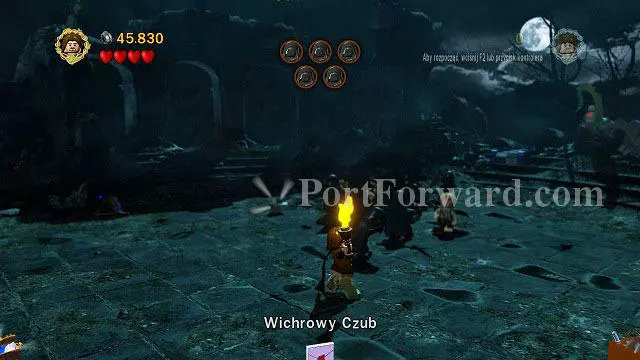
This time Aragorn will join the team. You will have to get rid of the Nazguls once and for all, which can be done by using the torch - hitting an enemy with it will eliminate him for good. You should hit the first enemy right at the beginning of the battle to gain some more place to maneuver. The next torch is in possession of Sam - switch to him and light another bonfire (it's visible in the left part of the above screenshot) and use it to set fire to a stick. Hit a Nazgul with it and there will be only three left.
You need to obtain new torches to eliminate the enemies. Use the rocks lying on the ground - pick one up and run around the location in search of a point which you need to throw it at to gain another torch. Afterwards you will have to set fire to it and attack a Nazgul. Repeat this two more times and a cinematic will start.
More Lego Lord of the Rings Walkthroughs
This Lego Lord of the Rings walkthrough is divided into 28 total pages.