
This Section 8 walkthrough is divided into 8 total pages.
You can jump to nearby pages of the game using the links above.
Black Box
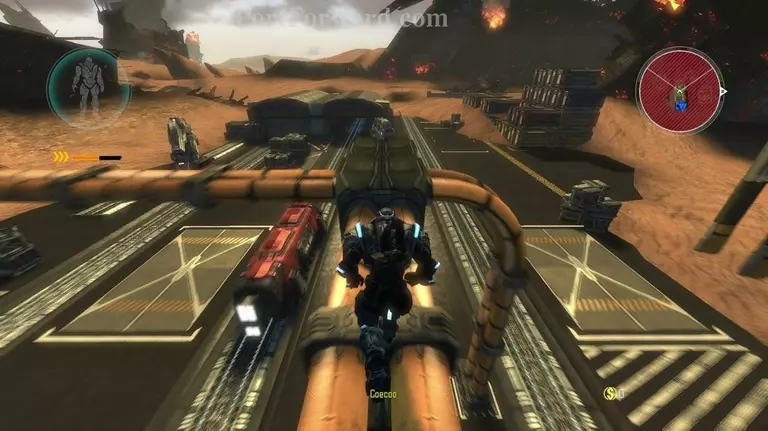
After getting dropped right in the middle of the AA guns, sprint west onto the pipes and wait for the dialog to finish before heading on down.
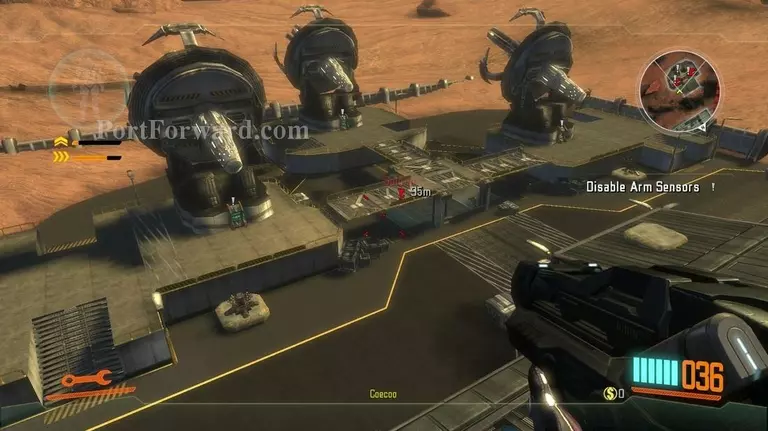
Assault the enemy relay station and disable their sensors as soon as possible to avoid being squeezed from all directions. Let 1-2 get close enough and they will kill you with sustained fire.
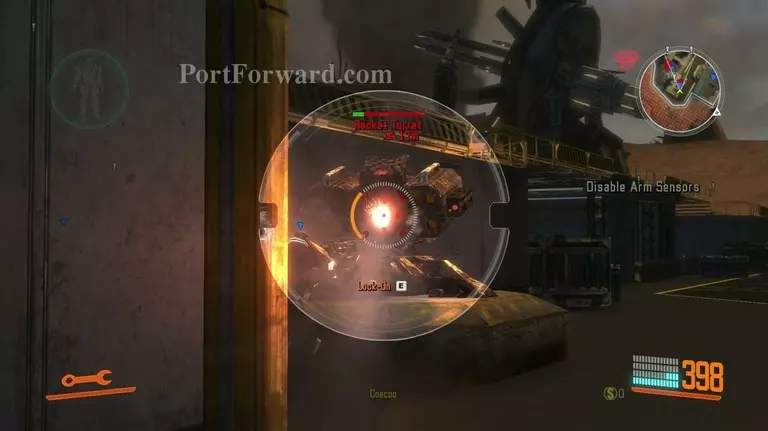
Make sure to take out any turrets they see or you will also be devastated by stuns and knockback.

This mission, you will be given two new weapons. One is a Light Machine Gun with an immense ammo capacity & fire rate that will devastate most foes with it's shield-piercing capabilities in close range..
You'll also receive a shotgun, but it has an incredibly slow fire-rate, very poor accuracy over any considerable range and not that great deal of damage. Avoid it if possible.
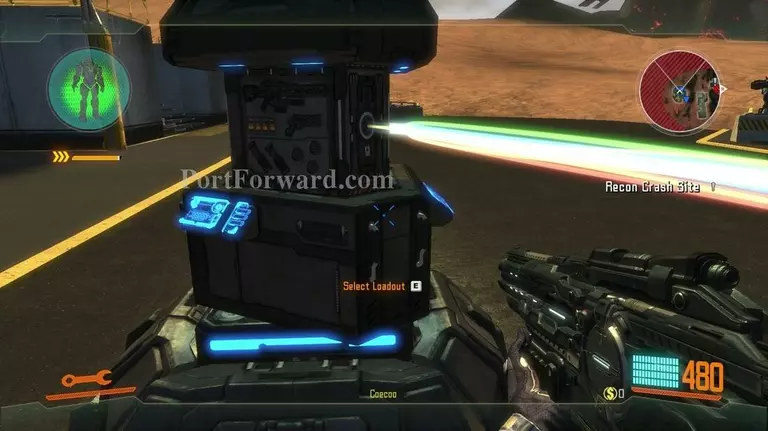
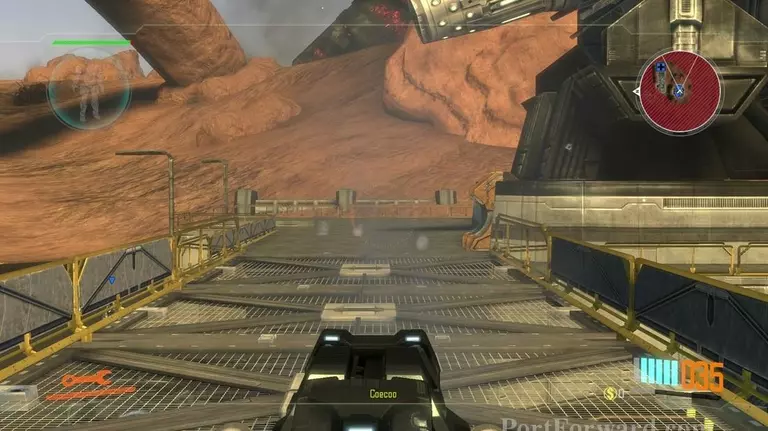
Once done on the sensors, resupply at the depo and move on up after the dialog.
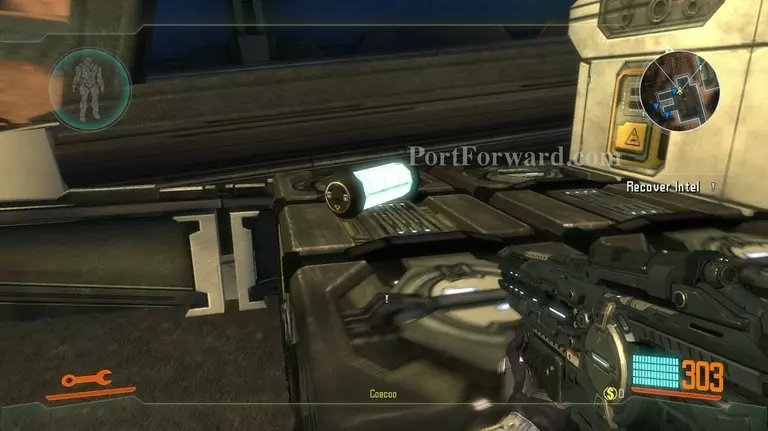
You'll come across an enemy encampment filled to the brink with grunts. Take them out and look on your HUD for the white (!) to locate these little white cylindrical tubes containing information. There are a total of three of them. You'll need all to proceed.
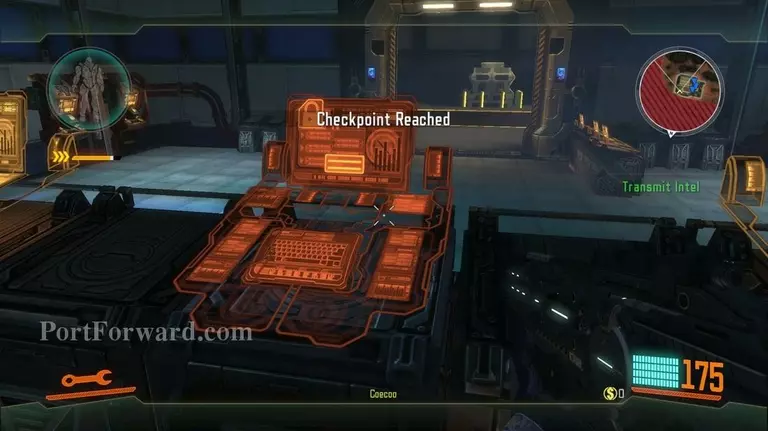
Head into the next base, take out the baddies and upload the intel through this console.
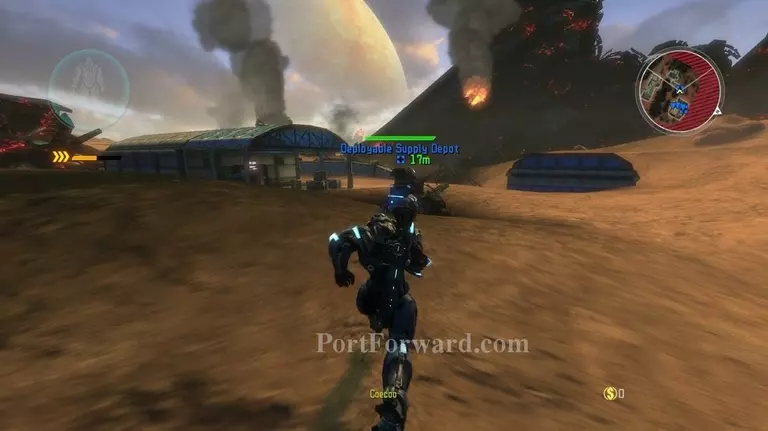
Get to the next depo, wait for the dialog..
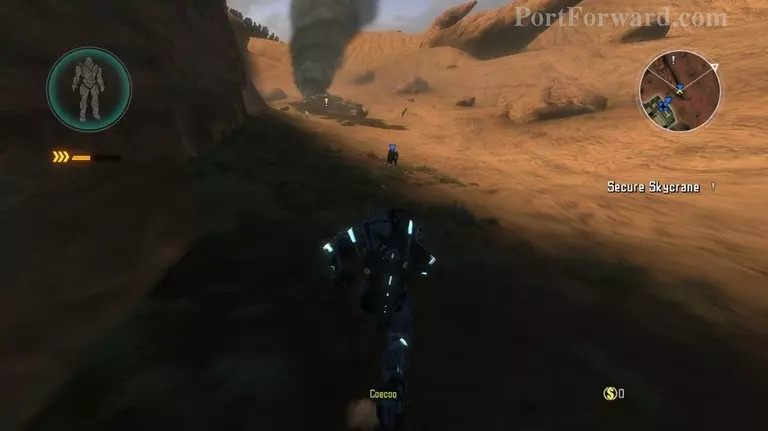
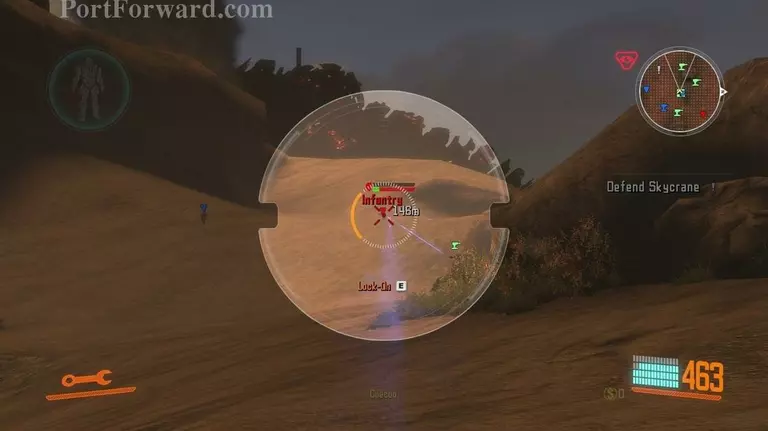
And then run up north towards the ravine to a friendly crashed plane.
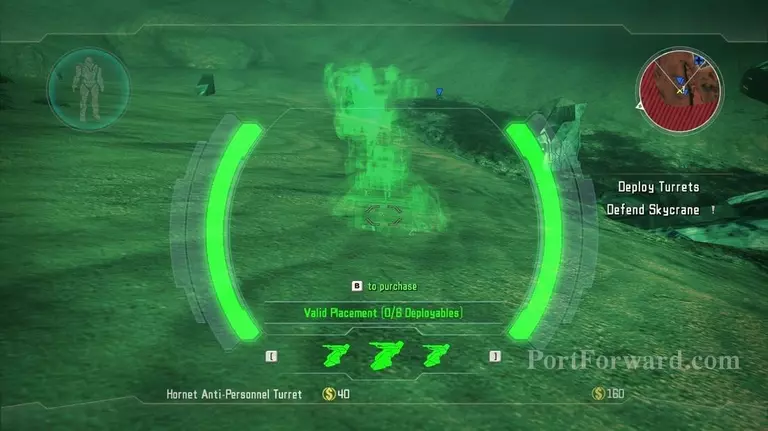
You will at this point be introduced to the buy menu accessed with (B). Here you can spend your money on a large variety of objects later in-game throughout your missions. For now, you are only given access to place 4 turrets. Place them surrounding the plane, preferrably close to a wall/rock.
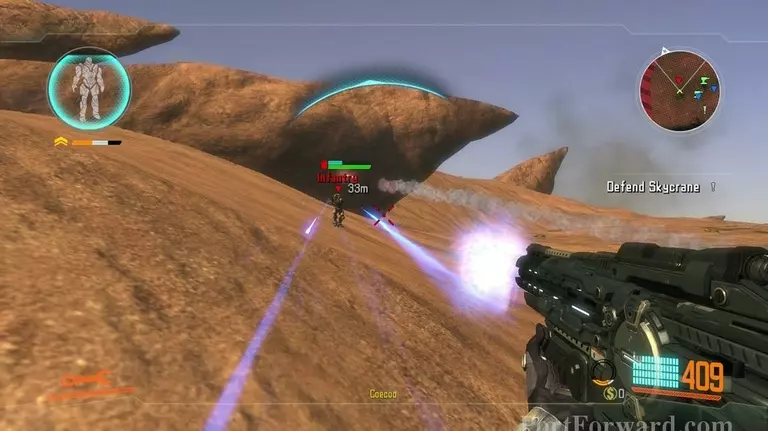
Enemies will shortly swarm you from all directions in considerable numbers. Stay close to your fellow soldiers and hold them off.
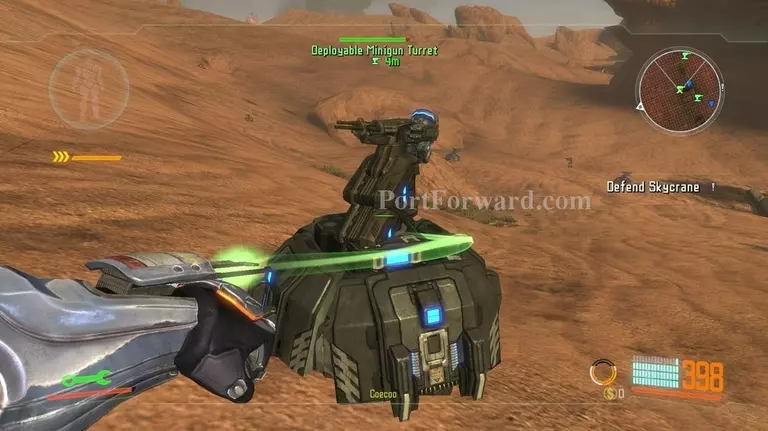
Your turrets are also most likely to get damaged. In this case, run up close, change your active "kit" by using the (Q) key until a wrench appears in your bottom-left corner in your HUD and hold (F) while aiming at the turret to administer friendly repairs. Hold (F) without aiming at anything to heal yourself.
Continue fending while sticking close to the sentries & plane and you will eventually win the mission after the required amount of baddies has been dealt with.
More Section 8 Walkthroughs
This Section 8 walkthrough is divided into 8 total pages.


