This Bastion walkthrough is divided into 30 total pages.
You can jump to nearby pages of the game using the links above.
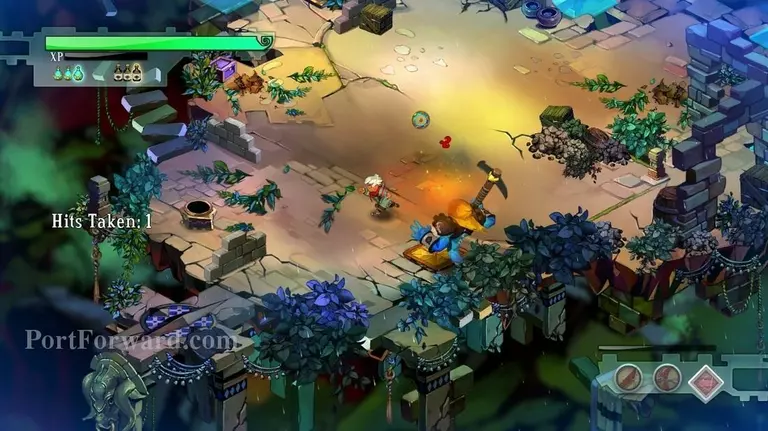
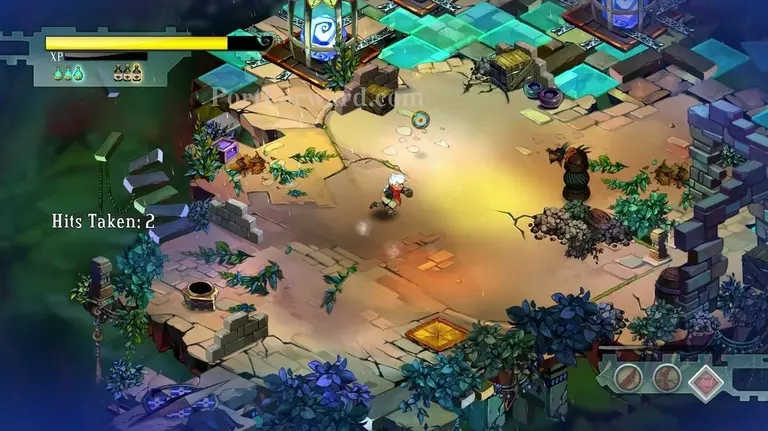
Bullhead Court
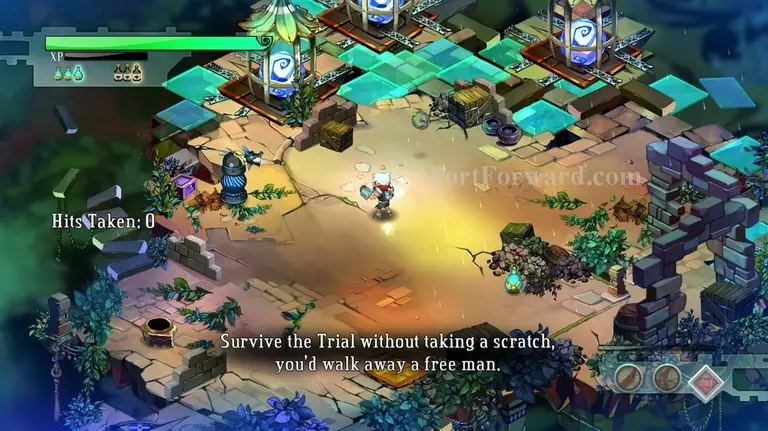
In this challenge, you have to deflect all of the attacks enemies throw at you.
To do that, just press shift right before an attack comes...
...and you will most probably destroy your target.
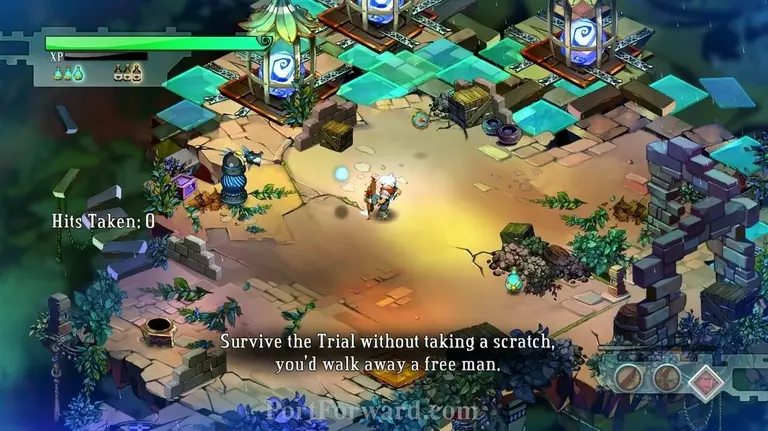
At first only turrets spawn.
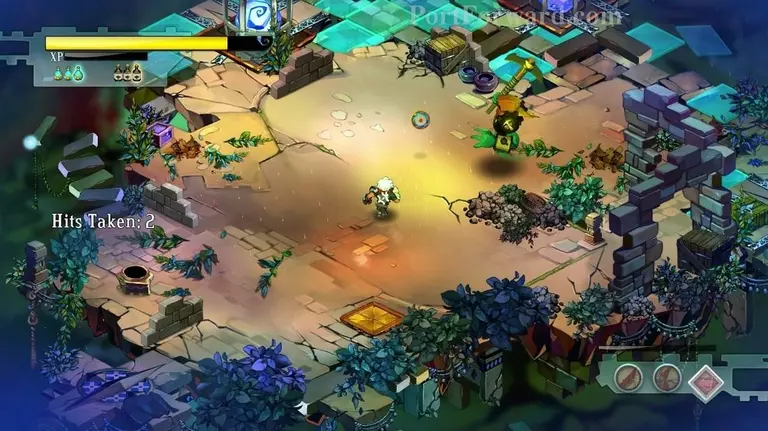
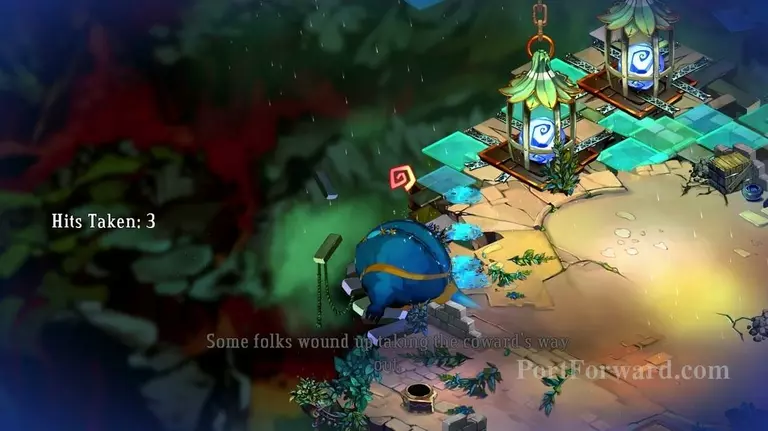
After some time, you will get a gasfella.
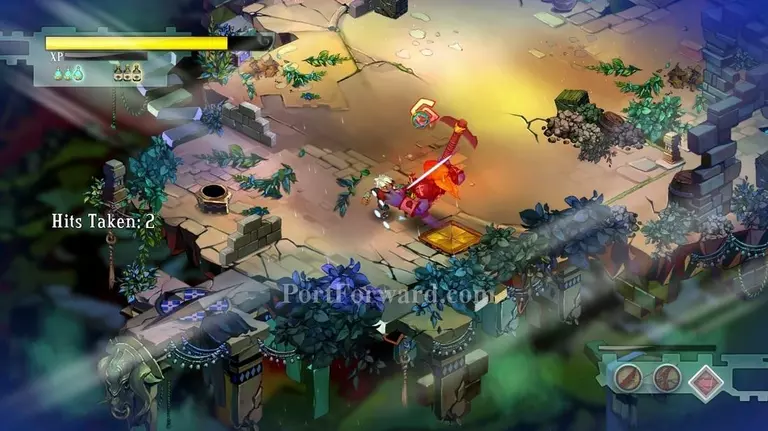
This one is a bit harder to counter, but you will manage to with practice.
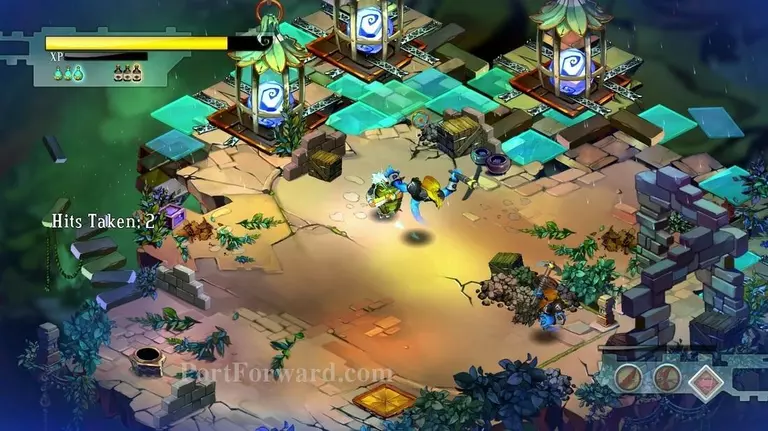
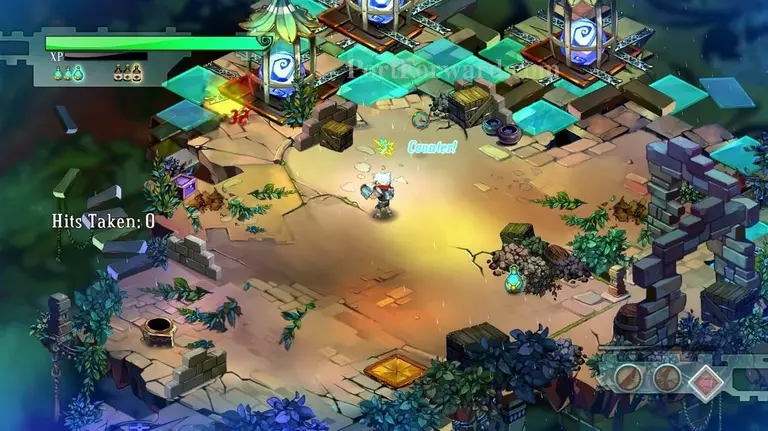
When the smaller gasfellas arive, your best chance is to wait for them to start lifting their weapon up, and then listen to the sound they make. You press shift right after it ends.
Takes some practice, but you should manage in time.
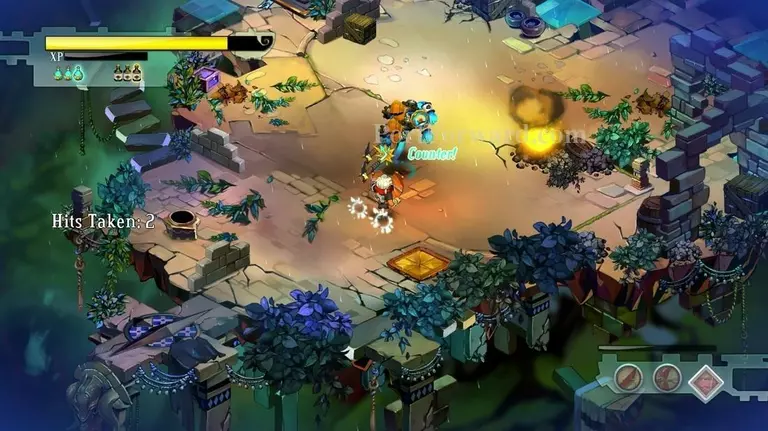
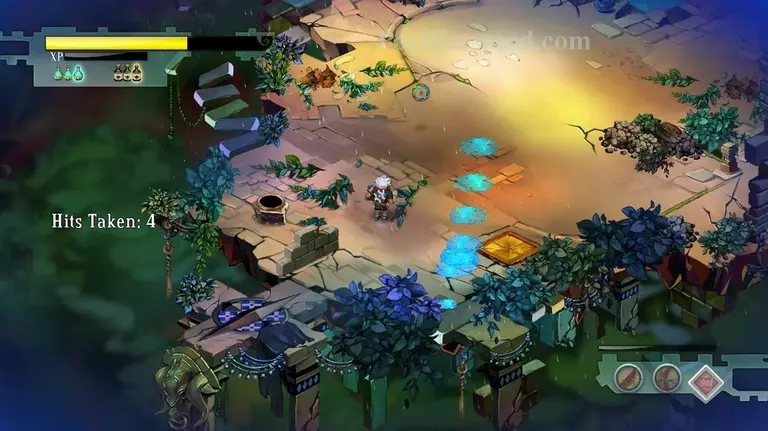
After them, another turret will appear, this one shoots bursts of projectiles though.
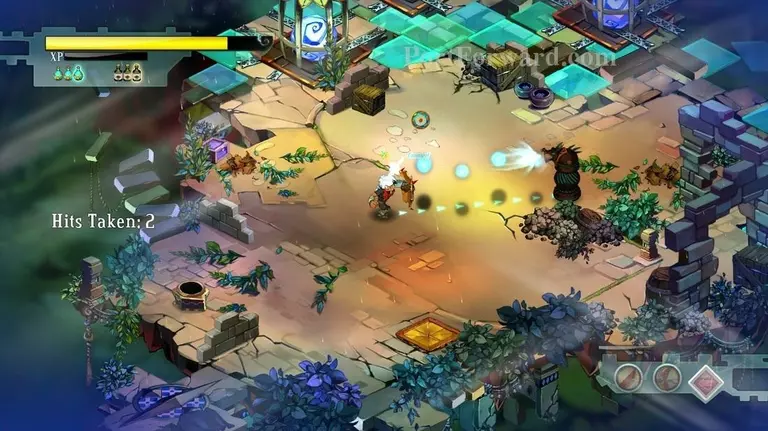
Same strategy as last one, but after the first counter, just hold your shield up for longer to deflect the other projectiles.
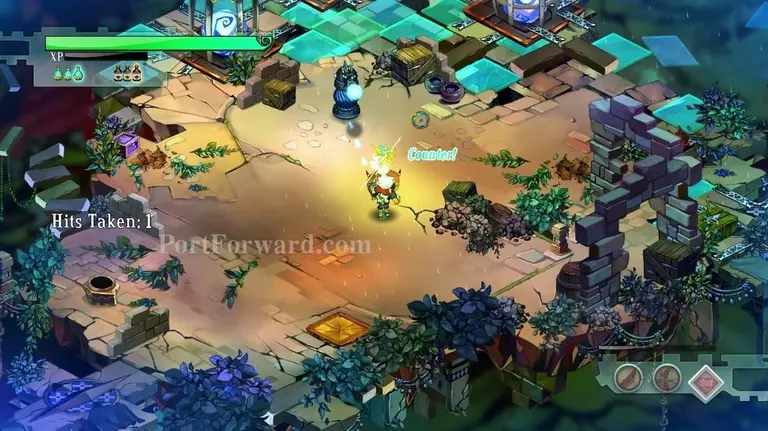
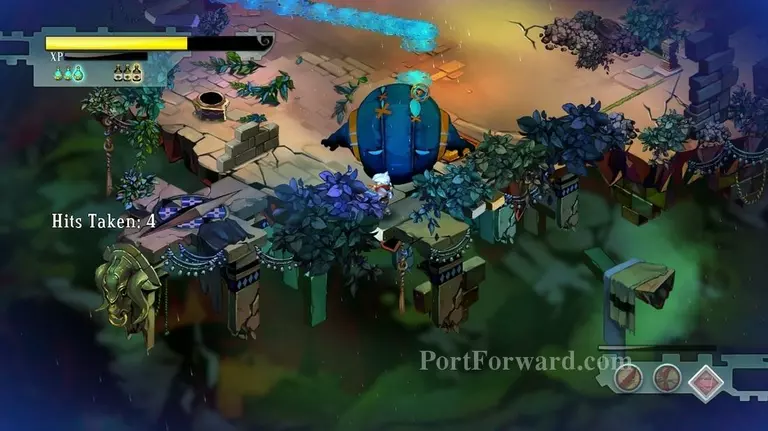
Next gasfella is a charger. Everytime he starts lifting his weapon, press shift, he attacks really fast.
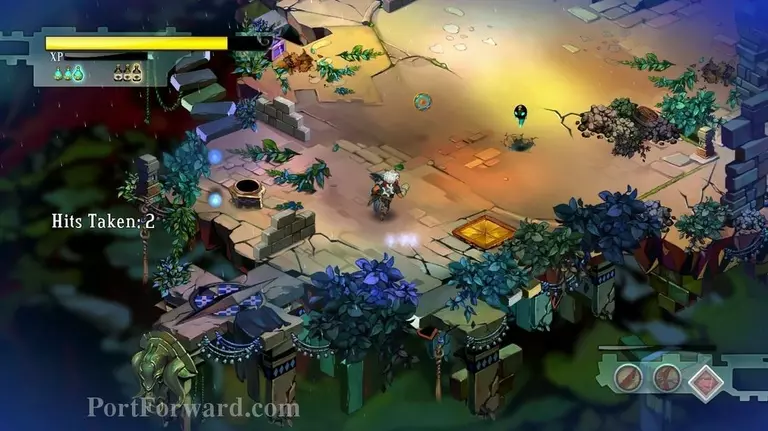
Squirts are a bit like the gasfella chargers, just harder to anticipate when they will start attacking.

The last enemy is the scumbag.
You can try to counter it or..
...you can make it charge itself off of the...
...platform.
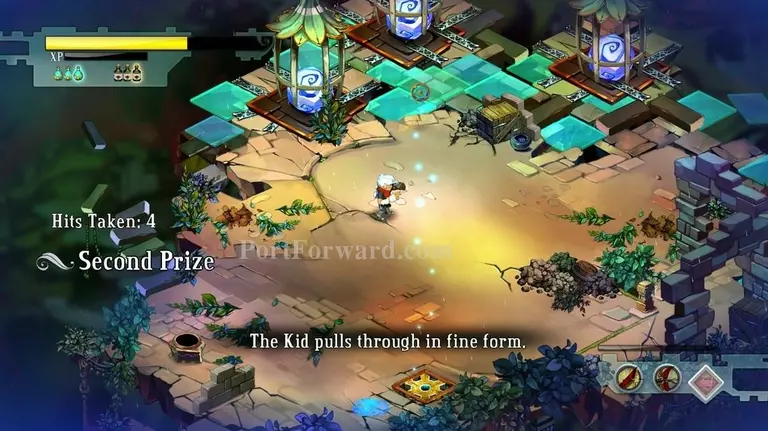
That's all. Reward is a lot of fragments.
More Bastion Walkthroughs
This Bastion walkthrough is divided into 30 total pages.