This Bastion walkthrough is divided into 30 total pages.
You can jump to nearby pages of the game using the links above.
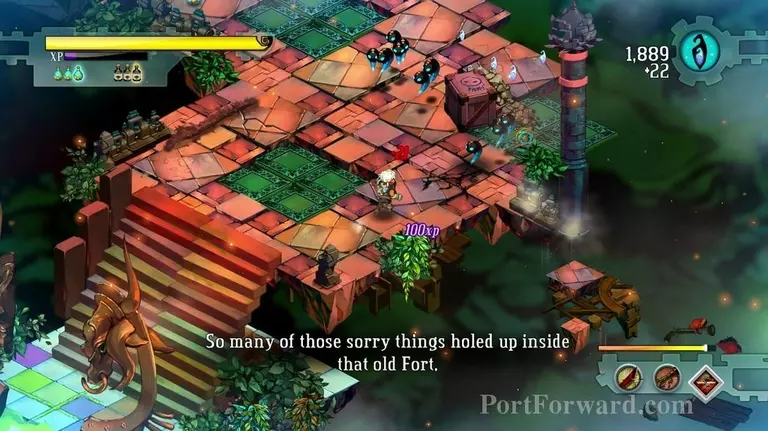
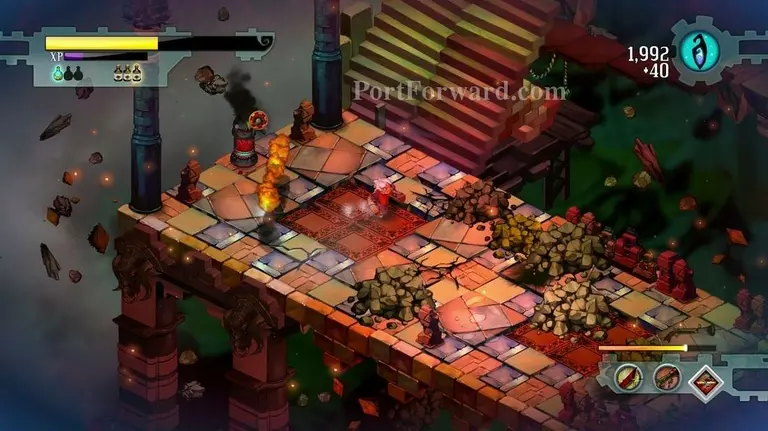
Cinderbrick Fort
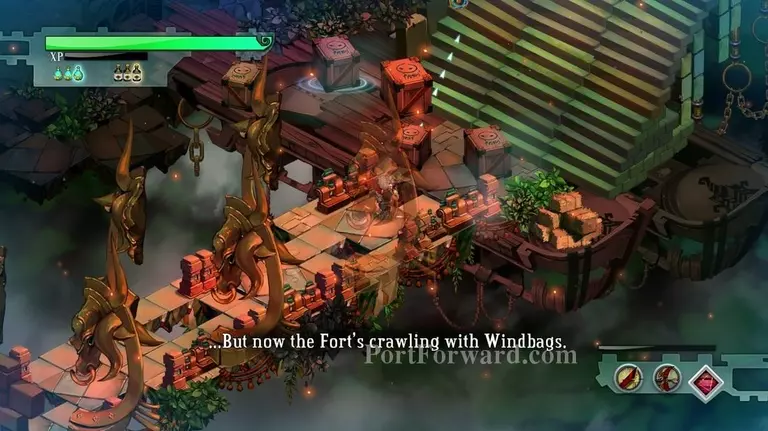
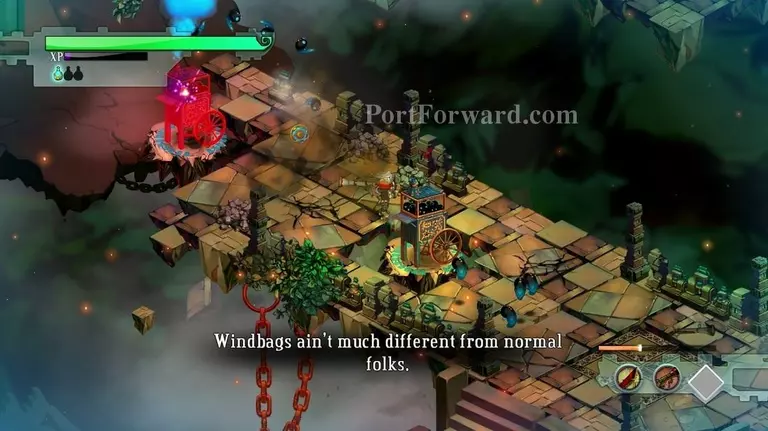
Cinderbrick Fort is one of those levels with many enemies.
Mainly Gasfellas, turrets, and squirts though, but you will see a scumbag or two.
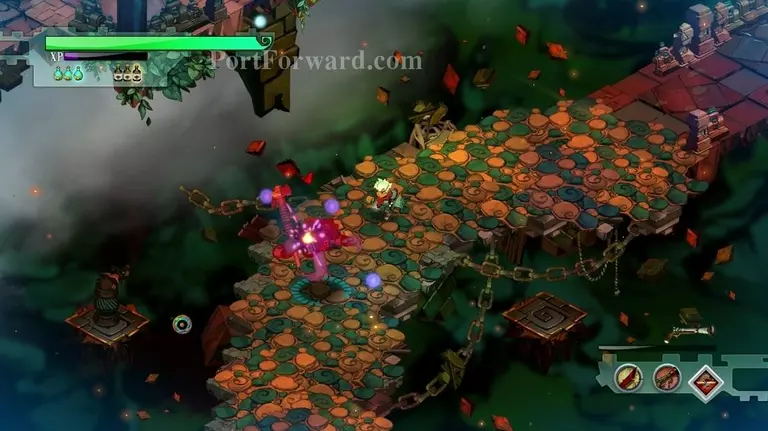
Go forward and you will find a switch.
Activate it to open the cage.
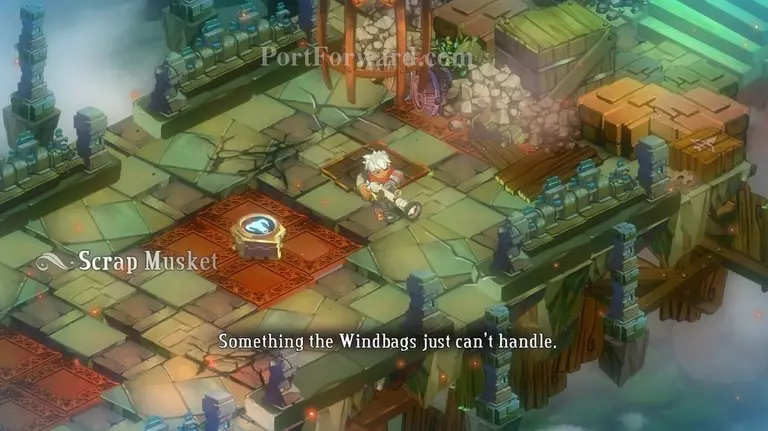
In the cage is the Scrap Mustet, the next ranged weapon in the game. It is a shotgun type of weapon with a really wide range.
If you have the memorial, i suggest waiting for a lot of squirts to spawn, then killing them all with one hit from the musket. That way you will complete one of the challenges.
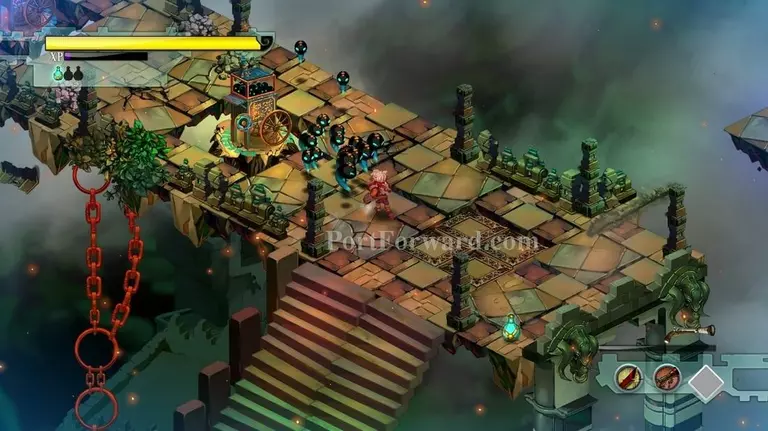
This many is good enough.
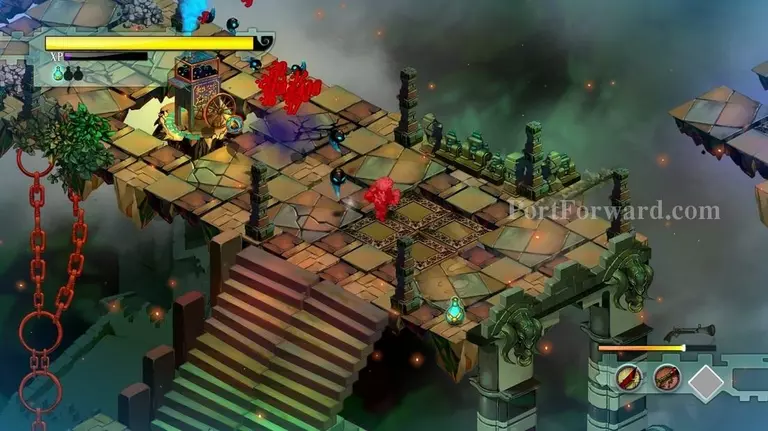
Boom.
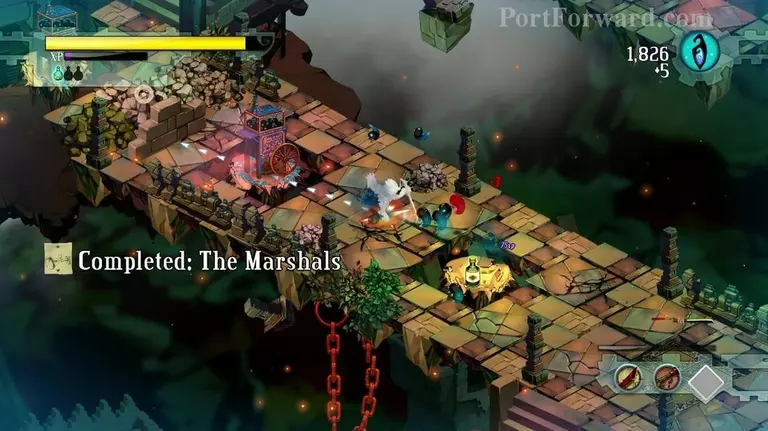
The challenge's name: The Marshals
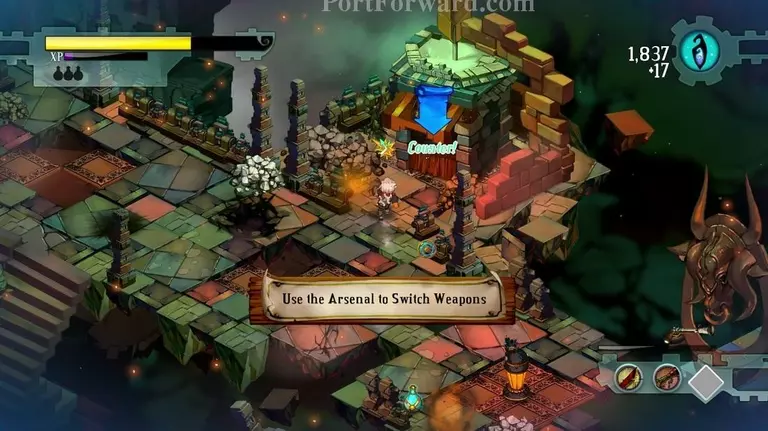
Going forward, you will find an Arsenal. You can use it to switch back to your old weapons, if you so desire.
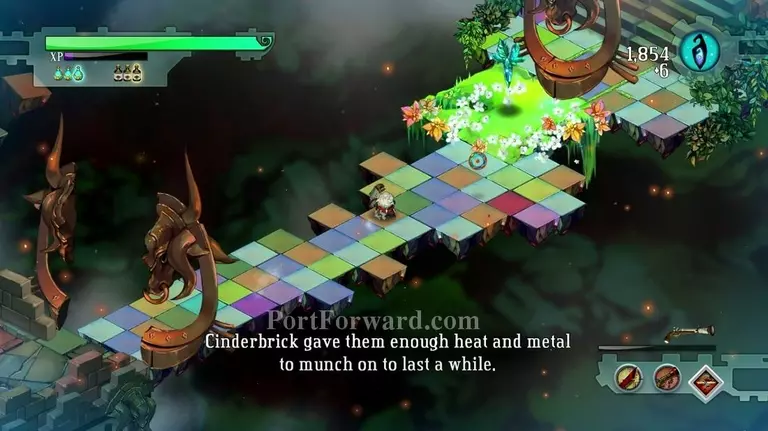
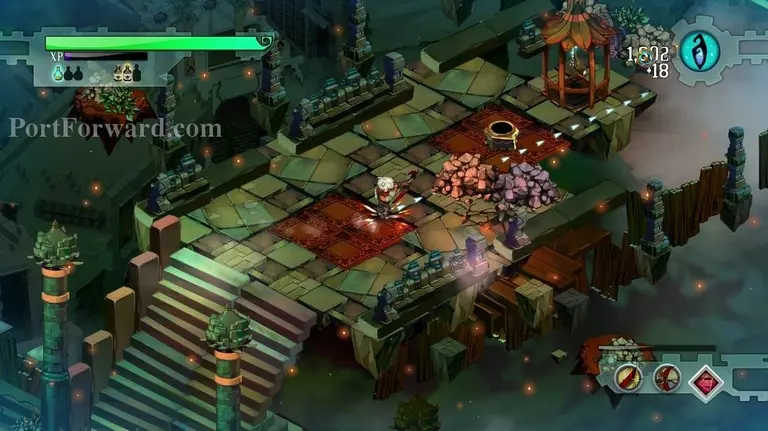
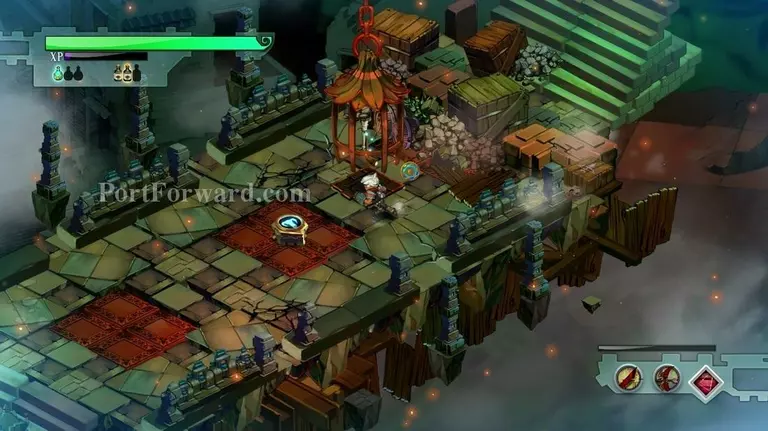
After a bit you will find the core.
After you take it the place will start falling apart.
You have enough time to kill most stuff though, if you desire.
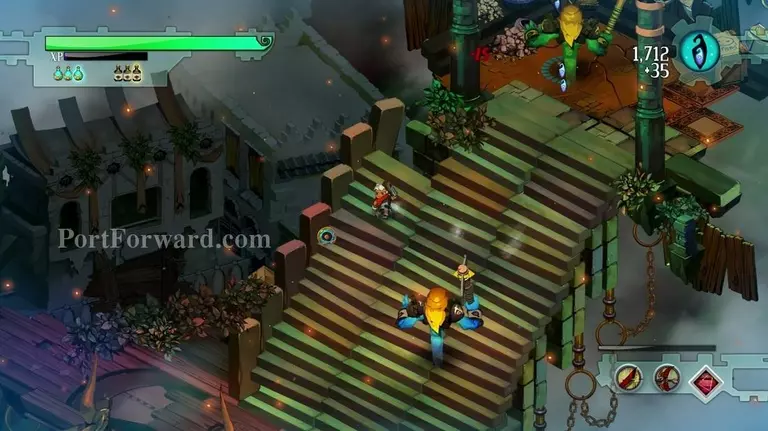
Lot's of turrets in the next section.
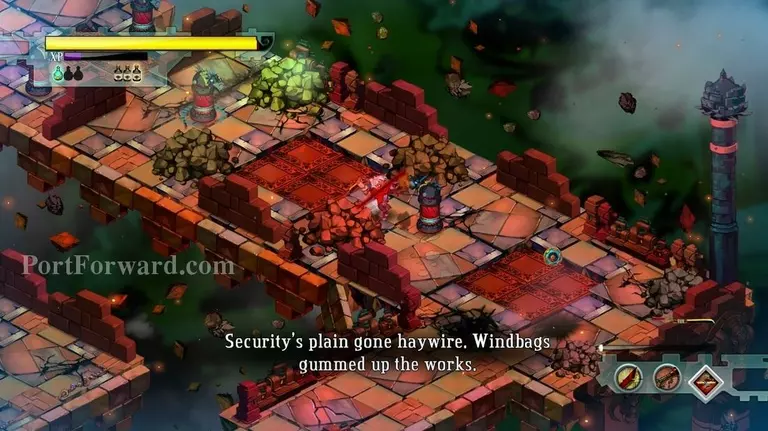
Next section: Short range fire turrets and rocks to block your path. Shouldn't be hard if you have a long ranged weapon.
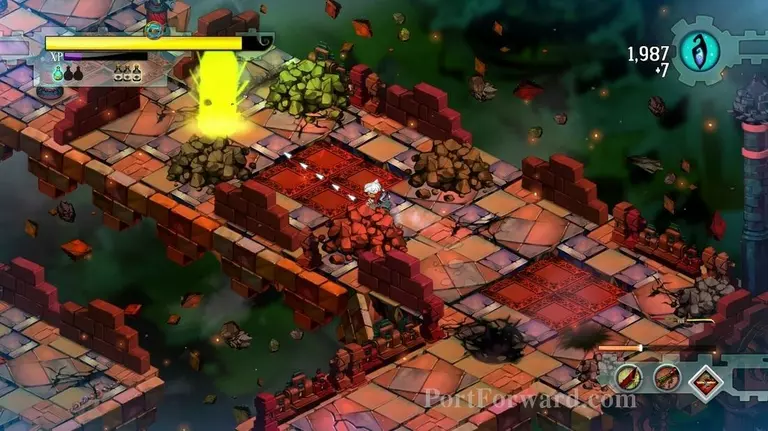
Boom.
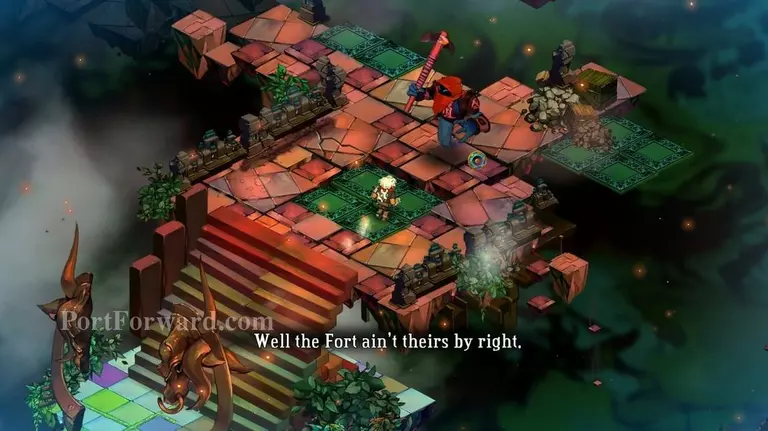
After this, you will reach an arena-type place again.
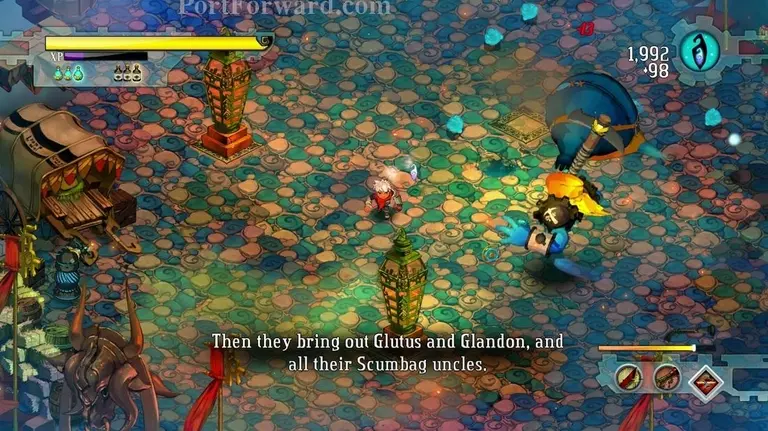
This one has 2 huge gasfellas and 2 huge scumbags.
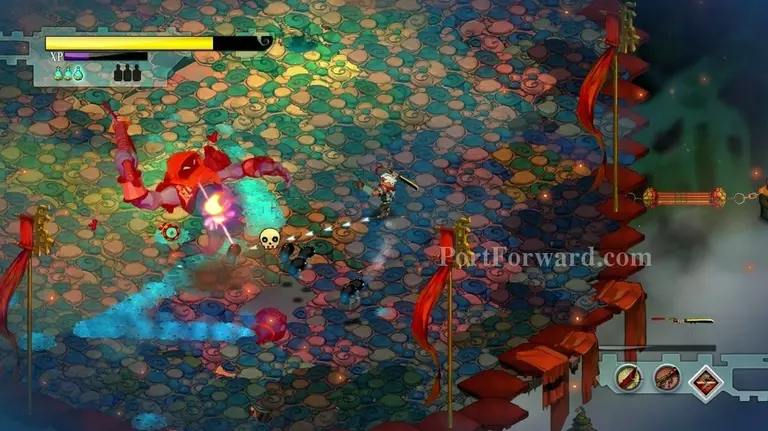
Killing them could be a bit hard, i recommend running away from them and shooting when you're far enough.
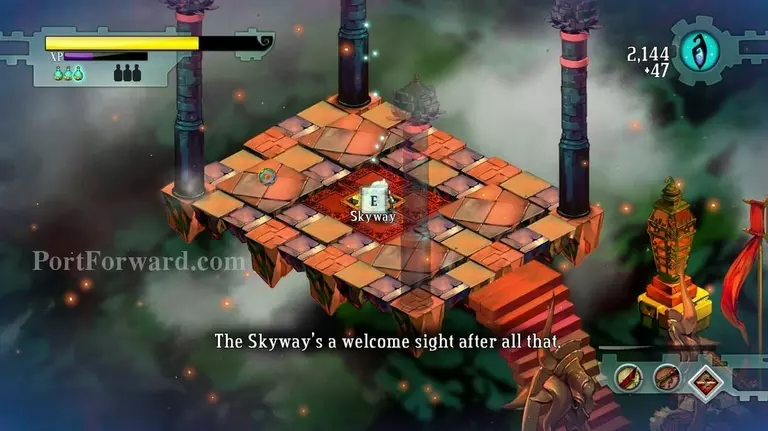
After the arena the way to the skyway will be open. It will take you right to the Bastion.
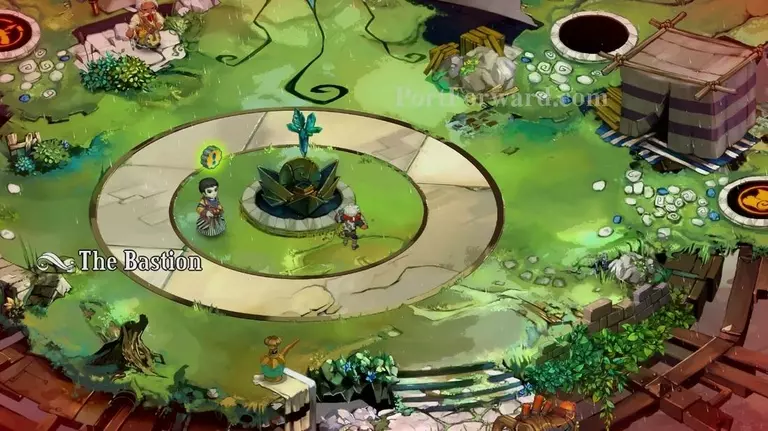
You can use the power core on the monument now.
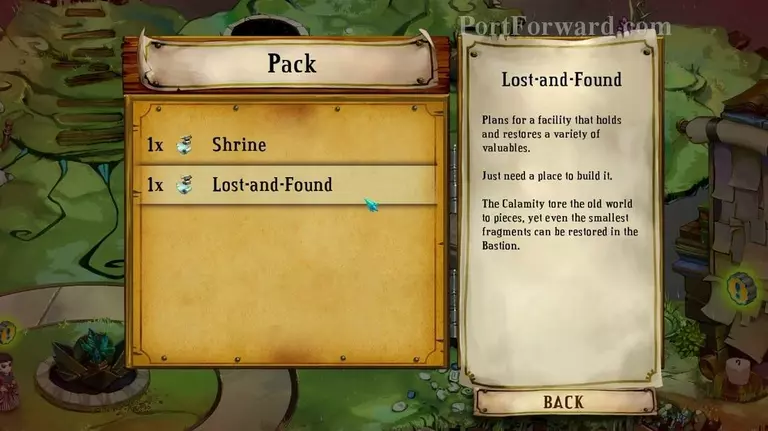
You can build the Shrine or the Lost-and-Found. If you want more difficult enemies and more rewards, get the shrine, otherwise get the Lost-and-Found.
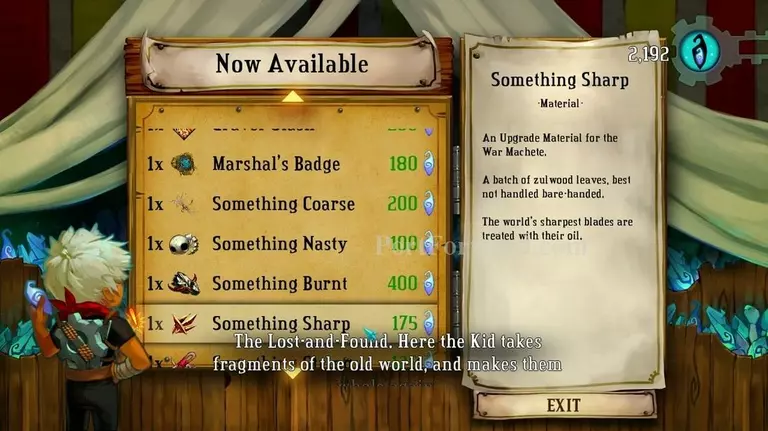
The Lost-and-Found is a shop. You can buy lore, crafting items, scrolls, spirits, etcetera. TIP: If you missed an item during a mission, you can buy it from here.
More Bastion Walkthroughs
This Bastion walkthrough is divided into 30 total pages.