
This Dead Space 2 walkthrough is divided into 17 total pages.
You can jump to nearby pages of the game using the links above.
Chapter 10
Do I have to tell you to save every time you see a station? Yes I do.
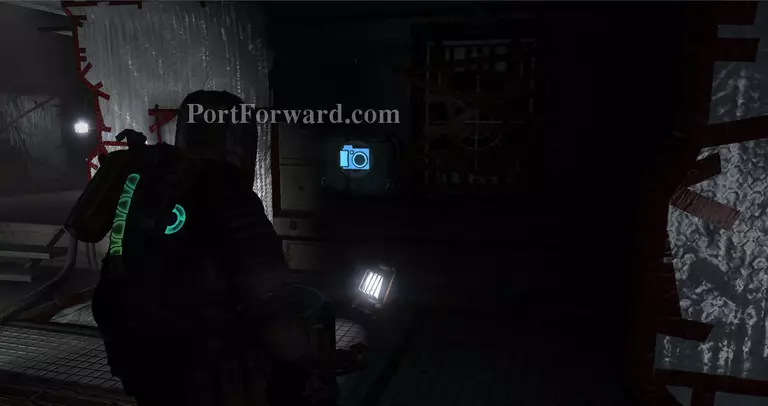
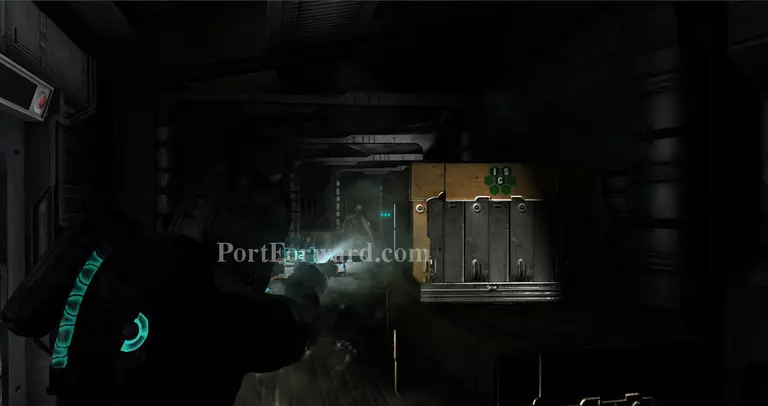
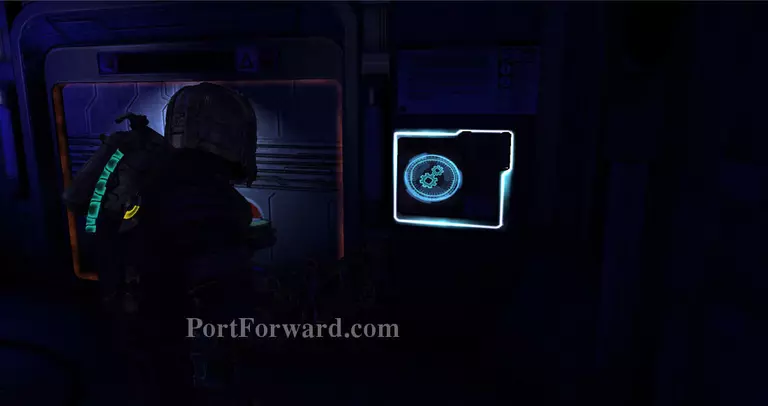
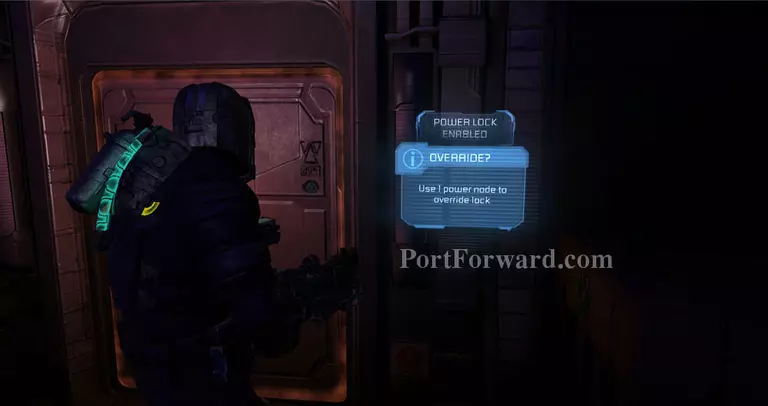
Follow the Locator then press E on the console here to progress.
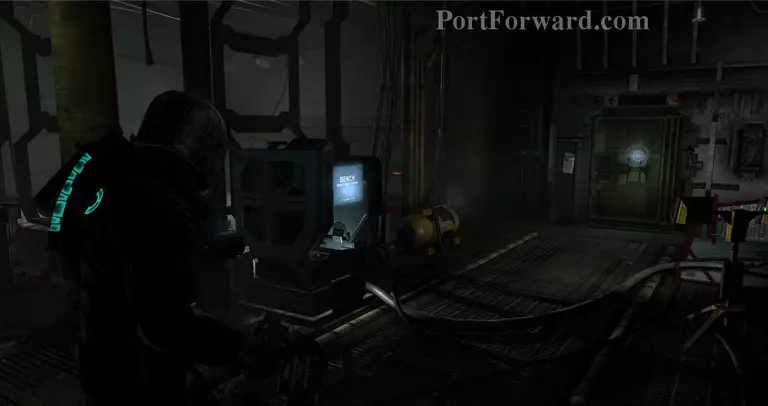
You'll find a bench in the next room. Use all but one of your nodes.
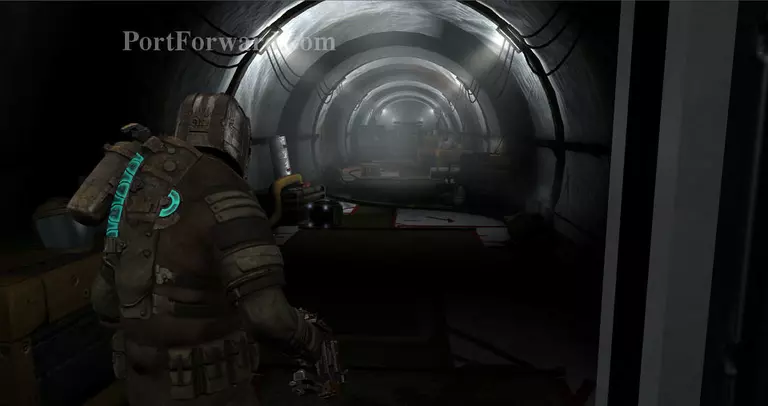
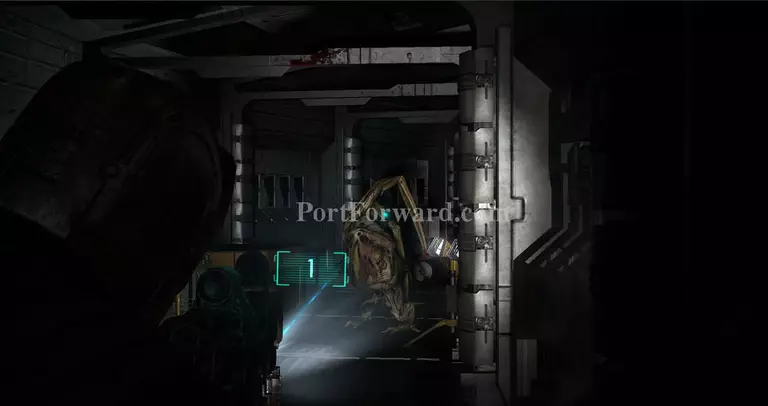
Ah...a long hallway. Surely there'll be a bossfight here?
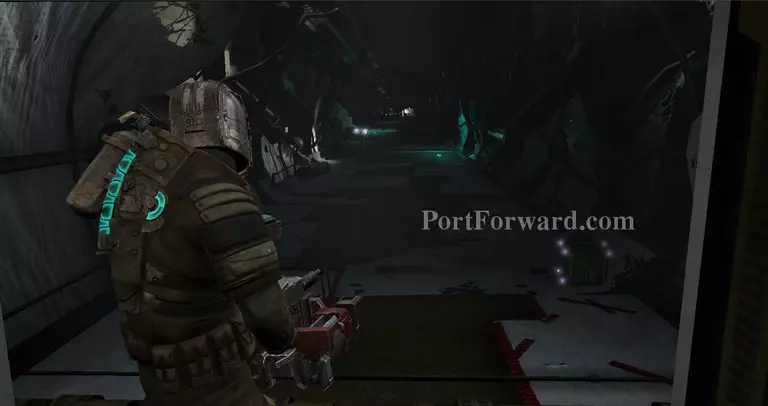
Nope, but....what a long hallway. You should prepare for a fight.
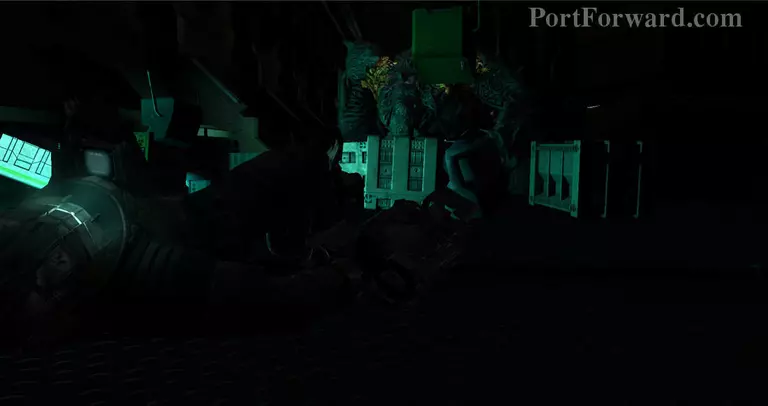
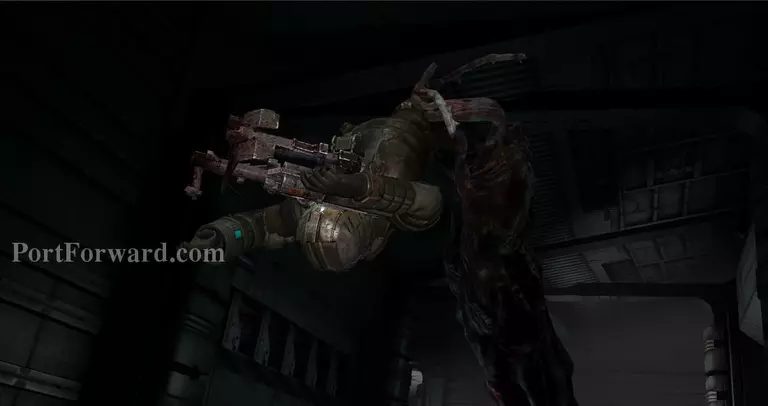
Use stasis + a great single shot weapon such as the Seeker Rifle / Contact Beam to kill it!
There'll be a second one, so hope you have enough ammo!

After the brutes you'll be attacked by some Enhanced necromorphs, if you die to these things after killing the brutes then shamefur dispray.
Use the lift and continue following the locator, rest at this Store. I recommend you sell the Line Gun if you have it as its effectiveness dwindles extremely fast now.
Keep following the locator, necromorphs will try to ambush you on your way.
Pregnants will appear behind you, so watch out!
If you survived killing all those, keep moving.
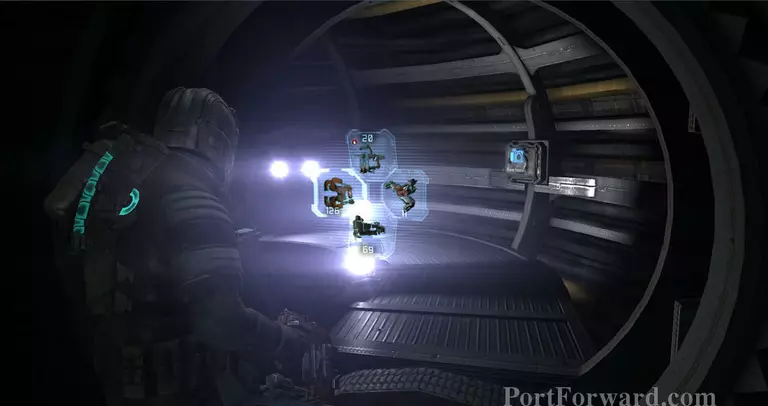
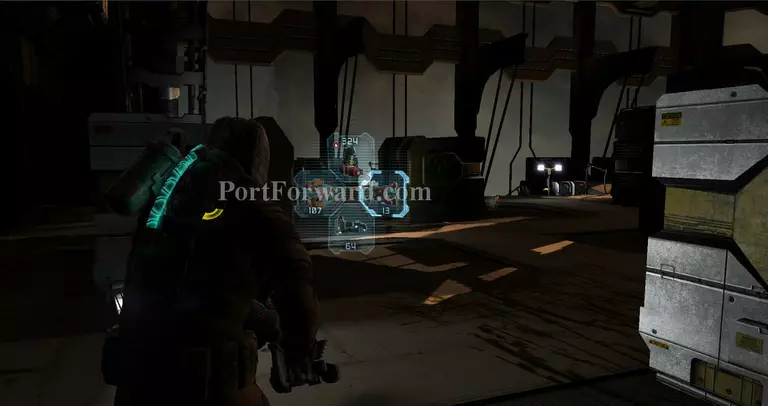
To fix the centrifuge, hit Alt to hover and Kinesis all of the floating blinking cubes into the correct sockets in the huge pillar in the middle. They'll glow green if they're in the right place.
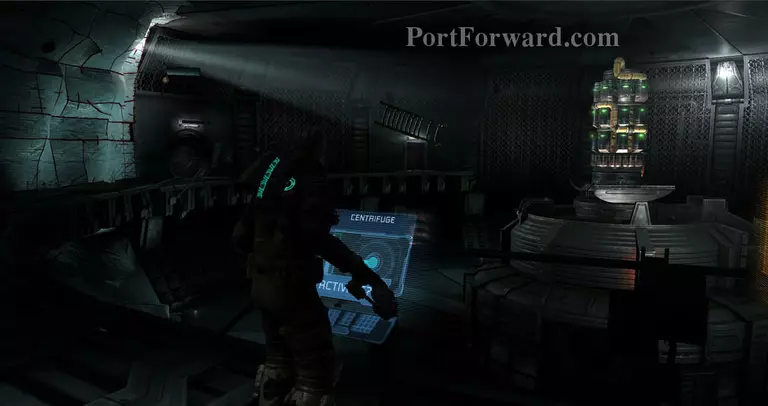
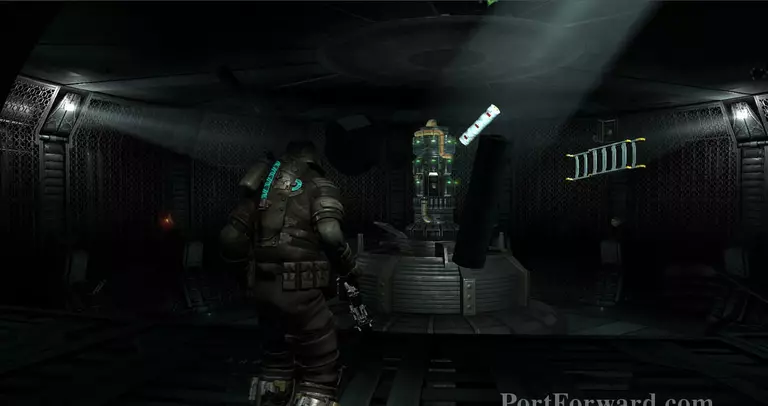
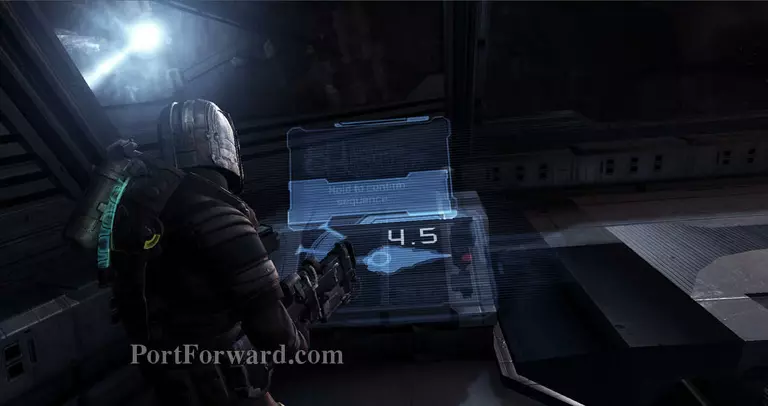
Once it's fixed head to the console and hit E to start it up. Luckily you won't need to bother with the hammer of death that starts spinning rapidly.
Keep moving, and OH GOD! TENTACLE!
Fortunately it was just an illusion.

Once you head back to the Disinfectant Room, necromorphs will attack.
First the Pack, then Enhanced Pukers + Slashers.
They'll also attack you when you step outside from the room.
Two slashers will attack when you step near the tram.

Press the big huge console to start the tram.
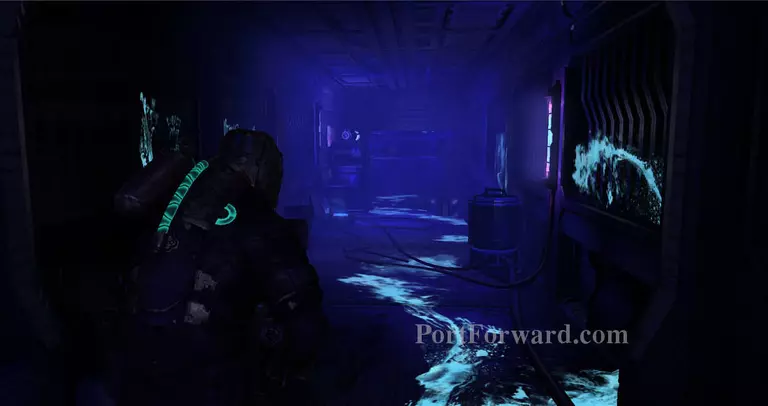
It'll drop you off in a fluorescent blue hallway that looked like an alien couple had their Honeymoon in here. Keep going forward.
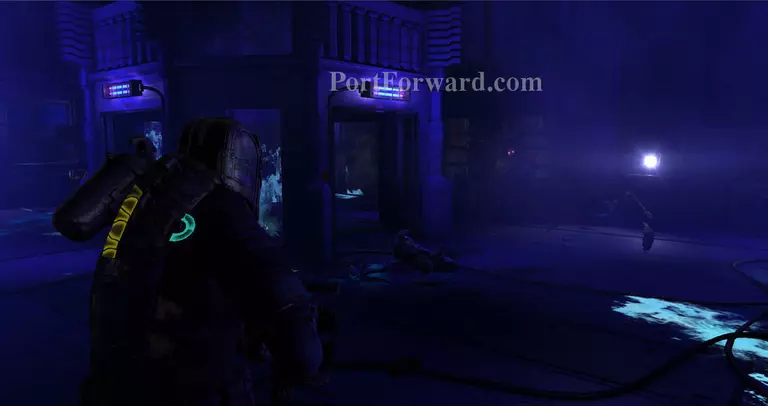
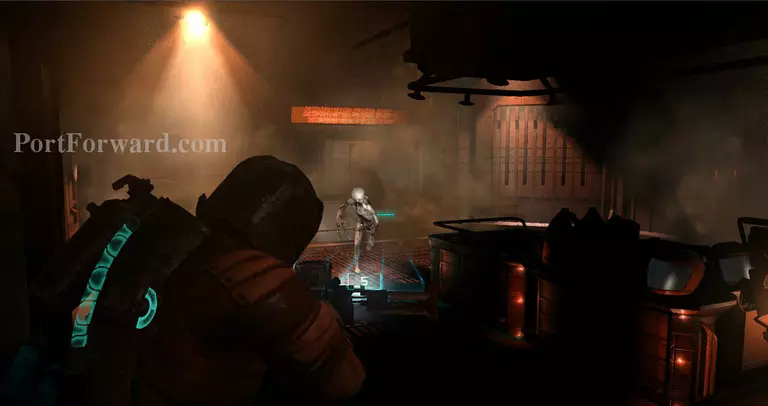
The open room that the Locator will bring you to is full of Slashers and Exploders. Be extremely careful.
Hack this terminal, but beware of the Slashers and Pukers that'll be behind you.
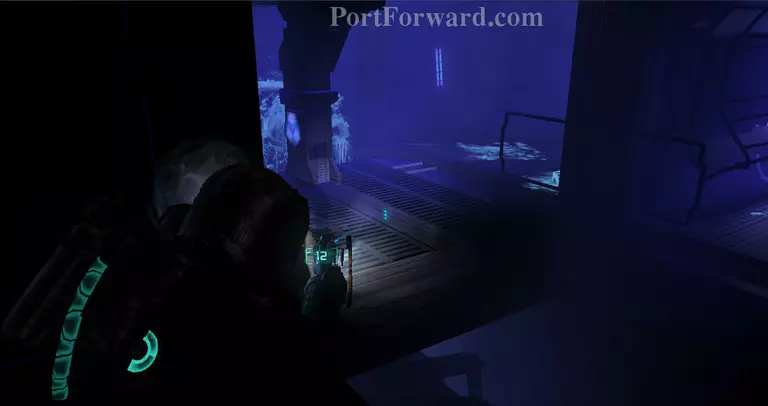
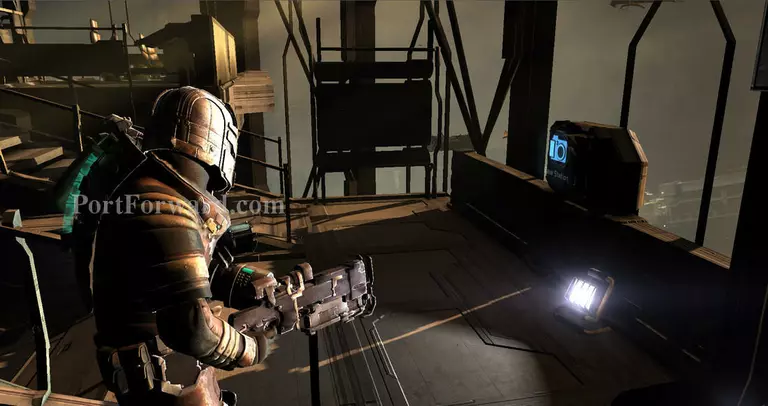
Following the Locator will bring you here, use Kinesis to bring the walkway to you so you can progress.
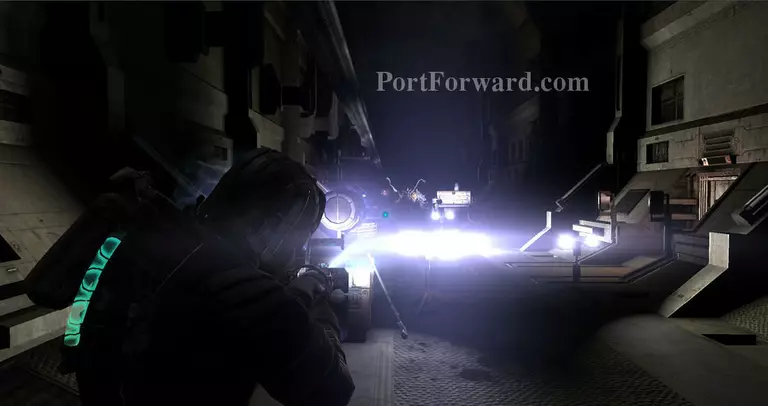
It's best to snipe the enhanced Leapers and Slashers that's down here before you get on the lift, or they'll eviscerate you in seconds.
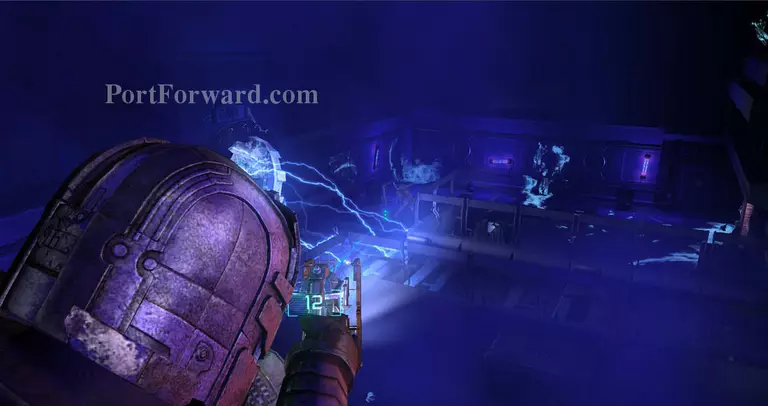
To stop the deadly electricity, pull out the power cell.
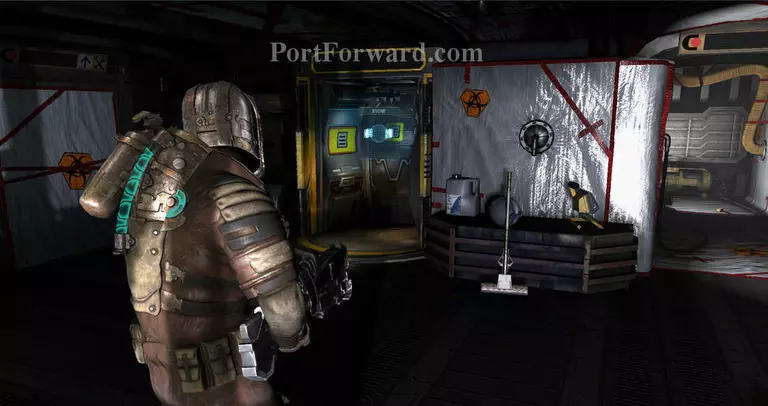
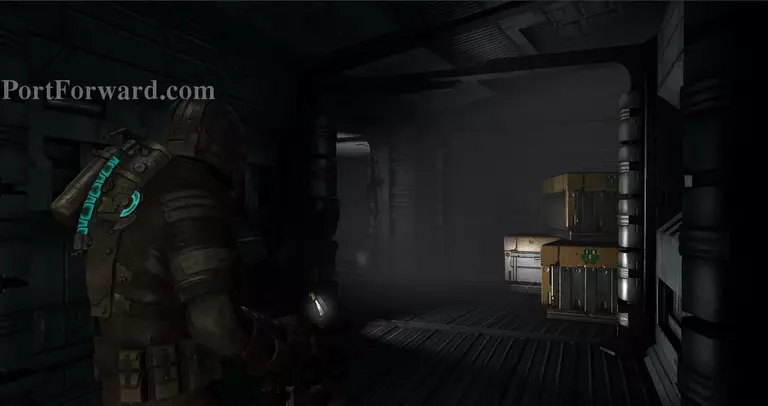
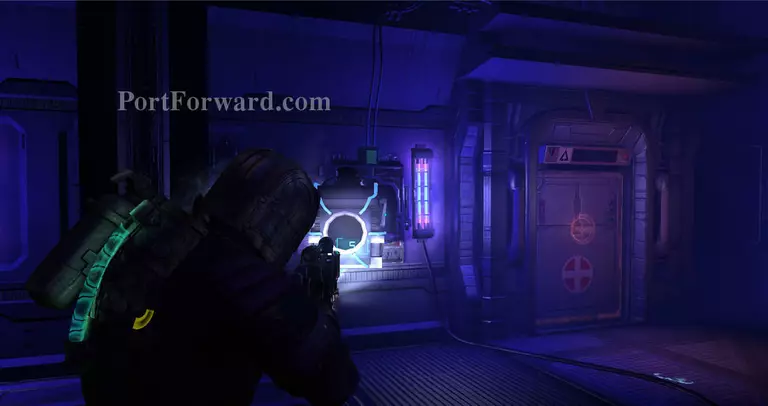
This power closet you'll find is full of primarily medkits. Open it.

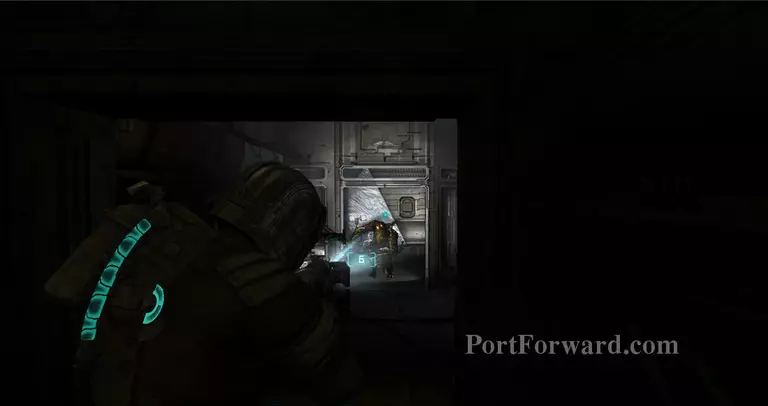
Follow the Locator till you get into Zero-Gravity, beware of Lurkers in the tram corridor you'll have to get into.
If you survived the Lurkers you'll have to get past the Stalkers and Pukers in this room. The Stalkers are Enhanced, so I recommend a power node upgraded Seeker Rifle.
Save here.
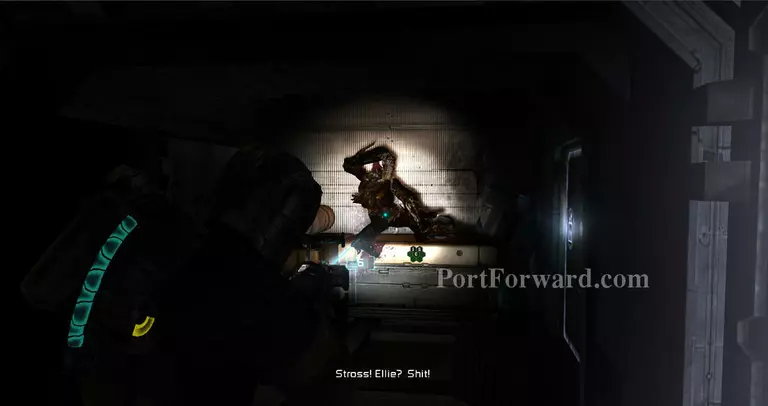
Head to the Captain's Nest and hold E on the console. Afterwards, head outside and get in the escape pod.
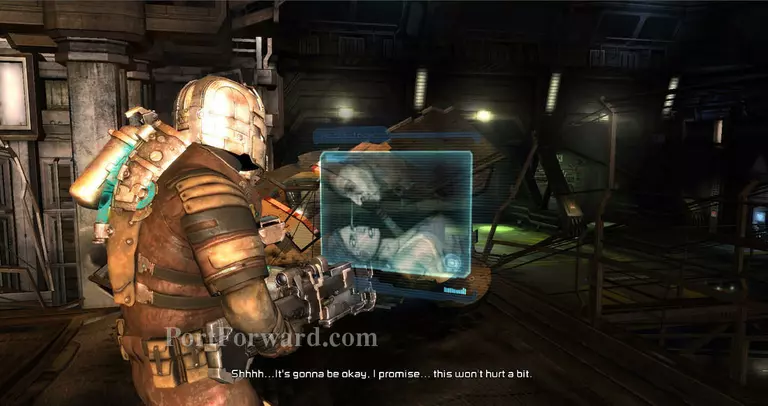
You'll be rewarded with a long cutscene and a very inappropriate Snapchat pic of Stross XxX Ellie.
More Dead Space 2 Walkthroughs
This Dead Space 2 walkthrough is divided into 17 total pages.


