
This Dead Space 2 walkthrough is divided into 17 total pages.
You can jump to nearby pages of the game using the links above.
Chapter 8
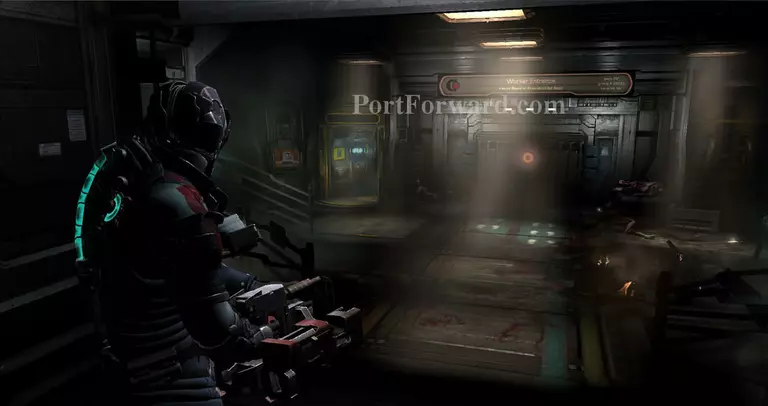
The next room will yield a store, and the room to the left will provide a Power closet that has ammo, 10,000 credits and a power node. You'd be stupid to not do that. It also has a schematic for a new suit. Do it.
Slashers won't take kindly to this, so be careful of them ambushing you.
The Vintage Suit costs 40,000 credits but its store discount ability can be extremely useful, so sell some semiconductors and/or a weapon. I highly recommend it.
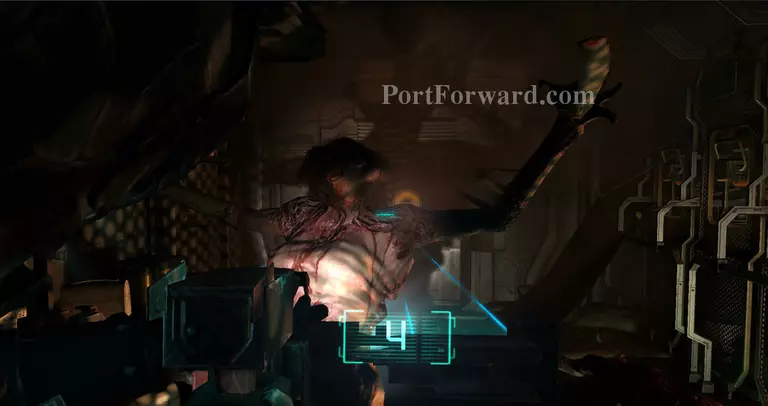
Careful of a Pregnant ambush!
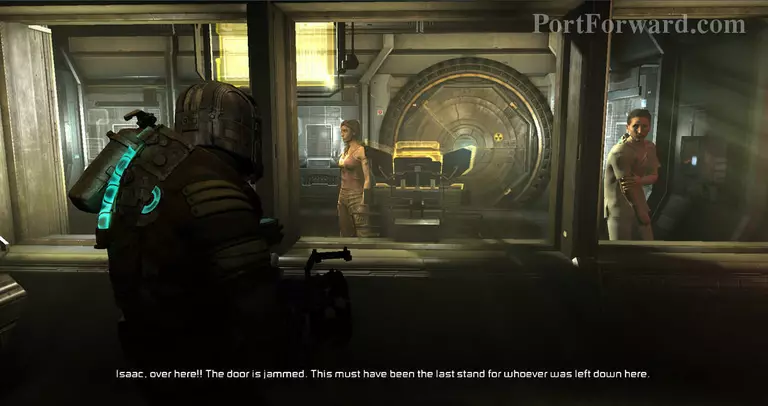
Keep heading forward, reuniting with Stross and Ellie who'll tell you to go into Processing.
Slashers won't take kindly to that either.
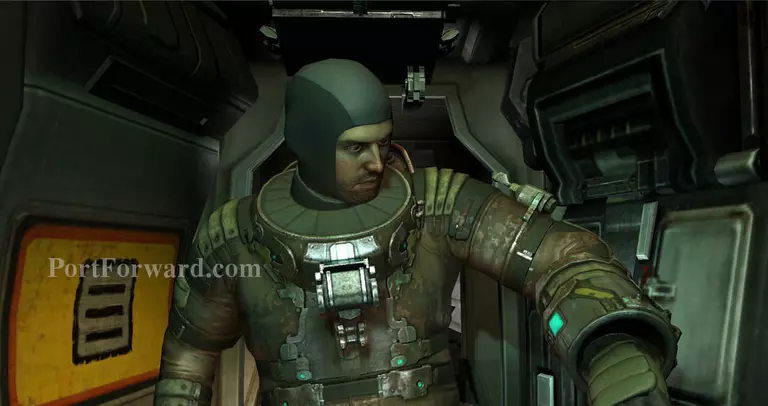
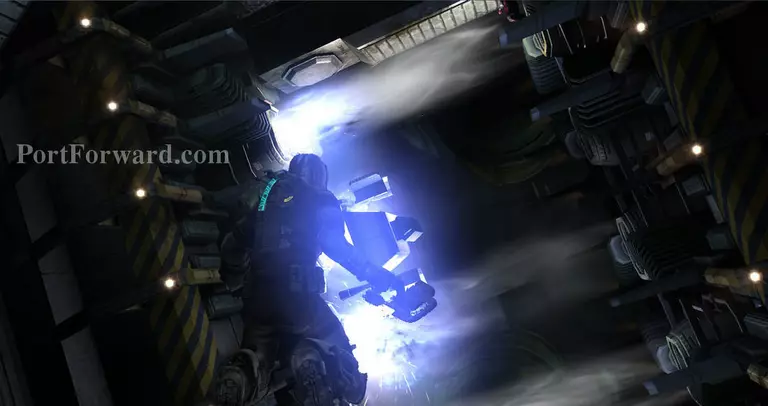
Remember those thrusters from that elevator a few chapters ago? Attach them to these blast doors to open them.
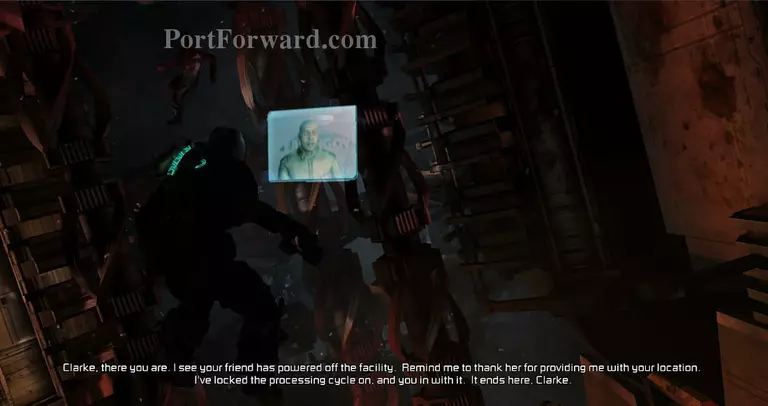
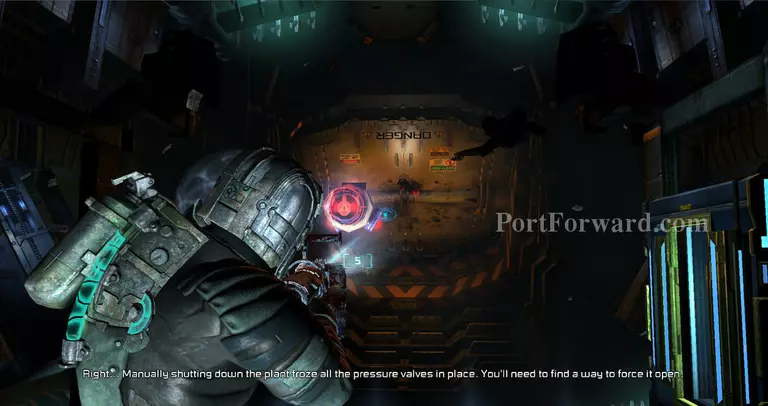
Tiedemann will contact you when you get farther into Processing, spouting some propaganda BS and turning on the processing.
Use stasis on this grinder to get past with some precision. If you have a Stasis Pack leftover you can use that too on the grinder just behind it to make things a bit easier.
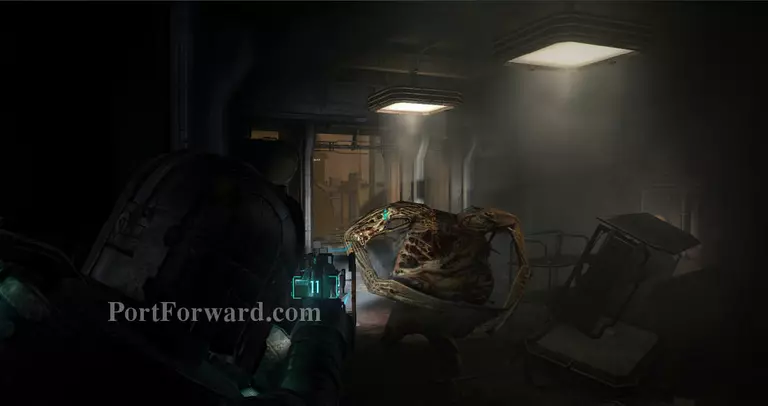
Beware of lurkers! They'll come getcha after the Grinders.
To get past the beams of light, simply Stasis the hammer that's moving vertically, then quickly get past it.
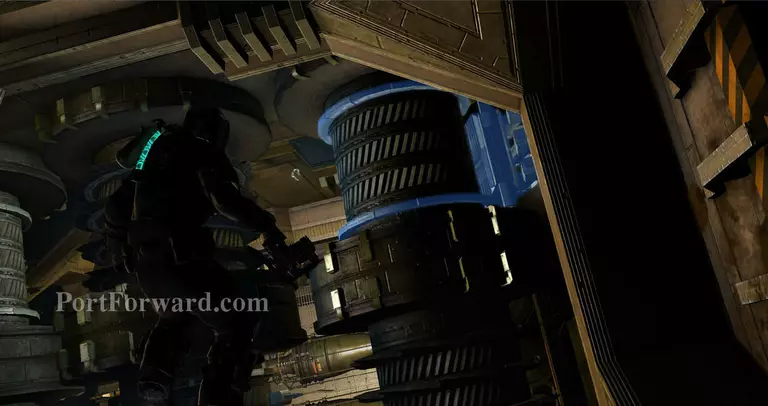
More lurkers will show, kill them then proceed to these Spinny things, just stasis one and pass by it, EZ PZ.
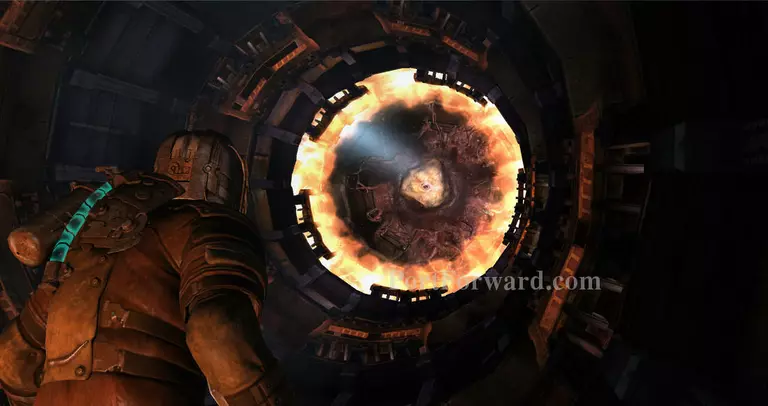
This is gonna be hard. I recommend you shoot that giant cyst at the end before you try to get close to make it easier to avoid the homing projectile. I also recommend that you have the Seeker Rifle.
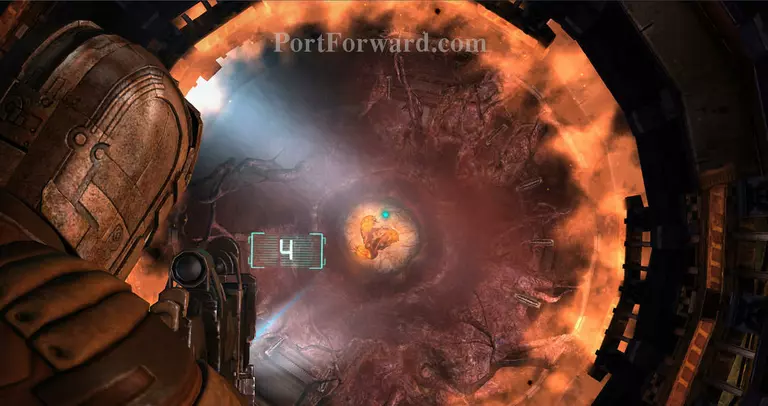
But once you shoot it, it'll activate! Just hit the bulbs.
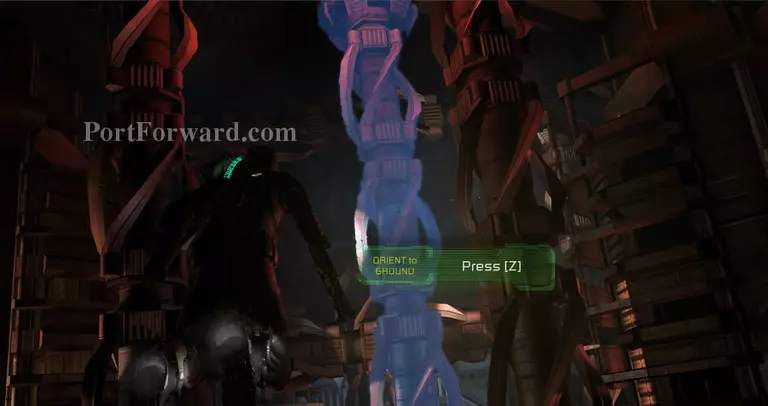
Quickly get past the rings of fire and use some thrusters on this blast door.
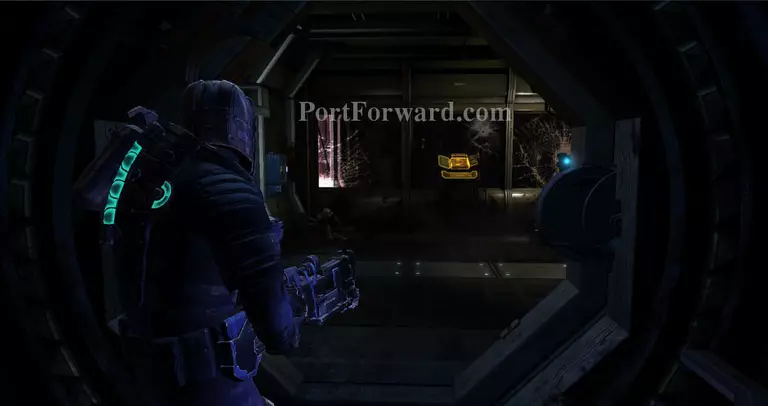
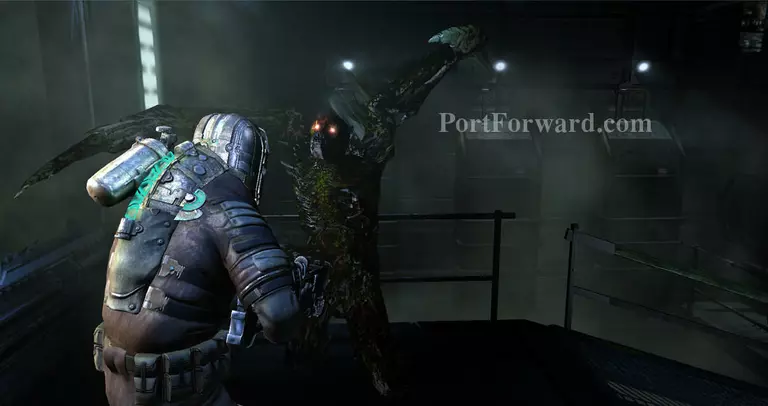
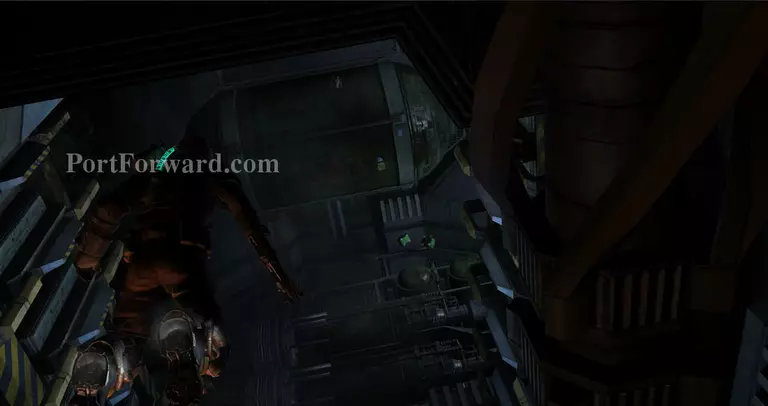
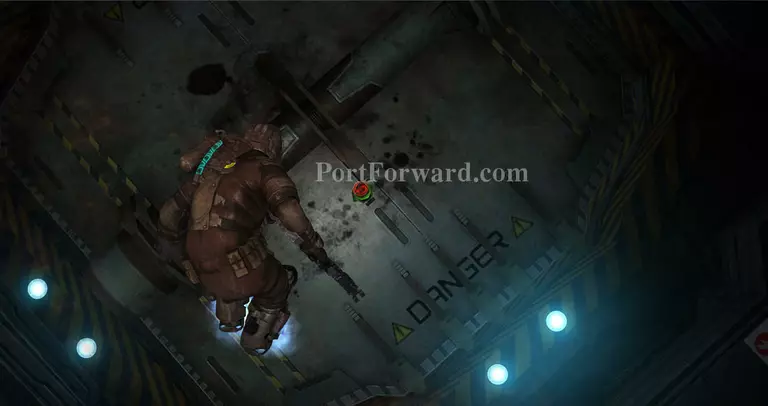
You'll then arrive where Stross and Ellie were a few minutes ago. Beware of a stalker that'll try to ambush you past the corner, then get the power node here.

After opening the door, you'll reunite with the two, and you'll get to do a pretty tedious puzzle now. Save.
More Dead Space 2 Walkthroughs
This Dead Space 2 walkthrough is divided into 17 total pages.


