
This Destiny walkthrough is divided into 20 total pages.
You can jump to nearby pages of the game using the links above.
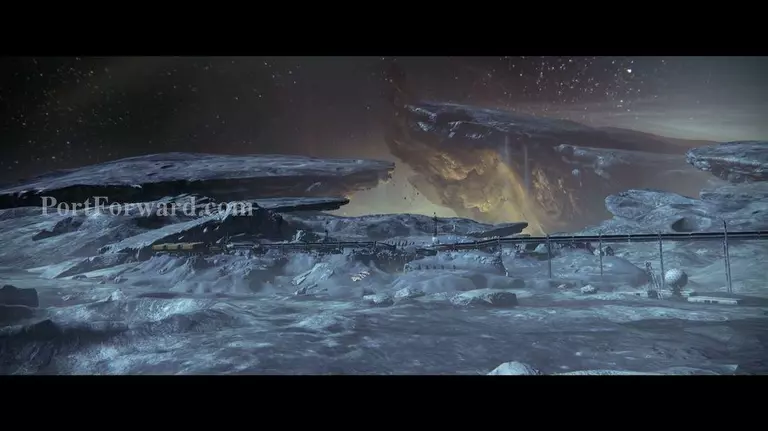
The Dark Beyond

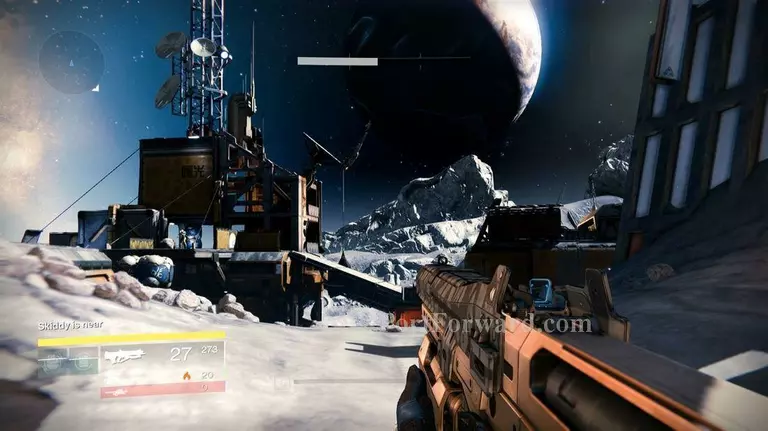
You're on the Moon! Your ghost will start by giving you the coordinates of the fallen Guardian.
Start following the new waypoint on your map, heading towards the building on your left.
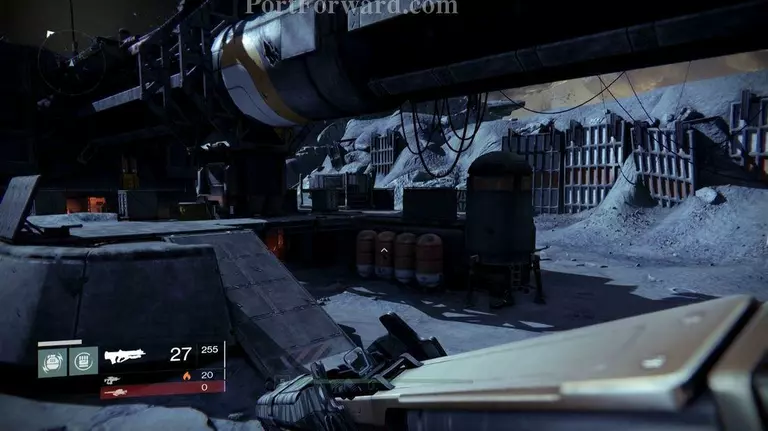
Ghost 1: From the spawn of the first level, go up the hill you'll see a large pipe with two white stripes and a yellow stripe in front of you.
Near these stripes, jump on the structure to find a ghost.
Once you see the giant pipe, run towards the building on your left. Once inside, head towards the back to find a terminal.
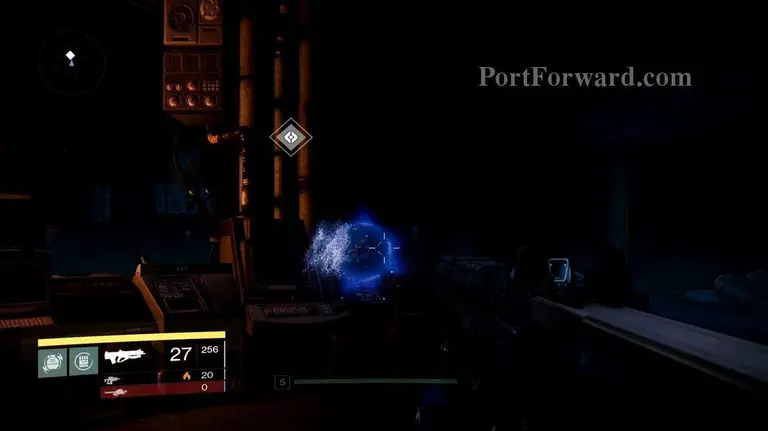
Deploy your Ghost to start the hack and to return power to the building.

Powering up the building will alert The Fallen. Fight off all the enemies that enter and any hanging around outside.
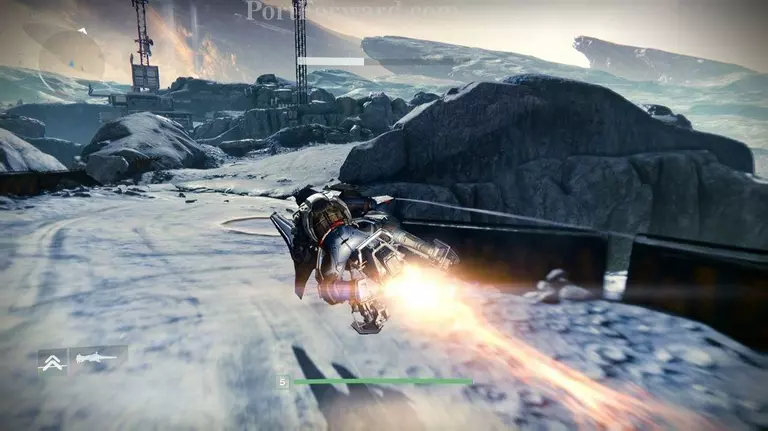
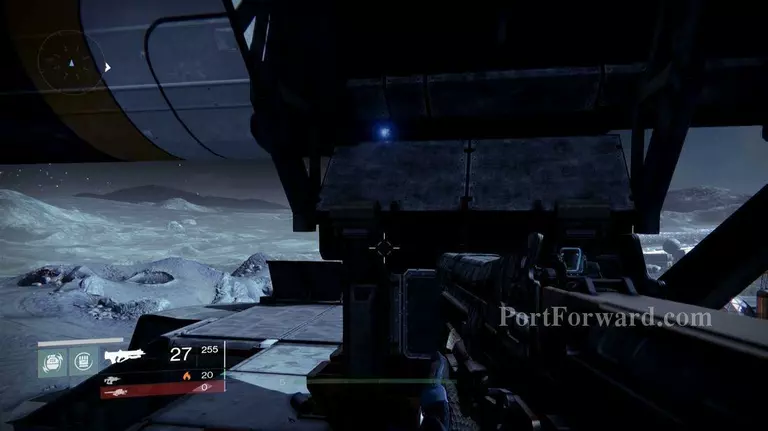
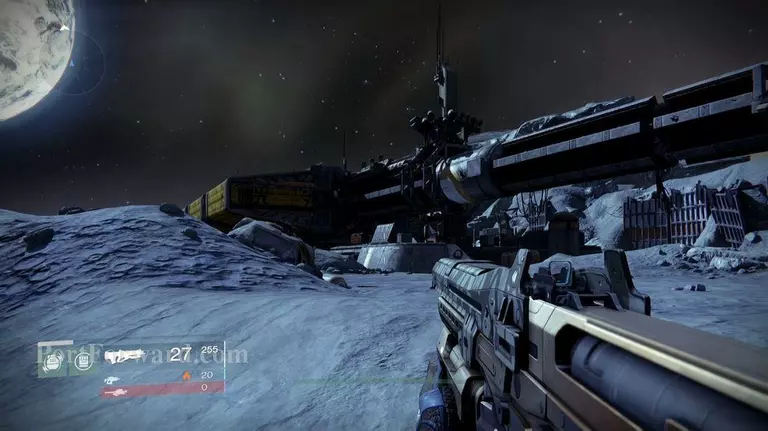
Once the area is clear of enemies, start heading towards your next waypoint to the right. You'll be looking for another colony base on the other side of the ridge.
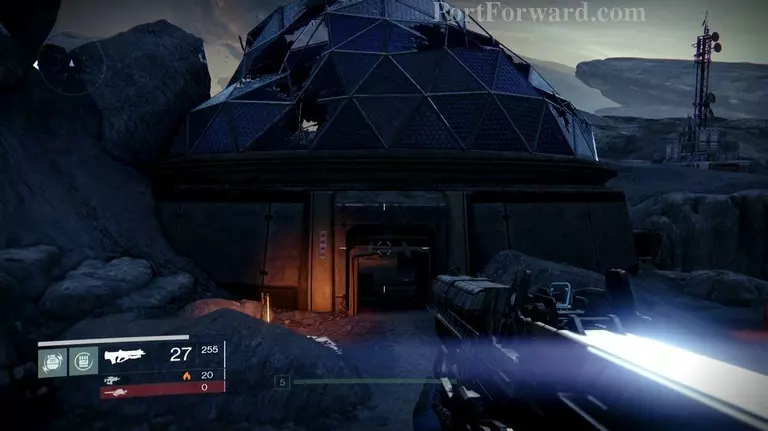
Ghost 2: From the above ghost, you see a shattered dome.
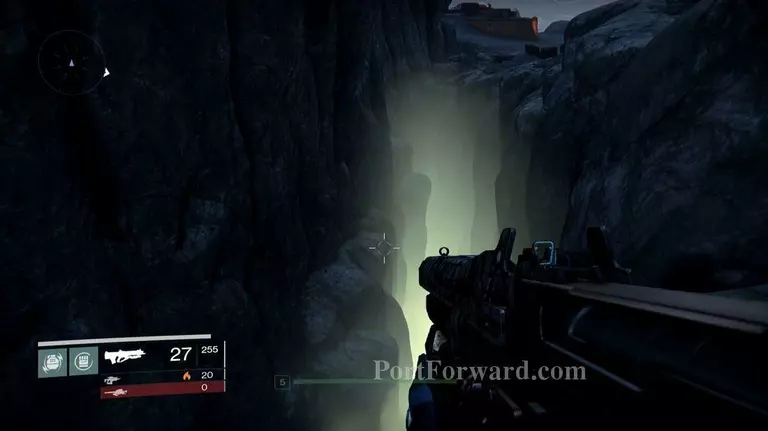
Go here, and just to the right hand side of it, look down into the crack and jump down onto the ledge to jump to it.
Ghost 3: Come to this section and locate the main building with a giant satellite dish.
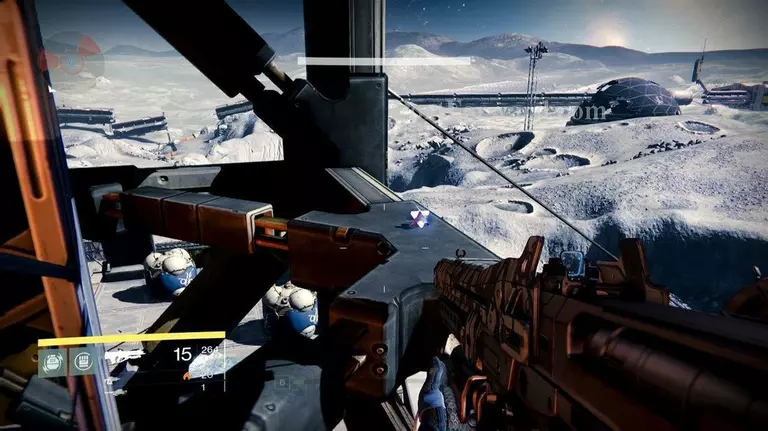
You'll have to climb and jump up the girders in order to find the dead ghost on one of the supporting beams.
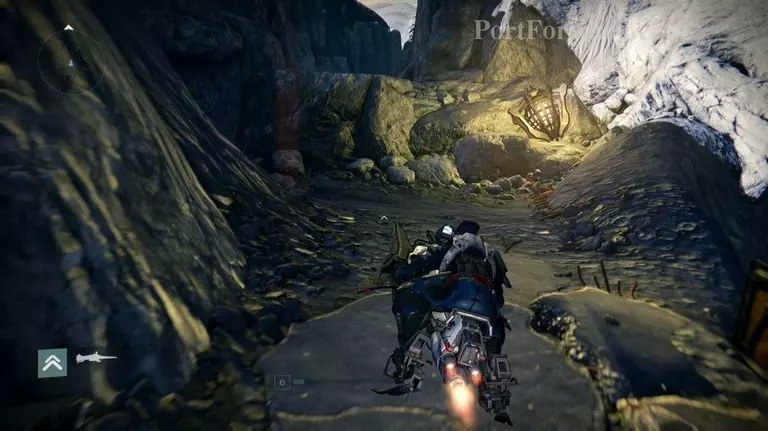
Follow the waypoint on your map as you go through a small path through one of the walls. Keep following the path until you reach the Temple of Crota.
From there, watch the cutscene, then prepare as you enter another Darkness Zone.

Clear all the enemies outside before heading into the temple. You have plenty of rocks and boulders to hide behind, so make sure take the opportunity to take cover!
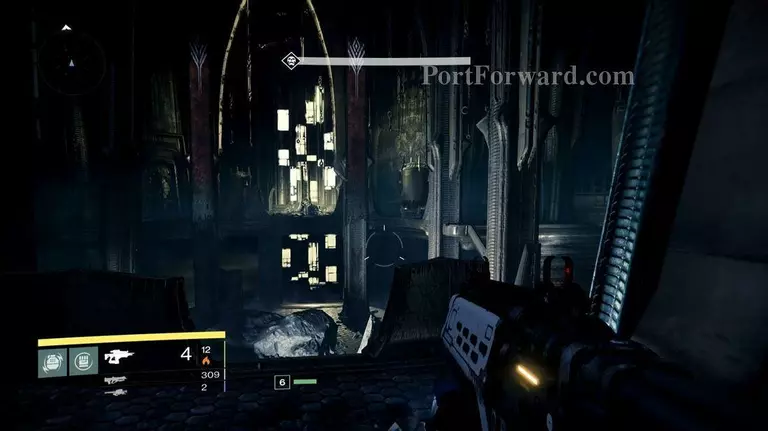
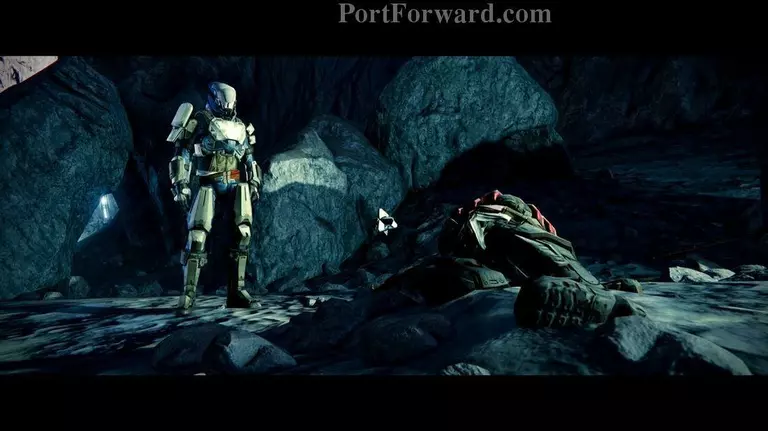
Inside, take cover behind the walls surrounding the center of the room, and take note of the enemies entering through the back door on the left.
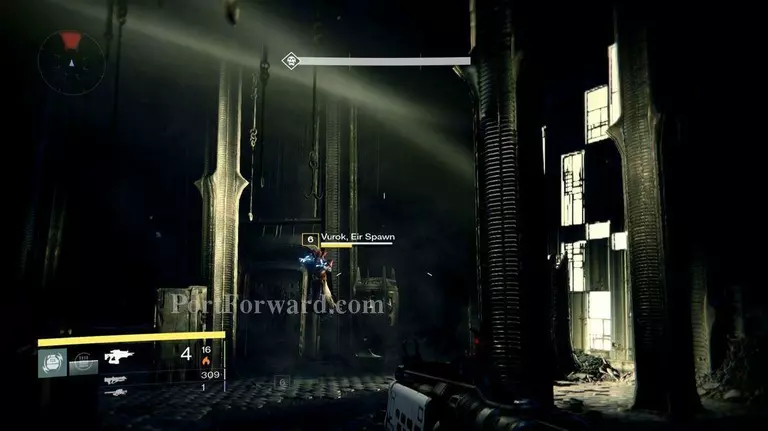
Here, you'll encounter Vurok, Eir Spawn, another witch, along with several Acolytes.
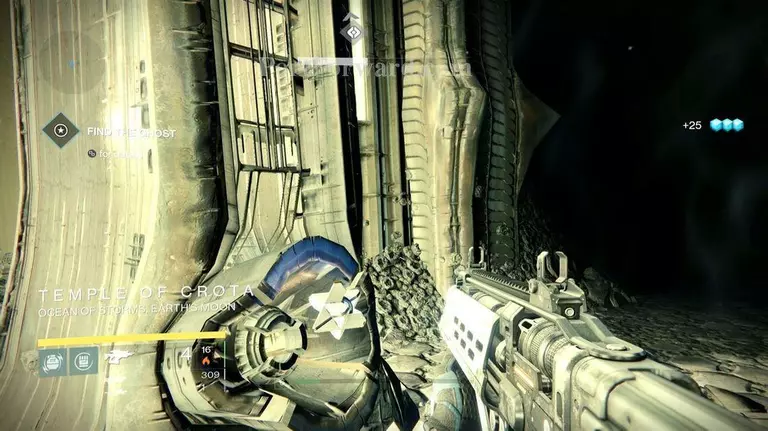
With all the enemies taken care of, head to the back of the room and walk over to your Ghost to end the mission.
More Destiny Walkthroughs
This Destiny walkthrough is divided into 20 total pages.


