
This Destiny walkthrough is divided into 20 total pages.
You can jump to nearby pages of the game using the links above.
The Last Array
As you re-enter the Cosmodrome, your Ghost will alert you that a team of Guardians had codes to a hidden Array that could link communications to other colonies. The team has gone dark, and it's up to you to get that Array up.

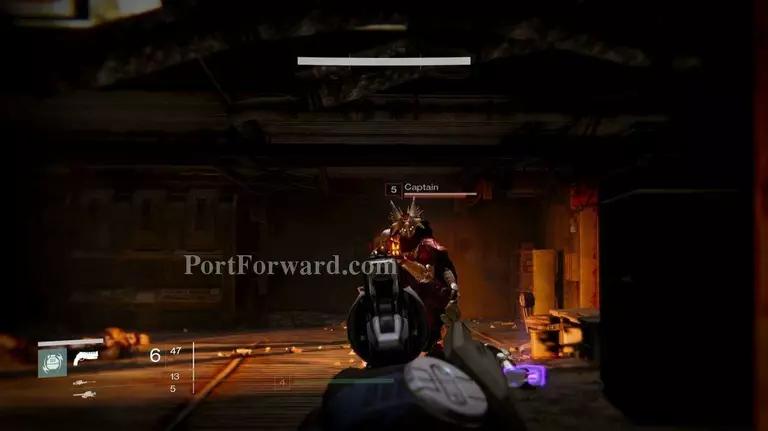
You'll be backtracking to where you first faced the Hive, although this is no longer a Darkness Zone. Instead, the Hive have begun fighting the Fallen, letting you sneak up to kill anything still standing. Return to the area where you fought the Wizard in a previous mission, and kill the Captain who has taken up residence.
If you haven't already, look above where he was located to find a Gold Loot Chest. After defeating the warring factions, your Ghost will notify you that the Ghosts holding the codes are located in Skywatch, in a clearing between the two buildings.
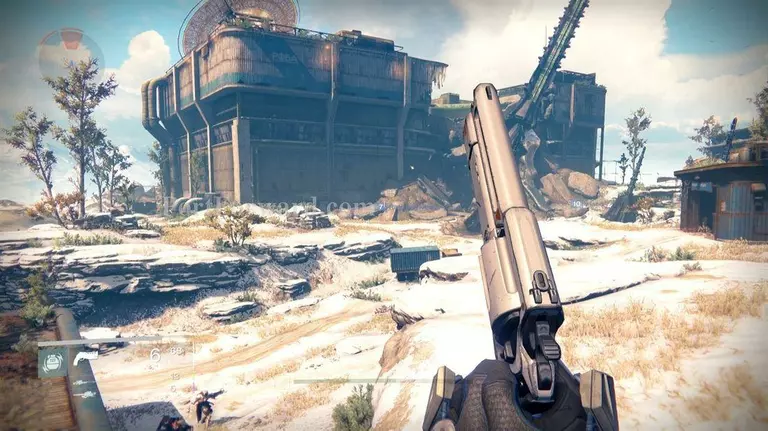
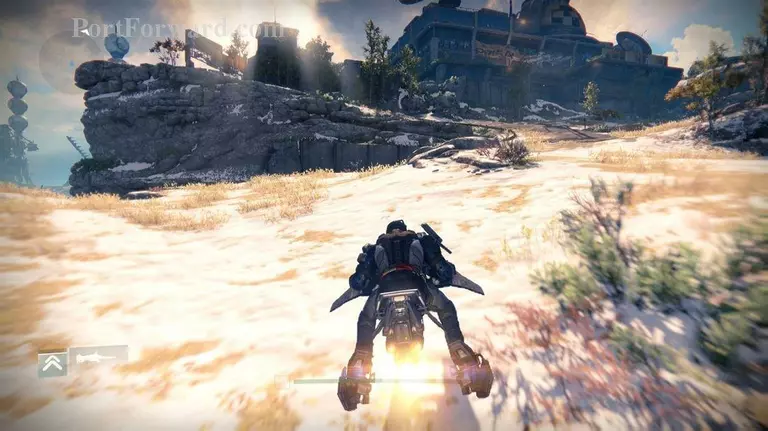
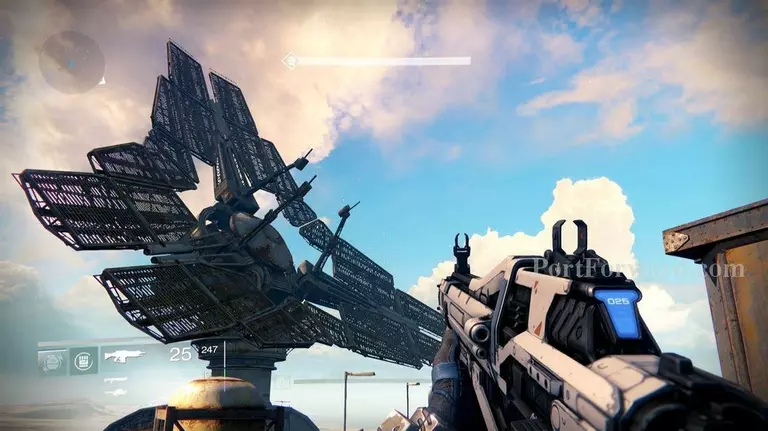
This wide open area is home to many Fallen, and a large structure that has seemingly crashed into the side of a building. The Hive will be pouring out from this location, engaging with anything they contact - you or the Fallen. For now, your objective is to kill any Fallen near you to see if they hold any Ghosts. Alas, the first few Ghosts you find are dead and useless. Several dead Fallen later, you'll finally find a Ghost who still has the codes! Now you can enter the complex with the Array up the hill.
Ghost 13: This ghost can be found underneath the Helipad in a small blown out hole along a path behind the cliff. WARNING: the cave is home to an extremely powerful Hallowed Knight (Skull Level) who is immune to lower level characters and can easily 1HKO you, so either prepare for fancy footwork, or find a friend to use as bait. The Ghost is located in a room to the right of the Knight.
You'll be back in the other side of the Terrestrial Complex now, just you and your Fire-team (if you brought friends). Make your way through the structure, defeating formidable Vandals and Dreg as you go. Finally you'll reach another outdoor area - the Control Station is near!
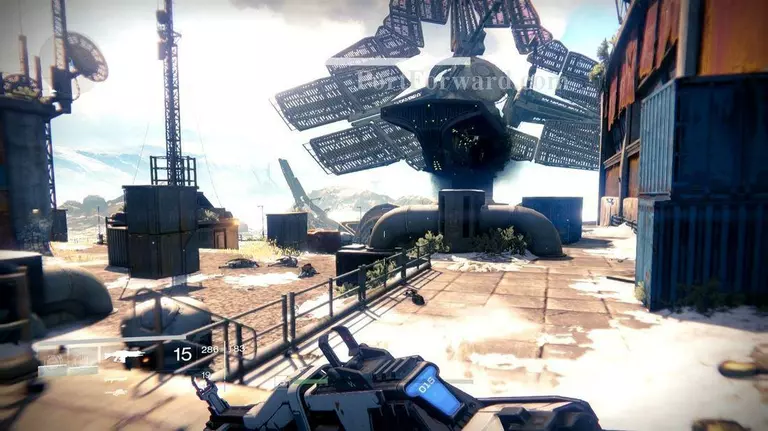
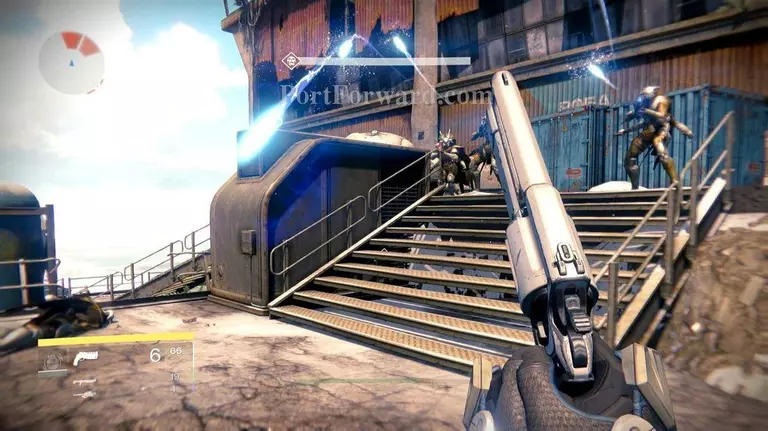
The Fallen will be in greater numbers here, so fight your way up the stairs to the building on the far end, watching for high level Captains as you go. Upon entering the building, several Stealth Vandals will drop from the ceiling - avoid their melee attacks and dispatch them quickly. Make your way to the far end of the room as you defeat the Fallen, and access the Control Station with your Ghost.
With your Ghost's prompting, head outside to find the Array opening from the ground. The victory will be short-lived, as Hive Tombships deploy to stop you from activating the Array. Take cover as they deploy, as the gunship will launch purple bolts at you
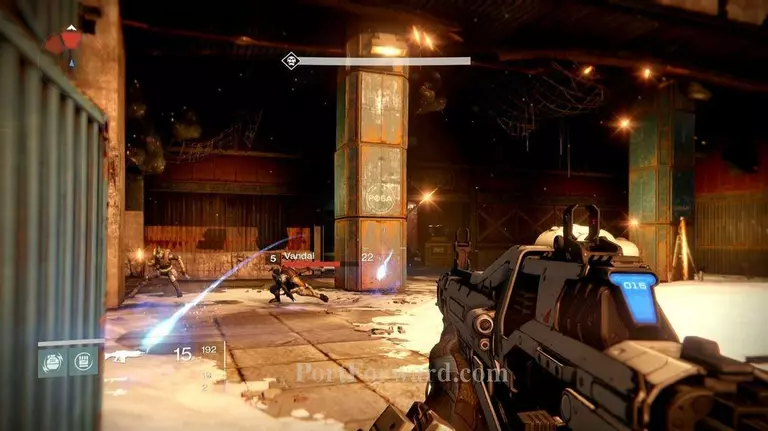
Watch for the melee focused Thralls and Knights who will try to rush you, while trading fire with the Acolytes and Wizards. Take care to avoid the Hallowed Knight's grenade like fire that can take you out quickly if you don't take cover.

With the Hive pushed back, return to your Ghost who will find out who is controlling the Array. You might not have control over it, but your Ghost now has access to several defense constructs.
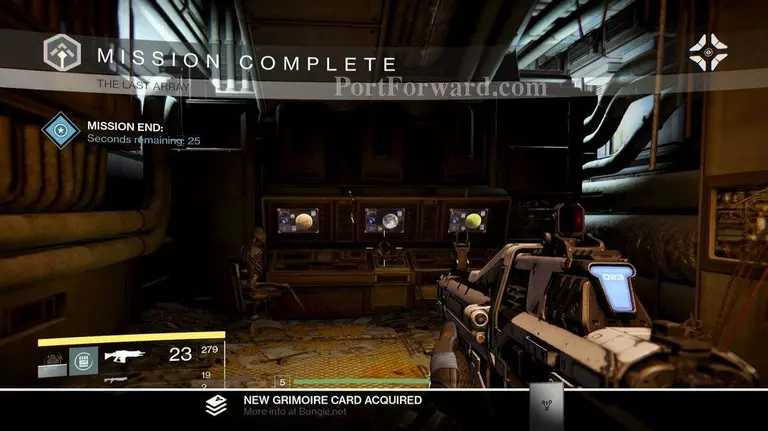
Don't forget to turn in the Ancient Recording you receive at the end of the mission for a reward!
More Destiny Walkthroughs
This Destiny walkthrough is divided into 20 total pages.


