
This Grand Theft Auto IV walkthrough is divided into 3 total pages.
You can jump to nearby pages of the game using the links above.
Alderney Missions
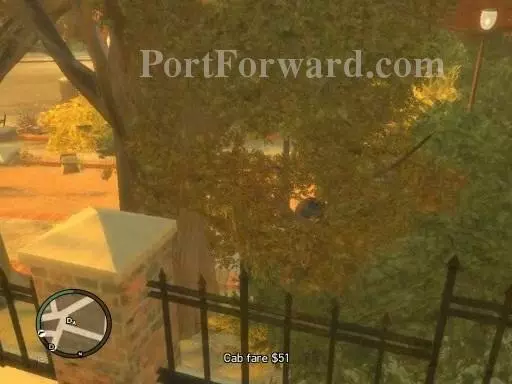
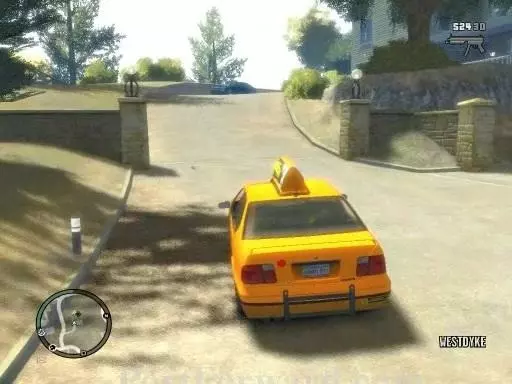
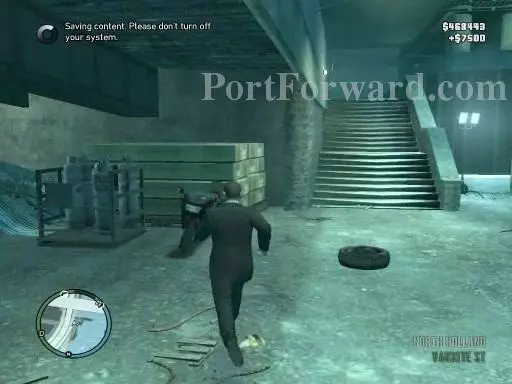
Get to the 'Dm" icon on the radar.
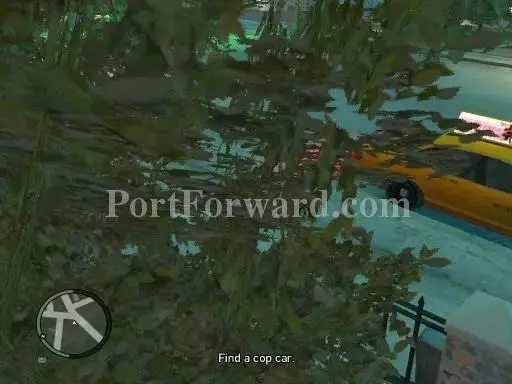
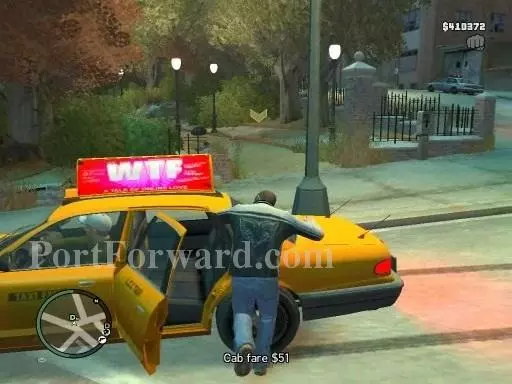
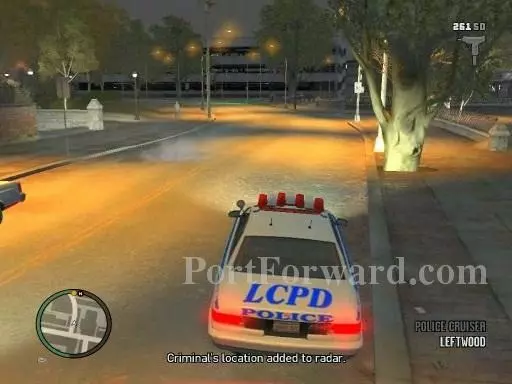
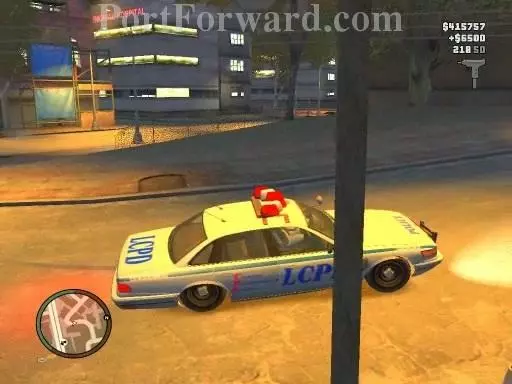
First thing to do is to get a cop car.
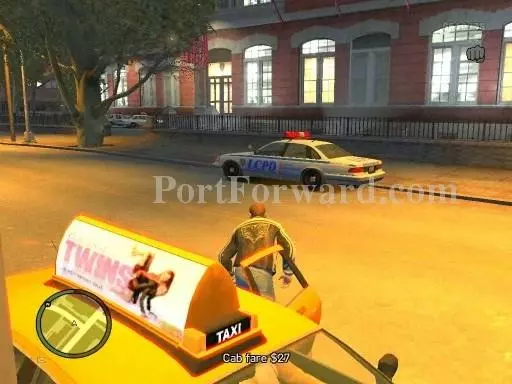
So head to the police station and steal one.
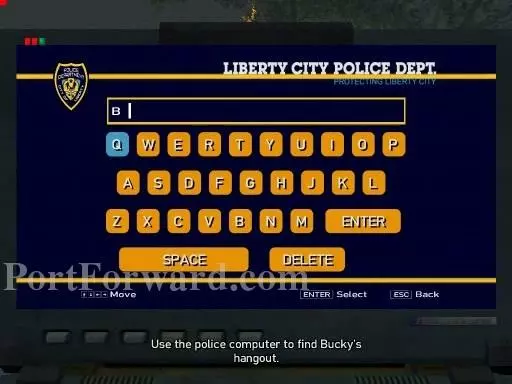
Then, use the computer in the car to find where Bucky hangs out.
Then, head to it.
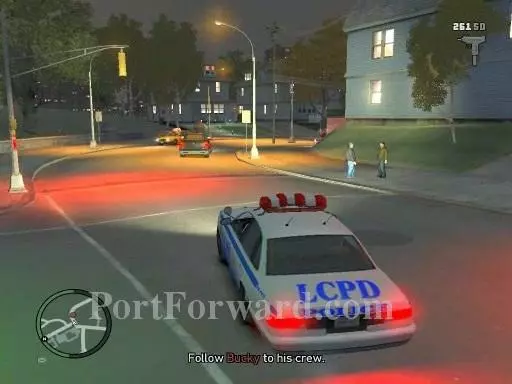
Bucky will drive away so follow him to see where his crew is.
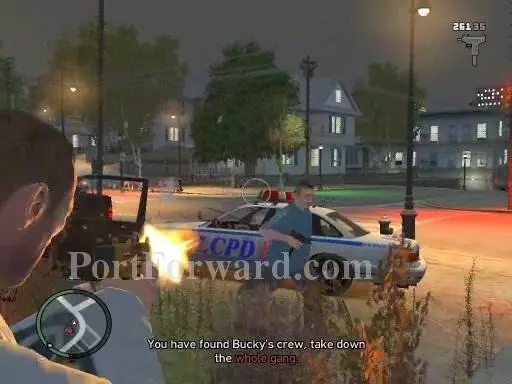
He'll arrive at a house. The gang members will be inside so eliminate Bucky and his crew.
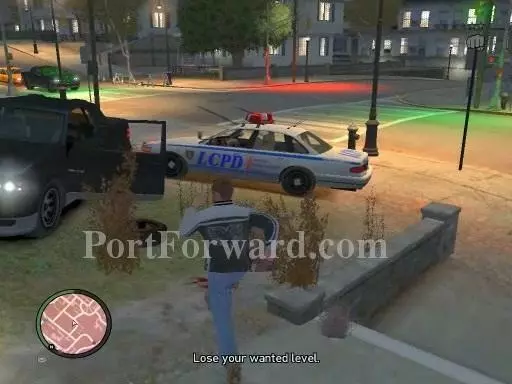
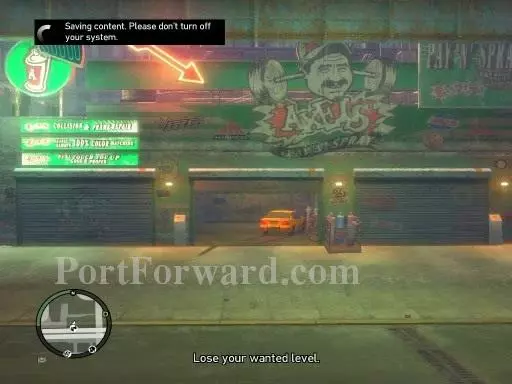
Afterwards, lose your wanted level.
And that'll be it.
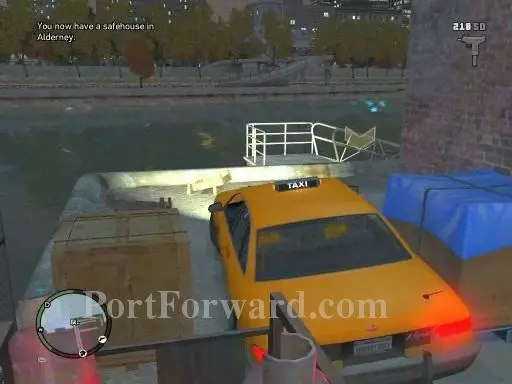
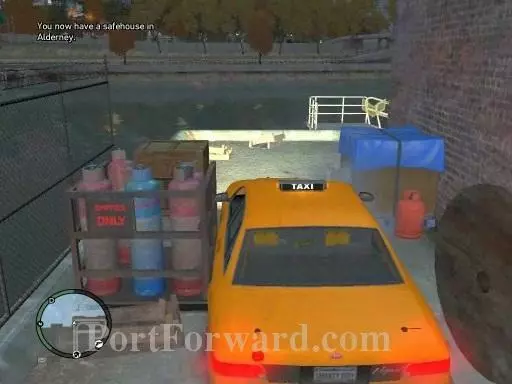
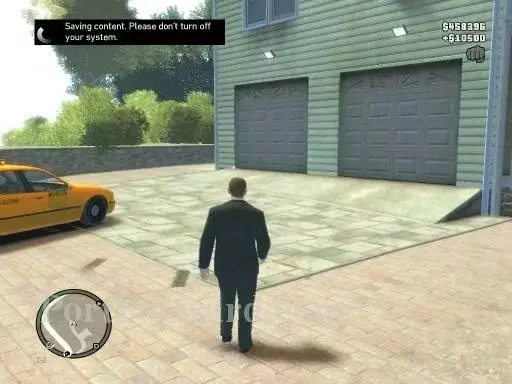
You'll unlock your safhouse in Alderney after you finish the first mission for Alderney.
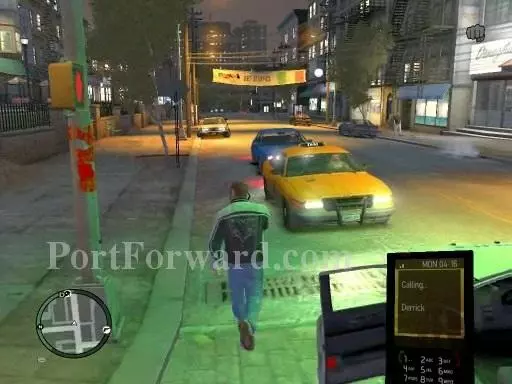
Call Derrick to commence the next mission.
The mission will be here.
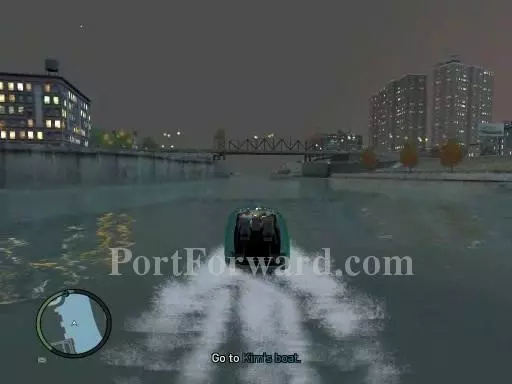
Get to Kim's boat is the first thing to do.

Then follow Kim.
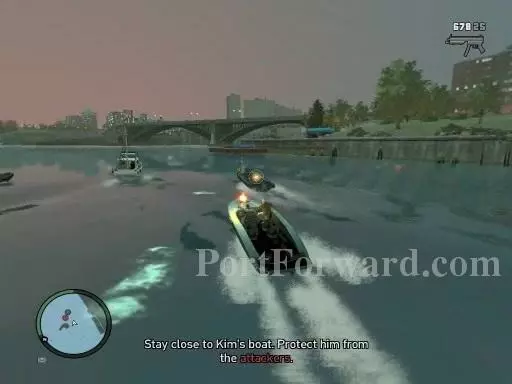
There'll be attackers trying to attack Kim so portect Kim.
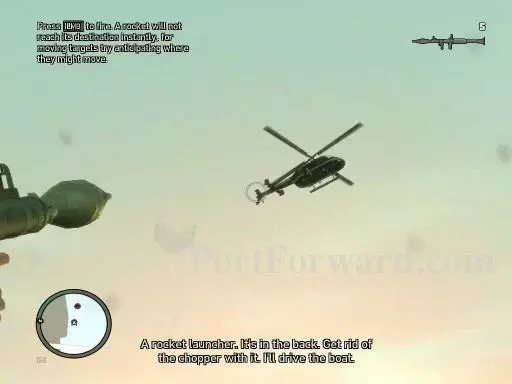
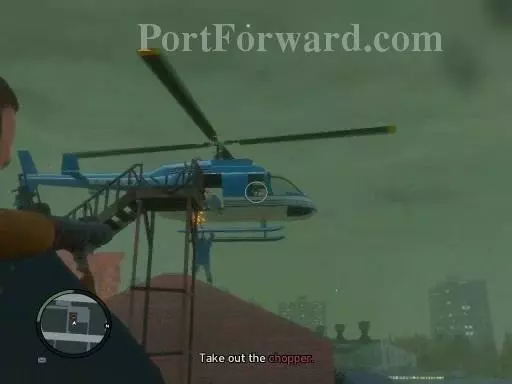
When the screen or Kim says to get the RPG, get it and take out the helicopter.
And that'll be it.
For the next mssion, go to the "D' icon on the radar.
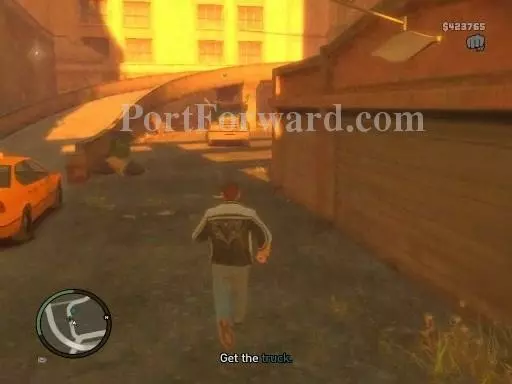
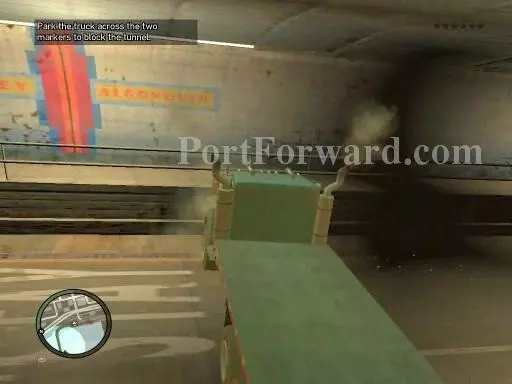
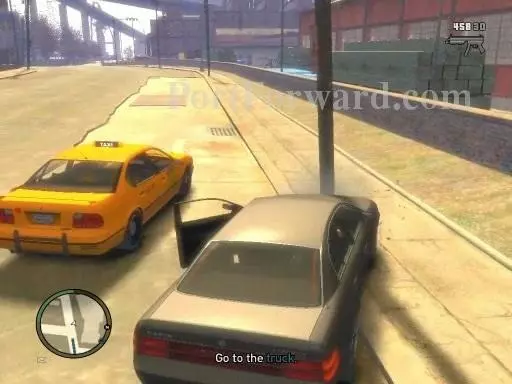
You'll have to get the truck. Follow the directions that were given to you.
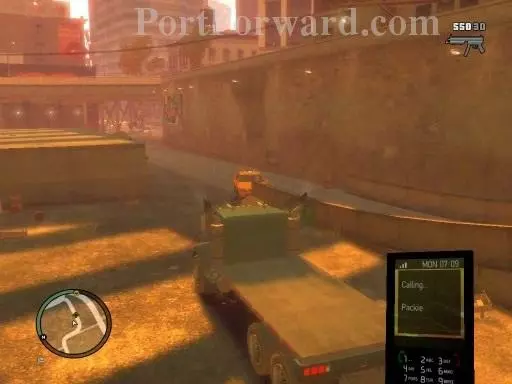
Call Packie after you've gotten the truck.
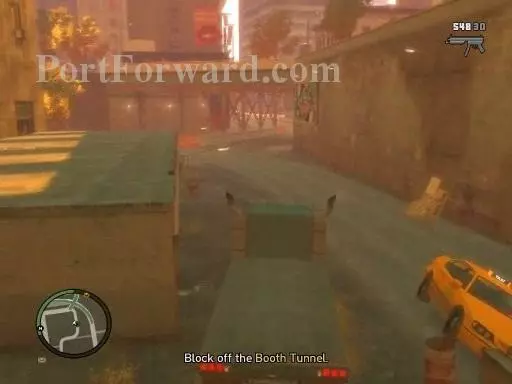
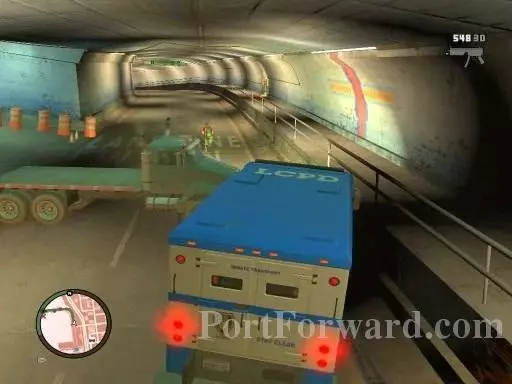
Get to the Booth Tunnel and block it with the truck.
Just like that.
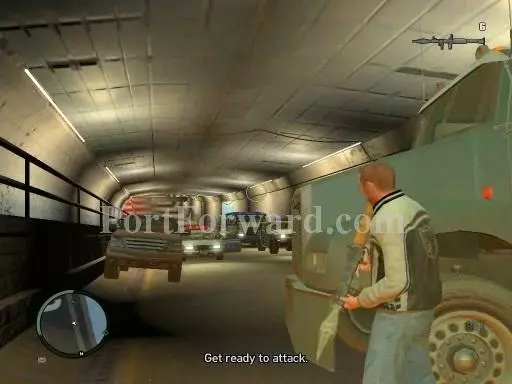
Then, get ready to attack.
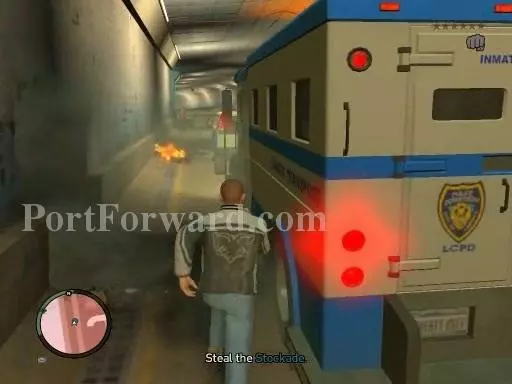
After everyone has been killed, steal the Stockade.
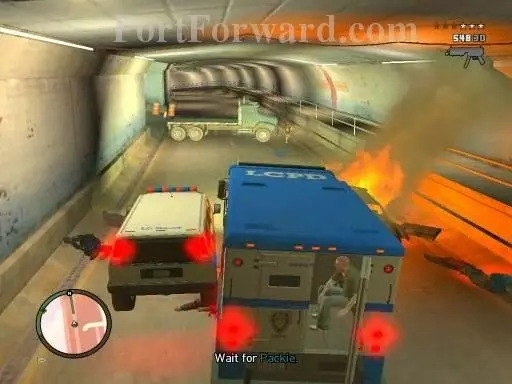
Then, wait for Packie to get in.
Now, lose the cops.
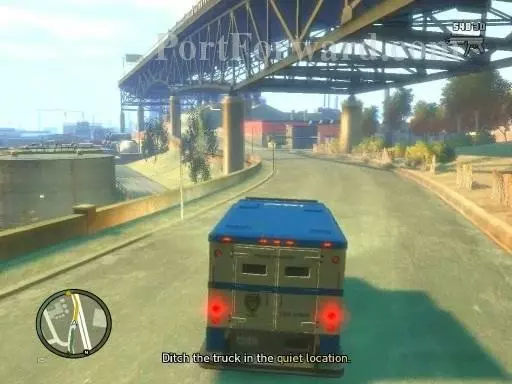
Get to a quiet place to ditch the truck.
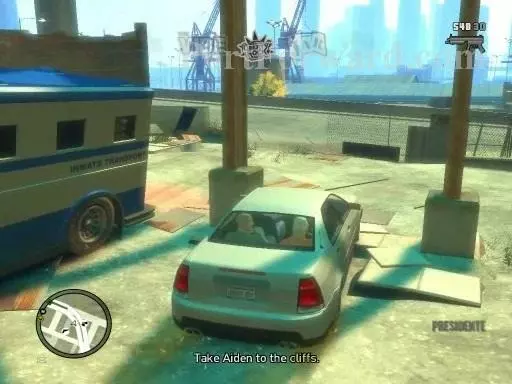
There should be a car there.Take Aiden and Packie to the cliffs.
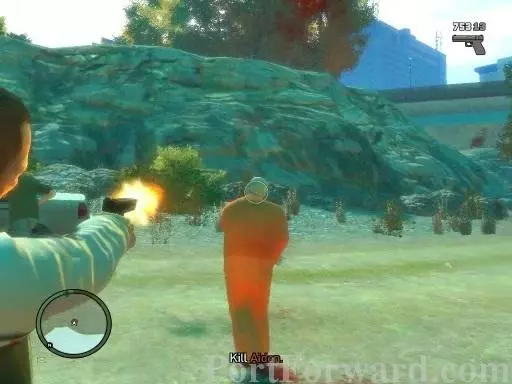
Then execute Aiden.
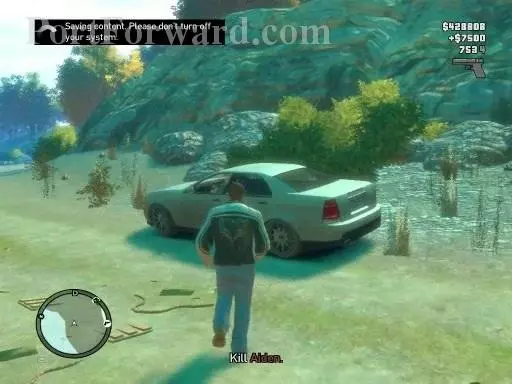
And that'll be it.
To start the next mission, go to the P icon on the radar.
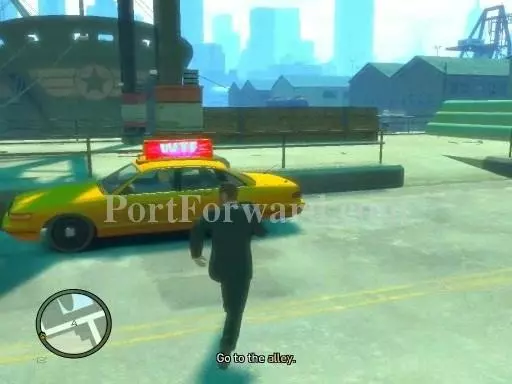
Head to the alley.
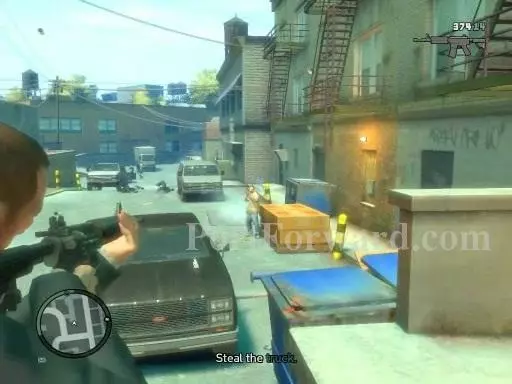
Clear the way to go steal the truck.
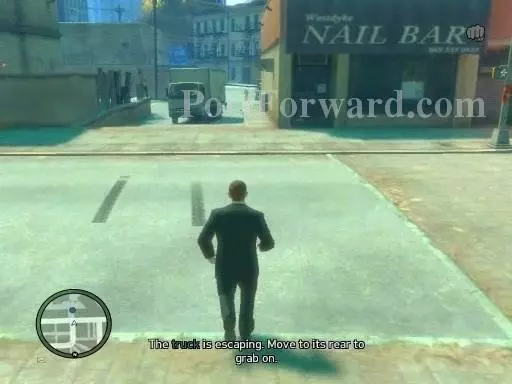
The truck will start to leave. Go to the back of the truck and jump and hang on it.
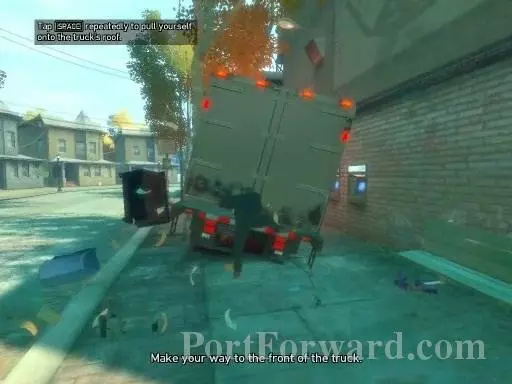
Then shimmy up and to the front of the truck.
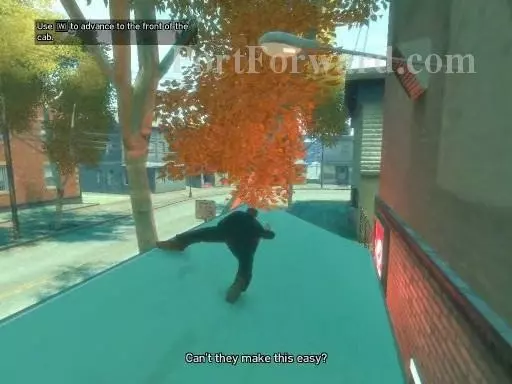
On screen directions will tell you how to get to the front.
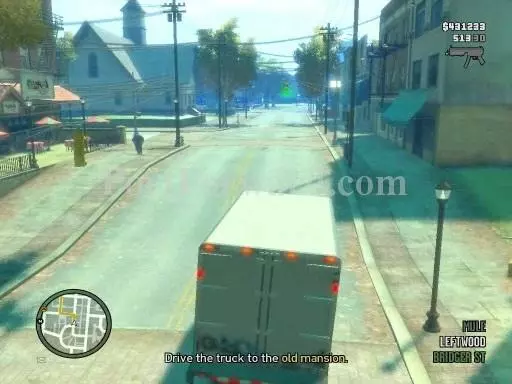
Now, drive the truck to the old mansion.
And that'll be the end of the mission.
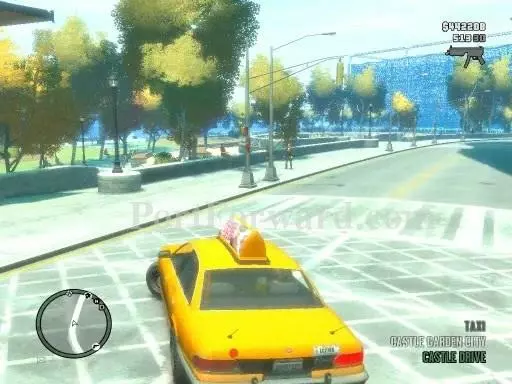
Go to Castle Drive to start the next mission.
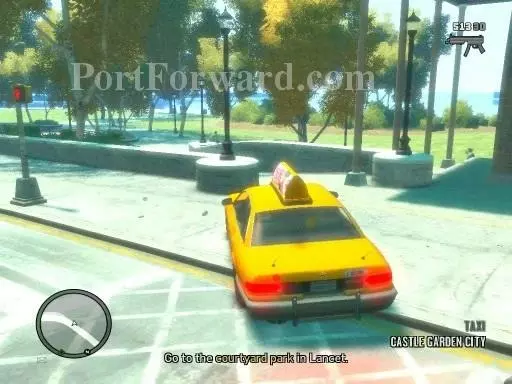
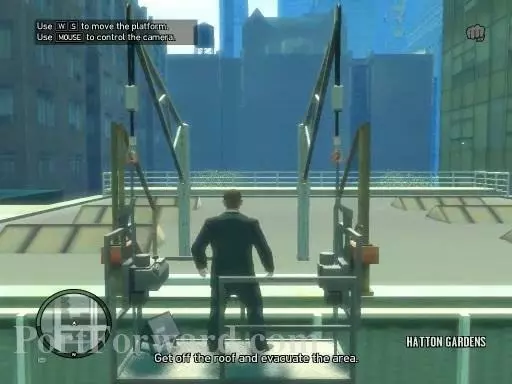
Head to the courtyard park in Lancet.
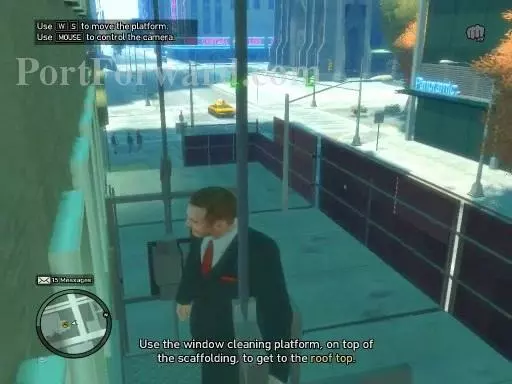
Get on the window cleaning platform so you can get to the roof top.
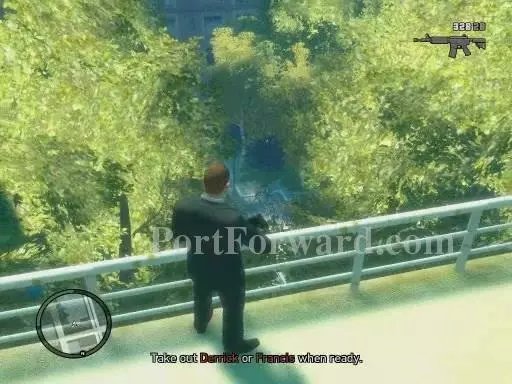
Then kill Derrick or Francis, your choice.
Coincidently, a police officer will be there. So get outta there as soon as possible.
Once you get outta the area, the mission will be over.
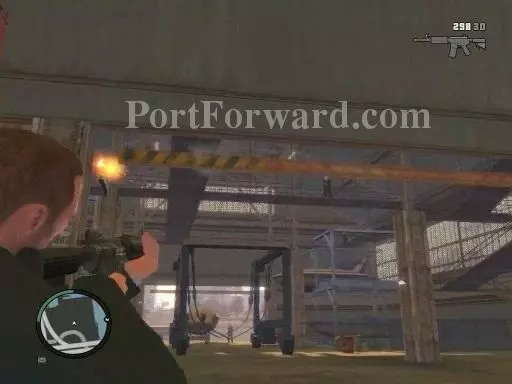
For the next mission, go to the J icon on the radar.

First thing to do is drive to the old refinery.
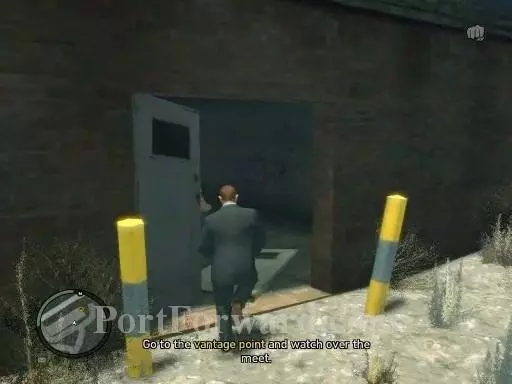
Then, head to the vantage point to watch the meet in case something goes down.
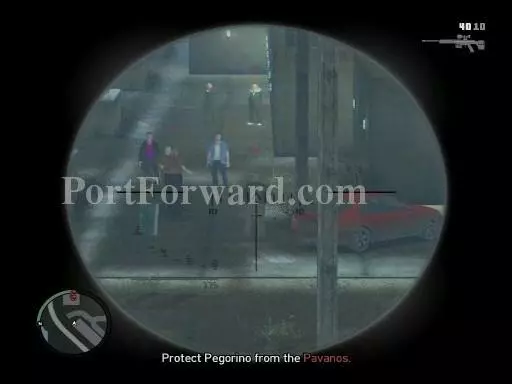
Something will go down and you'll have to protect Pegorino from the Pavanos.
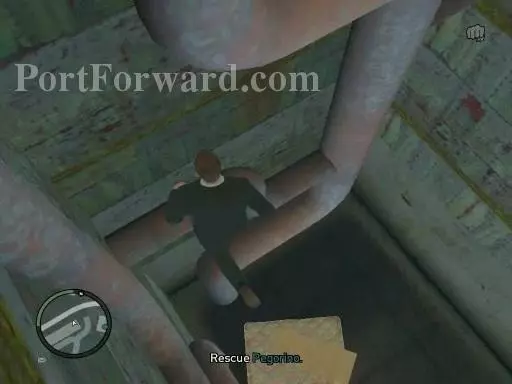
Then, you'll have to go rescue Pegorino.
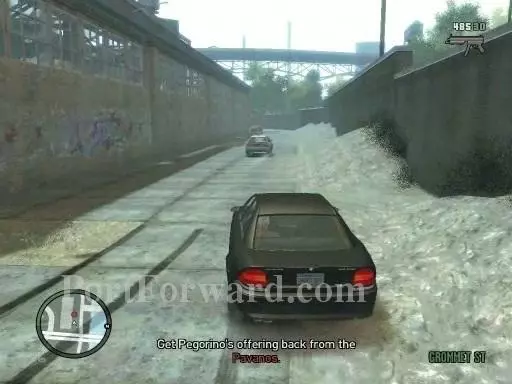
After talking to Pegorino, chase the Pavanos and get back Pegorino's offering.
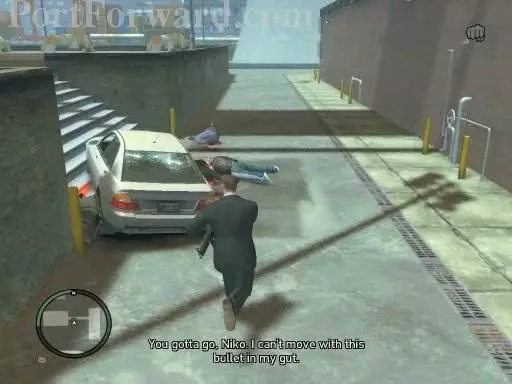
They'll crash so kill them and get the offering back.
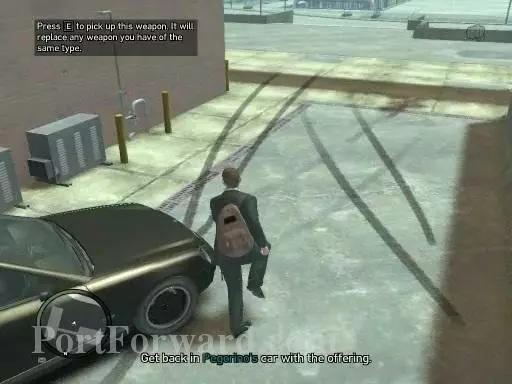
Then get back in the car with the offering.
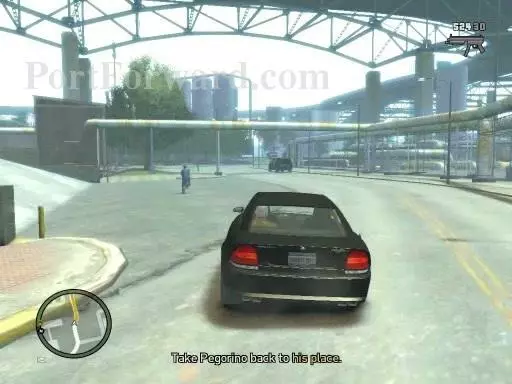
After that, take him home.
And that'll be it.
For the next mission, head to the Pegorino's place.
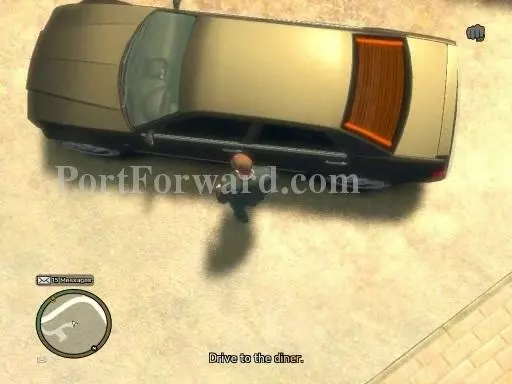
Get to the diner.
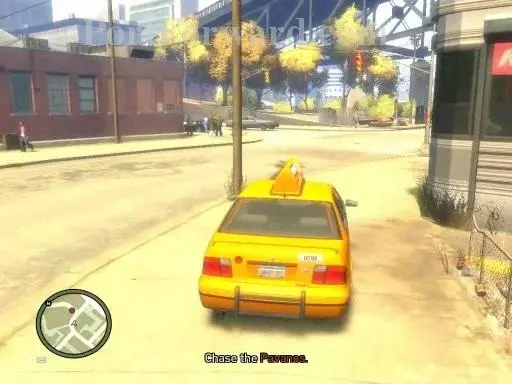
The Pavanos will run away so go chase them.
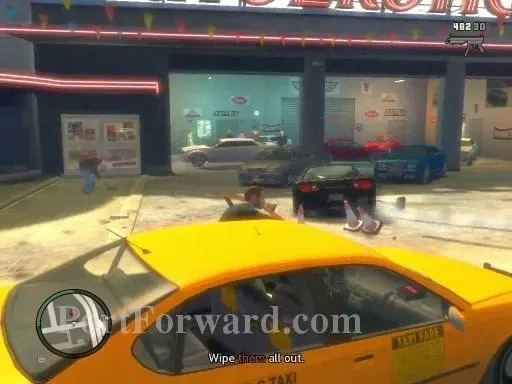
They'll crash and stop and when they do, wipe them out.
After that, lose your wanted level and that'll be it.
Head to the P icon on the radar to start the next mission.
You'll need to head to the truck.
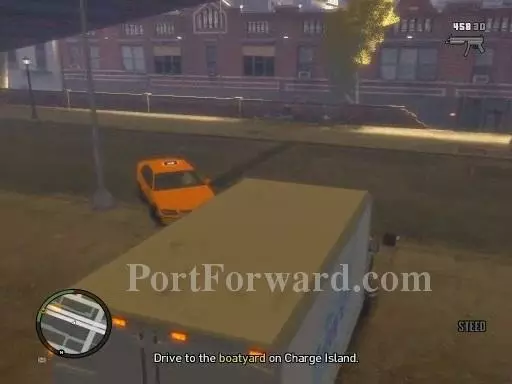
Then drive it to the boatyard.
When you get there, there'll be guards. Take them out so you can get through.
There'll be some stuff still on the boat so head to it and drive it.
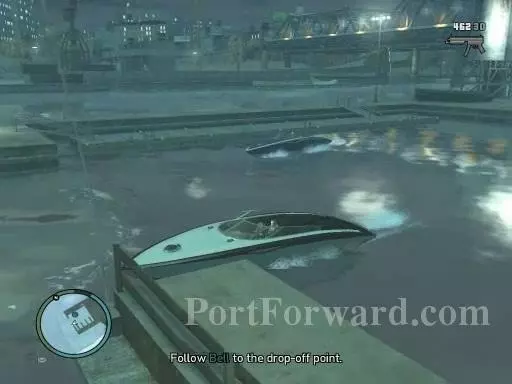
After that, follow Bell to the drop off point.
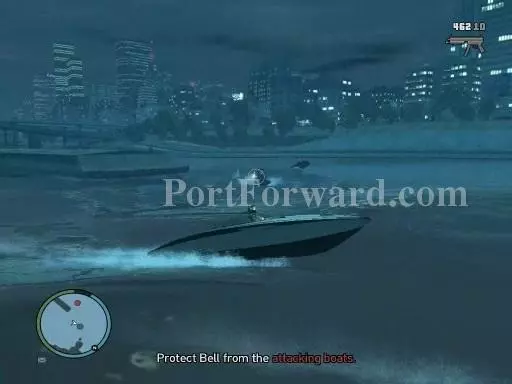
Some boats will come out and attack you guys. Kill the attackers or destroy their boats.
After you dock the boat and get ot the drop off point, that'll be it.
For the next mission, head to the J icon.
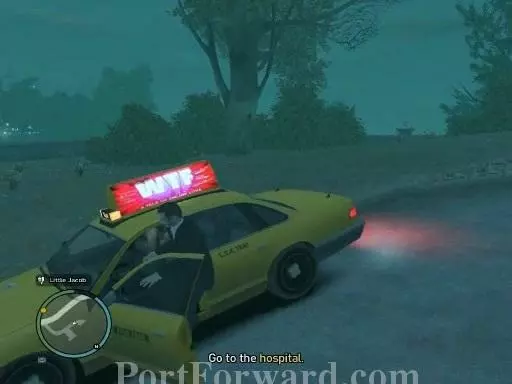
First thing to do is go to the hospital.
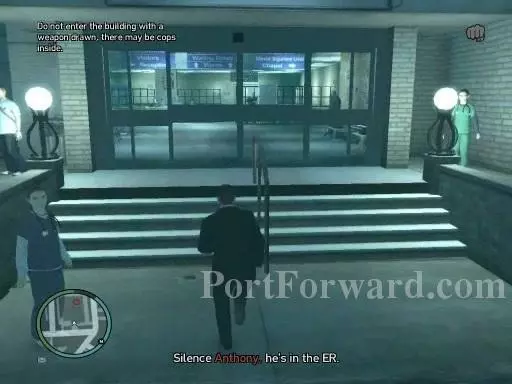
Enter the building without a weapon drawn. And get to Anthony who's in the ER.
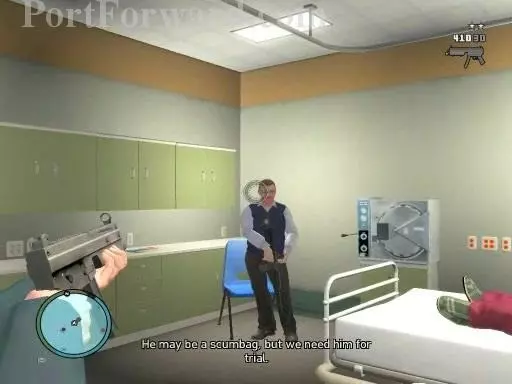
When you get there, kill the cop and Anthony.
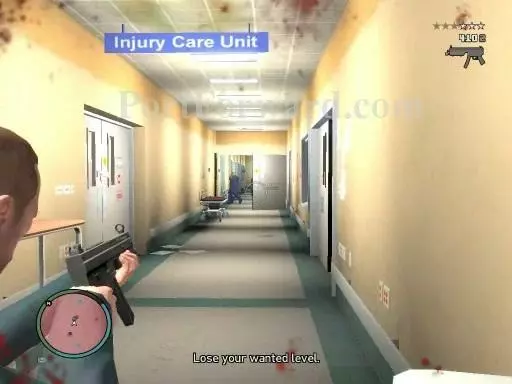
Afterwards, lose your wanted level.
After that, you've completed the mission.
Get to the P icon on the radar to start the next mission.

Travel to the old Sprunk factory near Port Trudor.
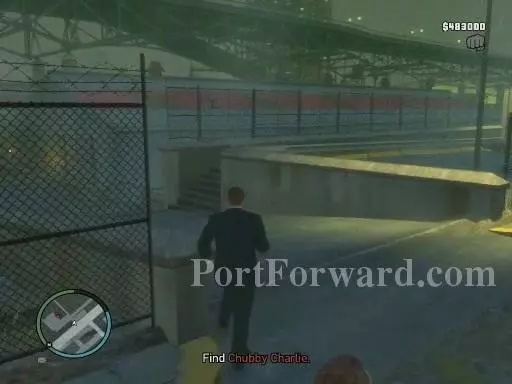
Then head in and find Chubby Charlie.
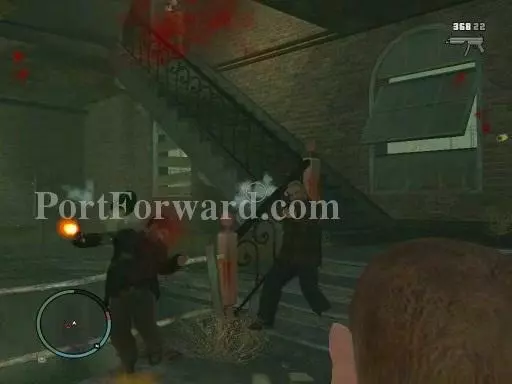
Once you get in, there'll be thugs guarding Charlie. Kill them and find Chubby Charlie.
After you clear the thugs on the next floor, Chubby Charlie will go up the next floor. So chase him.
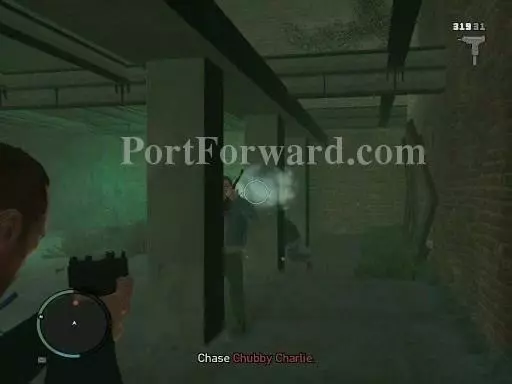
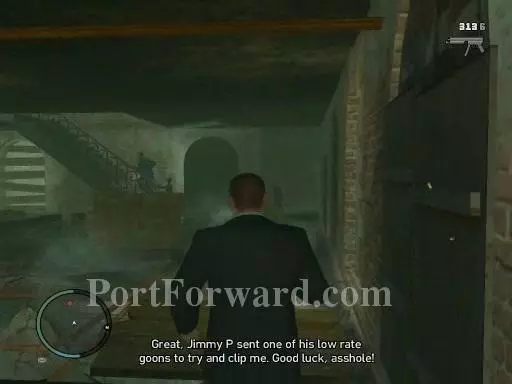
There'll be more thugs while you chase him. Kill them as soon as possible so you can go back in pursuit on Chubby Charlie.
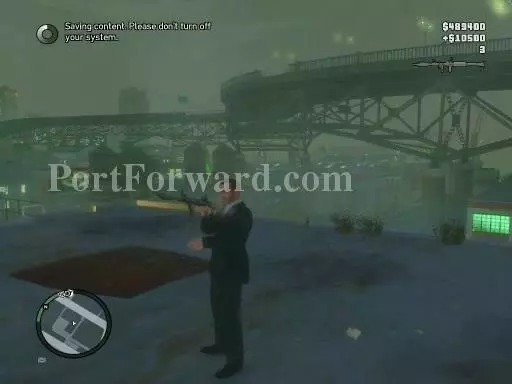
After going up the roof to another one and taking out more thugs, a chopper will come and save Chubby Charlie. So Shoot the RPG at the chopper to take the chopper and Chubby Charlie out.
And that'll be it for that mission.
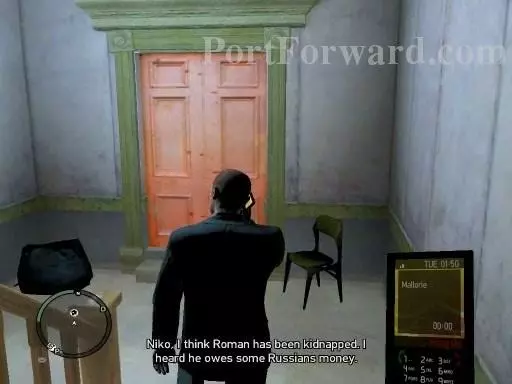
A call from/to Malorie will commence the next mission.
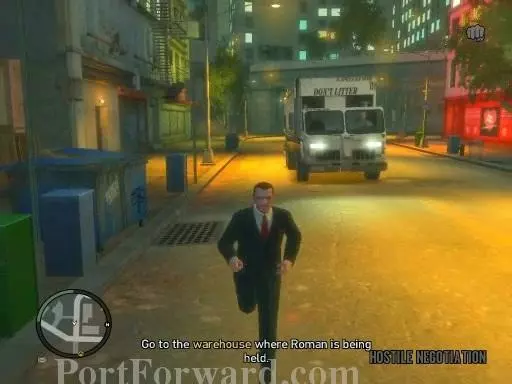
Roman has gotten kidnapped and is being held at a warehouse. Head to it.
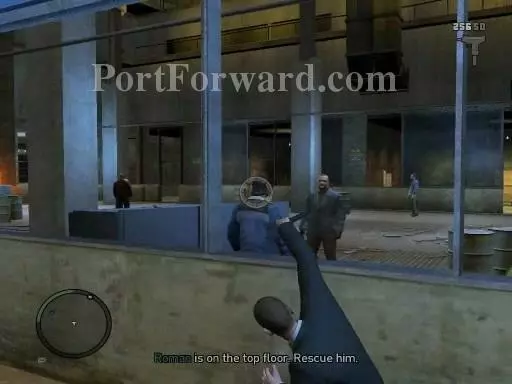
There'll be LOTS of thugs. ANd mulitple floors to go up. So take out all of them on each floor. Once you get to the top, rescue Roman.
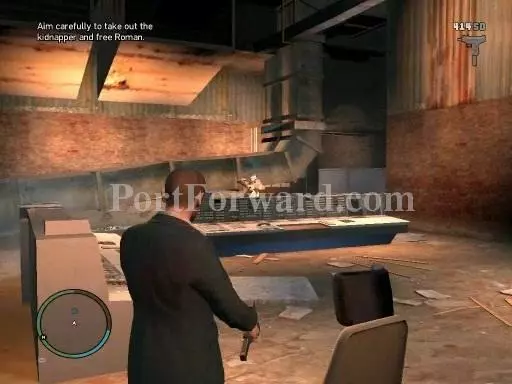
The kidnapper will have Roman at gunpoint when you've gotten through the thugs. So aim very carefully to kill the kidnapper and not Roman.

Now follow Roman out of the warehouse.
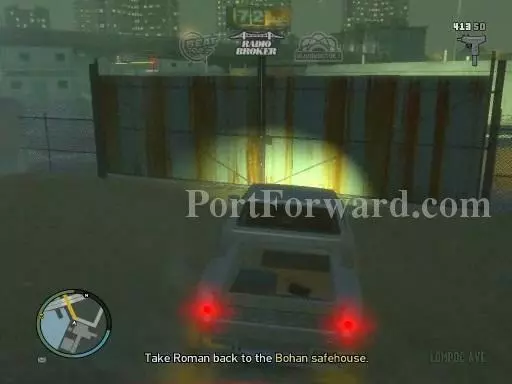
After you get out, take Roman back to the safehouse.
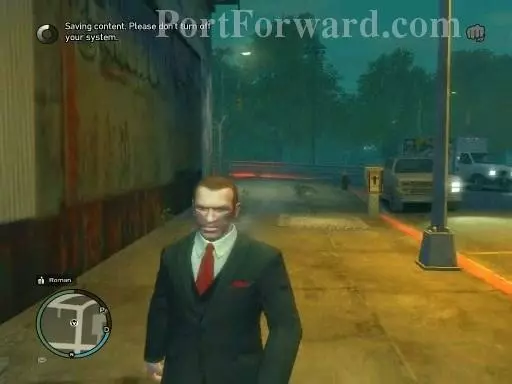
And that'll be the end of the mission.
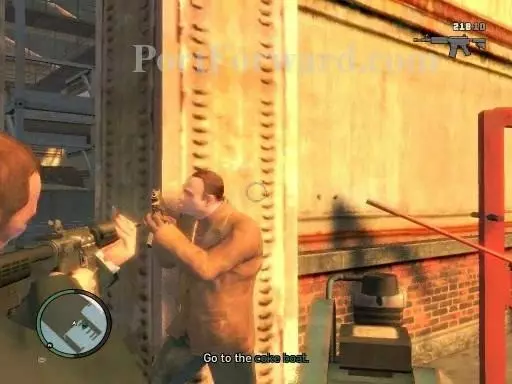
For the next mission, head to the P icon on the radar.
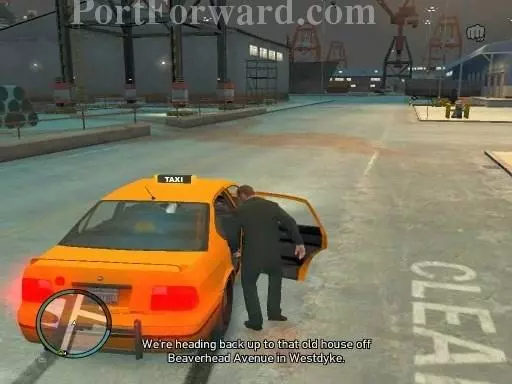
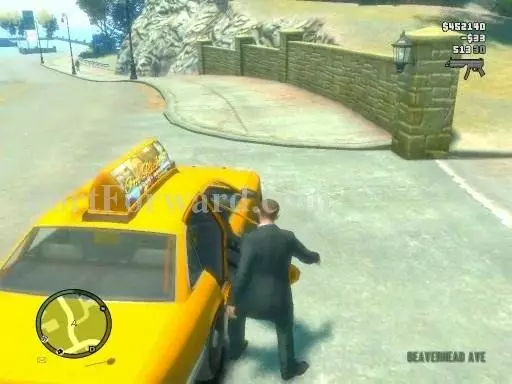
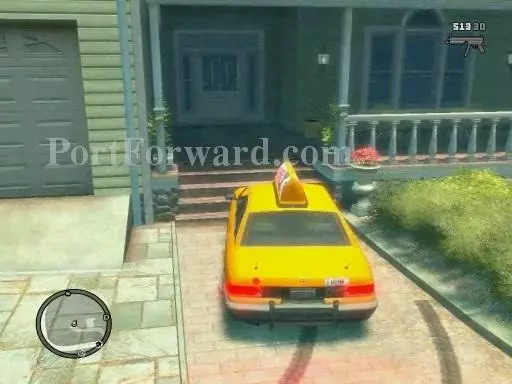
Head to the old house on Beaverhead Ave and Westdyke.
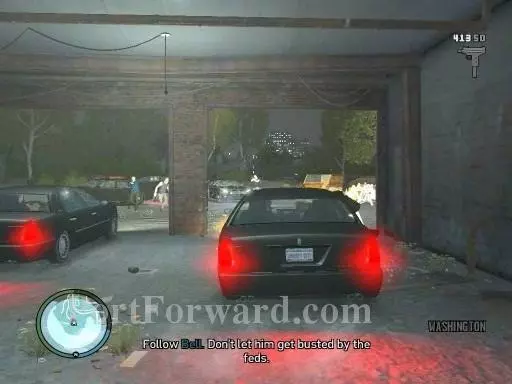
Follow Bell and make sure the cops dont get him.
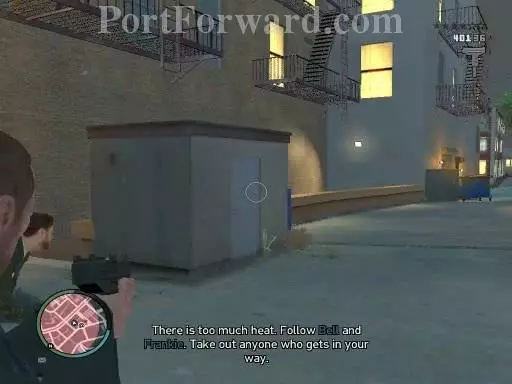
You guys will have to come to a stop since there's too many cops. Follow Bell and Frankie and if anyone gets in the way, take them out.
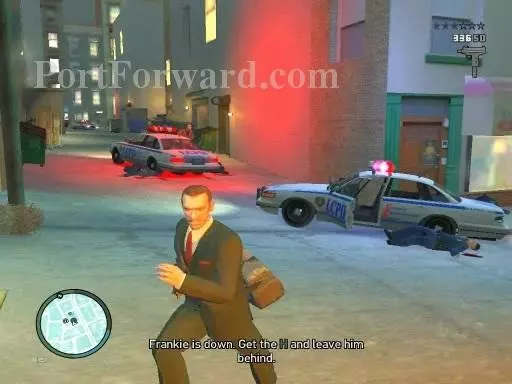
Frankie will get down while you're follow them. You'll have to pick up the "H" and leave him. Then head to the escape van.
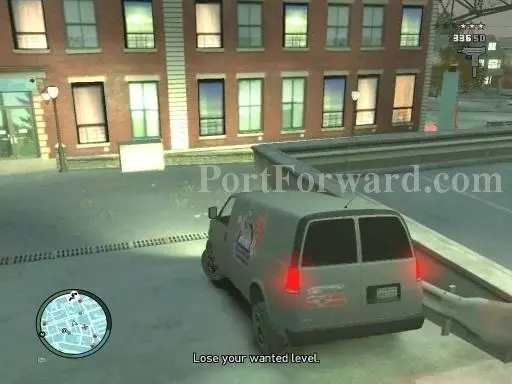
And now, the hard part. Lose your wanted level.
The best way would be to repaint your vehicle.
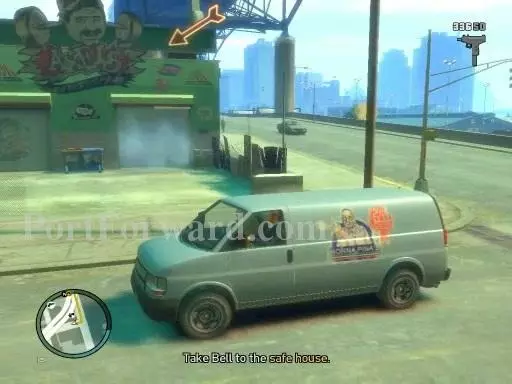
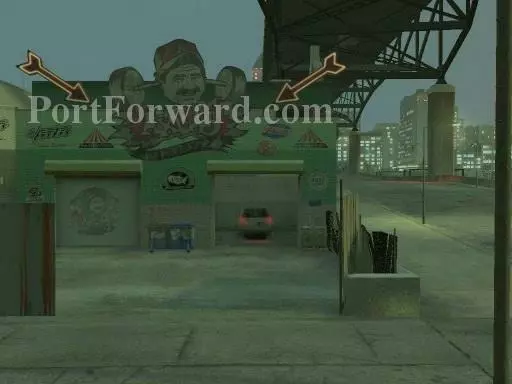
Then take Bell to the safe house.
And that'll be it for that mission.
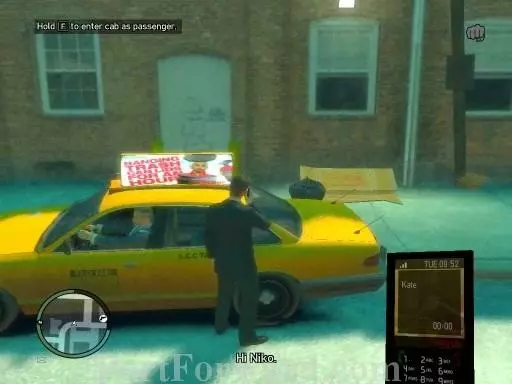
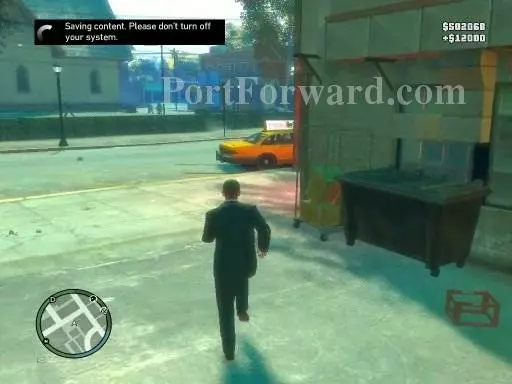
The next mission will commence with a call from/to kate.
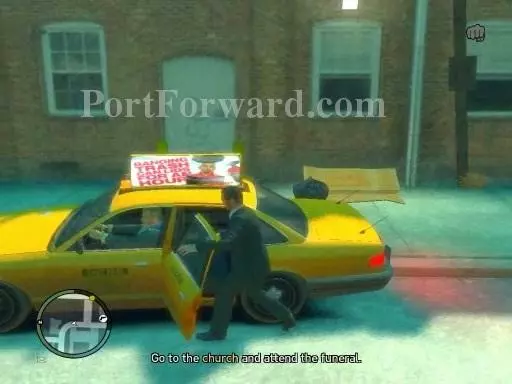
Head to the church and attend the funeral.
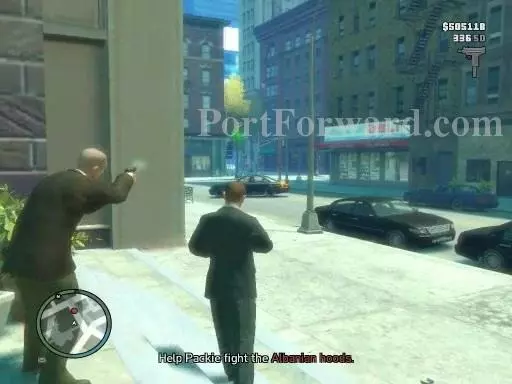
After the service, help Packie fight off the Albanian hoods. img(166057); Then, get in the hearse with Packie. img(166058); Head to the cemetery. img(166059); Then a cutscene will show you burying him. and the mission is done. img(166060); An unknown caller will call which'll commence the mission. img(166061); The mission will be at Alderney State Coreectional Facility. img(166062); Get to a computer. img(166063); Internet cafe's are your best bet. img(166064); When you get to the computer and open up the web browser, the page of cars will already be up. Click on view cars. img(166065); Then, scroll down to the pink Feltzer and click on the price to notify the seller, our target, that you wanna buy it. img(166066); Then, wait to call her at 8:00 and 21:00. Once you do, head to her place. img(166067); Now, when you test drive it, head to the coast. img(166068); You'll eventually spook her though, so head to the safhouse and take her there. img(166069); And that'll be it. img(166070); After that mission, you should get a new safehouse! It's very luxorious. img(166071); Inside the safehouse, go to your computer and make a date with French Tom (the guy you made a date with like 5-10 missions ago). img(166072); Head to the heart icon on the radar to go where French Tom is. img(166073); Once you find him, kill him. img(166074); After that mission, head to the safehouse where you put Gracie in. The icon should be a little crown looking thing. img(166075); Get upstairs into the safehouse and take a picture of her to send to her dad. img(166076); Then get out. And that'll be it. img(166077); After a day worht of sleep, head to the correctional facility to start the next mission. img(166078); Head to the safehouse quickly! img(166079); After grabbing Gracie, get outta that safehouse and go to the other one. img(166080); And that'll be it for that mission. img(166081); Head to the G icon on the radar for the next mission. img(166082); First thing to do is head to Packie's car on Northwood. img(166083); After you've done that, head to the Charge Island Sewage Works. img(166084); When you get there, get to the exchange point in the back. img(166085); When you get there, there'll be Bulgarian's men ready to atttack. Kill them. img(166086); Go upstairs and there'll be more thugs to take out. img(166087); Grab the ice. img(166088); Once you beat the thugs and explode a truck, follow Packie. img(166089); Then, take Packie to his mom's house. img(166090); After that, the mission is over. img(166091); A call from Ray will commence the next mission. img(166092); Head to Iron Street to see Talbot. img(166093); Go get a four door car to fit you and the guys. img(166094); Go get Roman and Talbot. img(166095); Talbot will give you directions where to go. img(166096); After Bernie is dead, in a cutscene this'll happen, the mission will be over. img(166097); Head to Middle Park West and Pyrite Street to start the next misison. Or just go to the B icon on the radar. img(166098); Take Bernie to the jogging area for his exercising for the day. img(166099); Now, follow him but don't be too close. You'll look suspicious. img(166100); When you get to the end of the tunnel, a hater will pop out. Take him out. img(166101); Then take Bernie to Perseus. img(166102); And, that'll be it. img(166103); For the next misison, head to the B icon on the radar again. img(166104); Get the car that's just down the road and make sure Bernie comes along. img(166105); Then, drive to the rendezvous so he can meet the blackmailers. img(166106); The blackmailers won't be so friendly. Take them out. They will try and escape, just chase them and shoot at their car. img(166107); After that, take Bernie back to his place and the mission will be over. img(166108); A call from Pegorino will commence the next mission. img(166109); Drive to East Holland and look for Ray. img(166110); When you find him, kill him and his guards. img(166111); What I did was take out some of the guards with an SMG whil driving. Then, with the last car, take him out with an RPG. And the mission will be over. img(166112); The next mission will be commenced with a call from the UL Paper. You'll have to head to the Algonquin Dukes Expressway. img(166113); First thing to do is to head to Grand Easton Terminal. img(166114); Then, get in the middle car and wait for Bobby Jefferson to get in. img(166115); After he's in, follow the car ahead of you. img(166116); Then, an ambush will come. Kill all the attackers. img(166117); After you've done that, get Bobby Jefferson to safety. img(166118); Make sure the pursuers stop pursuing you. img(166119); When you get him to safety, that'll be the end of the mission. img(166120); Head to the G icon or the next mission. img(166121); First, drive to the restaurant. img(166122); When you do, find Kim in the managers office. lso, kill the attackers inside. img(166123); Look in the kitchen since the manager was injured before he could talk. img(166124); Kim will be there, so kill him. img(166125); Then head out and kill the rest of the attackers and that'll be it. img(166126); To start the next mission, head to the G icon on the radar. Make sure you have lots of grenades! img(166127); Head to the compound. img(166128); When you get there, go through these fences to destroy the vans. img(166129); Rush in the compound and throw all your grenades to the vans so they can destroy them. img(166130); After that, the mission will be over. img(166131); Head to the B icon on the radar to start the next mission. img(166132); Take Bernie to the coast on Firefly Island. img(166133); Dimitri's men will come out and attack you and Bernie. Take them out. img(166134); Geting off the boat's controls and sniping them is a lot easier. img(166135); After that, the mission will be over. img(166136); A call from te UL Paper will commence the next mission. img(166137); Head over to pick up Roman. img(166138); When you picked him up, heaad to the rendezvous img(166139); Darko will be there, available to kill or no to kill. Do not kill him. img(166140); Take Roman to brucie's place when you leave. then the mission will be over. img(166141); A call to Pegorino will commece the next mission. Make sure you're at the club too. When you talk to Jimmy, he'll ask you to team wth Dimitri. Choose revenge. img(166142); After making your decision, the next mission will commence. img(166143); Head to the bridge on the ship. img(166144); Take out all the attackers. img(166145); Open the cargo hold with the controls. img(166146); Now, head to the hold to kill Dimitri. img(166147); There'll be plenty of thugs to kill before you get to him. Take them all out before heading to Dimitri. img(166148); Then, execute him when you get to him. img(166149); Now exit the hold. img(166150); Once you get out of the hold, get outta the ship. img(166151); Then, that'll be the end of the mission. img(166152); A call from Kate will commence the next mission. img(166153); Head over to Kate's to pick her up for the wedding. img(166154); Then meet Roman at the church. img(166155); Kate dies from Pegorino. in the cutscene and you wake up at the safehouse the morning after. Time for revenge. img(166156); A call to/from Little Jacob will commence the next mission. img(166157); Jacob have found some of Pegorino tugs. Follow them to see if they'll lead to Pegorino. img(166158); Pegorino will be in the old casino. Go in and kill the thugs and get to him. img(166159); After you've killed the thugs, chase Pegorino. img(166160); Pegorino will get on a boat. CHase him along the coastline. Don't let him get away. img(166161); Along the coastline will be a jetty. Accelerate off of it to get to the chopper. img(166162); Pegorino will almost get the chopper but you safely land it. His boat will be on fire also. So head to him to finish him. img(166163); And then, kill him. img(166164); That's the end! You've completed GTA IV. Hope this walkthrough helped! Game on!
More Grand Theft Auto IV Walkthroughs
This Grand Theft Auto IV walkthrough is divided into 3 total pages.


