
This Grand Theft Auto V walkthrough is divided into 83 total pages.
You can jump to nearby pages of the game using the links above.
Nervous Ron
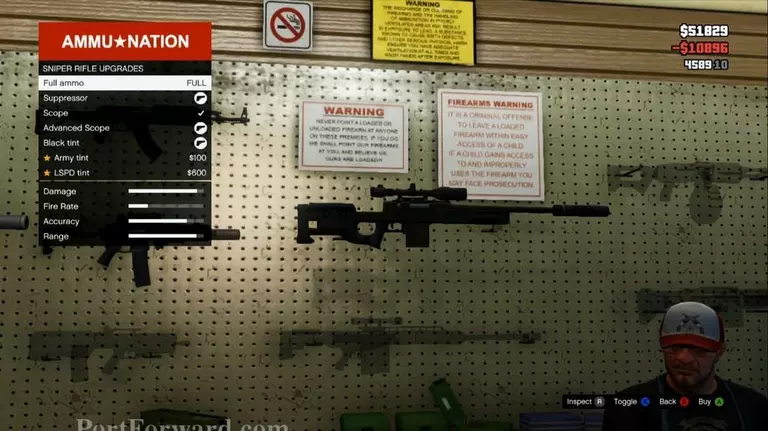
Drop by Ammunation and grab a Sniper Rifle with an Advanced Scope and Suppressor.
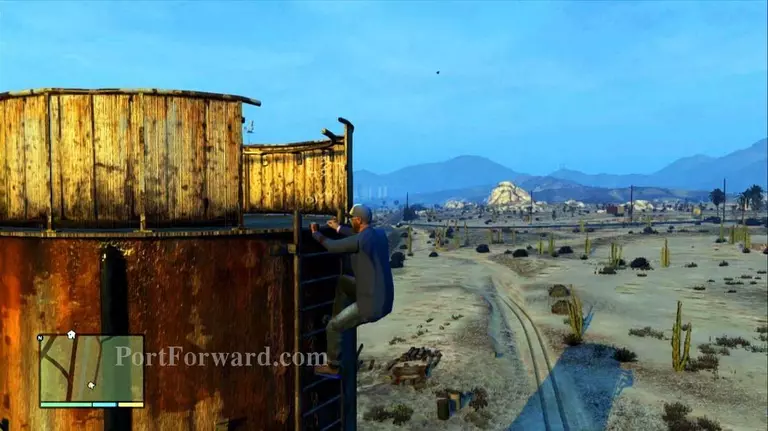
With the rifle in hand, make your way to the water tower and climb it to the top to start sniping some bad guys.
GOLD MEDAL REQUIREMENTS: "HEADSHOTS
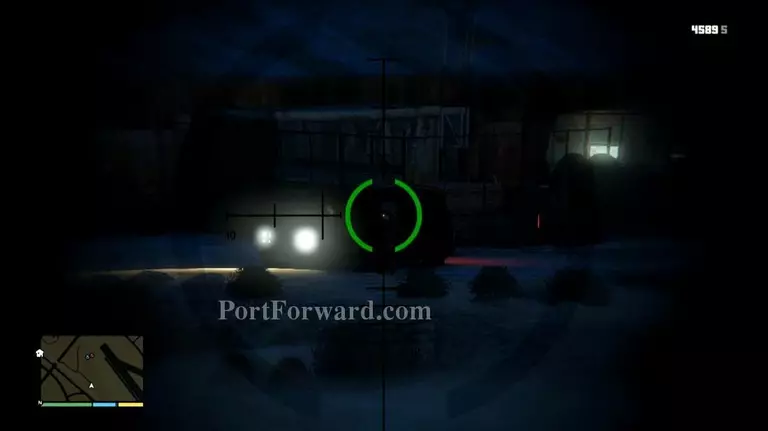
Several of the guards will appear near or above the radio tower area. Also, take out the two lights here when Ron prompts it.
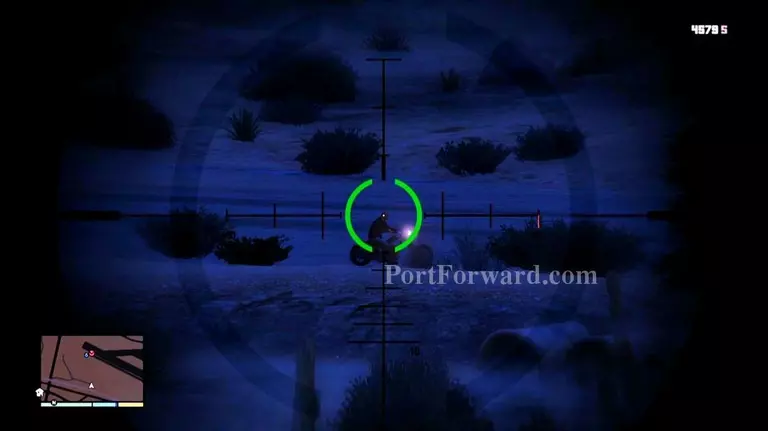
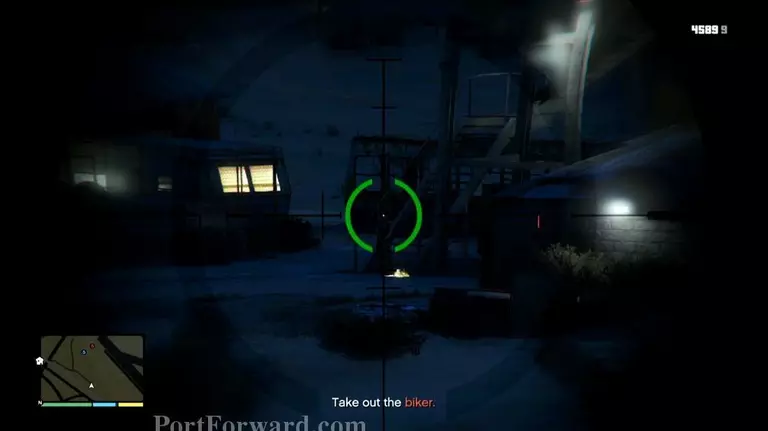
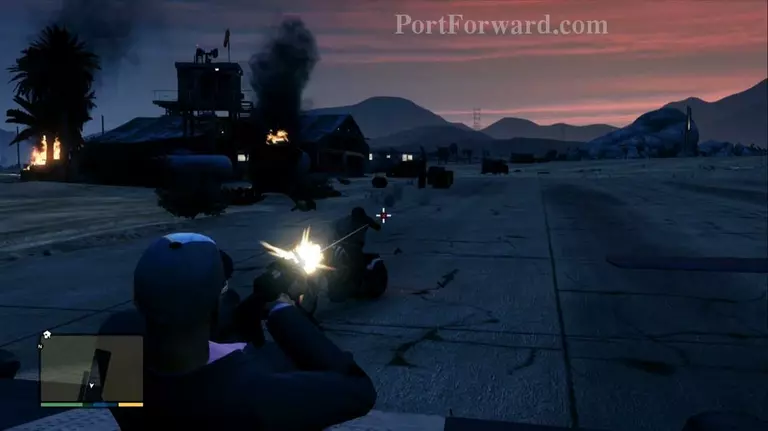
As Ron places the bomb onto the tank, a biker approaches, so quickly shoot him.
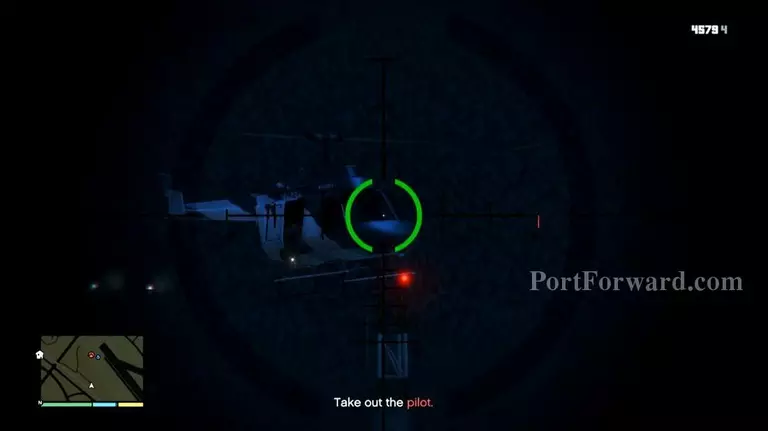
Once Ron places the bomb, a rival helicopter swoops in for some fun. Aim at the pilot and snipe him to bring down the chopper.
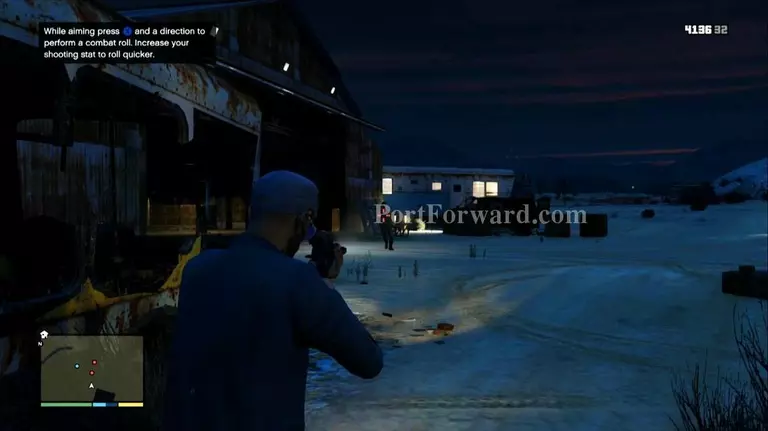
From there, jump down and run towards the air hangar while shooting down Lost MC members.
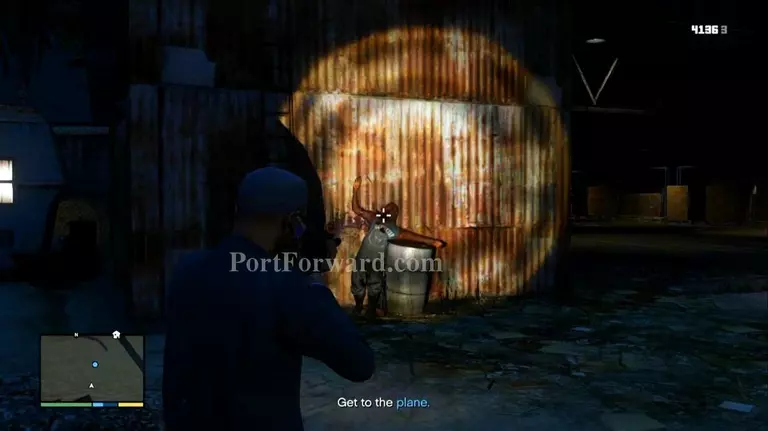
Get into cover and take them out one by one and get into the hangar and jump on the plane.
GOLD MEDAL REQUIREMENTS: "DEATH ON A WING
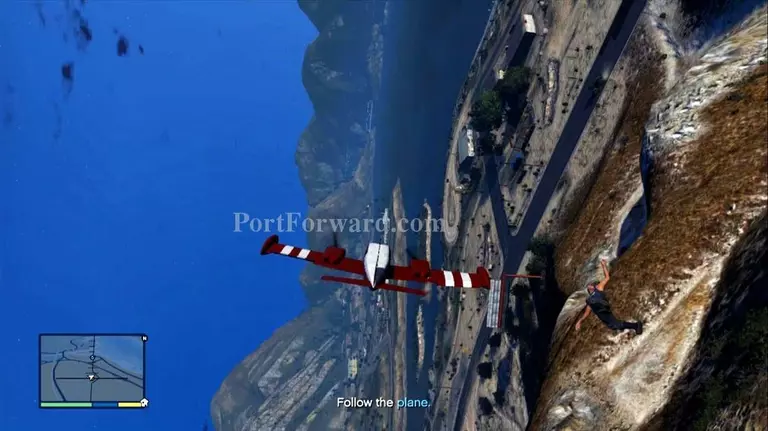
Once all the Lost members are down, get onto your plane and fly outta there! Put up the landing gears and then use a knife move to get the Lost member of your wing.

GOLD MEDAL REQUIREMENTS: "6 BRIDGES, 1 PLANE
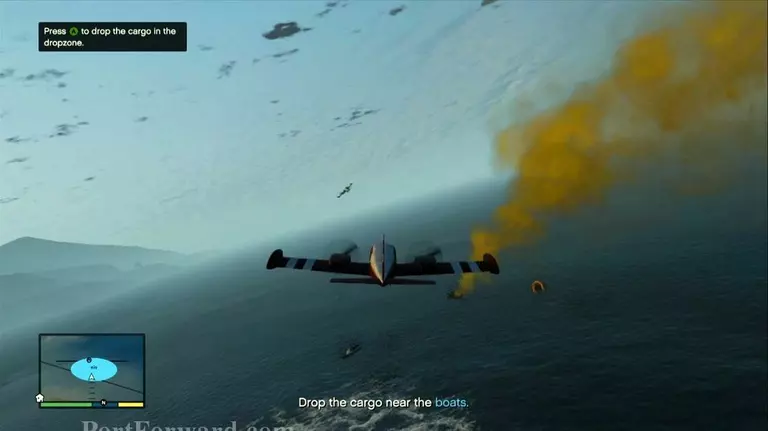
Once you get to the drop-off point, drop the package into the yellow smoke.

Then, fly back to the airfield in one piece to complete the mission.
More Grand Theft Auto V Walkthroughs
This Grand Theft Auto V walkthrough is divided into 83 total pages.


