
This Grand Theft Auto V walkthrough is divided into 83 total pages.
You can jump to nearby pages of the game using the links above.
The Bureau Raid (Rooftop Access)
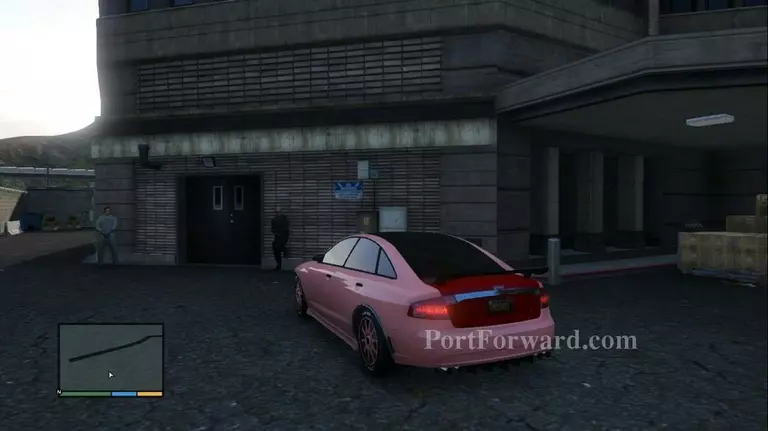
Meet up with Mike and Lester at the garment factory to start the mission. After the cutscene, enter Mike's car and drive all the way to the NOOSE headquarters where your crew will be waiting outside.

Get into the chopper and fly all the way to the waypoint marker in the sky to start the parachuting sequence.
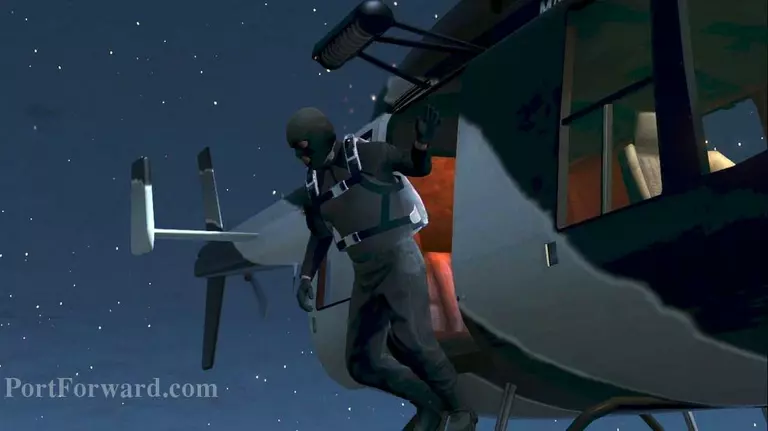
If you passed the Flight School challenges, then parachuting to the FIB building should be easy.
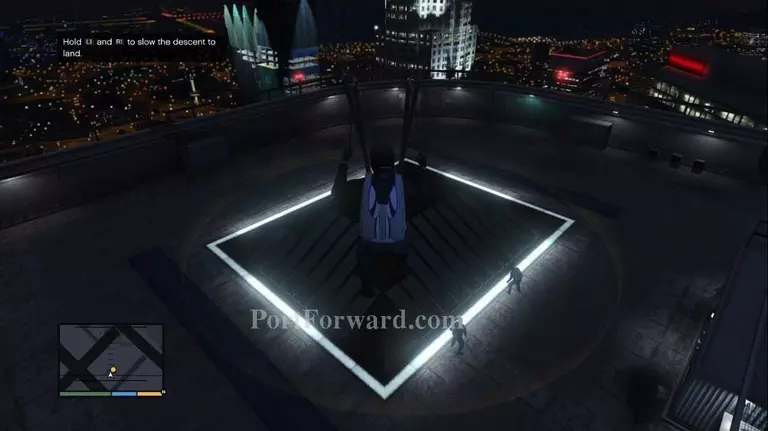
GOLD MEDAL REQUIREMENTS: "PERFECT DROP
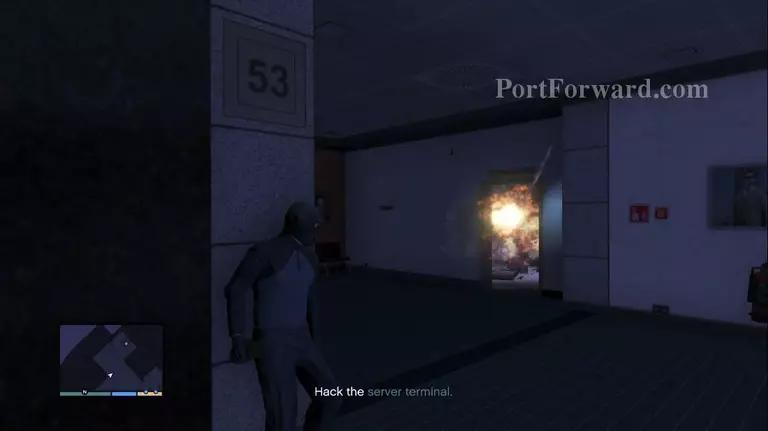
Once you're inside the building, approach the doors and blow it up with a Sticky Bomb.

From there, enter the server room and your hacker will give the instructions on what to do next.
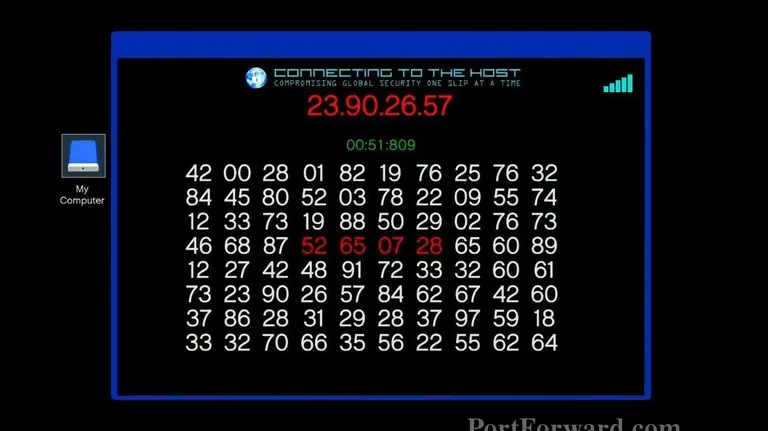
GOLD MEDAL REQUIREMENTS: "HACKER
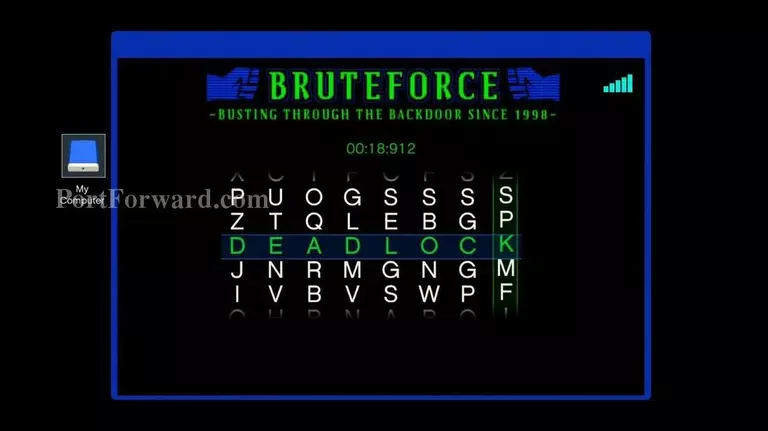
Once the first one is hacked, open up the Bruteforce.exe program. The password for the sequence is DEADLOCK. Hack both programs within 20+ seconds of each other for the Gold.
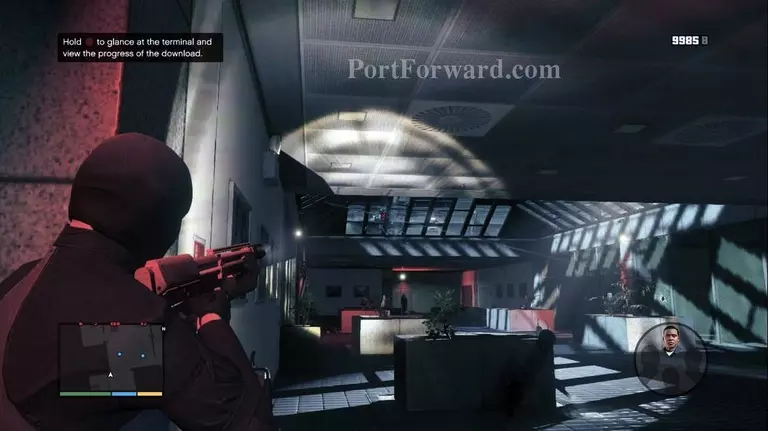
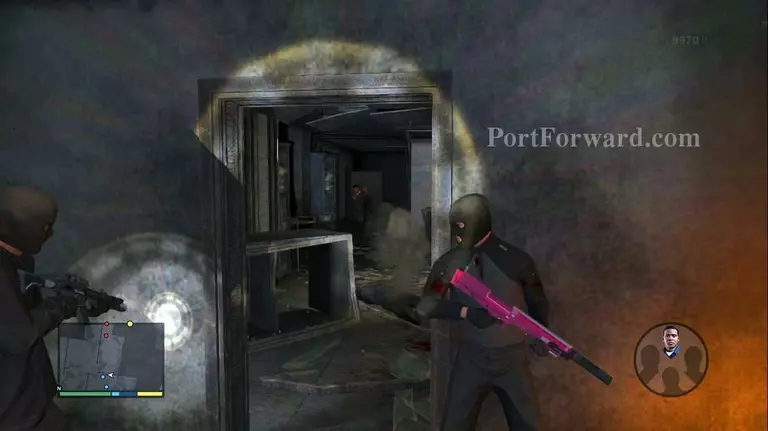
After the remote connection is made, you'll need to defend yourself from the incoming FIB agents while waiting for the hack to complete. Use Michael to clear the right, center, and upper right sections of the skylit room from cover.
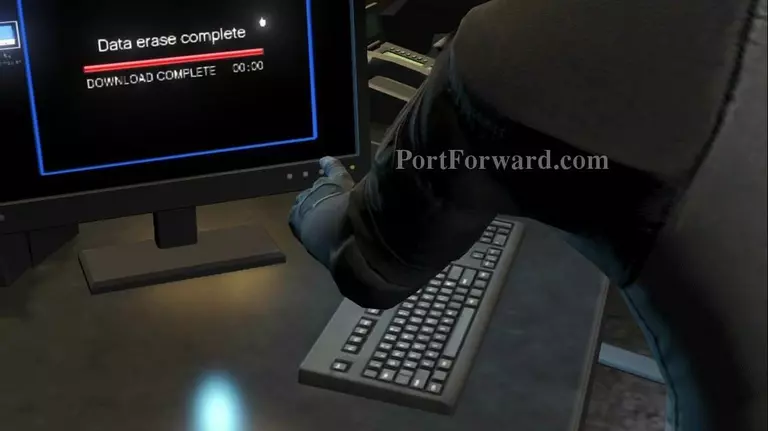
Switch to Franklin if needed and clear out the left side. When the smoke screen goes up, spray through it with the Assault shotgun, and donât stop shooting until it clears. When the hack is complete, a quick cutscene will trigger and it'll be time to get out of there.
Youâll descend several levels doing standard corridor-clearing. Stick to cover.
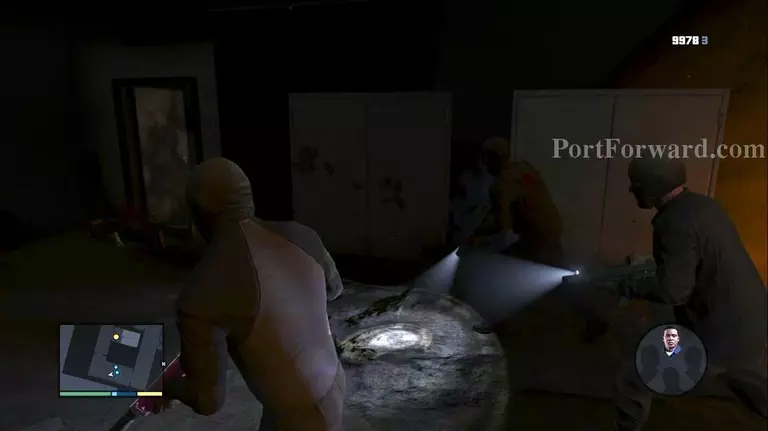
The Assault Shotgun is handy here. Fight your way down several floors while staying in cover so that you don't get sprayed with gunfire.
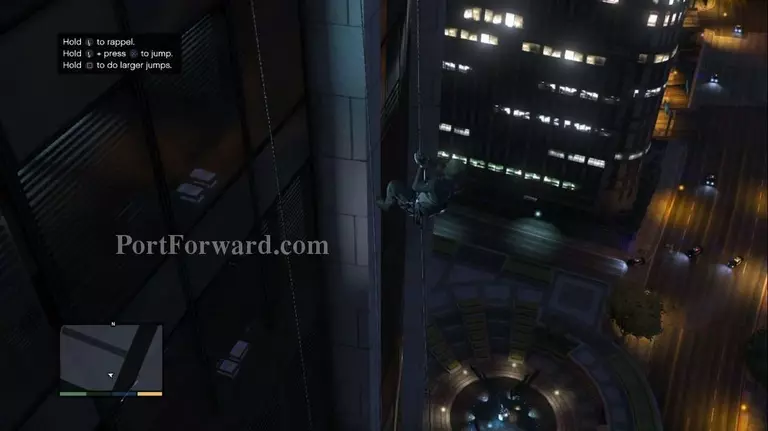
Once you reach the first Rappel point, quickly abseil down to the lower floor where you'll encounter a attack helicopter.
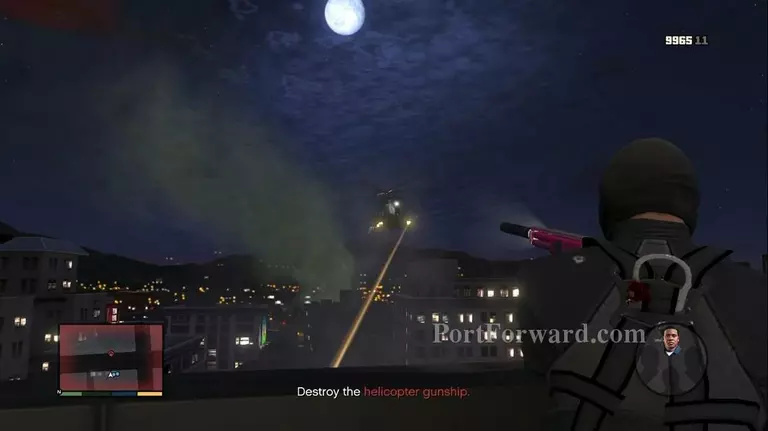
When you reach the bottom, take cover and shoot the helicopter down with a semi-automatic rifle. Be aware that using an RPG is faster but since the chopper is constantly moving, getting a good aim will be difficult and can lower your accuracy score!
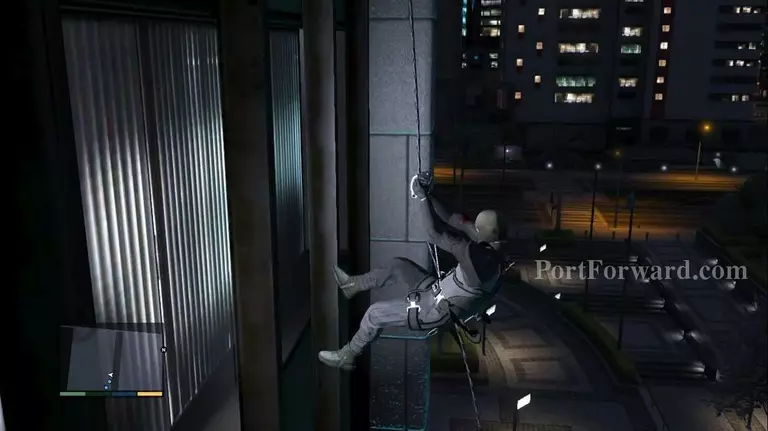
When the chopper is down, find the next rappel point and abseil towards street level.
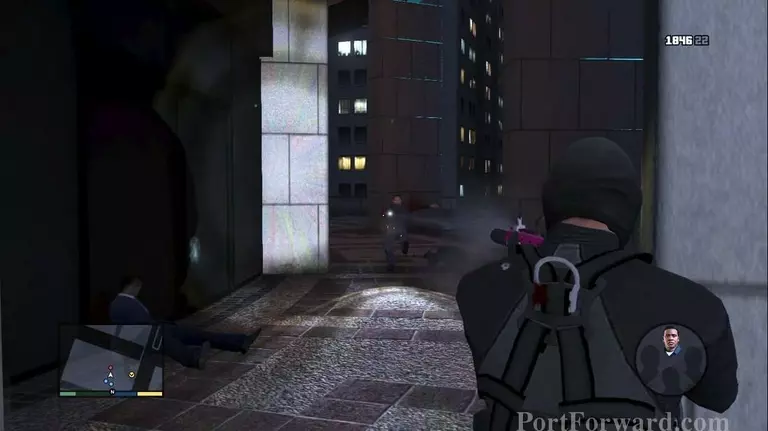
GOLD MEDAL REQUIREMENTS: "NO INNOCENTS
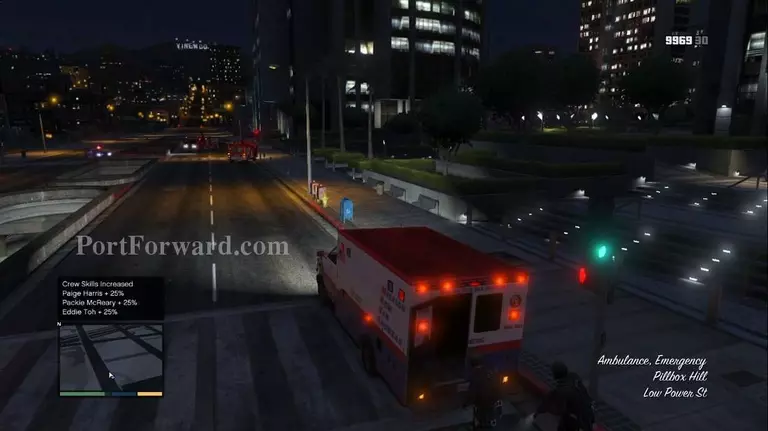
Clear out the remaining baddies and then make your way towards the waiting Ambulance vehicle.
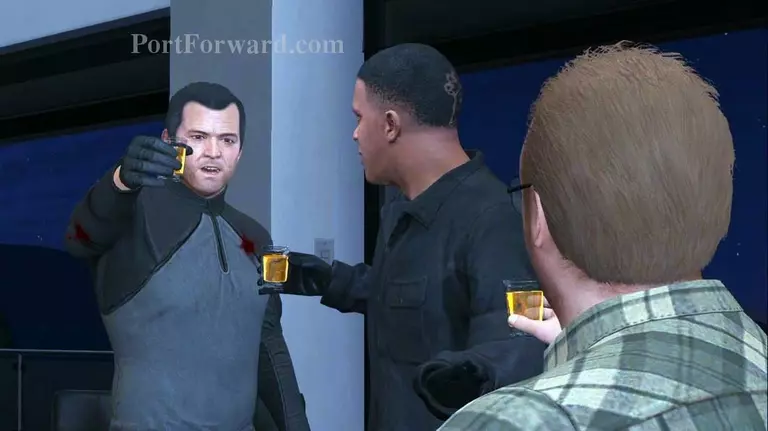
Let your crew enter the ambulance and then drive over to Franklin's house (don't hit the cop cars!) to complete the mission.
More Grand Theft Auto V Walkthroughs
This Grand Theft Auto V walkthrough is divided into 83 total pages.


