Half Life 2 Lost Coast Walkthrough Church

September 12, 2016 (Last Updated: ) | Reading Time: 2 minutes

This Half Life 2 Lost Coast walkthrough is divided into 4 total pages.

You can jump to nearby pages of the game using the links above.
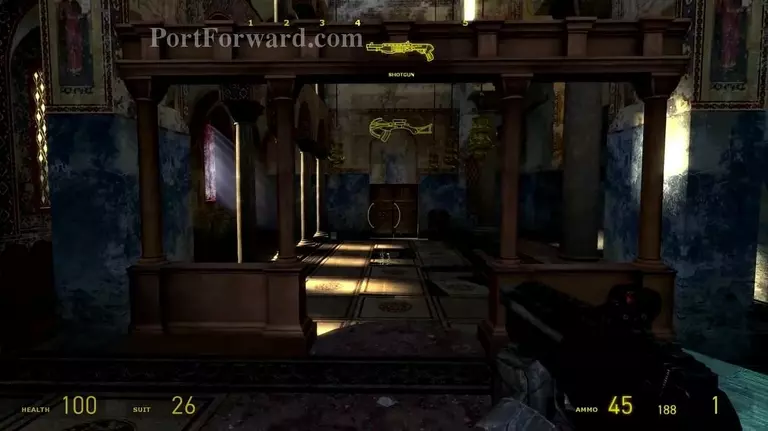
Church

Half Life 2 Lost Coast Walkthrough - Half Life-2-Lost-Coast 20

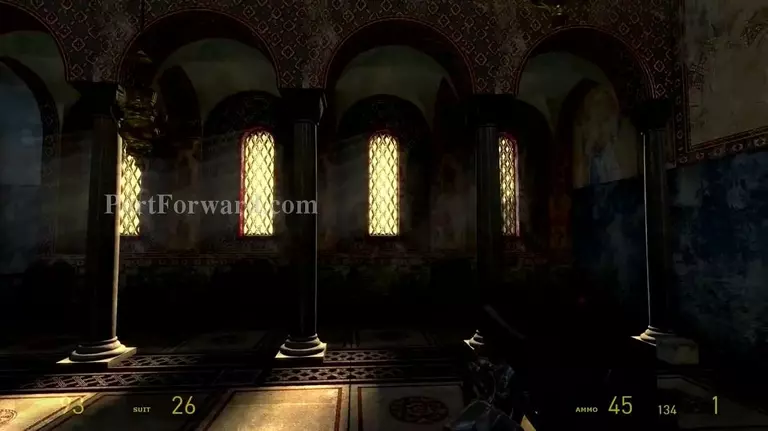
There will be a helicopter shooting at you so watch out for these windows.

Half Life 2 Lost Coast Walkthrough - Half Life-2-Lost-Coast 21

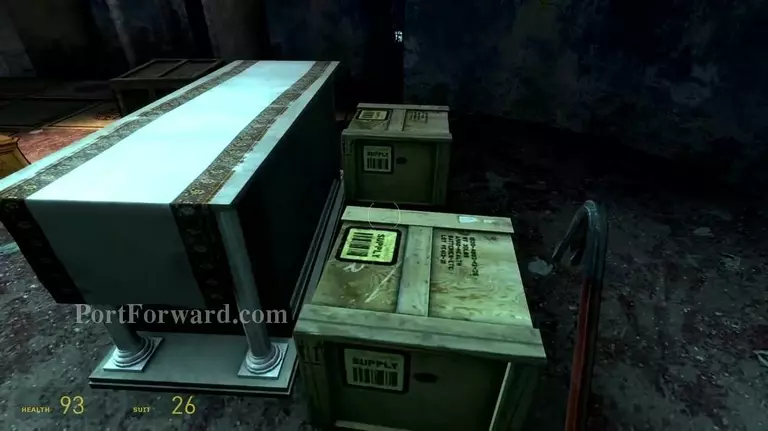
Behind this table will be more supply crates for you so use them to your pleasure.

Half Life 2 Lost Coast Walkthrough - Half Life-2-Lost-Coast 22

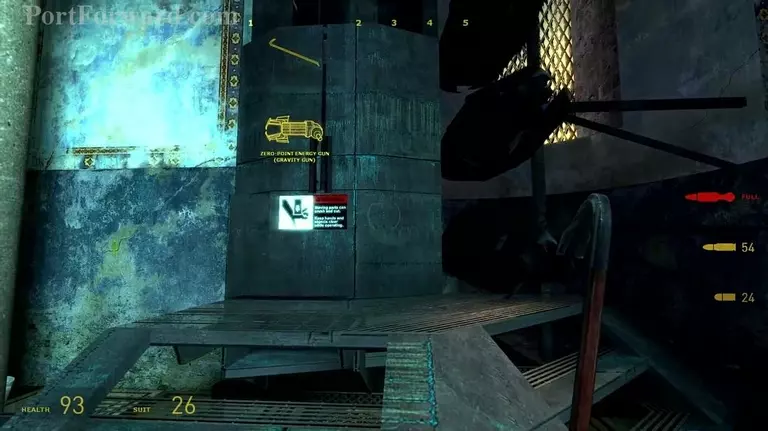
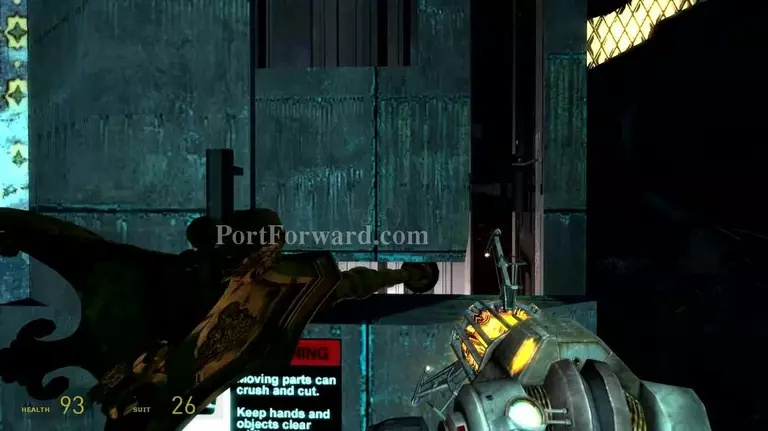
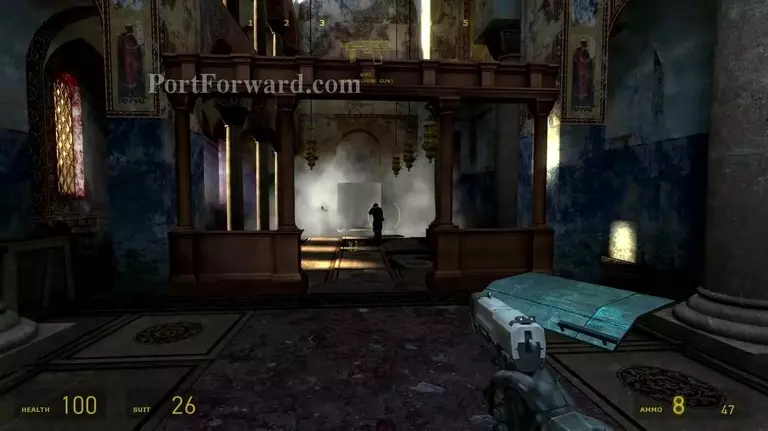
Now this thing deploying rockets it seems has to be stopped. Pull out your gravity gun.

Half Life 2 Lost Coast Walkthrough - Half Life-2-Lost-Coast 23

Go up to this panel and grab it and throw it away.

Half Life 2 Lost Coast Walkthrough - Half Life-2-Lost-Coast 24

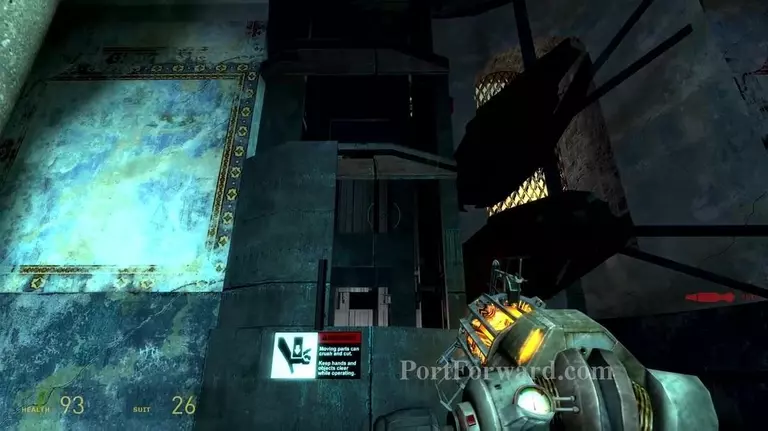
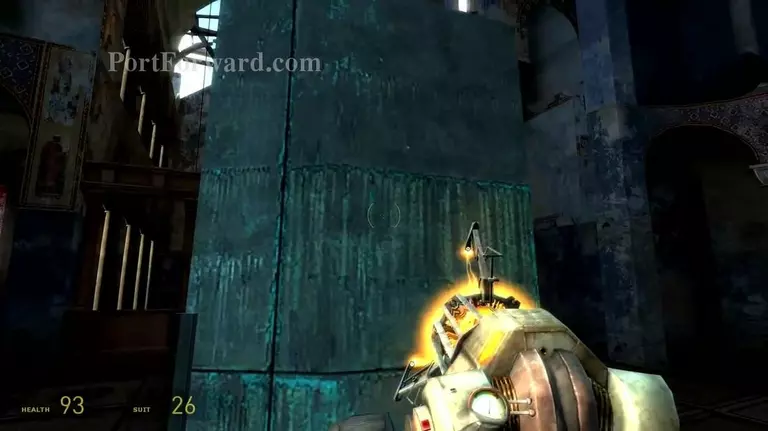
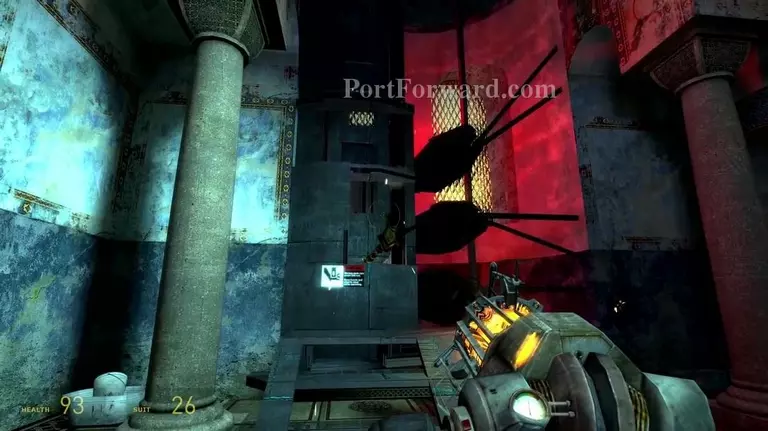
Now, you'll see how this thing works. It goes up and down so you'll have to use something to prevent it from moving up and down.

Half Life 2 Lost Coast Walkthrough - Half Life-2-Lost-Coast 25

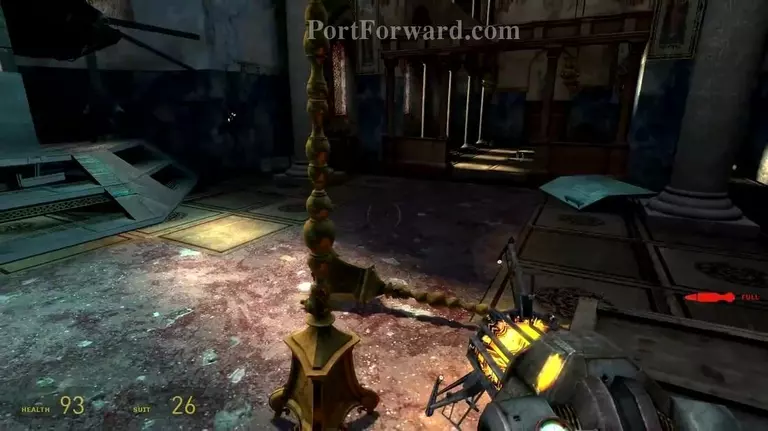
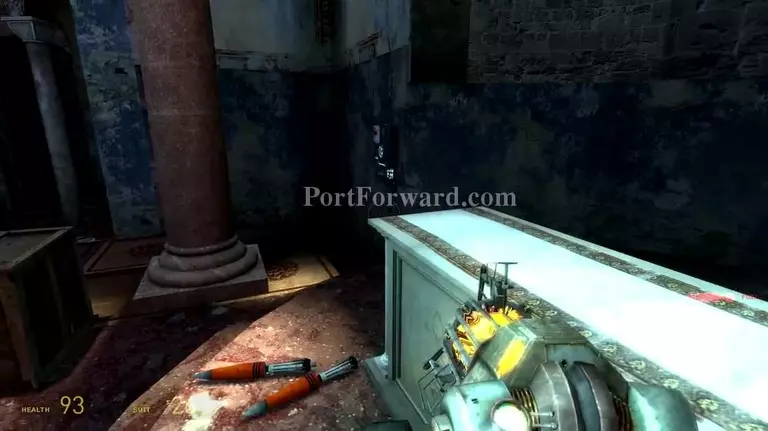
At that table was this pole.

Half Life 2 Lost Coast Walkthrough - Half Life-2-Lost-Coast 26

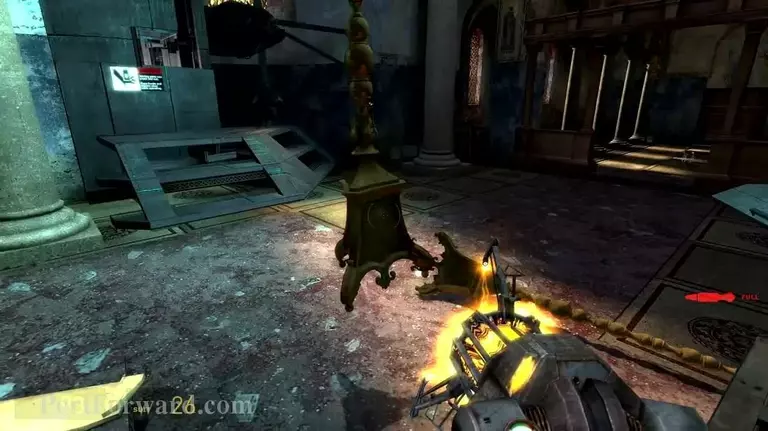
Grab it and take it over there to the rocket deployer.

Half Life 2 Lost Coast Walkthrough - Half Life-2-Lost-Coast 27

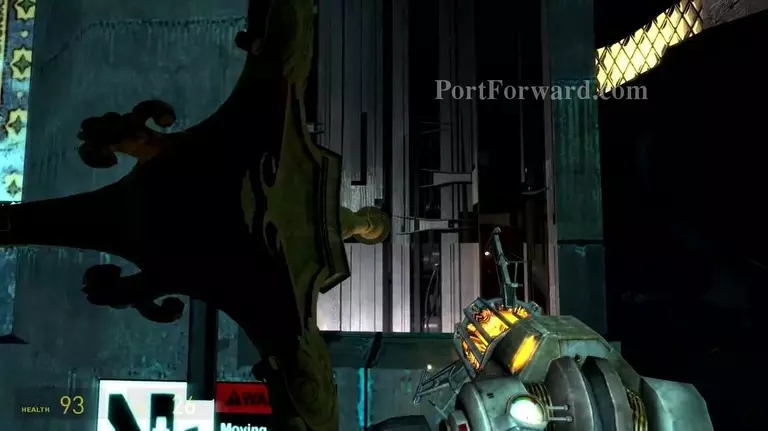
Now, just stick it in there so you'll stop the deployer.

Half Life 2 Lost Coast Walkthrough - Half Life-2-Lost-Coast 28

Bingo! You did it.

Half Life 2 Lost Coast Walkthrough - Half Life-2-Lost-Coast 29

An alert will go off and the Combine will head over to you.

Half Life 2 Lost Coast Walkthrough - Half Life-2-Lost-Coast 30

In the right cornor of the Church will be a health station. Use it.

Half Life 2 Lost Coast Walkthrough - Half Life-2-Lost-Coast 31

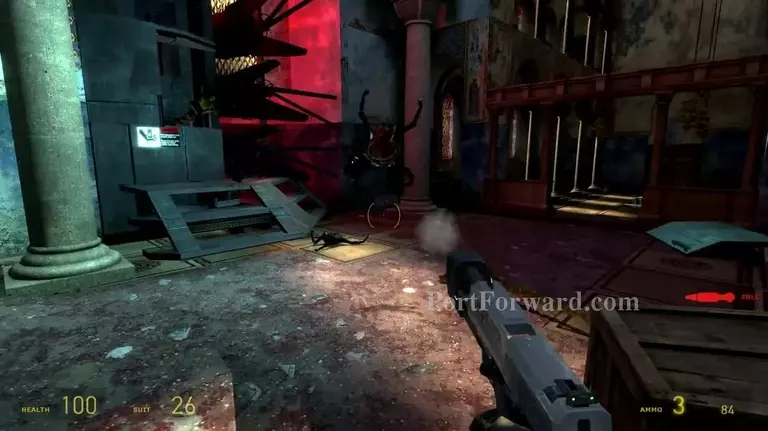
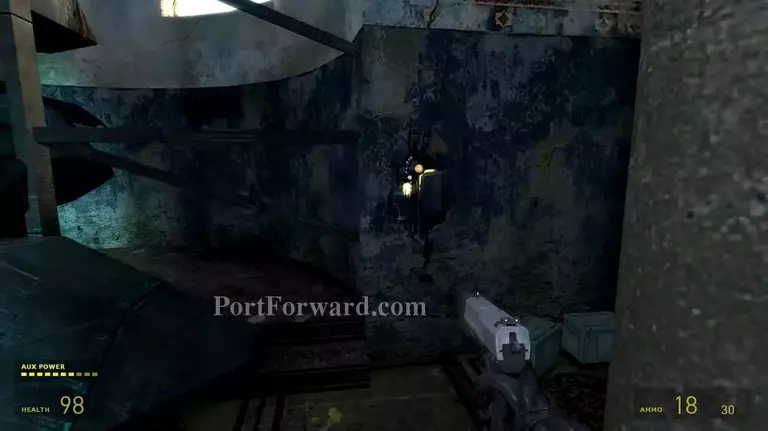
These annoying things will come out from the deployer.

Half Life 2 Lost Coast Walkthrough - Half Life-2-Lost-Coast 32

Now, get ready for the Combine.

Half Life 2 Lost Coast Walkthrough - Half Life-2-Lost-Coast 33

First, they'll come out the door.

Half Life 2 Lost Coast Walkthrough - Half Life-2-Lost-Coast 34

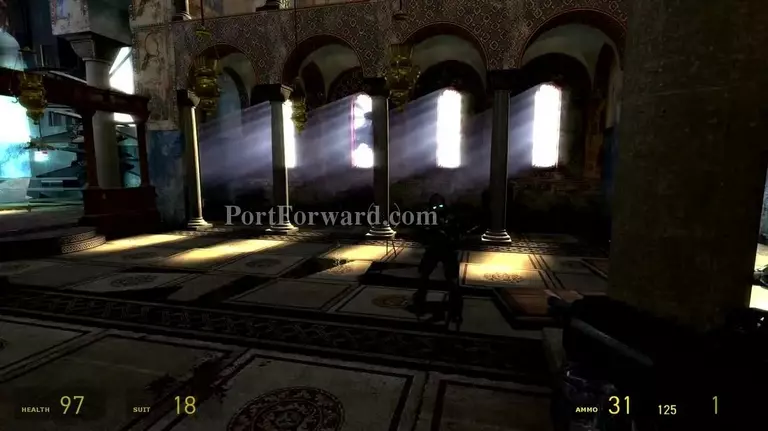
These guys are pretty easy. But still remember about the helicopter outside.

Half Life 2 Lost Coast Walkthrough - Half Life-2-Lost-Coast 35

After you're done. there is also a suit station by the rocket deployer.

Half Life 2 Lost Coast Walkthrough - Half Life-2-Lost-Coast 36

Now leave the Church and get ready to end this.

More Half Life 2 Lost Coast Walkthroughs

This Half Life 2 Lost Coast walkthrough is divided into 4 total pages.

More From Portforward