
This Halo 4 walkthrough is divided into 8 total pages.
You can jump to nearby pages of the game using the links above.
Requiem
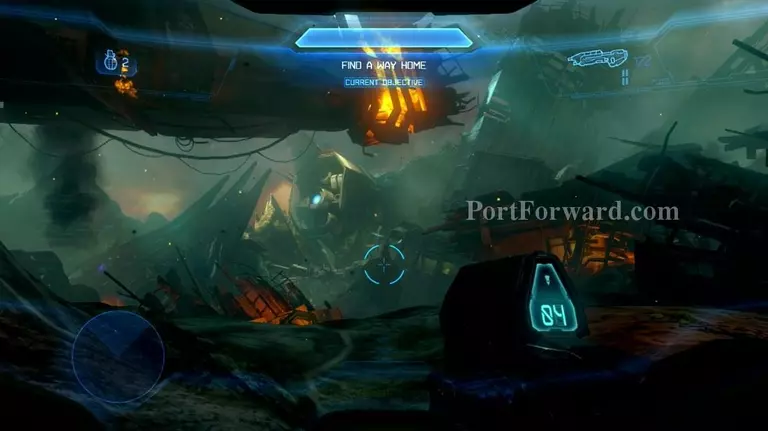
Welcome to beautiful Requiem! Get used to it because you're gonna be spending a lot of time here. Head straight forward past the burning wreckage of the Dawn.

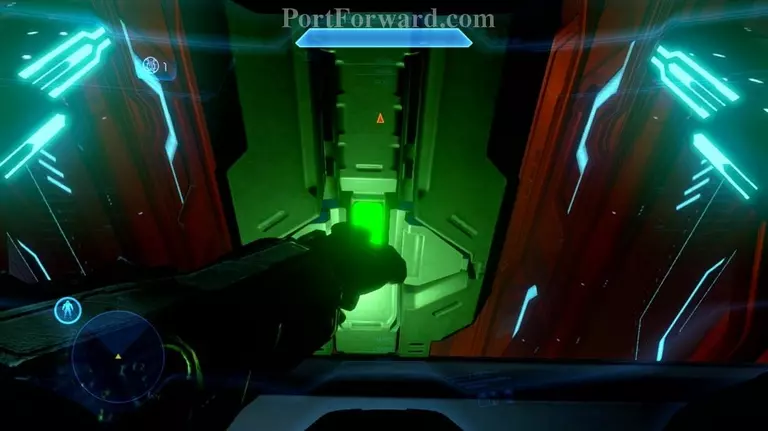
You'll arrive at this tunnel. Keep going foward.
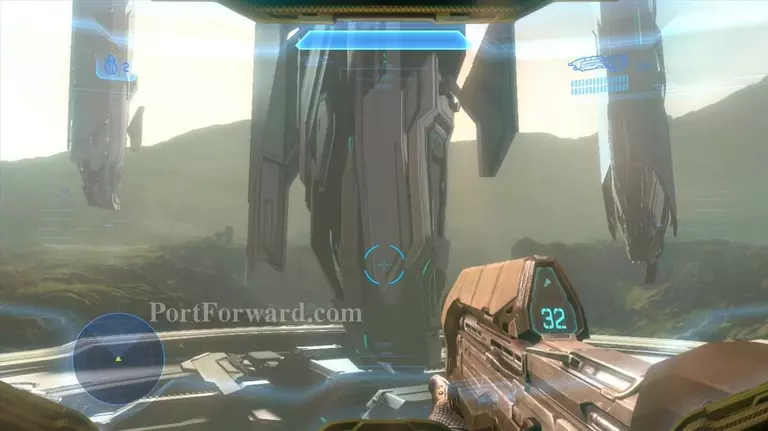
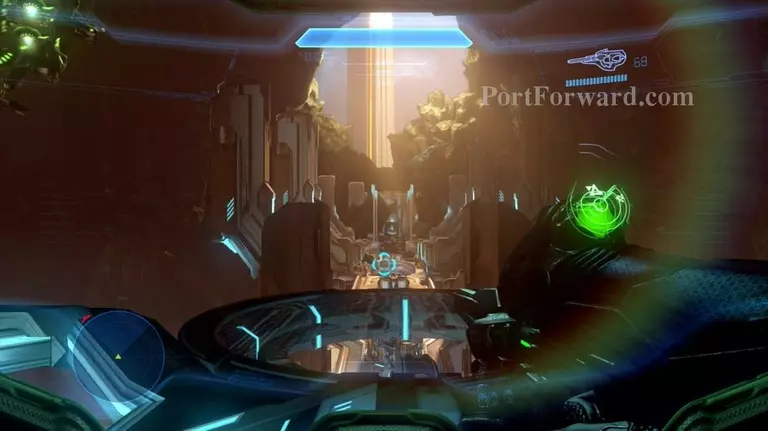
You emerge to this. Wwwwwwow. Something to behold there. When you're done gawking, follow the path to your left.
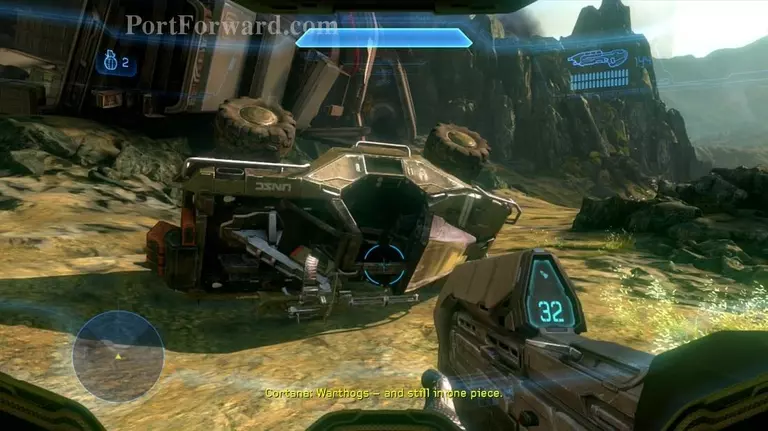
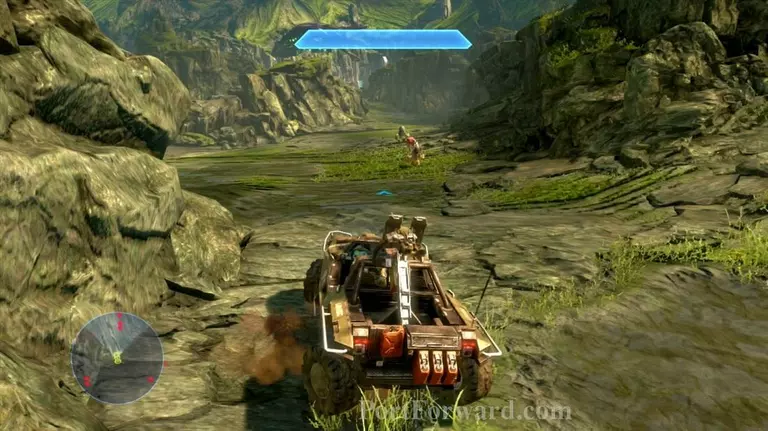
You'll come across a working Warthog! Yay! Get in and continue driving along the path.
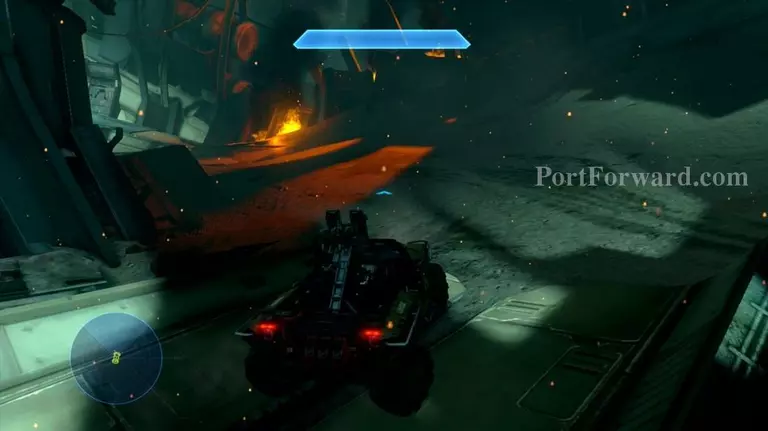
While Chief and Cortana are talking, you'll have a pretty lengthy drive on a fairly straightforward path.
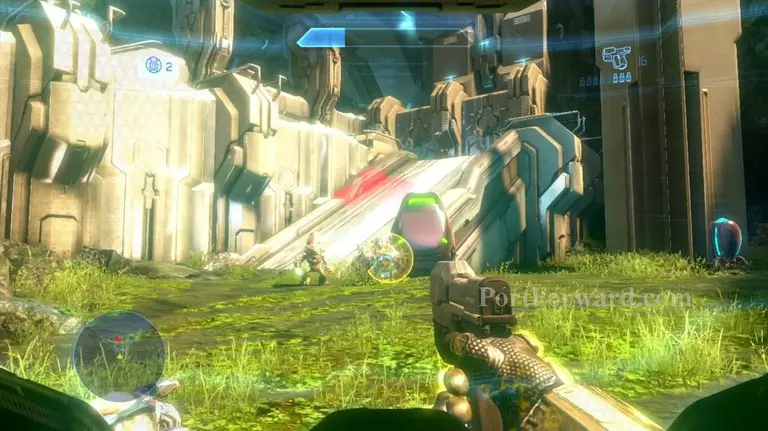
Eventually you'll come across an open field with some Covenant in it. Have some fun and mow them down if you want! Do watch out for Jackal snipers though.
When they're taken care of, head forward to this ledge and hop up it. Continue forward.
You'll come across some Grunts. Pfft, whatever. Do what you do best.
You'll emerge into another open field...with a lot of Covenant, and more snipers. Try to scavenge some Carbine ammo here, I found it pretty helpful in this level.

To your right are some assault rifles and a pistol which will both come in handy.
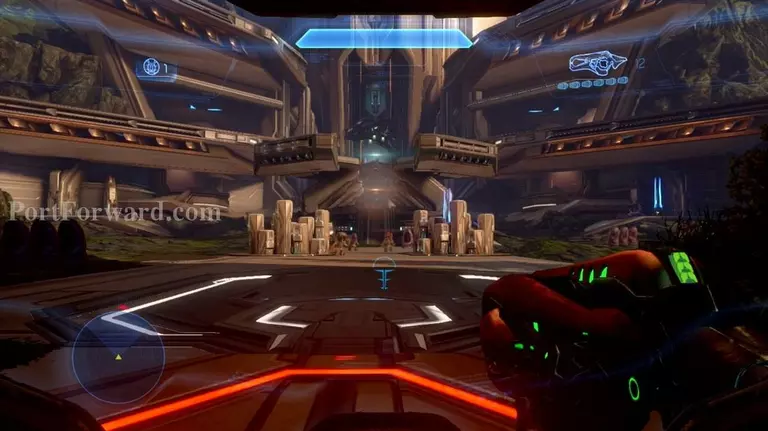
Fight your way to the large structure in front of you; more specifically, up this ramp.
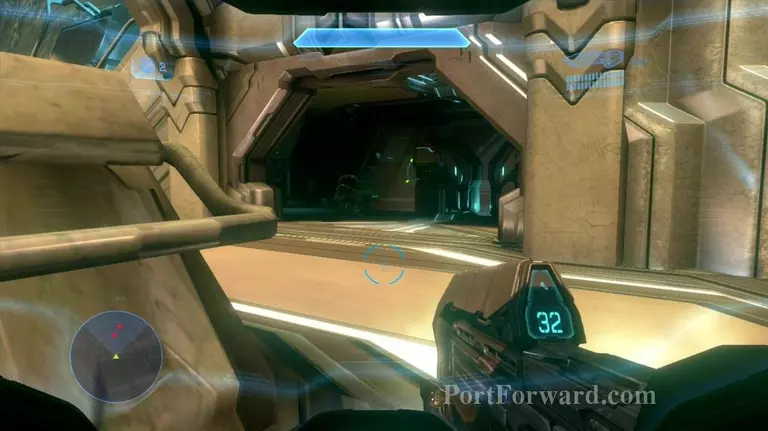
Once up the ramp, go through this opening, out the other side, and take a left.

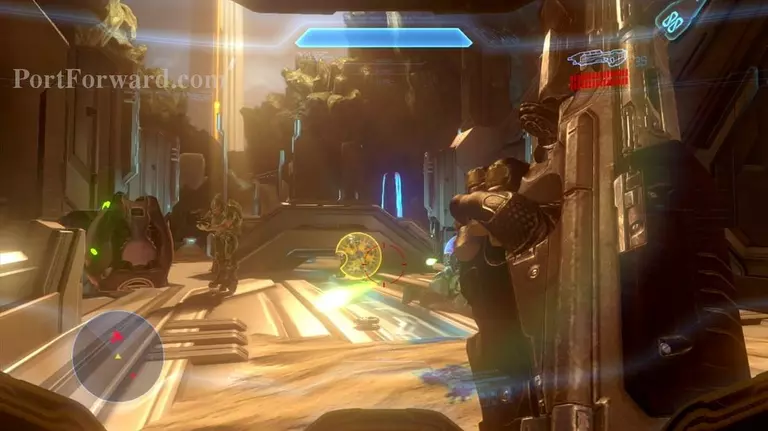
Head up this next ramp, and you'll be at the entrance of the structure. There will be some Grunts and Jackals waiting for you, and an Elite with a sword.
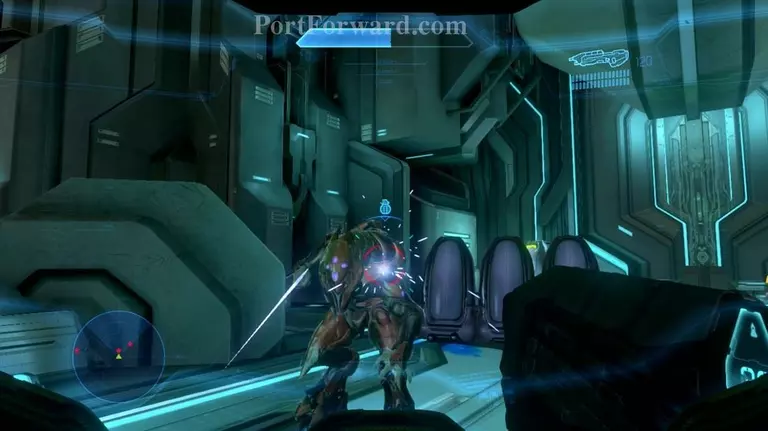
If you can, just chuck a plasma grenade at him, then unload into him when it explodes and he'll go down easily. If you don't have one, unload into him with your weapons while running backwards!
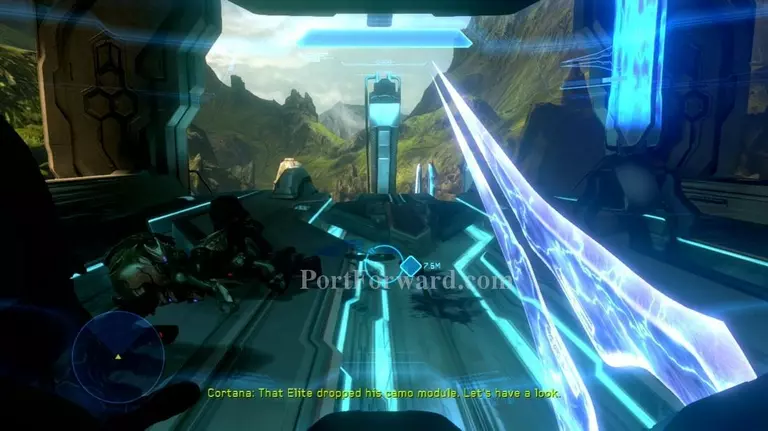
When they're all dead, pick up the Active Camoflauge the Elite left behind. Now you can turn yourself invisible for a short time!
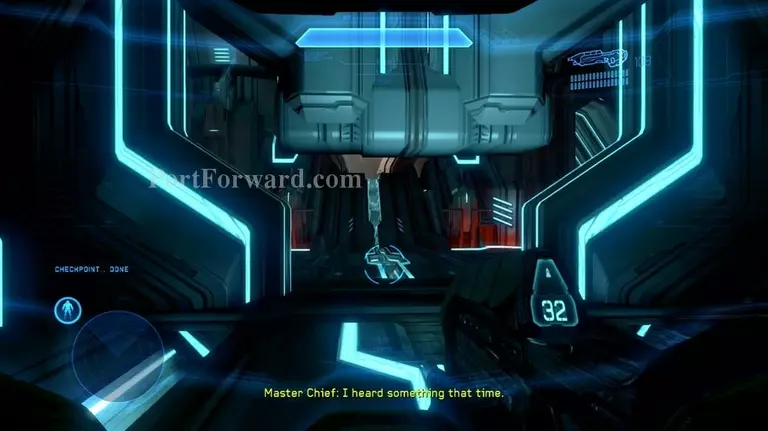
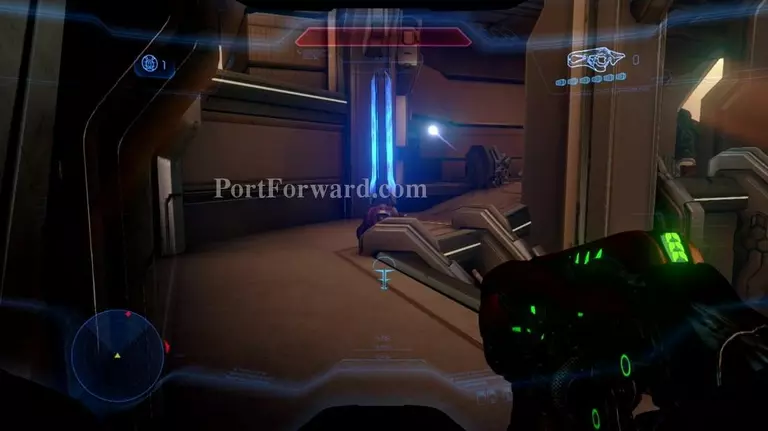
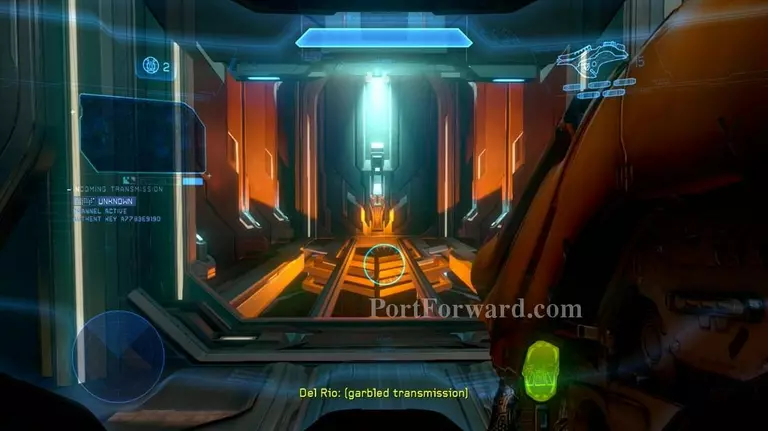
After Cortana picks up another odd transmission, the door will open.
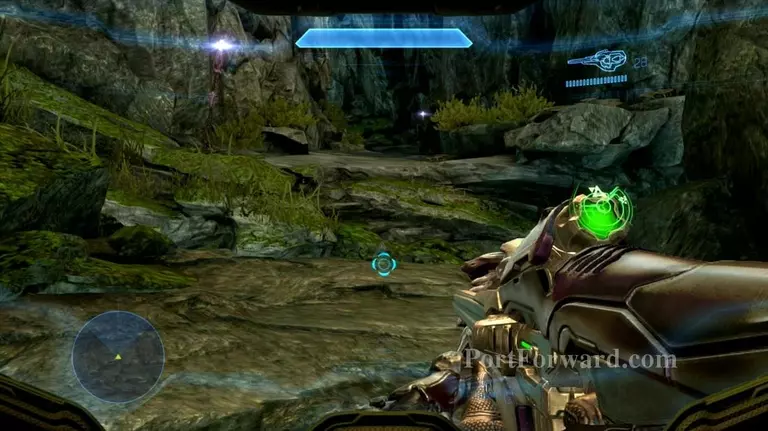
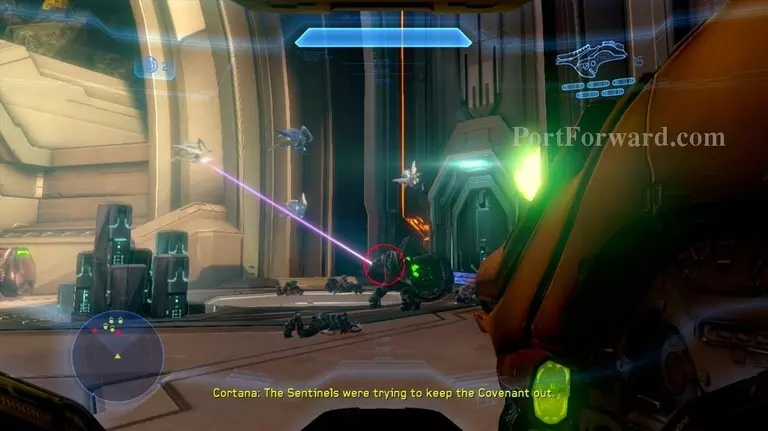
Hey, it's your old buddies, the Sentinels! No bad memories involving THEM, right? They're friendly this time though, so just ignore them and head forward.
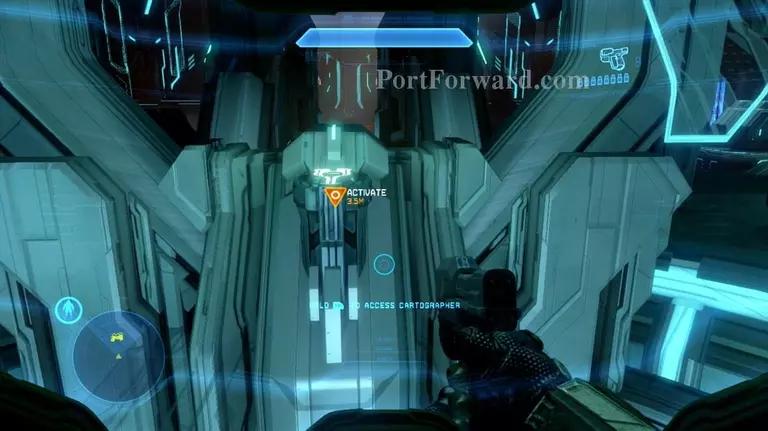
Follow the objective marker to the Cartographer and activate it.
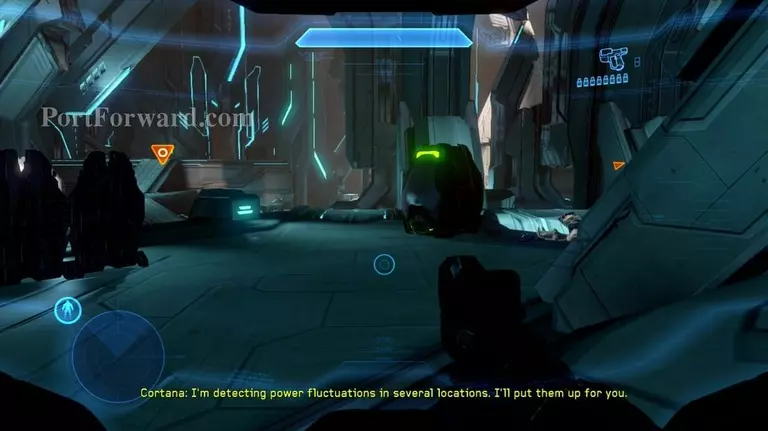
You will now be given two power fluctuations to investigate on opposite sides of the room. Head to one of them, doesn't matter which.
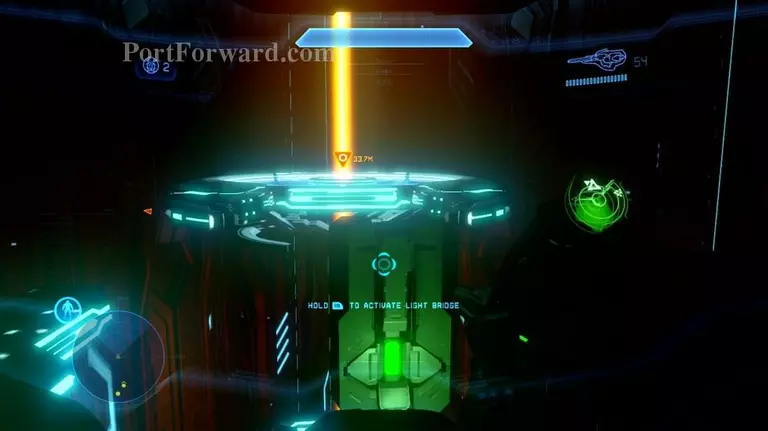
When you get close, you'll see a small green console. Activate it to create a light bridge to get to the power fluctuation.
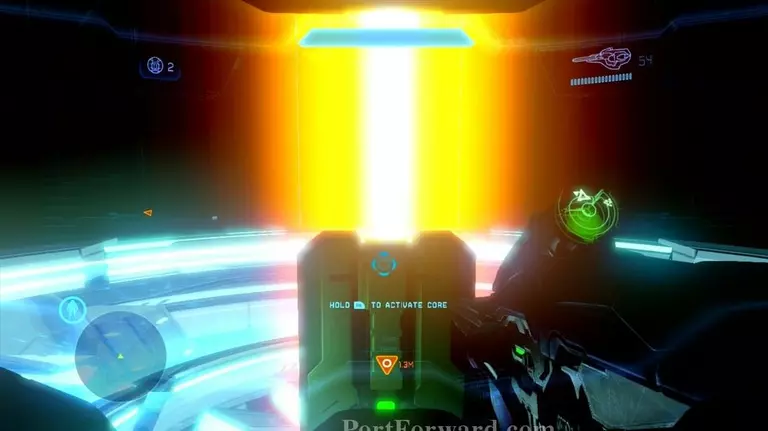
Cross the light bridge and activate the first core. It will momentarily take down your shields, but they'll come back pretty quick. Not like anyone's shooting at you, right?
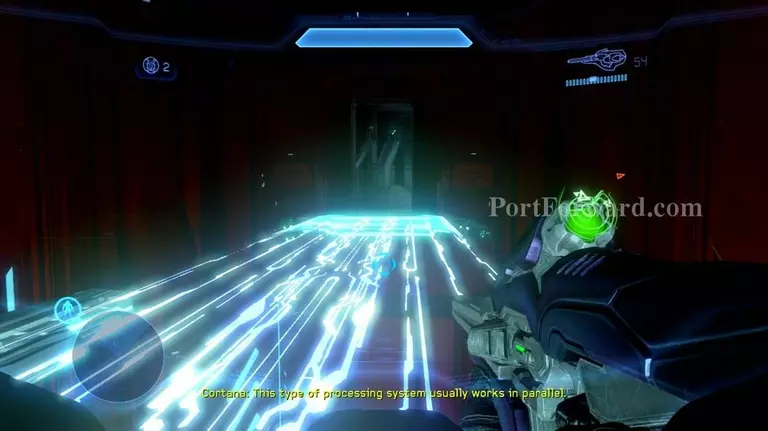
An elevator will automatically take you to the ground floor and create another light bridge to cross. Head across it back into the main room and start heading toward the other core.
Well, so much for the whole "nobody's shooting at you" thing. The room will swarm with Covenant. Take them down while heading toward the other core.
Same drill as before: Activate the light bridge, activate the core, ride the elevator down, cross the new light bridge back into the main room.

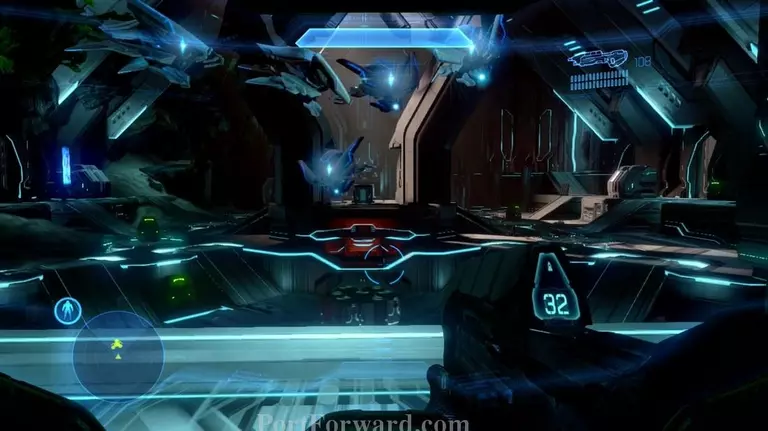
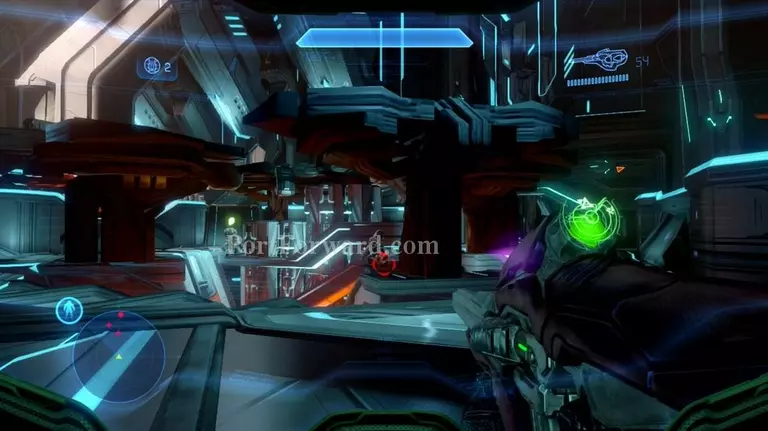
Of course it couldn't be THAT easy, right? Even more Covenant swarm in, including more snipers. Be careful and take them all out. When they're all gone, you can activate the Cartographer again.
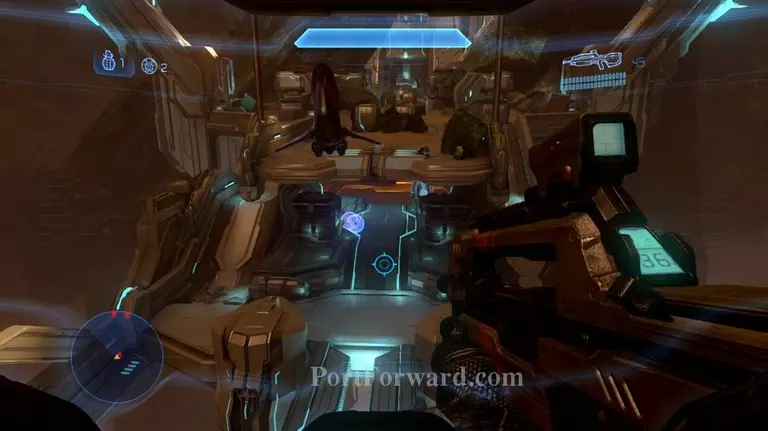
Head through the door in front of you and step into this outside area. Don't step on the circular platform yet though!
A Covenant ship will drop off some Grunts, Jackals and Elites below you on the walkway. If you still have a Carbine, you can snipe some of them from up here before you head down to the walkway.
Straight ahead to your left is a weapons locker with some Battle Rifles in it, which will be surpremely helpful here.
Fight your way across this long walkway, decimating Covenant forces as you go. Watch out for Banshees patrolling the area and another Covenant ship that will shoot at you and drop off more troops.
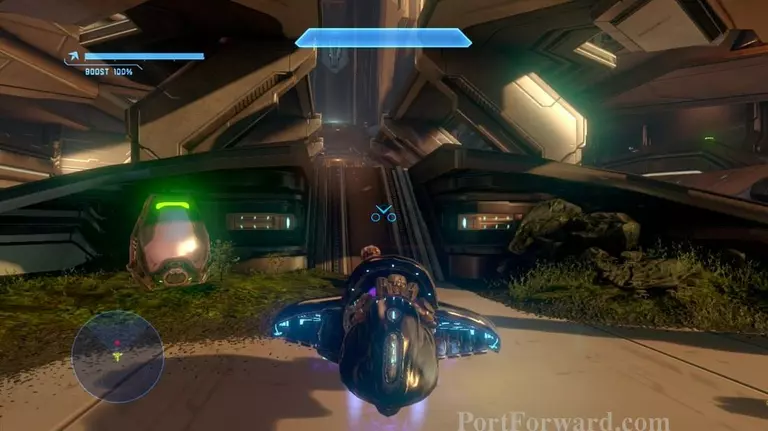
Eventually you'll come to a lower part of the walkway. Hey look at that, an unguarded Banshee! These things always seem to be conveniently easy to hijack!
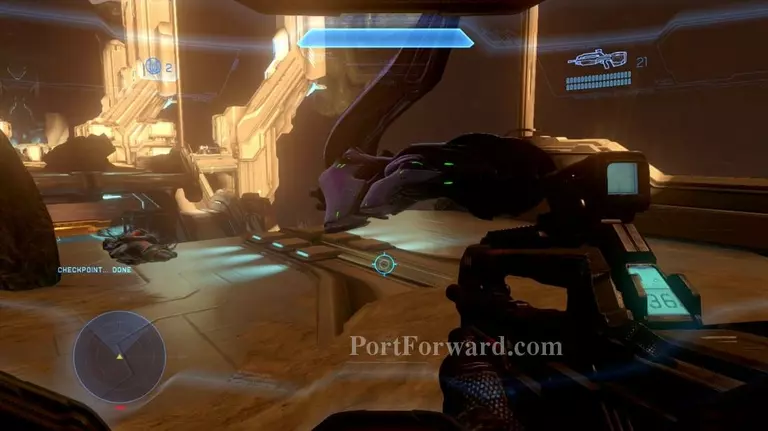
Head up the ramps to get to the Banshee and have some fun! This thing can annhilate the remaining Covenant between you and the end of the walkway no problem.
When you're done having your fun, head through the doorway. Cortana will tell you that all Covenant units are now converging on the tower where you need to be. Well then.
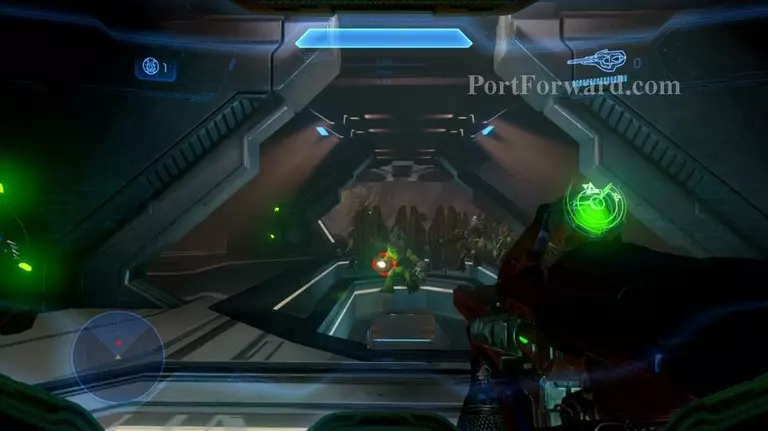
So if you haven't guessed, there's some Covenant troops in this area. Lots, and lots, and lots of them. Lots. Grunts, Jackals, Elites, Ghosts, turrets, plasma cannons, you name it, we got it!

Personally, I found it easier to hijack this Ghost shooting at you. Much easier to run some of your enemies down with the speed boost option.
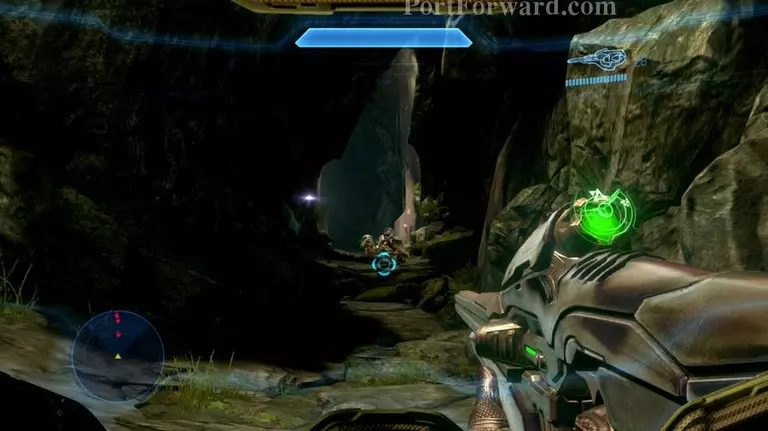
Cut straight through this middle pathway. Watch out for the Elite with the Concussion Rifle at the end of it.
Once inside the structure again, you'll be forced to give up your Ghost and continue your trek on foot. sniff but we had just gotten to know each other!
Move up the ramps and take out these Grunts. Also watch out for the Elite with the sword that charges at you. He sometimes switches to a Concussion Rifle so be extremely careful.
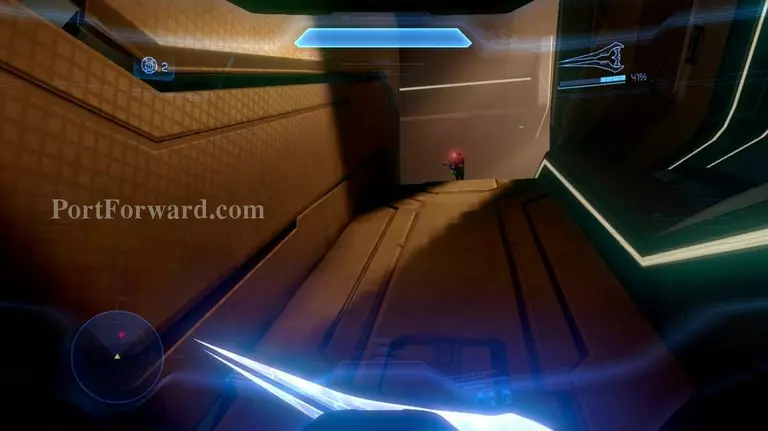
Head out and to your left, continuing along the pathway and obliterating Covenant soldiers as you go.
Eventually you'll come to this Jackal sniping you. Kill him and take his Beam Rifle, it'll make this next part slightly easier.
Stop before you go outside again and start sniping some Elites! Much easier, right?
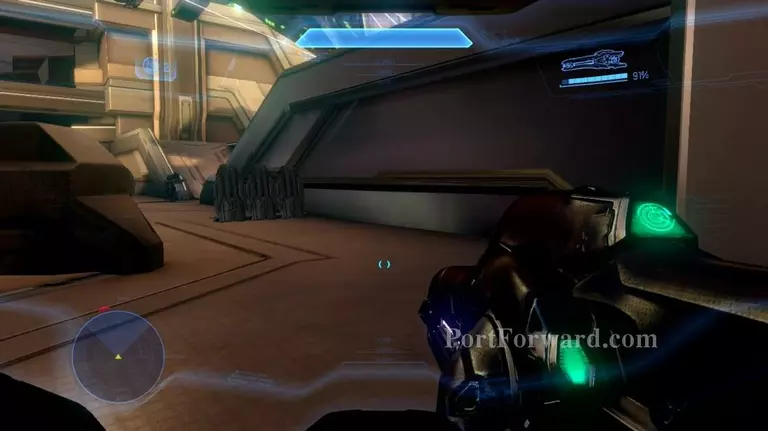
Before you head up these ramps to the structure, stop at this weapon cache first. Take the Fuel Rod Cannon from it. Trust me.
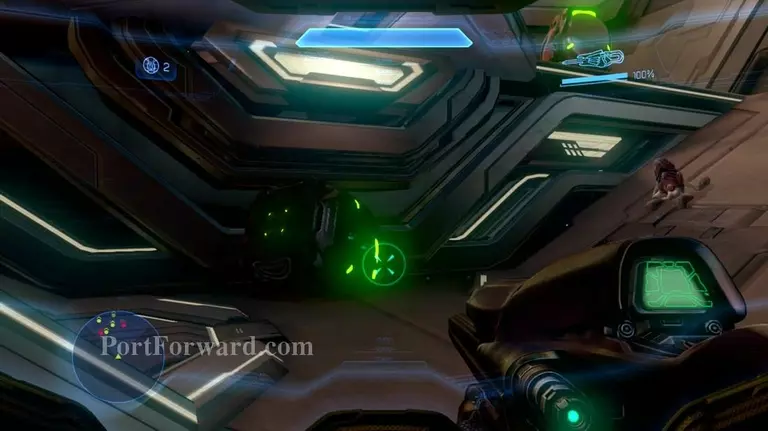
You'll see some Sentinels attacking a couple Hunters. Again, glad they're on our side this time! Unload into the Hunters with your Fuel Rod to take them down easily while they're distracted.
When that's done, head inside the door and follow the straight pathways.
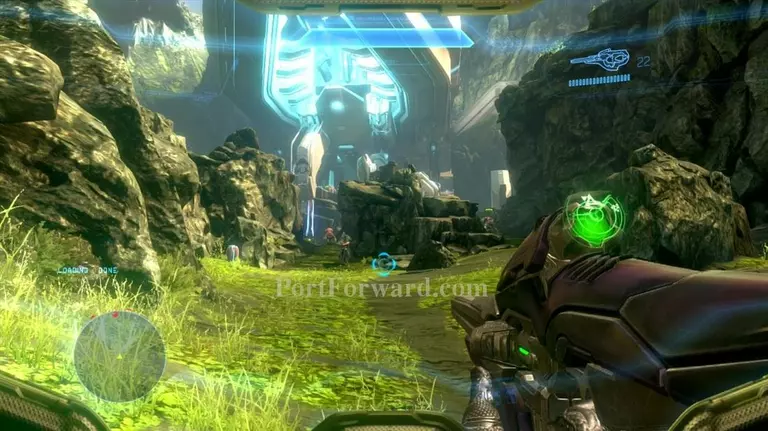
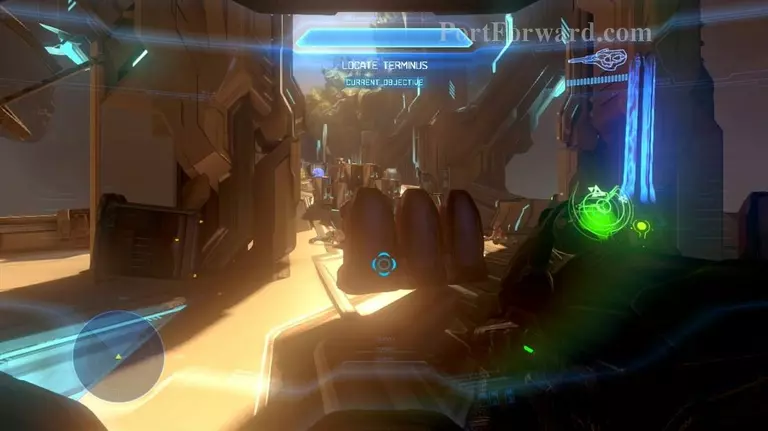
This game's breathtaking sometimes, isn't it? Head straight to the elevator in the back of the room.
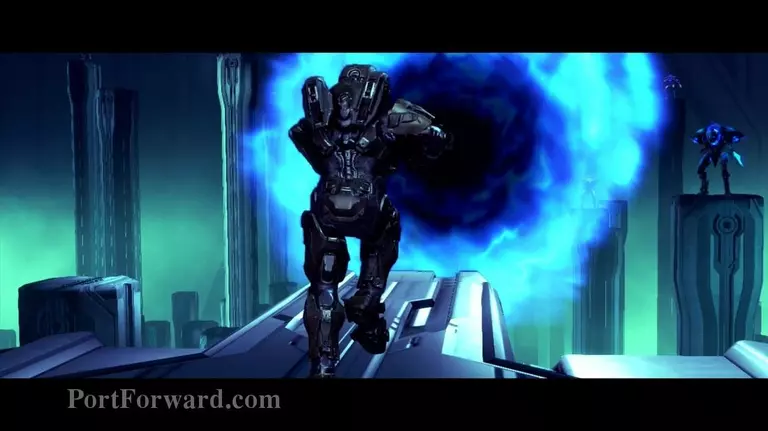
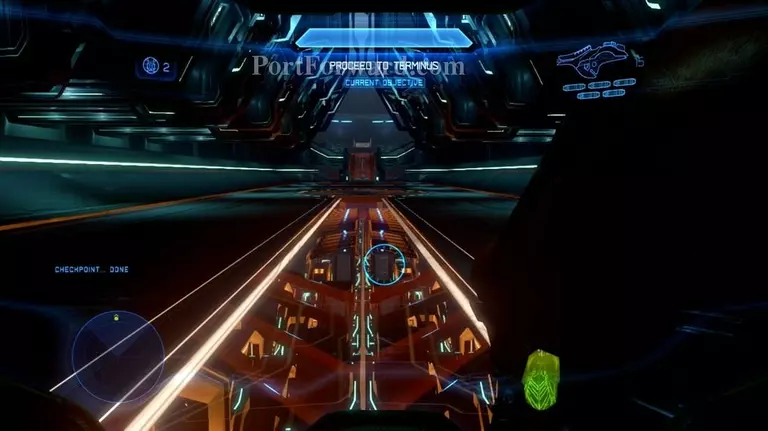
Cortana will activate the Terminus portal and you'll be on your way to Requiem's core.
More Halo 4 Walkthroughs
This Halo 4 walkthrough is divided into 8 total pages.


