
This LEGO Marvel Super Heroes walkthrough is divided into 21 total pages.
You can jump to nearby pages of the game using the links above.
Exploratory Laboratory
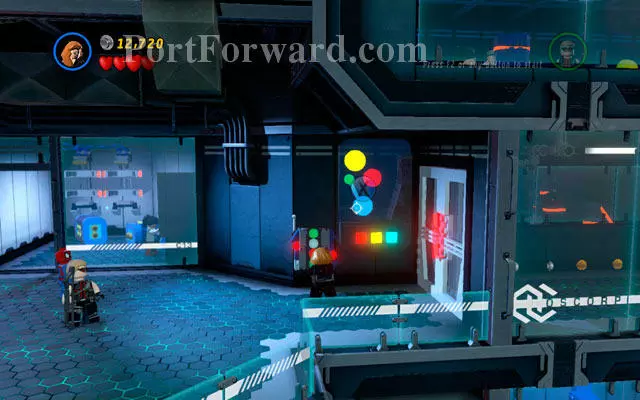
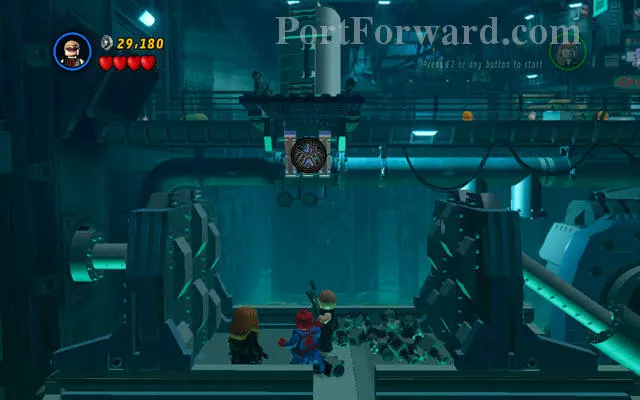
"In Oscorp Laboratory choose Black Widow and approach to the computer on the right. To hack it, you must click on the colored circles in the right order, showed above. As you can see, the correct combination is: down, up and the middle.

Pass through the corridor and fight you way among the enemies. When they are defeated, choose Spider-Man - you must use your spider sense to uncover two attachable points on the right. Yank them to break into next room.
Dodge Green Goblin's bombs and try to shoot at him - he will escape after the first hit. Go to the collapsed lift pit and use a spider sense to uncover a sticky wall. Climb on it as Spider-Man and then destroy the panel located in the middle of the floor. Finally use a switch that unlocks the ladder.
Choose Hawkeye and shoot an arrow at the silver vent at the top of the location - you will create a rope-passage for other characters. Go up and stand on the right platform, so you can easily shoot another arrow at the attachable point. Yank it to create a footbridge, so you can go further.
Pass through the corridor and use Spider-Man's spider sense to uncover two attachable points. Yank them to unlock a silver plate hidden behind. Choose Hawkeye and shoot an arrow at the uncovered target - you will blow it up, creating a passage.

In next corridor some cameras are located, so you should use Black Widow's invisibility skill to avoid them. Go to the interior and turn right - hung on a switch and wait for two attachable points to appear. Then use Spider-Man's web to open the door.
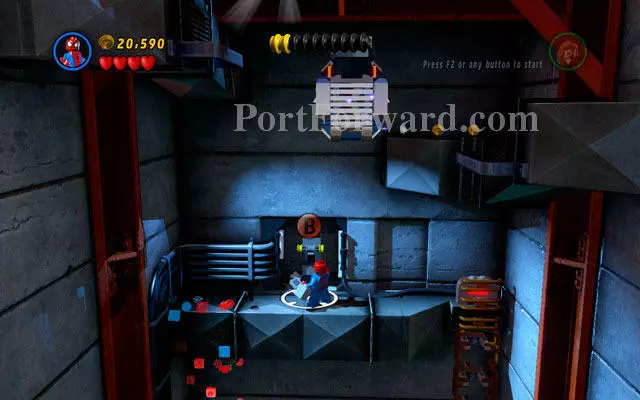
At the moment you will be transferred to a new location. There is no need to hurry - against all appearances, you won't be crushed. Stay calm and destroy an object on the right, then shoot an arrow at the silver box on the opposite side. Build a ladder from the debris and climb to the upper floor.
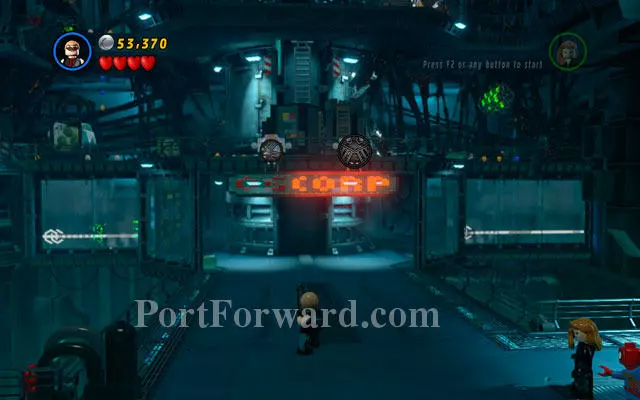
Head right, killing all enemies in the area. When the location is cleared, choose Hawkeye to shoot two arrows on the both silver handles over the Oscorp neon. Then approach to them as Spider-Man and use your spider sense ability to uncover two attachable points. Yank them with your web to unlock another ladder.

Climb to the upper floor and fight the enemies, killing as much as you can (studs are very useful!). Then go to the highest floor (using the same ladder) and turn left. Use a computer as Black Widow to turn a column on the right in the proper direction.
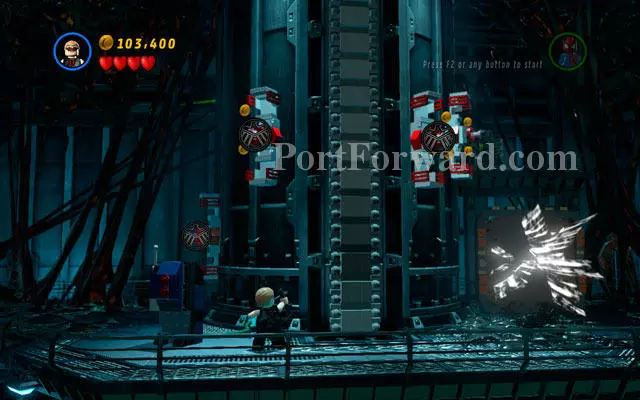
Shoot some arrows at four attachable points to create poles. Then switch back into Black Widow and jump through them, so you can approach to the computer on the right. Turn your invisibility power on to avoid the camera and hack nearby device - you will open the ladder to the next stage.
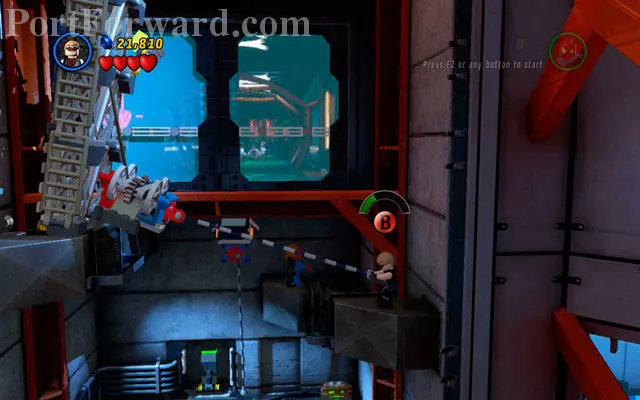
In a new location head to the right so you can approach to the huge boxes. Destroy them and yank two attachable points with Spider-Man or Hawkeye. Then use scattered debris to build a shooting panel for Hawkeye. After that use a bow to shoot an arrow at the target.
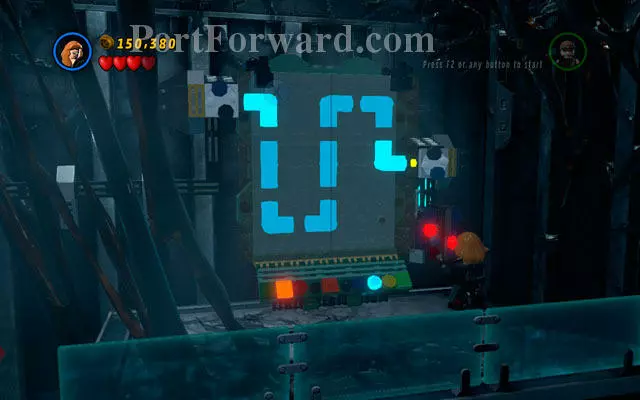
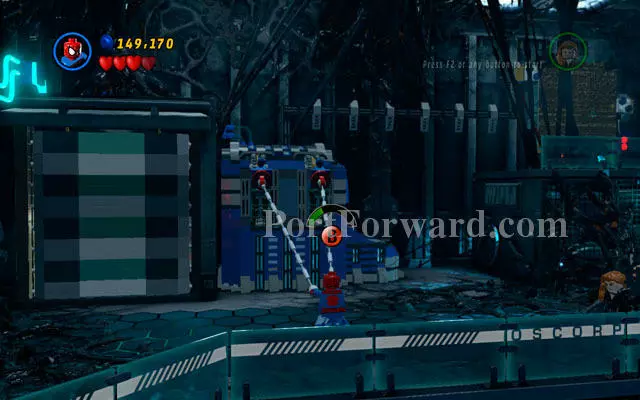
Switch into Black Widow and jump through the poles heading to the computer on the right. Now you must solve a riddle - your goal is to create a connection between two pumps. The right combination is showed above.
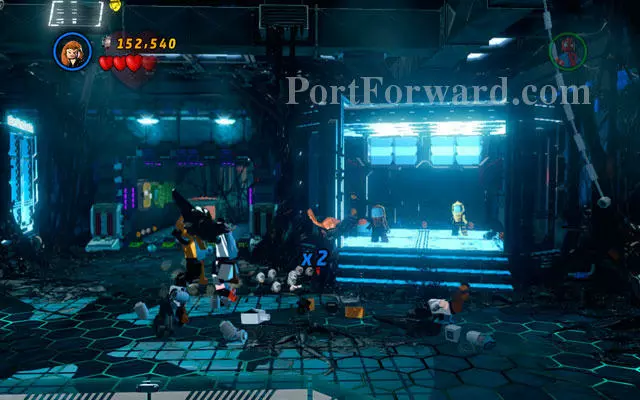
When Venom appears, turn left and return to the one of the previous corridors. Prepare for a tough fight with multiple enemies - try to keep them at a range, because they can be quite demanding during melee combat. Change your position often and avoid being surrounded -then everything should be okay.

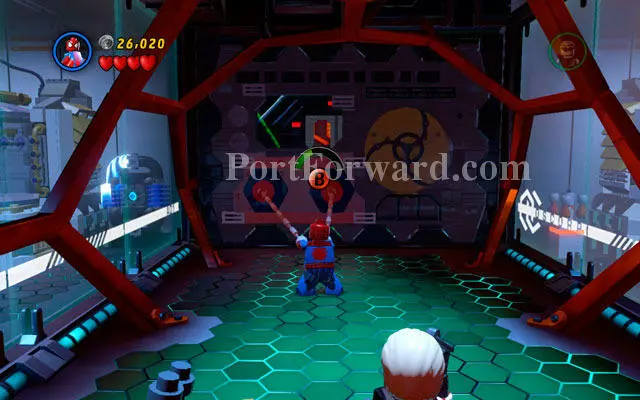
After the fight enter to the frozen, blue room on the right and step on the red button. Then use another character to stand on the similar button located in the room at the opposite side of the location. Because both switches are turned on, the door will become open.
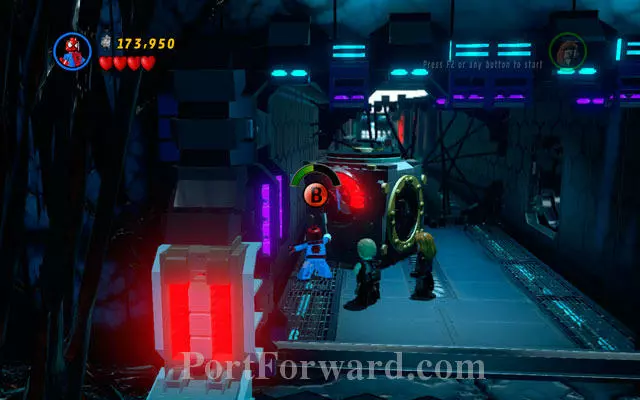
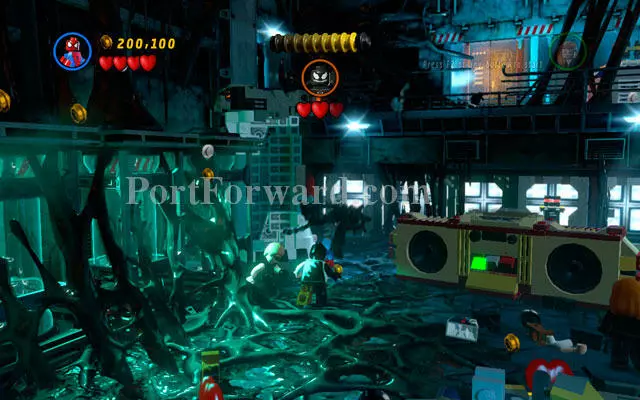
Enter to the corridor and destroy anything you will find there. Build a huge speaker from the debris and turn it on using spider's web on the attachable point. Then enter to the new area.
Move forward and wait for a cut-scene. When it ends, fight the enemies and then shoot Hawkeye's arrows at two silver levers to destroy them. After that use spider web to yank two attachable points - the gate to the final arena will stand open.
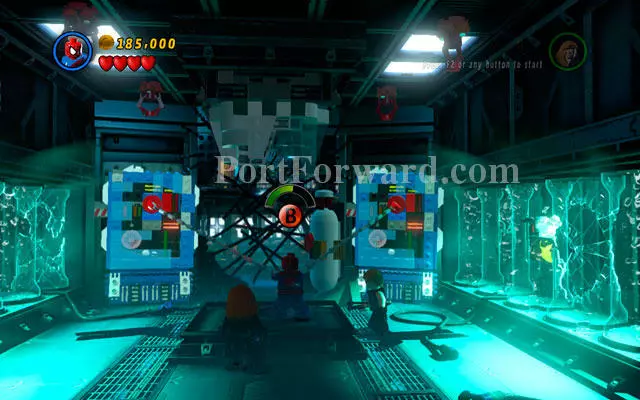
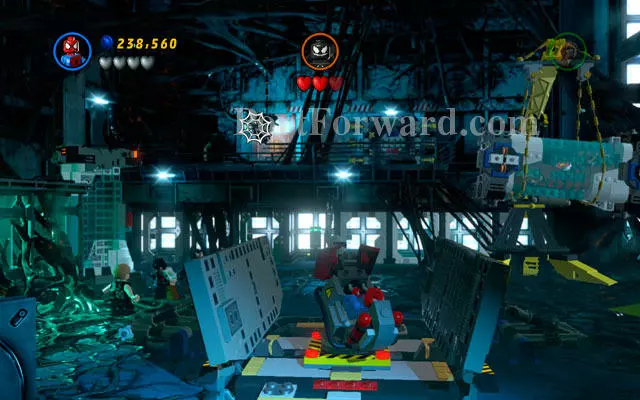
Duel with Venom is quite tough. Villain will summon enemies endlessly, so you shouldn't bother with them - just focus on the main problem. The boss is immortal for some reason: you must weaken him first to strike a crushing blow. To do that, destroy all objects standing on the left side of the arena and build radio from the debris. When it is working, run towards Venom and punch him in the face. The first stage of fight is over now.
"Wait for some time struggling with infinite group of minions - you need to survive long enough to see a computer appearing on the central wall - Exploratory Laboratory - Walkthrough - LEGO Marvel Super Heroes - Game Guide and Walkthrough
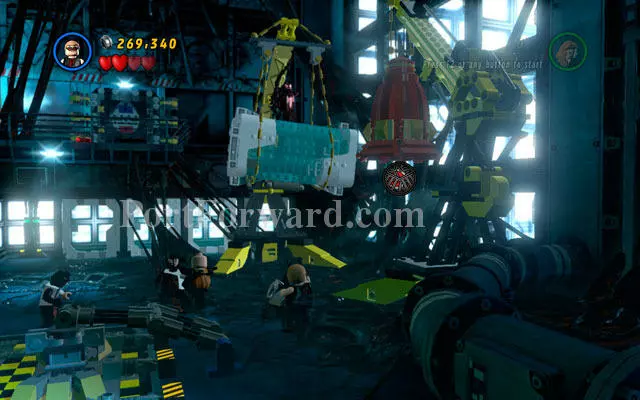
When the enemy is hardly alive, turn right and approach to the crane. Use spider sense to uncover two attachable points and yank them, scattering some bricks. Build a bell from the debris and switch your character into Hawkeye to shoot an arrow at the constructed object. After that approach to Venom and strike him with the final blow.
More LEGO Marvel Super Heroes Walkthroughs
This LEGO Marvel Super Heroes walkthrough is divided into 21 total pages.


