
This LEGO Marvel Super Heroes walkthrough is divided into 21 total pages.
You can jump to nearby pages of the game using the links above.
Rock Up at the Lock Up
"The beginning is very easy: go forward, and turn right every time it is possible. Don't bother yourself with the prisoners - they will appear endlessly, so fighting them is a waste of time.
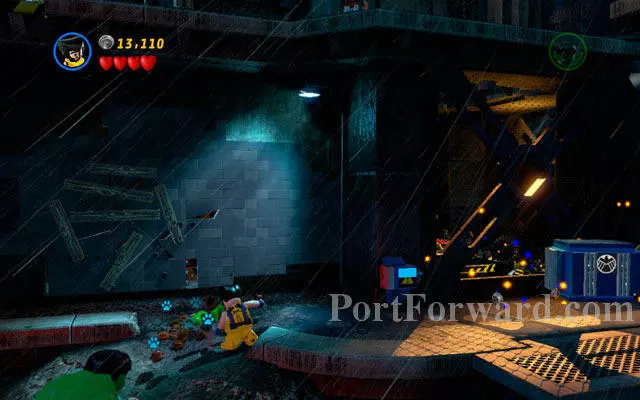
Switch into Wolverine and approach to the window, sniffing around (interaction button). In that way you will uncover a sticky wall, on which Logan can climb. On the upper floor head to the right corner of the location and destroy all objects in the area, then use a claw switch (notice that only clawed characters like Wolverine can use it!).
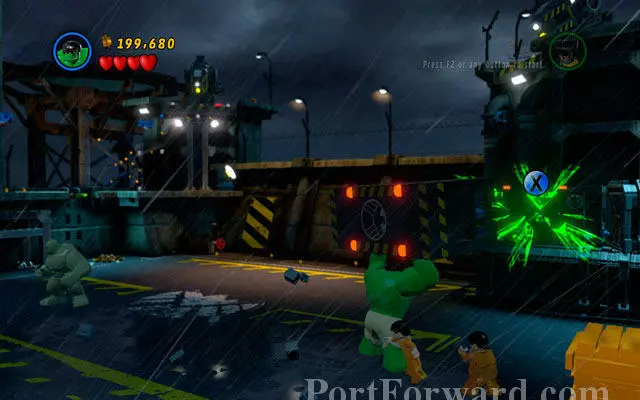
When the lift is ready, stand in it as Hulk. Green giant will unfortunately switch all alarms on, so you will be flooded by the endless tide of enemies. Choose Iron Man and fly up, shooting at four silver cannons - that's the only way to survive the battle. If the cannons are destroyed, the flow of the enemies would be stopped.
Switch to Hulk and go to the left, yanking two green handles. Fight your way through the enemies (appearing endlessly) and use Wolverine's smell sense to uncover a sticky wall. Climb on it, then use a ladder and go to the top of the roof.
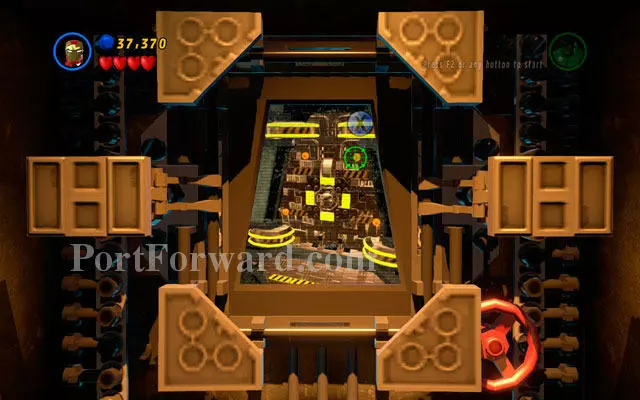
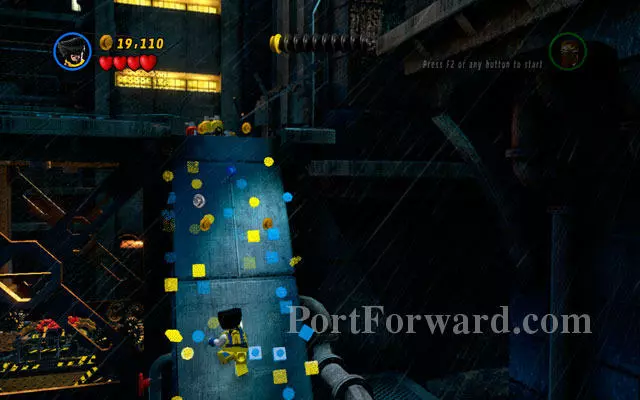
Approach to the yellow wall and slice it using your claws. Then switch into Iron Man and use a computer that you have unlocked short moment before. Your goal is to open all four latches - it can be done by clicking on the four orange points at the gates (see screen above).

When the gate is open, pass through it and defeat all the enemies. Move forward, destroying all obstacles on your way and finally reach to the brick wall. Then break it and enter to the new location.
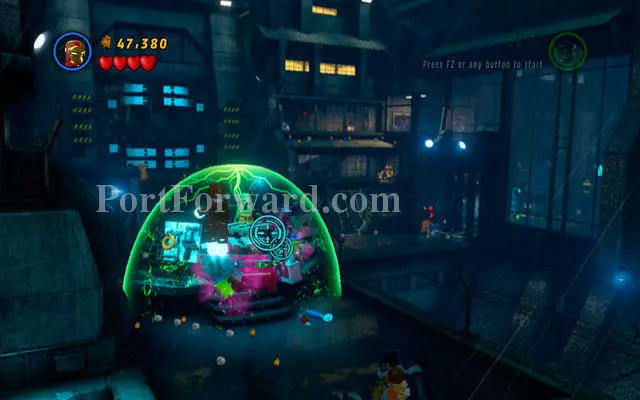
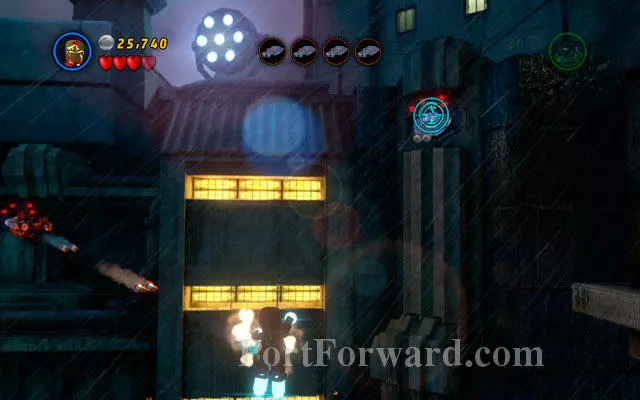
In the interior of the prison you will meet an arch villain - The Leader. Fly up as Iron Man and shoot your rockets at three silver containers, that your enemy is juggling. When they are broken, power field created by the opponent will fall down, so you can crush him now.

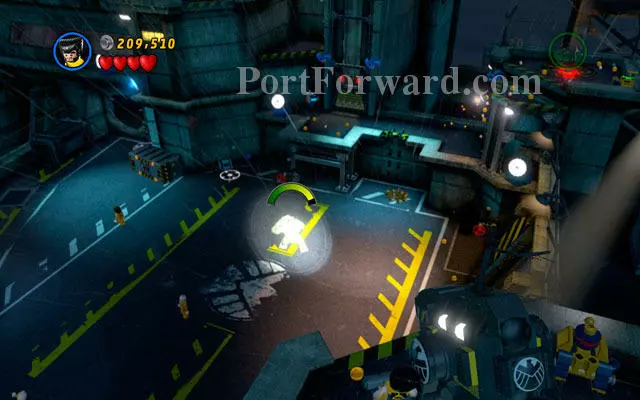
Choose Wolverine and head to the right - when your hero is sniffing something, then use his smell sense to uncover a yellow wall. Destroy it and enter the building, using your sense once more. Climb on the sticky wall using claws, so you can go to the first floor. There use a claw switch to open the door to the further part of the building.
Defeat all opponents and head to the right - under the wall you will find some objects, that should be destroyed. Build a computer from the debris and use it with Iron Man (hit attack button as fast as you can). I this way you will defeat Whiplash.

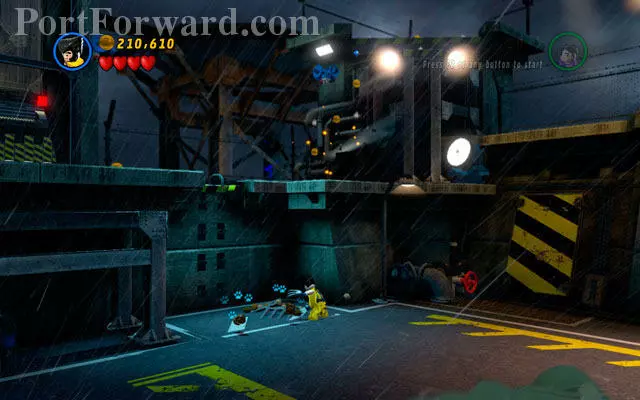
Choose Wolverine and approach to the cage with Abomination, sniffing around. When the green handles appears, yank them with Hulk - in this way you will eliminate the danger. Then switch into Iron Man and fly to the upper floor on the left, shooting at the silver padlocks. Enter to the small room, kill all the enemies hidden inside and destroy all objects standing on the left. Then build a claw switch from the debris.
Switch into Wolverine and pass to the upper floor using the chain. Then sniff an area and climb on the sticky wall, heading to the room on the left. Use claw switch to open the main gate and return to the starting location (you must be prepared for some fight).
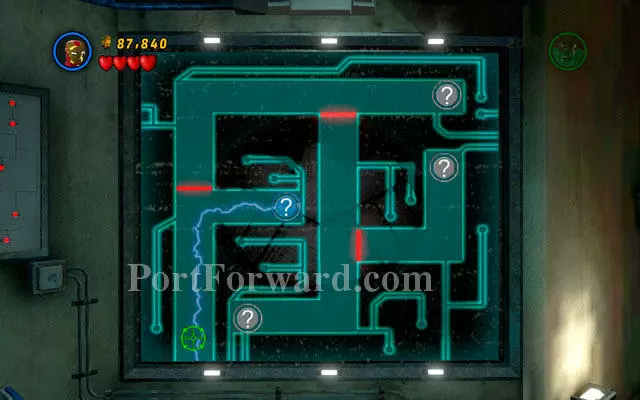
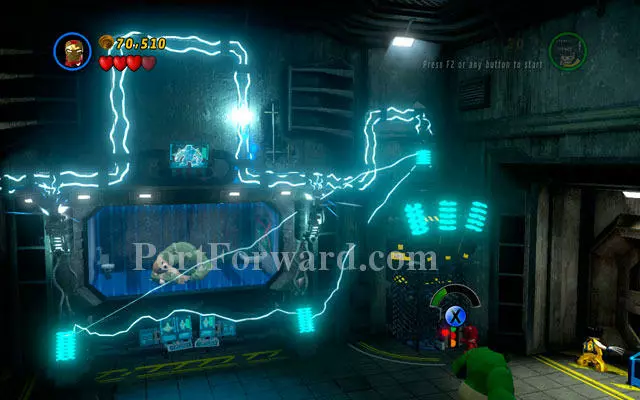
In the newly unlocked room defeat all enemies and approach to the computer as Iron Man. You will see the overview of the security system - search all question marks on your way to call a lift leading to the next location.
"On this stage you will fight with Magneto and Sabertooth. Iron Man is disarmed, so you can rely only on Hulk and Wolverine.
Second sequence is quite similar - defeat all minions, then build another missile, throwing it at the target.
"The last sequence looks nearly the same - but this time you must build not one, but two objects and throw them at Sabertooth. Notice that arch villain will jump from the destroyed platform to the other one - that's the reason for two missiles.
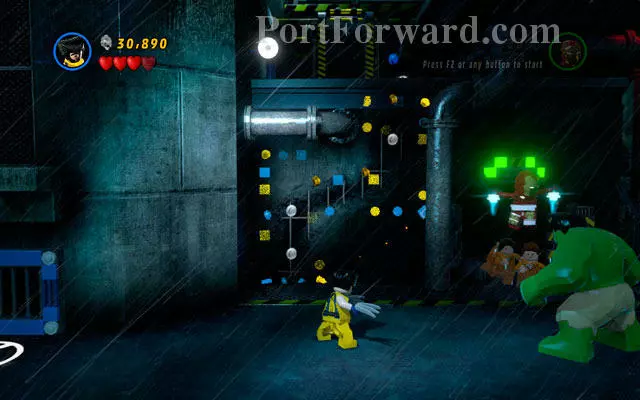
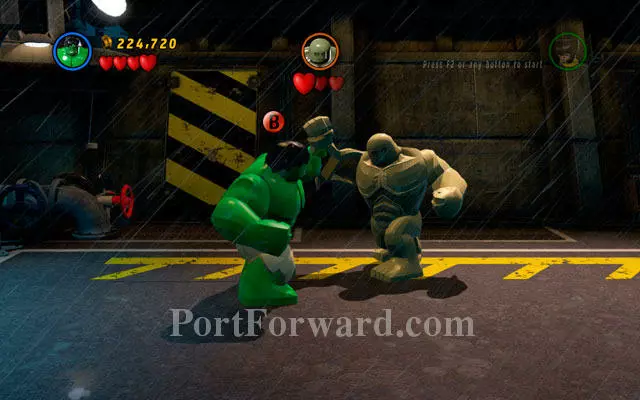
Struggle with Abomination demands some cunning, not brutal force. Choose Wolverine and straight to the right, until you'll get to the sniffing area. Uncover fragile point on the nearby pile of boxes and switch your character into Hulk. Now lift a container and throw it at the shining breach.
Climb on the wall as Wolverine, jumping between two white-and-blue walls to get to the top of the tower. Defeat some enemies and turn left, using spotlight to blind Abomination for some time. Then switch into Hulk and hit an enemy during easy QTE sequence.
The first part of the fight is behind you - now it's the time for the second one. Choose Wolverine and approach to the pile of sand located on the left side of the location and unearth a ladder from it (you must construct it first from the debris). Climb on the first floor, sniffing the sticky wall on the right and get to the tower on the right. Then use a claw switch to unlock another spotlight - you have already know what to do with it.
To strike a final blow, you must switch to Wolverine once more. Use a lift located on the first floor and go to the left platform, fighting your way among prisoners. Destroy a pile of junk located there and build another claw switch from the debris. Use spotlight to blind Abomination for the last time and defeat him as Hulk. That's the end of this mission!
More LEGO Marvel Super Heroes Walkthroughs
This LEGO Marvel Super Heroes walkthrough is divided into 21 total pages.


