
This LEGO Marvel Super Heroes walkthrough is divided into 21 total pages.
You can jump to nearby pages of the game using the links above.
Rebooted, Resuited
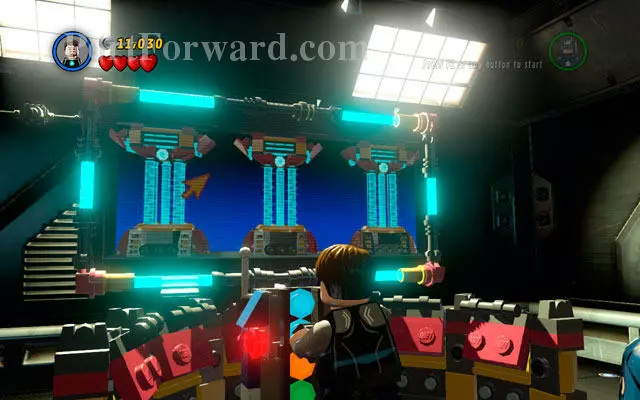
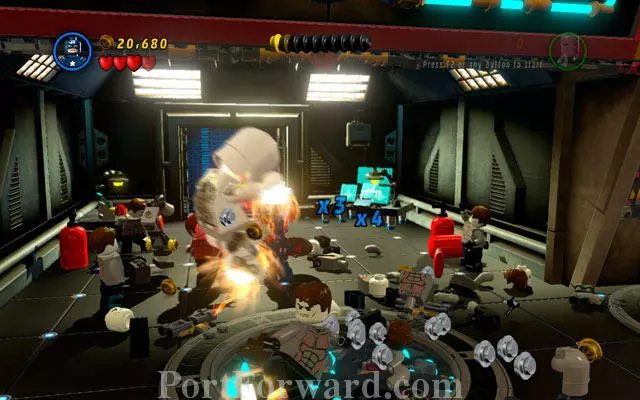
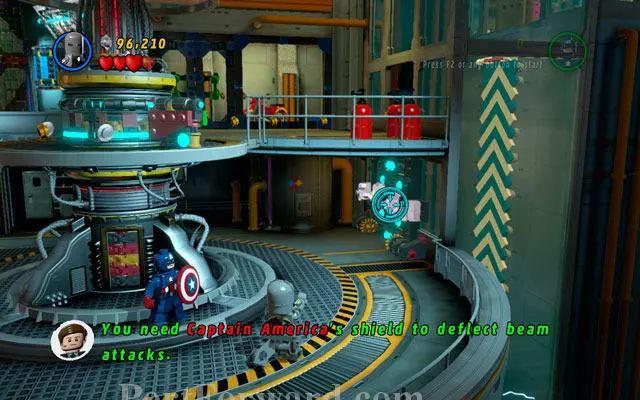
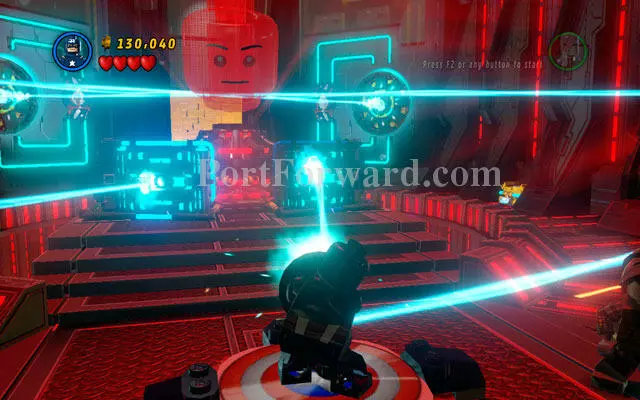
"After the beginning of the mission toss Captain America's shield at the patriotic panel located above. In this way you will unlock next mechanism - throw at it once more. When the power field is down, enter next room and destroy everything hidden inside.
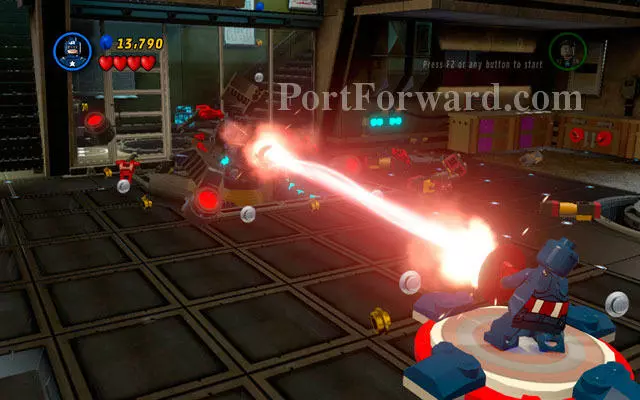
On the other side of the corridor, concentrate enemy's fire on Captain America - cover yourself behind the shield and stand on the panel on the right. Now reflect deadly beam to the cannon, so you can break it easily. After some explosions, the device will explode and you will be rewarded by some useful bricks. Build a computer for Tony and use it.
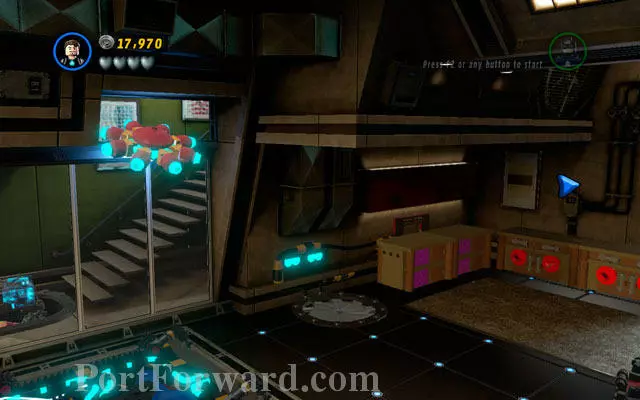
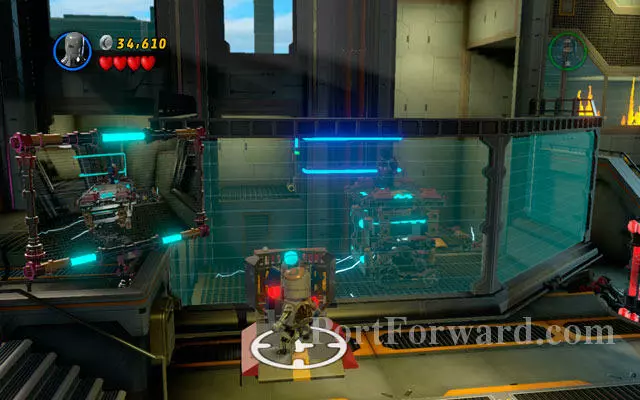
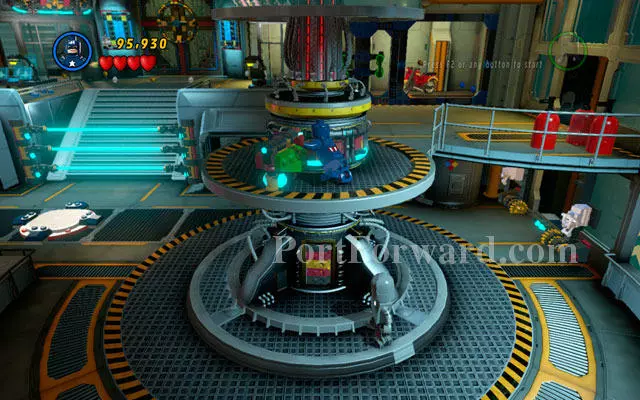
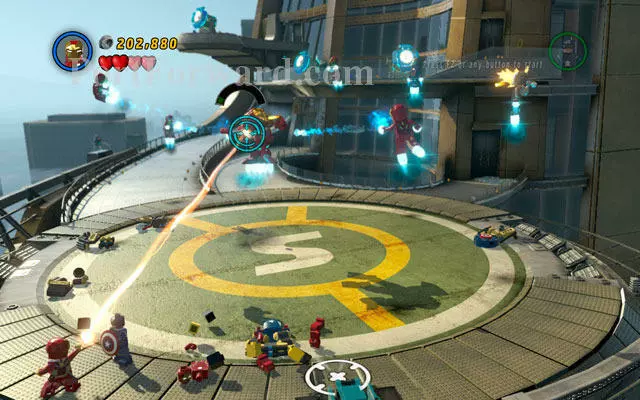
Take control over the disk and fly up, passing through the gap located above the window. Then steer to the right, heading to the blue panel. After the landing, cabinet with Iron Man armor (Mark 1) will be opened. Suit up and continue your travel.
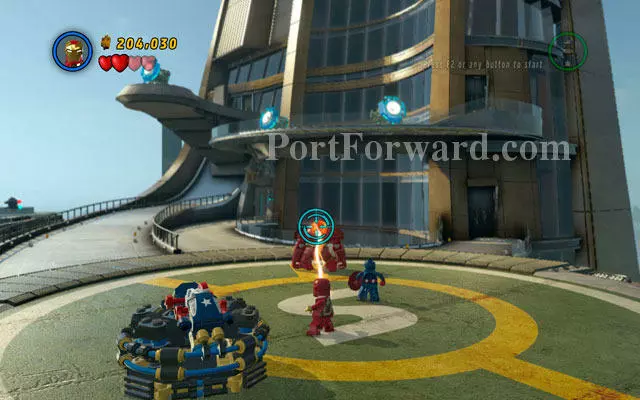
The old armor has the same advantages that mark 6 had, but without flying ability. However, you can still use it to break some silver bricks - shoot your rockets at the silver cage located in the central part of the corridor, above from the power field. In that way you will uncover a switch for Captain America - toss a shield at it to open next room.
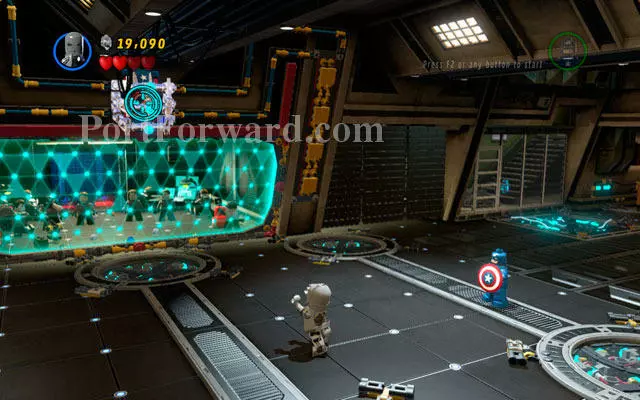
Enter to the new location and defeat all enemies. When they are gone, use both superheroes to stand on two red buttons located in the lift. You will be moved to the next stage.
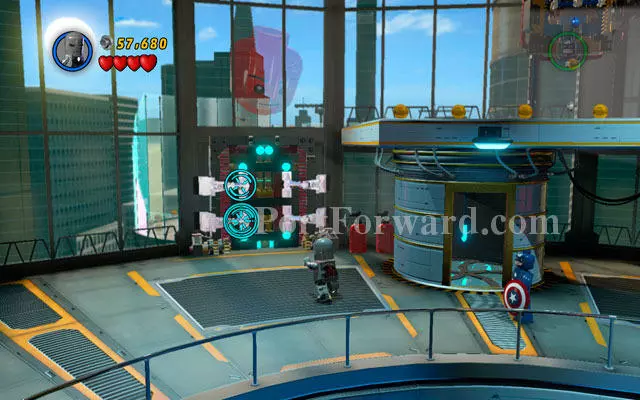
"In new area defeat all enemies, then turn right and use a computer located in the corridor. Wait for a green light to appear, then use another device as Iron Man to move electrified container on the proper spot on the left side. Now wait for Captain America to jump on it, then return object to the starting location.
As Captain America cover yourself with a shield and pass through the flames - then head to the object located near to the wall and destroy it. When the passage is clear, go further. Defeat all enemies in the area and approach to the silver hinges, destroying them with Iron Man's rockets.
Use Captain America's agility to jump through some poles located in the balustrade, so you can climb on the second floor. Kill all enemies hidden there and enter the building from the roof. Jump on the switch placed on the wall to start a ventilator - now Iron Man can join you.
Head to the right, looking for the second ventilator. Turn the device off, by shooting your rockets at the silver plate located above the fan. Then go down and defeat another group of enemies. When they are gone, turn right and destroy a silver blockade located on the door.
Use Captain America to jump between two white-and-blue walls on the right, climbing up in that way. Go to the next floor (on the left) and approach to the rotary switch. Turn it clockwise to open a panel with wires, then destroy it with Iron Man's rockets.
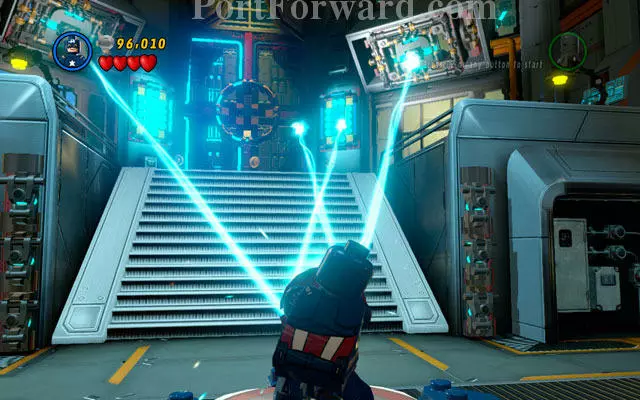
In this moment two laser beams will be turned on. Approach to them with Captain America and stand on the platform, reflecting the beam at two blue panels located on the both sides of the gate.
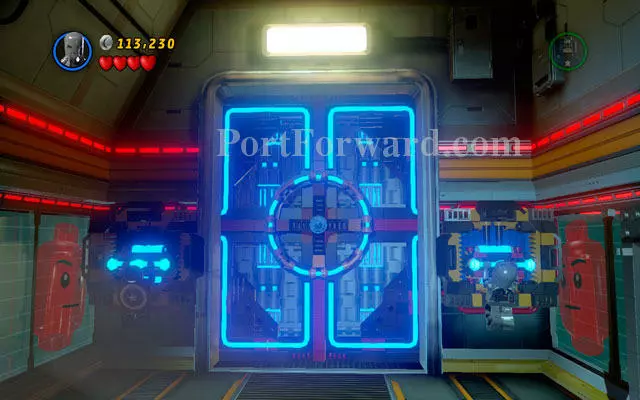
When the door is open, run towards the corridor and cover yourself with a shield - you will be targeted by another cannon. Reflect the laser to its source, eliminating the danger in that way (notice that you can also fry some enemies using this trick!). Build a switch from the debris of the machine and open next door, hanging on both levers.
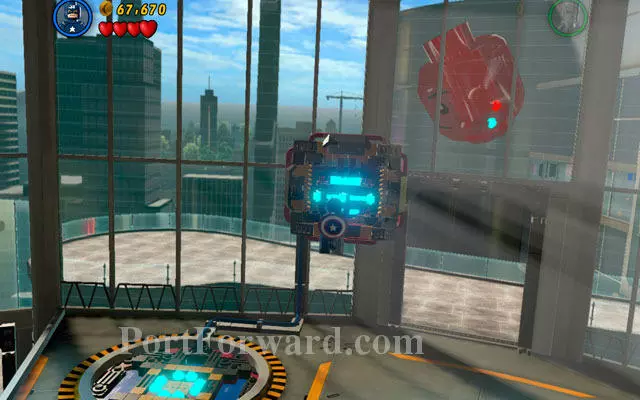
In new location defeat all enemies, then approach to two panels located at the end of the room and toss a shield at them. You have just turned on some lasers - now reflect them using patriotic panel placed on the floor, aiming at the cube located on the right side of the podium. When the system is overloaded, Jarvis can return to it's normal "mood".
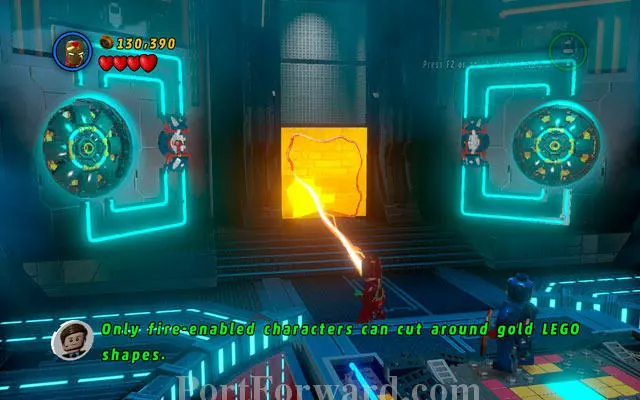
Switch into Iron Man and stand on the central platform - you will be resuited with a new armor. Mark 42 is able to slice through some golden objects, melting them down. Use this ability to destroy golden wall at the opposite side of the room and enter the lift, so you can finally confront Mandarin and Aldrich Killian.
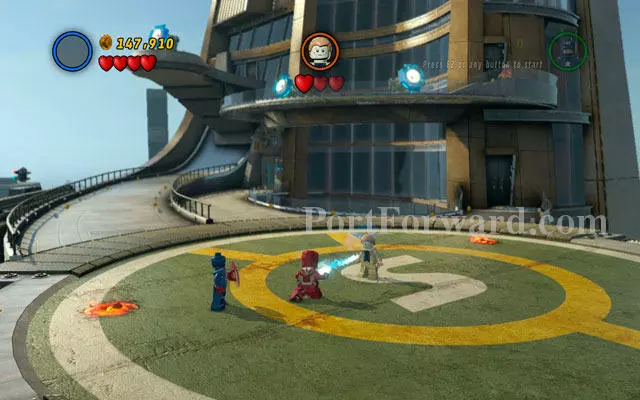
The struggle is very schematic - defeat all minions first, then wait for Mandarin to take control over your character. Punch him with second hero, then fight Aldrich (who appears suddenly from nowhere), trying to hit him as fast as it is possible. Repeat this pattern for three times to open up another stage of the duel.
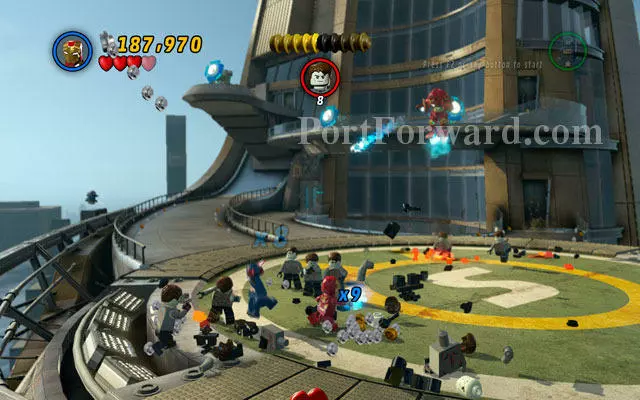
When the first boss is defeated, second one will enter to the Terminator Armor. Notice that your enemy is invincible now - you must defeat all 40 minions to make him vulnerable again. Kill all the enemies and try to dodge missiles fired by your enemy - stay focused and run around the arena constantly.
Duel with armored Mandarin is quite simply - you must fire at him constantly. When he has no more than 10% of his health, he will become invulnerable again, so wait patiently for the course of events. When all other armors are destroyed, build a panel from them and toss Captain's shield at it.
When the device is charged, huge explosion will occur, overloading some systems of Mandarin's Terminator. After that, approach to the enemy as Iron Man and melt golden plate on the villain's back. The fight is over!
More LEGO Marvel Super Heroes Walkthroughs
This LEGO Marvel Super Heroes walkthrough is divided into 21 total pages.


