This LEGO Marvel Super Heroes walkthrough is divided into 21 total pages.
You can jump to nearby pages of the game using the links above.
Red Head Detention
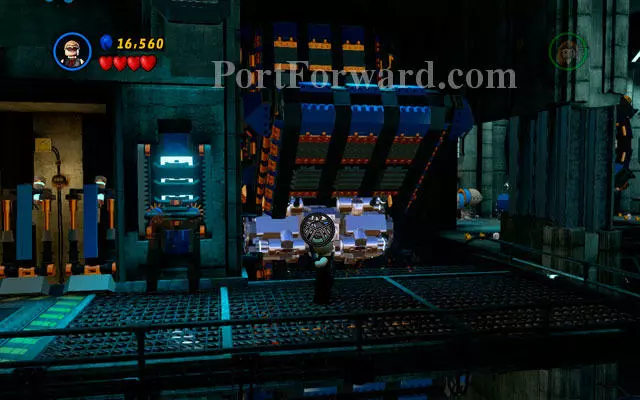
"At the beginning of the mission, choose Black Widow and use her invisibility ability to avoid cameras. Then go to the right, heading to the lift. Stand on the red button to move up, then turn left and jump between two white-and-blue walls to climb on the wall. Now destroy everything in the area (including two batteries showed above), so Hawkeye can join you.
Approach to the boxes located on the right and break them, building a control panel from the debris. Use it with Black Widow and arrange the wires to connect two power points (the right combination is showed above). Then walk to the next location.

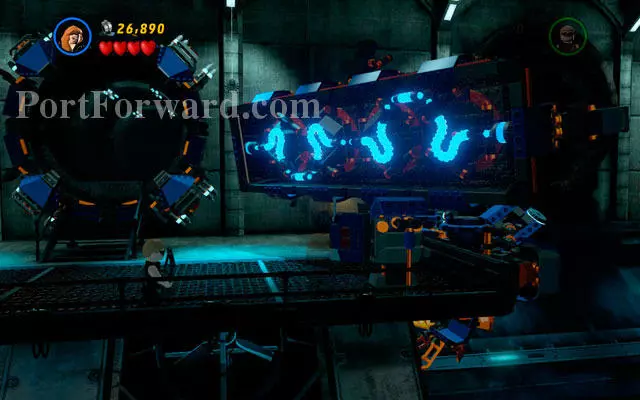
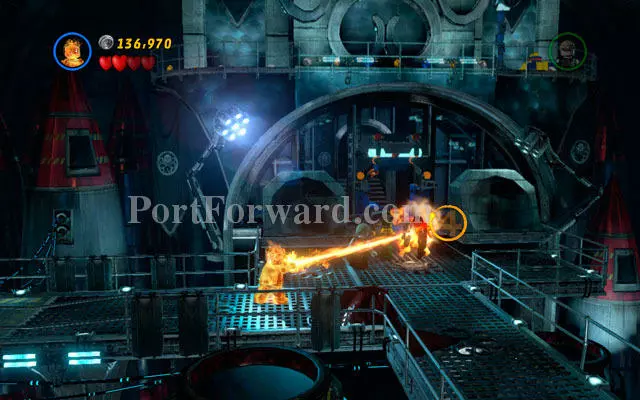
In a new stage you will be supported by Human Torch. He is a very useful character, because of his flight ability and powerful melting attack, able to destroy golden objects and frozen things. You can test his powers immediately, during first fight - you will be attacked by the group of A.I.M. Agents. Defeat them and move to the central part of location, looking for the golden wall. Destroy it with fire, then use a computer with Black Widow.
Now you must solve a riddle - turn mirrors with laser rays to reflect patterns showed in the down-left corner of the screen. The right combination is: triangle, square and overturn hour-glass. When it is done, go to the platform that you have already created.
Use Black Widow again to switch a lever on the right - you will unlock a red button, located in the lift. Stand on it to go up, then use your invisibility power to avoid cameras. Destroy all objects in the area and you will turn "nasty observers" off.

Switch into Hawkeye and shoot an arrow at the red attachable point, located on the platform on the right. Move Black Widow to this spot and prepare yourself for some cooperation.
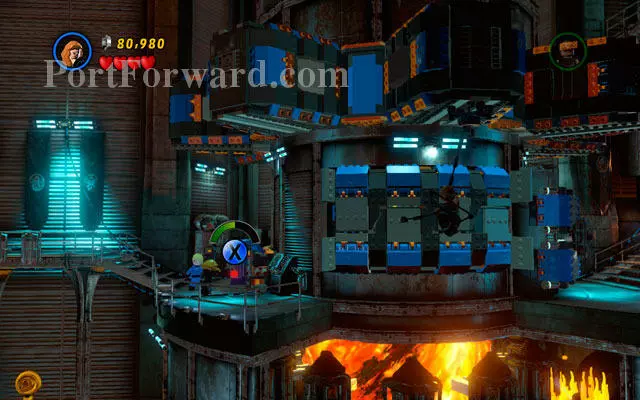
Next action demands some coordination. Choose Hawkeye and jump on the rope, then switch into Black Widow and rotate the whole construction to move your archer to the platform on the right. Defeat nearby enemies and then use a rope on the attachable point on the left. Wait for the span to appear, then jump on it uncovering golden ball.
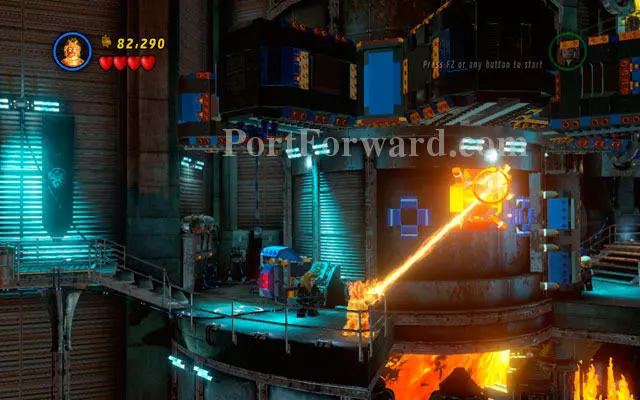
Melt the ball using Human Torch's fire beam, then switch back to Hawkeye and shoot an arrow at the uncovered gap. Now all characters can go further.
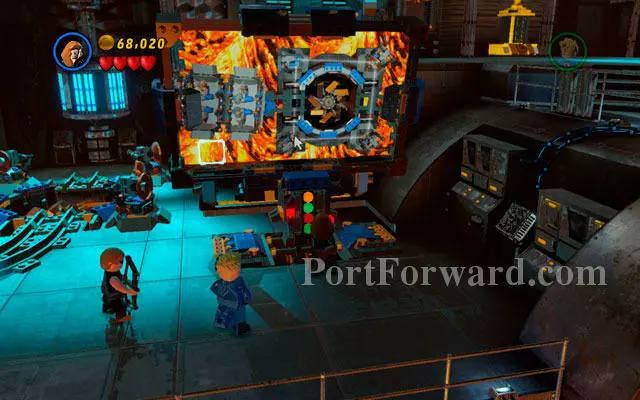
Jump over the crack as Black Widow, then use your invisibility power. Pass between the cameras, then jump over the next gap (use cogwheel to make this easier). After that approach to the computer and turn all securities off.

Switch into Hawkeye and go to the right side of the room. Shoot an arrow at the door, so you can yank them using the rope. Then defeat all enemies and go to the next stage.
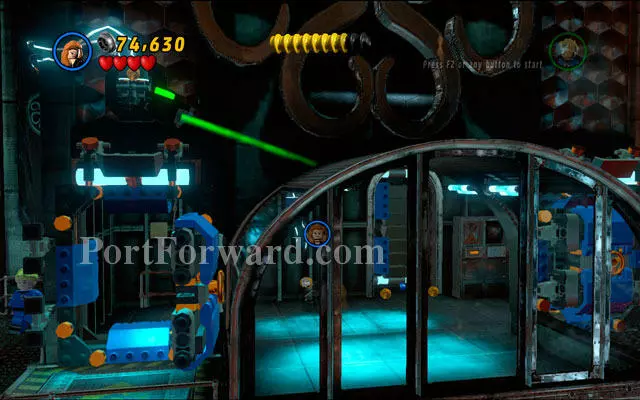
Choose Human Torch and melt golden wall at the opposite side of the area, so all of the characters can move to the upper floor. Defeat all enemies hidden there and shoot two arrows at the silver machine. Then build two white-and-blue walls from the debris and switch to Black Widow to climb on the next platform.
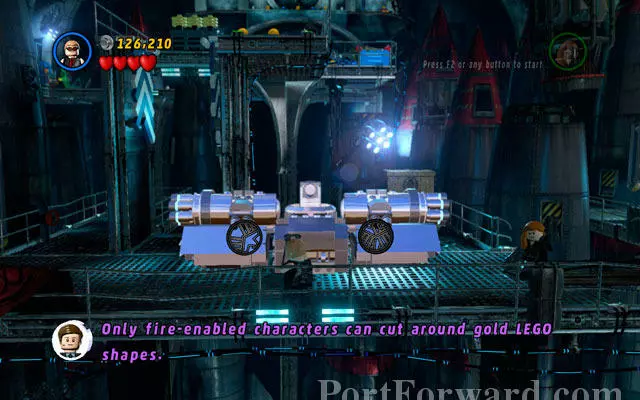
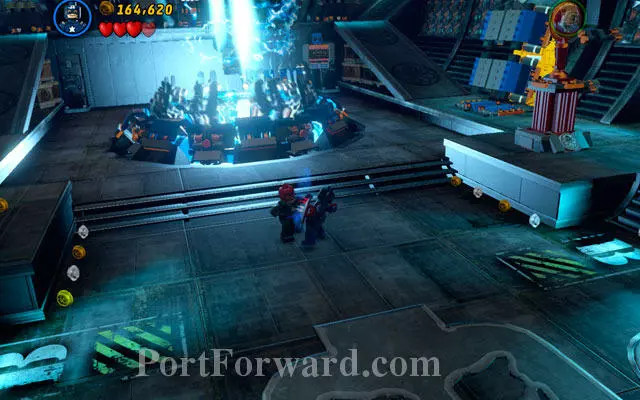
Turn invisibility on and run between two cannons, heading to the right. Then use computer to move both weapons, so you can destroy them by each other. After that, fight with two enemies equipped with golden vests - to defeat them, you must melt the cloth first. When this part is over, you can go to the Red Skull arena.
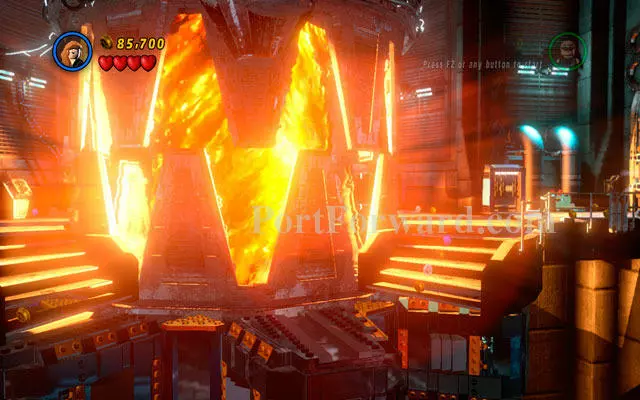
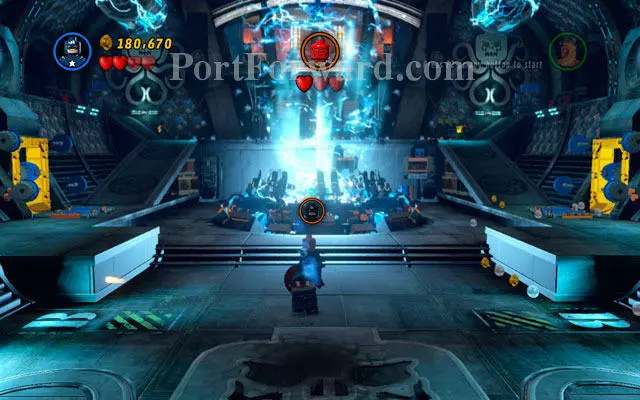
During the fight with red Skull you will control two characters: Human Torch and Captain America. At the beginning of the duel, cover yourself with Captain's shield and approach to the enemy, so you can punch him for the first time. Then return to the central part of the arena and fight with some minions.
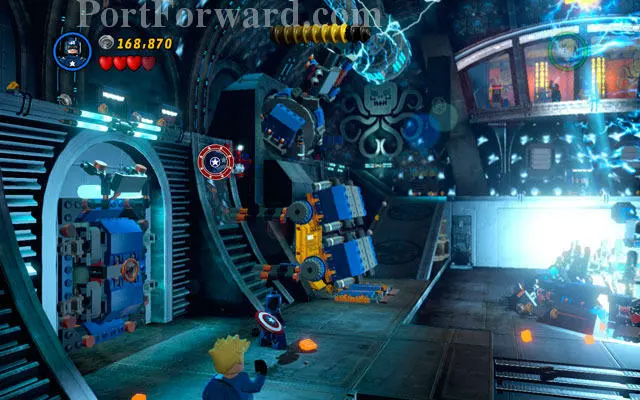
When the stage is partially clear (notice that enemies will appear endlessly), turn to the left and search for some bricks scattered under the cannon. Build a shield switch from them, then toss a shield at it. Because a golden wall is uncovered now, you can melt it with a fire beam and destroy a gas cylinder hidden inside. In this way you will damage the first gun.
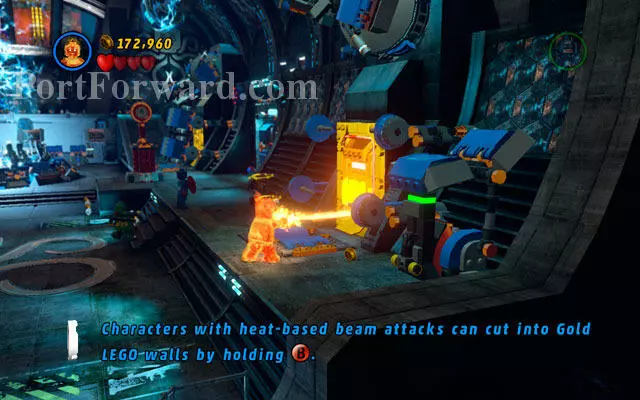
Go to the wall at the opposite side of the arena and look for a lever. Use it, then melt another golden wall, blowing up another gas cylinder. When the second cannon is broken, you can switch into Captain America and hit Red Skull in the face (remember to take cover behind your shield!).
"Third stage of the fight looks very similar - the only difference is a reversal of the sides of the arena. That means you should destroy two new cannons, acting in the same way as it was described above, but at the opposite sides of the room.
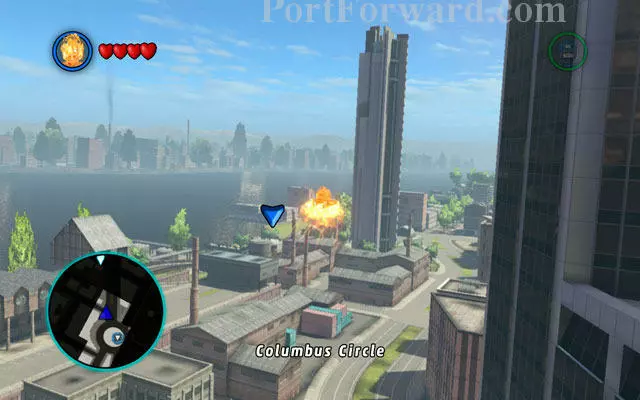
After the fight with Red Skull in mission Red Head Detention, go to the passage to the Bifrost - you will find it at the seaside near to Fisk Tower. The fastest way to go there is by air: you can use Human Torch flight ability to make your way very quickl
More LEGO Marvel Super Heroes Walkthroughs
This LEGO Marvel Super Heroes walkthrough is divided into 21 total pages.