
This LEGO Marvel Super Heroes walkthrough is divided into 21 total pages.
You can jump to nearby pages of the game using the links above.
Juggernauts and Crosses
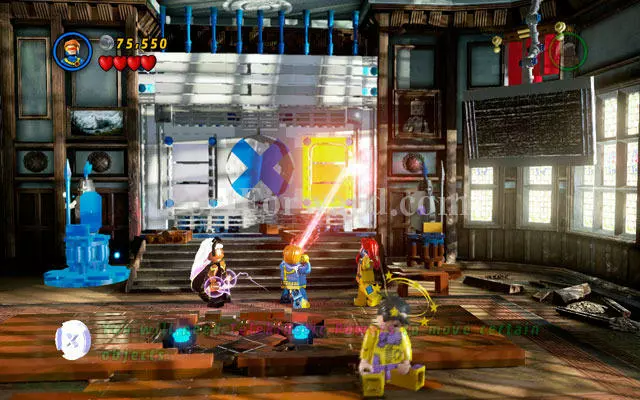
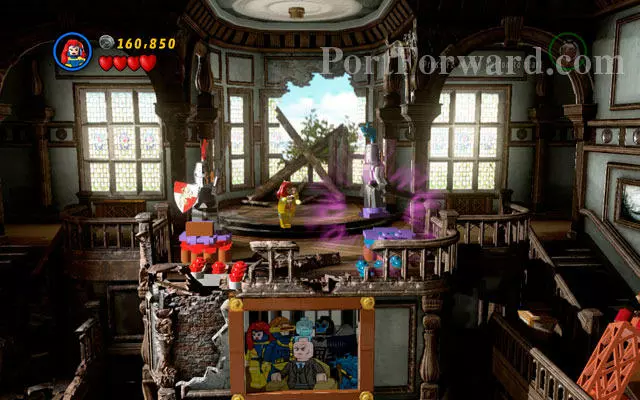
"The main goal of this mission is to rescue all students terrorized by Magneto's thugs. After entering the X-Mansion, defeat all enemies in the area, then turn to the left side of the room. Use Cyclop's laser ray to melt a golden statue standing under the wall, then switch into Jean Grey and rearrange violet books in the right order (you must use your telekinesis power). When the computer appears, switch it on, rescuing the first group of students in that way.

Pass through the door on the right, entering to the next location. Then switch into Jean Grey and take control over the worker (standing on the other side of the burning garbage pile) so you can build a pump from the nearby bricks. When it is done, force open the door and continue your travel.
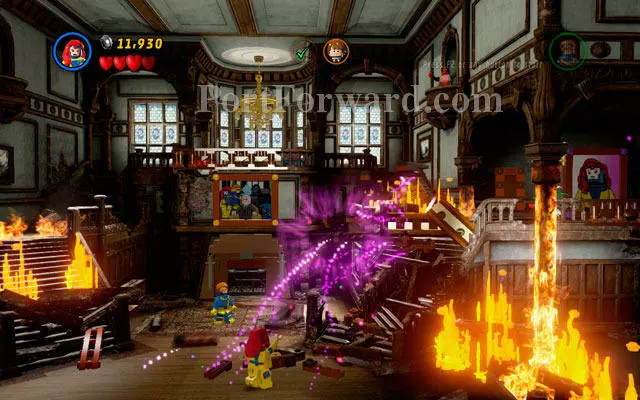
Defeat all enemies and approach to the another pile of garbage. Use Cyclop's laser ray to melt the golden chandelier, then choose Jean and clear the way using her telekinetic skills. After that you can enter to the next room.
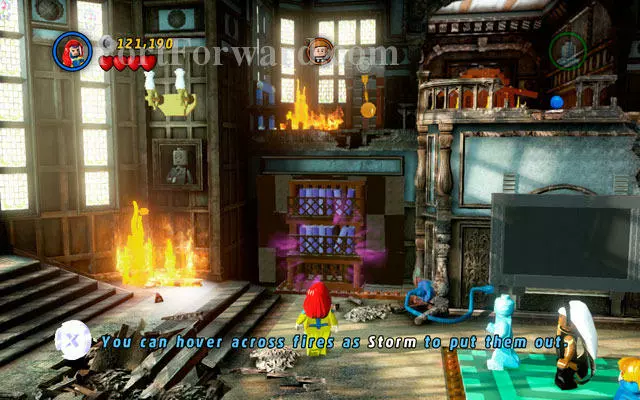
After short cut-scene switch into Storm and mash an attack button to release yourself from Toad's grip. Then approach to the piano standing on the left side of the room and destroy it. Build a chair from the debris and soar up into the air (you must hit jump button twice to do that). Fly to the flames burning on the right, so you can extinguish them with your little tornado - in this way you will also unlock another chair.
Choose Jean Grey and use all three chairs with your telekinetic powers (notice that one of them is already on the right place). Wait for battery to appear, then charge it with electricity using Storm. Turn the machine on to rescue another group of students.
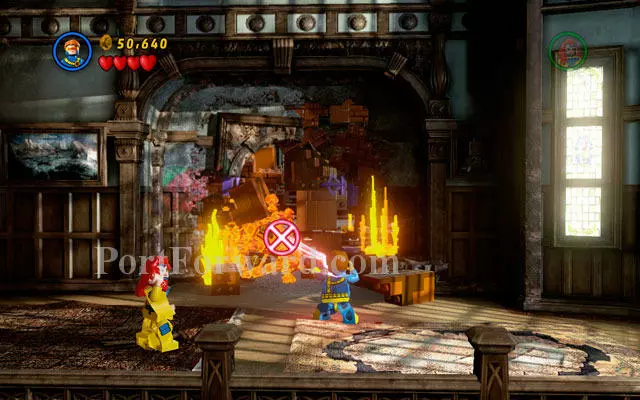
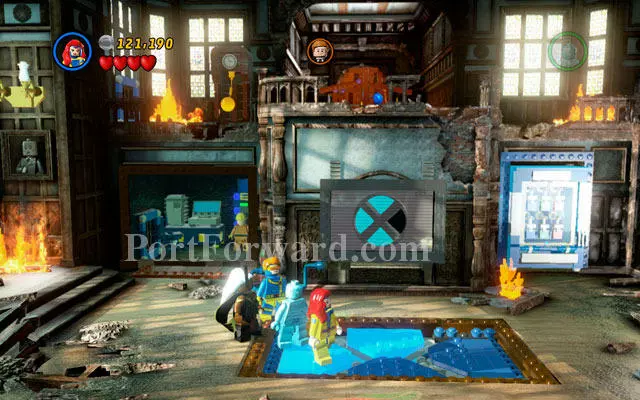
Defeat all enemies, then use Cyclop's laser ray to melt golden plate on the right side of the gate. Then switch into Jean and move a wire to the power point. After that you can choose Storm and charge the battery on the left, opening the passage to the another stage.
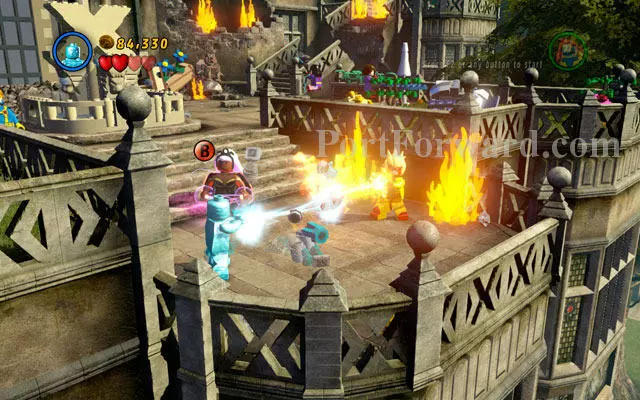
Head to the right side of the location struggling with enemies, so you can meet Iceman who is fighting with Pyro. Switch into "cool" X-man and defeat an opponent, mashing an interaction button. After that approach to the fountain standing in the central part of the location and freeze it, creating a stairway to the roof.
Climb on the roof, then switch into Cyclops and melt a golden brick lying on the other side of the balustrade. Then switch back to Iceman and create an ice bridge from the pool of water. Defeat another group of opponents, then approach to the golden gate.
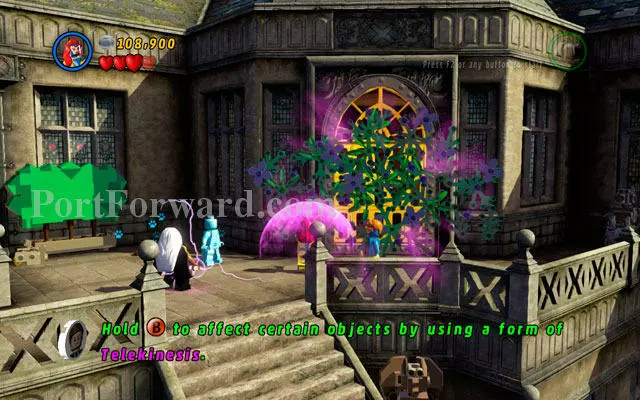
Take flowers off the gate, using Jean telekinesis, then melt an entrance with Cyclop's laser ray. Now you can enter the building.
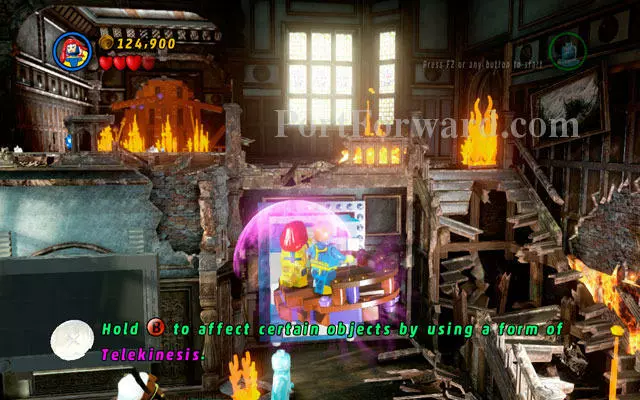
In new location defeat all enemies, then approach to the bookshelves located on the right side of the building. Use telekinesis on it, uncovering the hidden worker - take control over him, so you can turn the computer on.
When strange touchpad appears on the floor, stand on it walking from the left to the right side (anticlockwise). When all four squares are highlighted, nearby students will be saved.
Defeat all opponents, then approach to the right side of the room, building stairs from the scattered bricks (use telekinesis to do that). When it is ready, put all characters into it and move whole construction to the upper floor (you must rely on Jean Grey again).
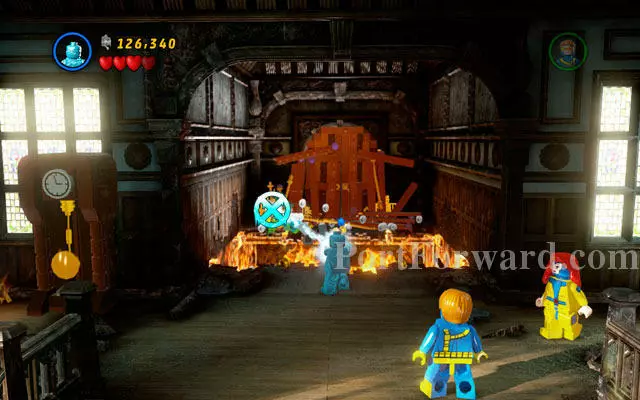
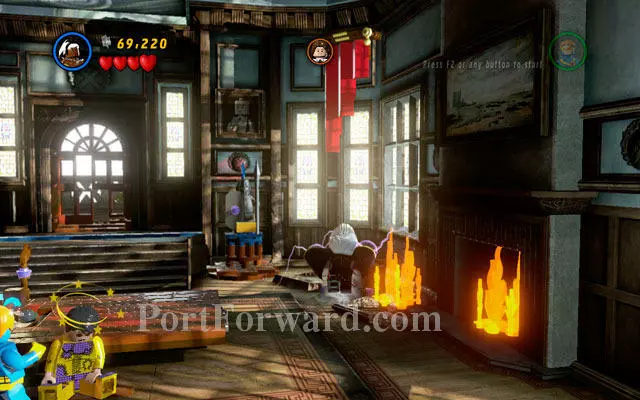
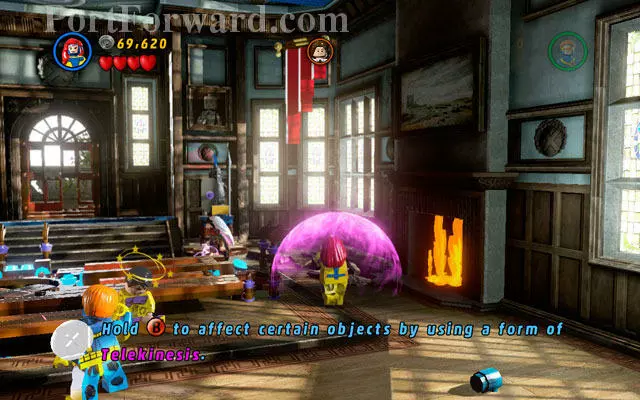
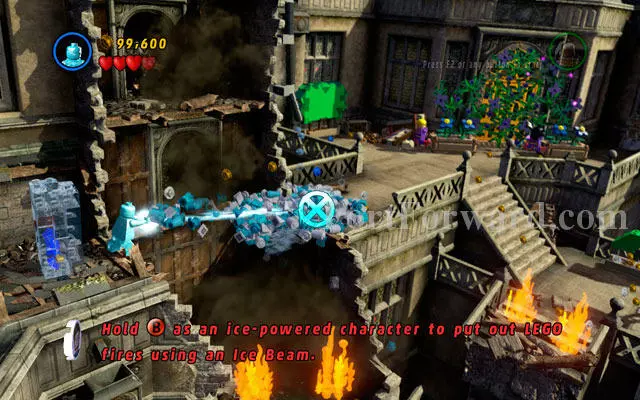
When all superheroes are ready, switch into Iceman and put out all the fires burning near to the exit. Then choose Jean and create a footbridge to the other side of the gap. Finally you can use Cyclop's laser ray to melt two golden hinges on the door - the way is open.
In the next room defeat all thugs, then switch into Storm and fly on the stairs on the right side of the room, extinguishing the fire in that way. After that you can go to the upper floor. The goal is simply: you must fix two armors first, and then put them on the proper postuments (red one on the left, blue one on the right). In this way you will unlock the battery, which should be recharged by Storm. Now you can enter the final arena with Juggernaut.
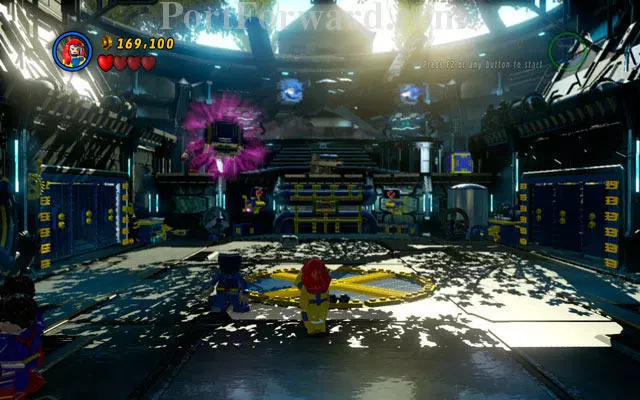
Struggle with Juggernaut is quite complicated and divided into few smaller sequences. During first you should choose Jean Grey - defeat some enemies (they numbers are infinite) and stand in the centre of the room. Wait for villain to throw a crate at you, then catch it with telekinesis and push it back to the enemy. This will demand some accuracy and reflex, so be patient!
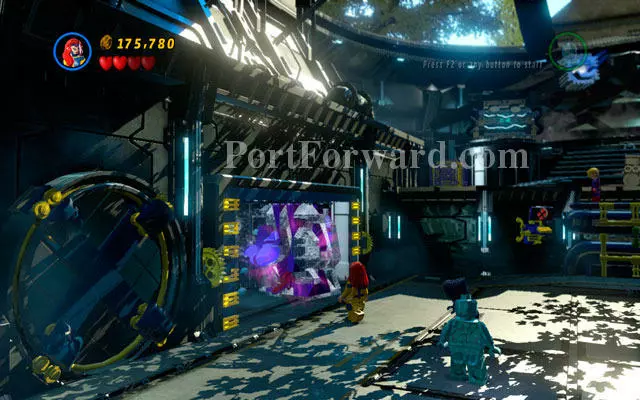
Second round is more sophisticated - the enemy will run around the arena, making your task much harder to carry. Nevertheless, you should turn to the left and extinguish the fire with Iceman - now you can build a lever from the debris. After that jump on it, simultaneously doing the same thing with second character (notice that levers are placed on both sides of the gate). When the room is opened, use Jean's abilities twice to create a radio (which will distract an enemy).
Wait for Juggernaut to block himself, then freeze him with Iceman. After that you can catch frozen villain with Jean's telekinesis and throw him up to the upper platform. In this way you will reset the whole sequence.
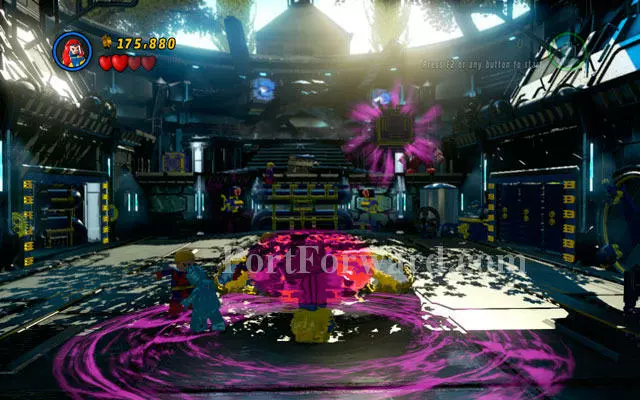
Villain will throw some crates at you again - catch them with your telekinetic skills, then return this "gift" to the Juggernaut.
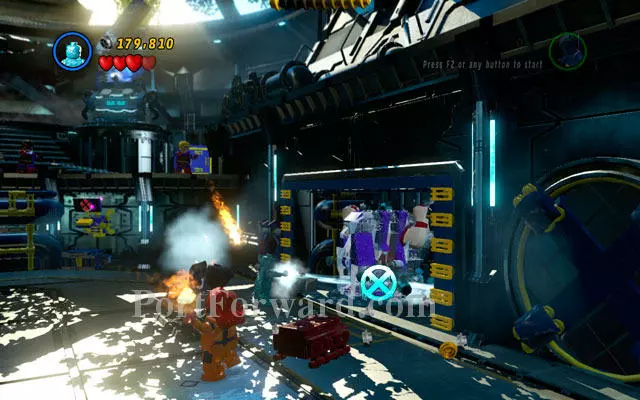
When the enemy is blinded, switch into Iceman and approach to the wall on the right so you can extinguish all fires. Build a computer from the debris, then switch it on as The Beast. After that destroy all objects hidden in the hangar and build an alarm clock from the bricks. Now you should know what to do - wait for enemy to block himself, then freeze him and throw an iceblock away.

When Juggernaut throws another crate at you, build a computer from its debris, finally using it with The Beast (notice that only Jean Grey can build this device!). Your goal is to conduct the machine to the enemy - to do that, you must pass through the simply maze (simply click on the proper arrows on the right side of the screen).
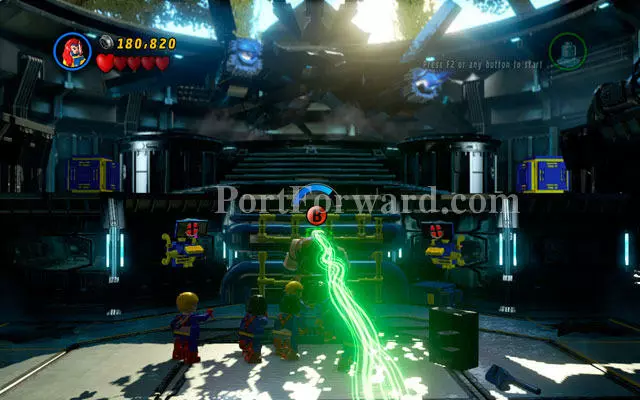
The last sequence is quite simply. When Juggernaut charges at Jean, take control over his mind, then use his unnatural strength to yank two green handles on the central wall, uncovering the water pipes. After that switch into Iceman and freeze an enemy for the last time. Now you can catch him with Jean's telekinetic grip and throw him away. The struggle is over!
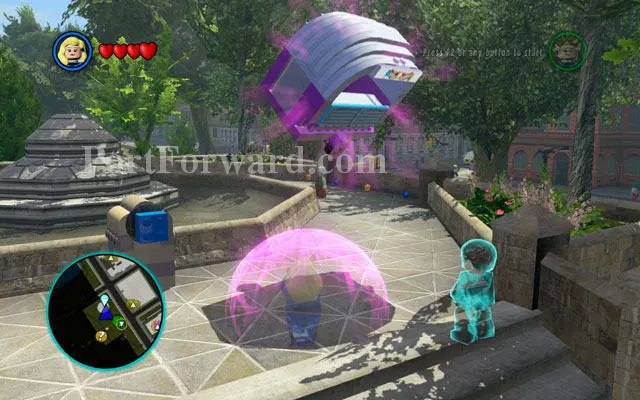
After ending the mission Juggernauts and Crosses you should turn right and head to the Central Park, searching for the circus tent (look at the depicting arrow, your minimap suggestions and a phantom lego character to find the right way). When you reach t
More LEGO Marvel Super Heroes Walkthroughs
This LEGO Marvel Super Heroes walkthrough is divided into 21 total pages.


