
This LEGO Marvel Super Heroes walkthrough is divided into 21 total pages.
You can jump to nearby pages of the game using the links above.
Taking Liberties
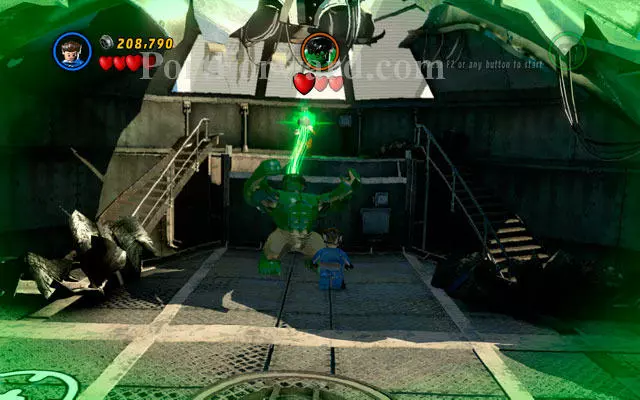
"Right after the mission start, you must get out from the crashed jet - use an interaction button to break free from the wreckage. Then choose Hulk and get into the green acid pool located on the right side (notice that only a big guy can do that!), smashing all enemies in the area. After that approach to the green crack placed on the silo and hit it, creating a footbridge in this way.

Switch back to Hulk, then smash all nearby enemies and get into another acid pool. Approach to the wall and yank two green handles to collapse the whole construction. Now other characters can go further.
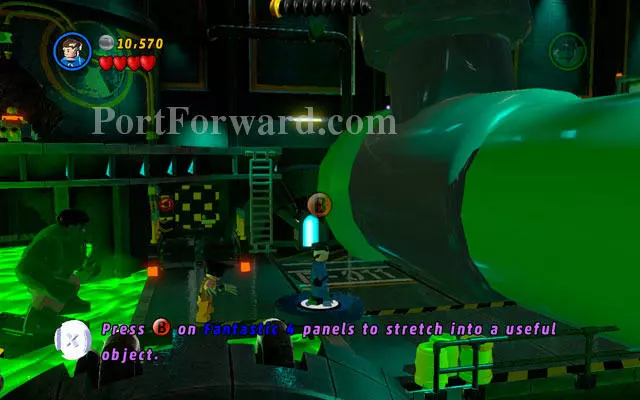
Choose Mr. Fantastic and extend your arms to climb on the next floor, using an attachable point located above. Then turn right and slide over the gap. Then switch into Wolverine and sniff a sticky wall, by which you can climb to the upper level. After that you can destroy yellow wall, uncovering the computer for Mr. Fantastic. Now the lift is working, so you can move Hulk into it.
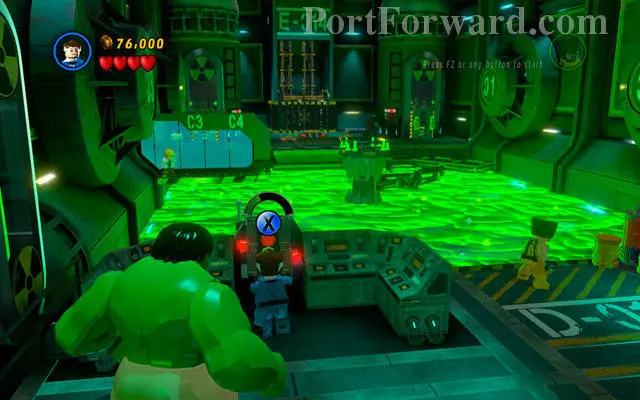
Head to the right, looking for the huge tank of acid - Hulk can pass through it, but other characters must find another way. Choose Mr. Fantastic and use a computer standing on the left side to move the footbridge. Jump on it as Wolverine, then move the platform back to the opposite side of the pool. Now you can switch into Mr. Fantastic and pass through the window with iron bars, which is hidden on the right side of the room.

When all your heroes are standing at the opposite side of the acid container, you can use three panels to call a lift. Then enter it and move to the next location.
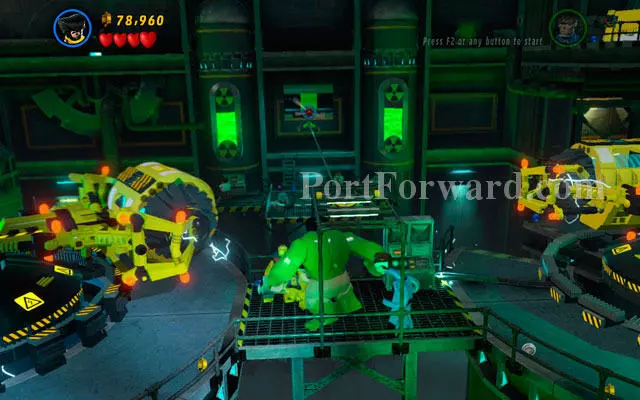
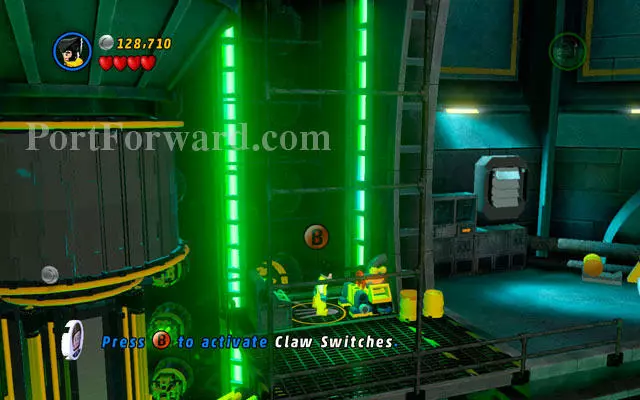
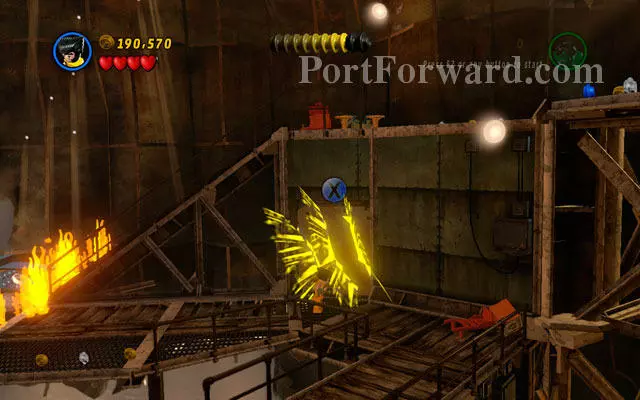
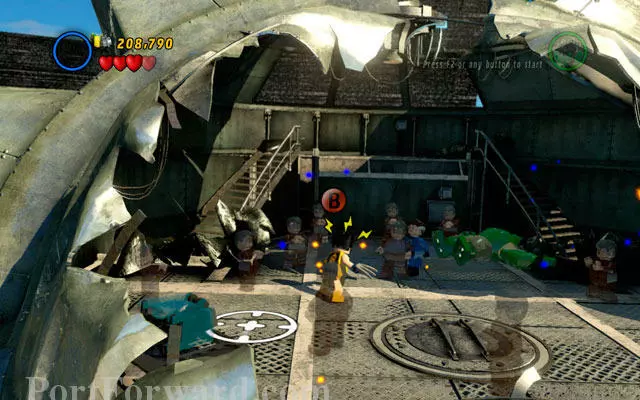
In new location choose Hulk and yank the green handles. At this part of the stage you must avoid an electrified device, so pass it by, running as fast as you can. At the other side of the location use a claw switch (Wolverine) to turn on the machine which is standing on the left. Pass it in the same way as before and move along.
Defeat all opponents standing on the next platform, then break open the wall with green handles. Sniff around as Wolverine, then climb on the wall using sticky passage. Kill another group of enemies, then head to the right and use a claw switch, slowing the lower trap in this way. Now other superheroes can go further, so you can switch into Mr. Fantastic and yank the door to the next stage.

After short cut-scene you will be transported to the Statue of Liberty. Being in there, defeat all enemies in the area, then sniff around as Wolverine to uncover a passage to the upper level. Climb on it and use a switch to turn the lift on. Now you can go further.
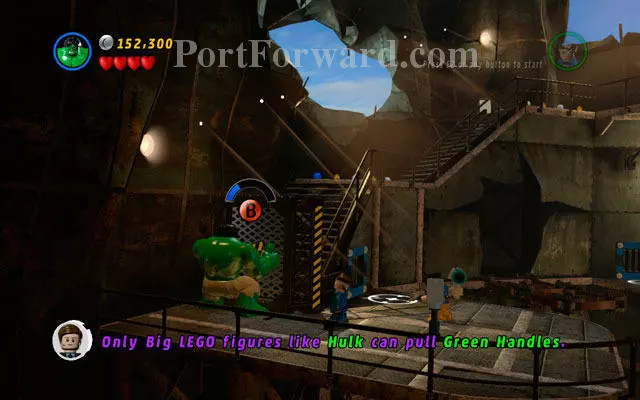
Choose Mr. Fantastic and pass through the window with iron bars, then destroy the metal roll and build a proper platform from it. Now switch into Hulk and jump to the other side of the gap, so you can yank two green handles (clearing the way).
Head to the right and pass through the iron bars as Mr. Fantastic. Defeat all opponents, then destroy the box which is lying at the edge of the gap. Build a Fantastic Four panel from the debris and use it to create a passage. After that switch into Hulk and smash the fragile part of the blockade to clear the way.
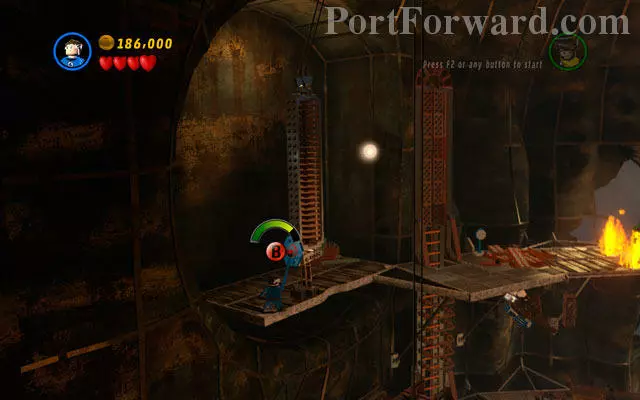
Go forth and pass through another window with iron bars, then go to the other side of the gap and destroy all objects lying in the area. Build a bridge from the debris and switch into Hulk to yank the green handles, placed on the obstacle. Then choose Mr. Fantastic and climb a ladder to the next floor, then turn left and demolish all nearby junk. Now you should build a counterbalance from the debris, so lift can be useful again.
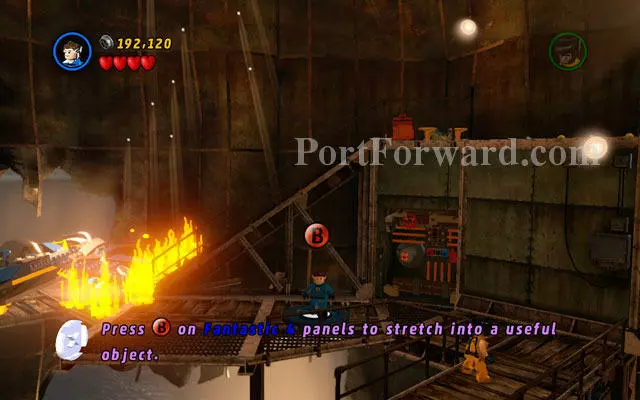
Assemble your team, then turn right and destroy all objects lying in the area. Build a footbridge from the scattered bricks, then pass through it. On the other side slice the wall using Wolverine's claws, then build a Fantastic Four panel. Now use it as Mr. Fantastic to extinguish nearby fire.
Choose Hulk and approach to the jet, yanking green handles as hard as you can. When the way is clear, defeat all enemies and go to the upper level. After that find a claw switch and use it as Wolverine to open the way to the arena with Mastermind hidden inside.
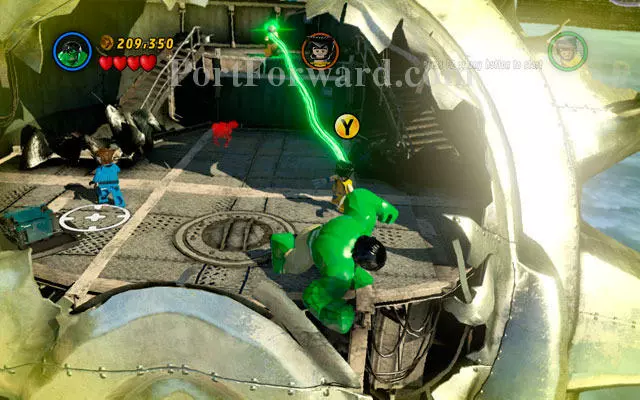
Mastermind's specialization is... mind control (surprisingly, right?). He will choose Wolverine as his first target - now Logan will fight against your team. Defeat your ex-ally in conventional melee fight (in which Hulk is especially effective), then switch into Wolverine himself. Now mash an interaction button as fast as you can to break the spell. After that, the first round is behind you.
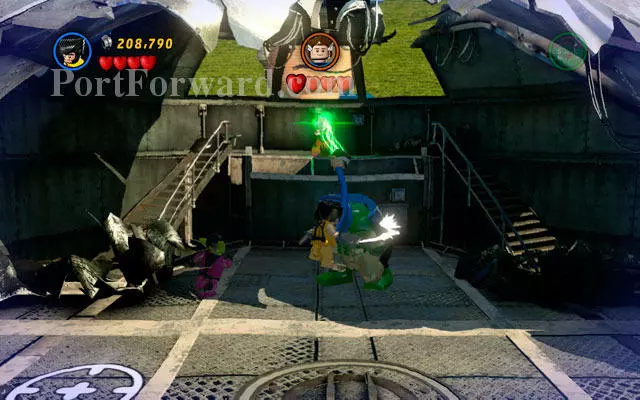
Second encounter is a bit more complicated - possessed Mr. Fantastic will immobilize Hulk, so you must beat him as Wolverine. Wait for the elastic man to release your green friend, then beat him up (notice that your ex-teammate is invincible during "wrestling"). Repeat this sequence three times, then switch into Mr. Fantastic and break the spell as you've done it before (interaction button).
In the last round you must defeat Hulk - hit him hard, finally making him unconscious. Notice that Mr. Fantastic is especially effective during fight, because he can knock over the enemy.
Right after the struggle with Hulk, switch into Wolverine and sniff around, looking for the hidden Mastermind. When he is uncovered, punch him. That's all!
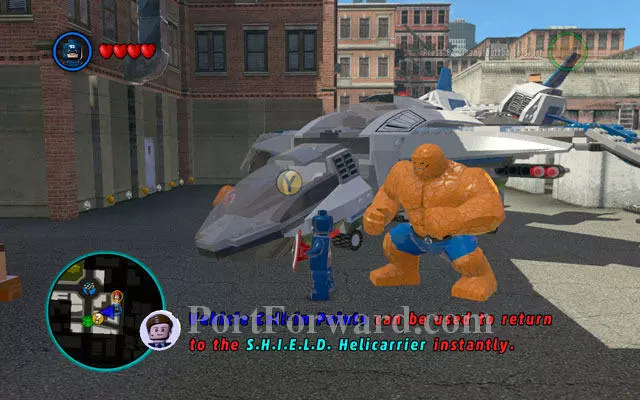
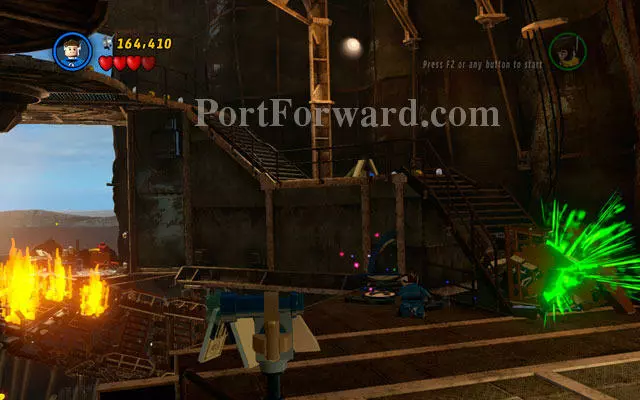
"As always - to start next mission, you must jump from the S.H.I.E.L.D. Helicarrier and go to the destination point. Follow the trace showed on the minimap and depicted by the blue arrow, and you won't get lost. When you've reached to the jet, use it with
More LEGO Marvel Super Heroes Walkthroughs
This LEGO Marvel Super Heroes walkthrough is divided into 21 total pages.


