
This LEGO Marvel Super Heroes walkthrough is divided into 21 total pages.
You can jump to nearby pages of the game using the links above.
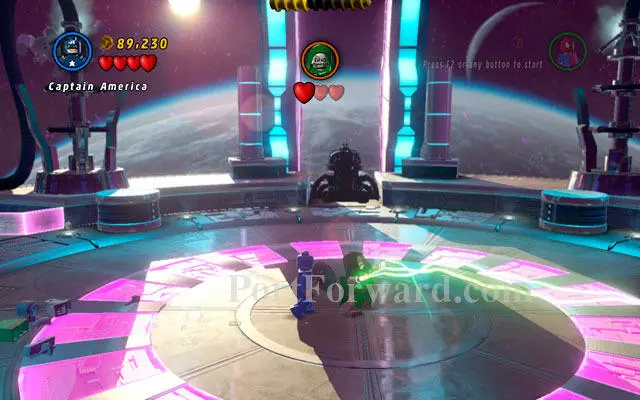
A Doom With a View
At the beginning of the mission defeat all nearby enemies (very numerous), then go to the interior part of the room and turn right. Use spider sense to uncover an attachable point on the ventilator, then yank it to create a bridge.
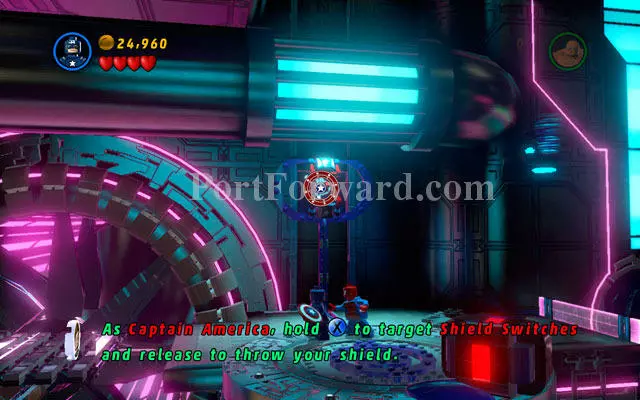
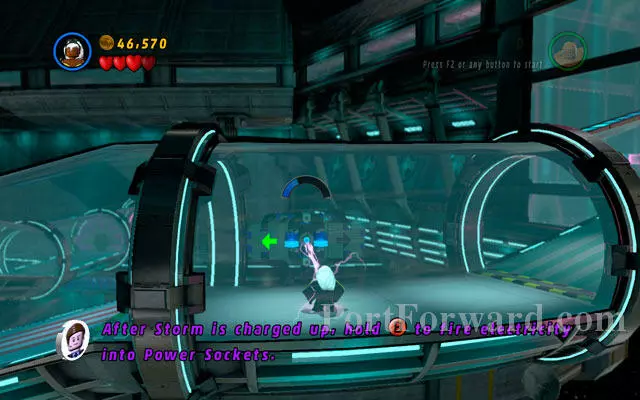
Switch into Captain America and go to the left side of the room, approaching to two blue-and-white walls. Jump between them to climb on the platform, then turn right and jump over the gap. Demolish the box lying under the wall, then build a shield switch from the debris. Now toss your shield at it to unlock a battery. After that you can choose Storm and charge the device with electricity.

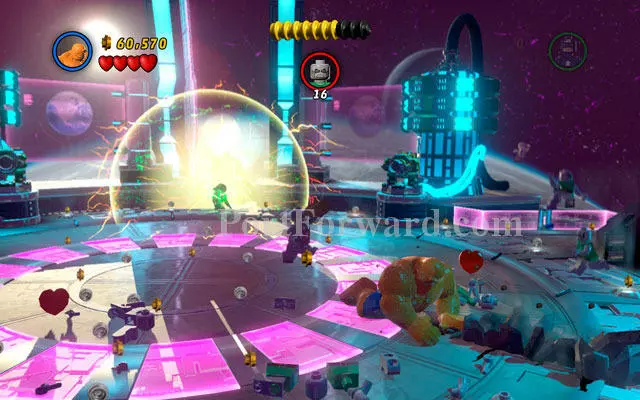
Defeat next group of enemies, then switch into the Thing and yank two green handles placed on the wall. After that choose Spider-Man and shoot his web at the attachable points to turn the laser ray on. Now build a patriotic panel from the debris and enter it as Captain America, so you can reflect the beam to the color plate on the right side.
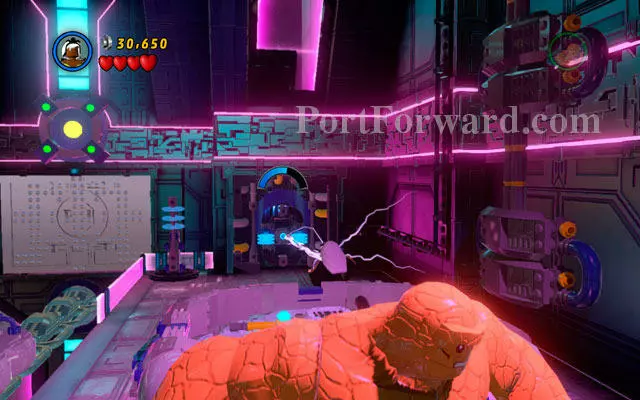
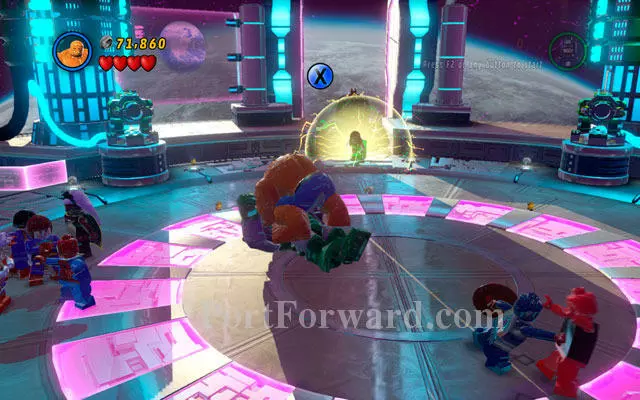
Break fragile fragment of the wall with the Thing, then charge the battery as Storm. Wait for the lift to appear, then defeat all opponents. After that you can yank two green handles with the Thing (to break the first gate) and shoot a web at attachable points as Spider-Man (second gate).
In new location switch into Captain America and cover yourself with a shield - in this way you will reflect the missiles to two deadly cannons, destroying them.
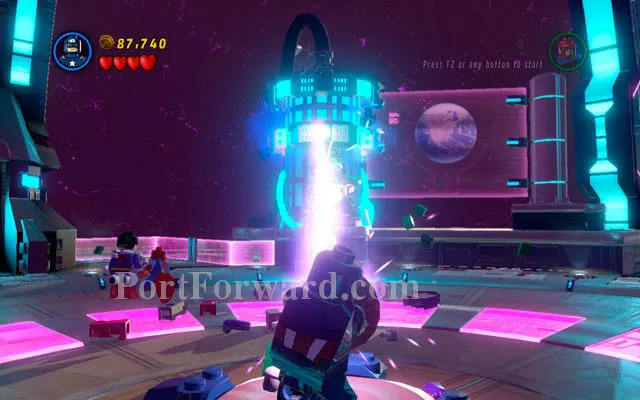
Choose Storm and soar into the air (hit jump button twice to do that), then go forth. Now charge the battery placed in the corridor, so other members of the party can join you. After that you should repeat the trick with Captain America's shield to destroy two another cannons.
Switch into Spider-Man and use spider sense to uncover an attachable point - yank it to scatter some bricks, then build a shield switch. Toss Captain's shield at it and choose Storm again to fly to the next part of the corridor. Now destroy a box and build another battery from the debris, so you can charge it with electricity.
Use spider sense to uncover a yellow crack on the wall, then crash it with the Thing. Enter to next room and reflect all incoming missiles as Captain America.
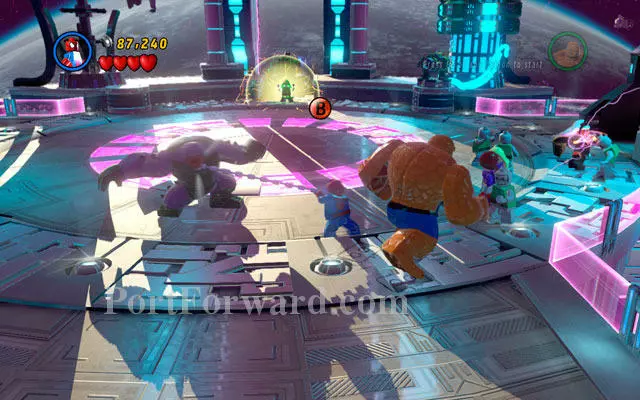
Switch into the Thing and yank two green handles on the right side of the location. Enter to the tube tunnel and climb up to the platform placed above, then rotate the lever to unlock the first part of the gate.

Turn left and use spider sense - now you can climb up to the platform and destroy a computer standing in the corner of the small room. Build a lever from the debris, then use it to uncover a battery. Charge it with Storm and finally yank two green handles with the Thing. Now it's time for a short trip!
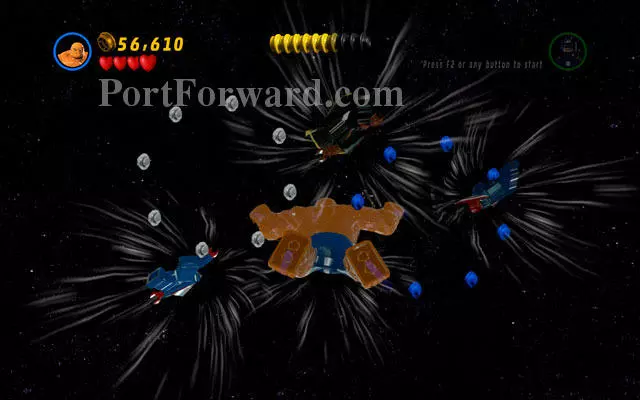
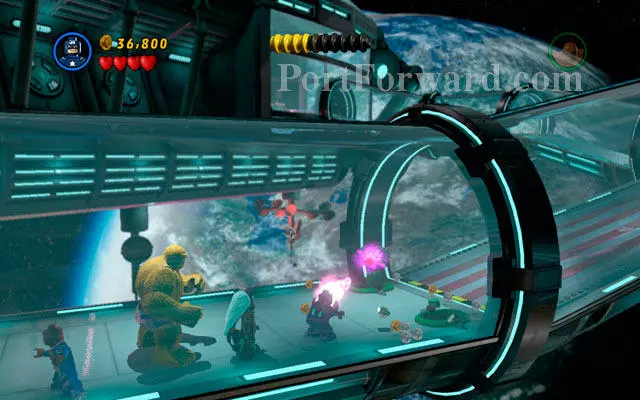
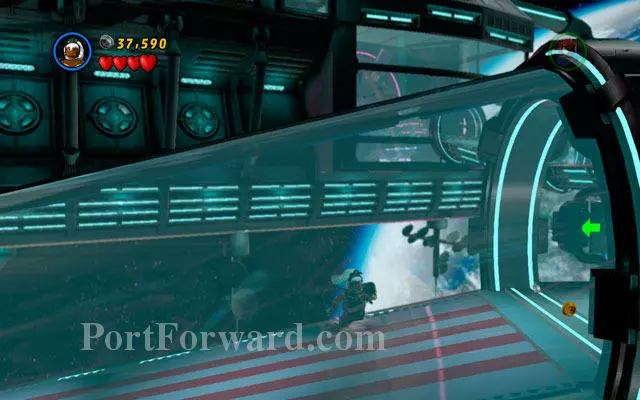
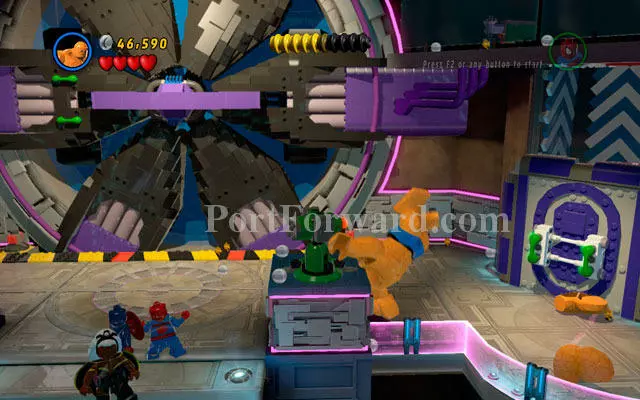
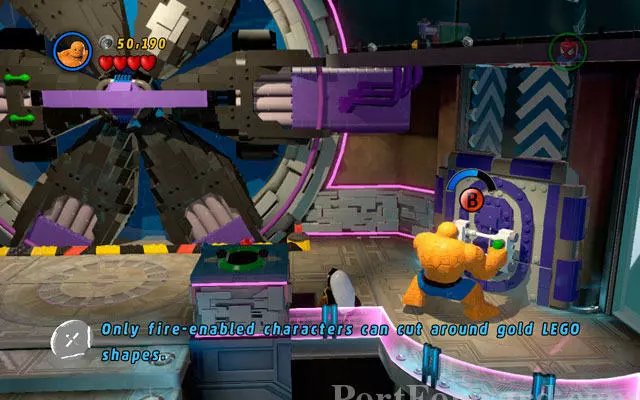
During your flight don't panic, but try to collect as many studs as you can (the most valuable are placed on the right side). Remember to avoid meteors, because they can hurt you hard. After that you will be facing Doctor Doom.
First round is quite simply - you must defeat 20 Doombots. Enemies are very squishy, so you can easily smash them with the Thing (notice that jump attack is especially effective).
To defeat greater minion of Doctor Doom, you must knock him over. To do that, wait for him to start charging at you, then jump aside. When enemy is stunned, smash his face with the Thing, taking his mask off. Now you can use Spider-Man's web to throw dangerous monster away.
Go to the central part of the arena, then build a patriotic panel for Captain America. Use it to reflect the beam to the glowing device standing behind Doctor Doom's cannon. Wait for machine to explode, then punch an enemy.
In this moment your fight will become very schematic. To win the battle, simply repeat all previous operations - that is: defeat huge minion, then break down second cannon.
Final round looks very similar - throw big monster away, then defeat Doctor Doom in melee fight. If your character was possessed by the enemy, hit him with another superhero. Now the struggle is over.
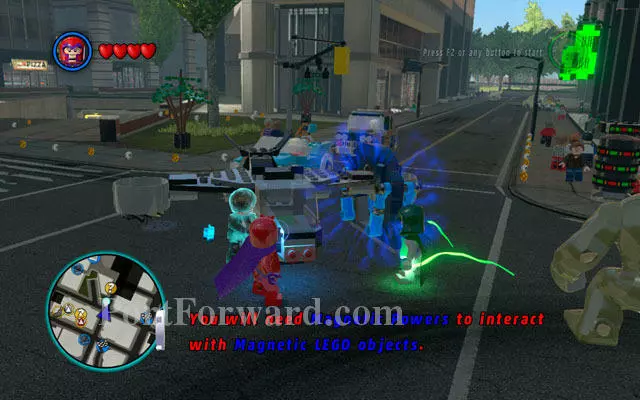
Jump from S.H.I.E.L.D. Helicarrier, heading to the Central Park. Meet with Magneto and Abomination, then go to the new destination point. Follow the trace showed on the minimap to reach Doctor Doom's location - as you will see, the NYPD has set up a blockade on Doctor's vehicle. Use Magneto to take it off, so you can start the last mission in the main campaign.
More LEGO Marvel Super Heroes Walkthroughs
This LEGO Marvel Super Heroes walkthrough is divided into 21 total pages.


