
This LEGO Marvel Super Heroes walkthrough is divided into 21 total pages.
You can jump to nearby pages of the game using the links above.
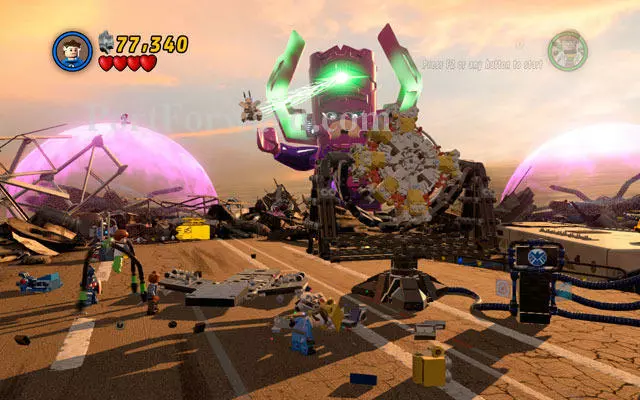
The Good, the Bad and the Hungry
Choose the Thing and approach to the device with green handles lying on the left - throw it at the yellow rock. After that switch into Green Goblin and destroy silver obstacle which is blocking the fan.
Choose the Thing again and approach to the jet crushed on the right side, then throw it away. Now build an attachable point from the debris and yank it as Spider-Man. Switch into Mystique and use a computer that you've already unlocked.
Choose Spider-Man and use his spider sense to see an attachable point located on the engine fan. Shoot your web at it and pull as hard as you can - the first part of this mission is behind you.
At the second wing of Helicarrier use Iron Man's fire beam to melt the golden brick lying on the left side. Then build a computer from the debris and use it.
Turn right and melt golden boiler, then switch into Venom and jump over the flames, so you can use a spider sense near to the rotors. When two attachable points appears, shoot your web at them and hit an interaction button as fast as you can.
Third sequence is more sophisticated. Choose Mr. Fantastic and approach to the helicopter standing on the left side, then yank two attachable points located on it. Wait for Fantastic Four panel to appear, then use it to scatter some bricks. Now you can fix the machine on the right.
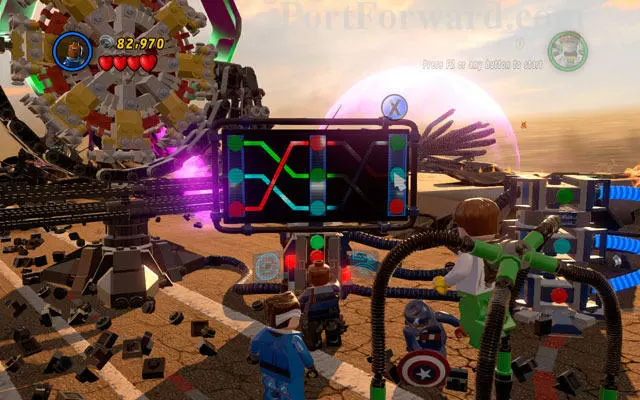
Use a computer to resolve the riddle - you must arrange all buttons to fit each other (click on every column two times to do that). Now build a Captain America's panel from the scattered bricks, so you can reflect the laser beam to the black hole located on the sky.
On the last wing choose Magneto to move metal elements to the central part of the location. Then charge the battery as Storm and switch back to Magneto, so you can destroy a crane standing on the left side and scatter some bricks from it. Now just build a part of the planet from the debris.
Use Cyclops laser ray to melt golden bricks lying on the left side, then build another part of the planet from the remains. Soar to the sky as Storm to extinguish the fire blazing on the right and destroy all objects standing there. Now build the last part of the planet and the mission will be over.
Congratulations, you have just beat the game!
More LEGO Marvel Super Heroes Walkthroughs
This LEGO Marvel Super Heroes walkthrough is divided into 21 total pages.


