This Lego Harry Potter: Years 1-4 walkthrough is divided into 86 total pages.
You can jump to nearby pages of the game using the links above.
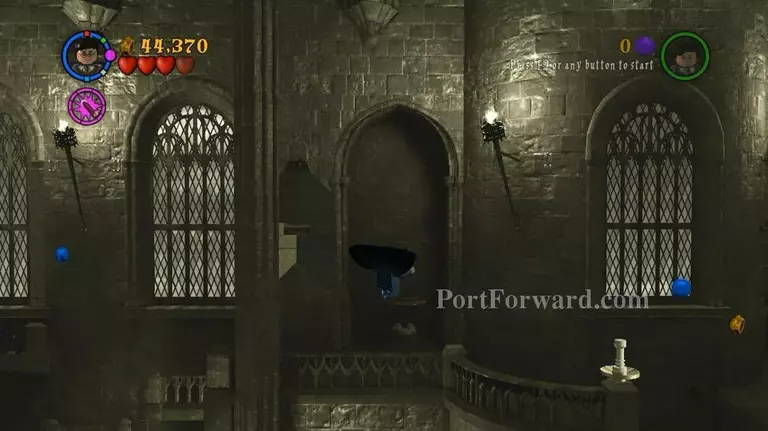
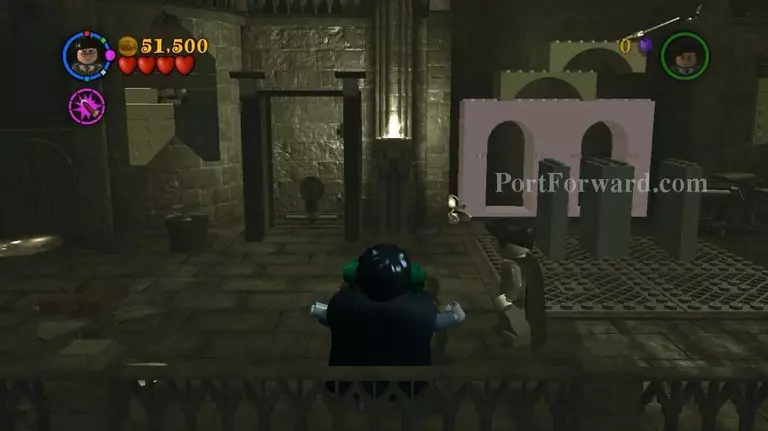
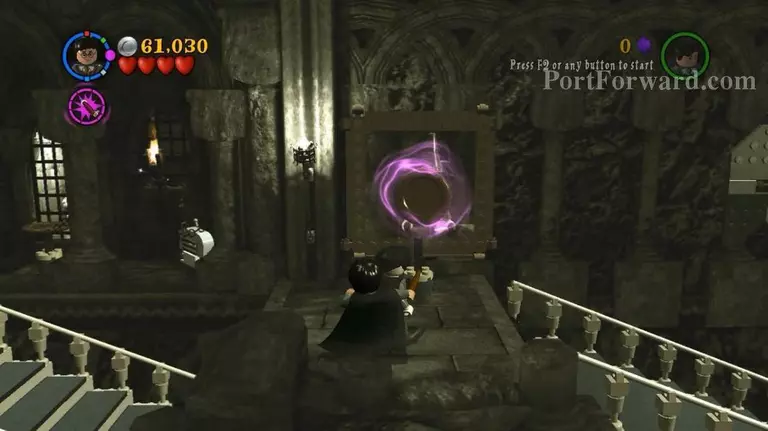
YEAR 2-4: TOM RIDDLE'S DIARY
![Lego Harry Potter: Years 1-4 Walkthrough - Lego Harry-Potter-Years-1-4 474](lego-harry-potter-years-1-4-474-small.webp)
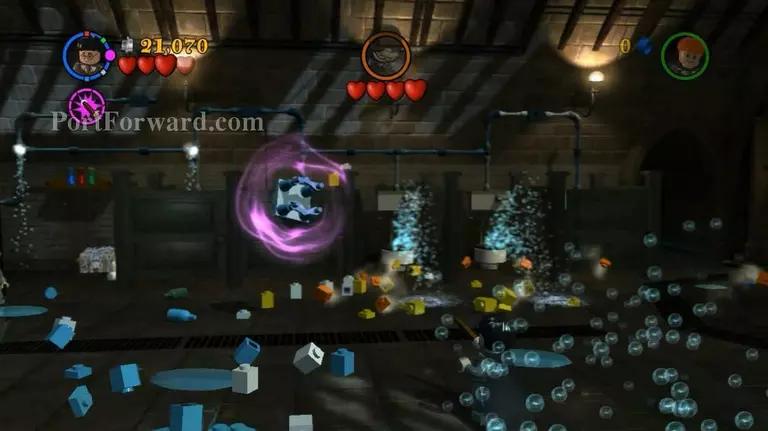
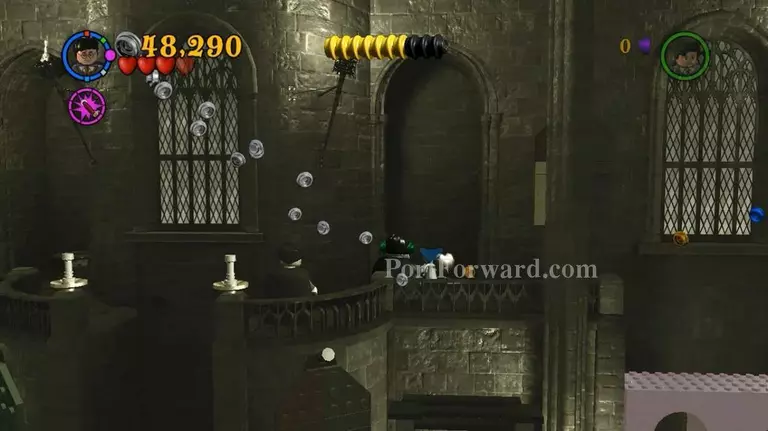
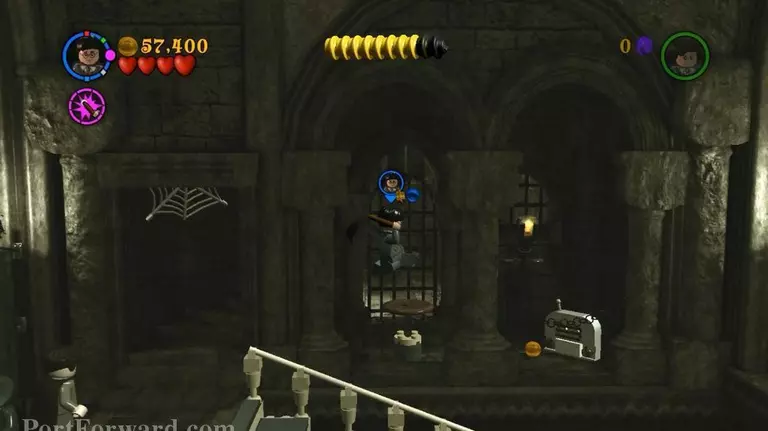
Moaning Myrtle will start throwing stuff at you. Use Wingardium Leviosa magic to catch them and knock open the doors.
![Lego Harry Potter: Years 1-4 Walkthrough - Lego Harry-Potter-Years-1-4 475](lego-harry-potter-years-1-4-475-small.webp)
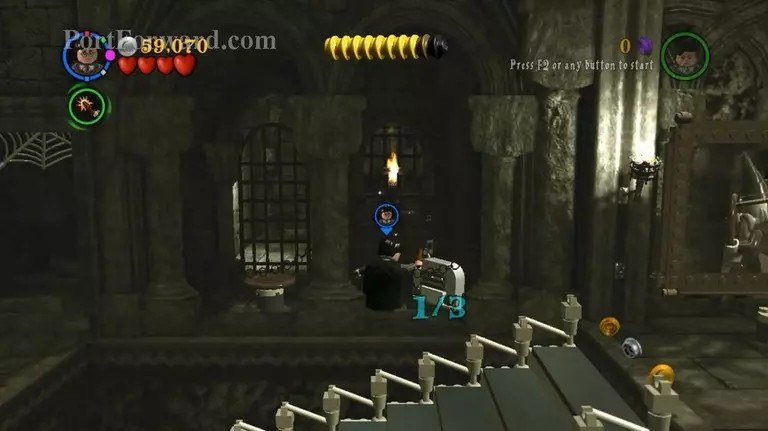
Hit her when she appears. Do this four times in total.
![Lego Harry Potter: Years 1-4 Walkthrough - Lego Harry-Potter-Years-1-4 476](lego-harry-potter-years-1-4-476-small.webp)
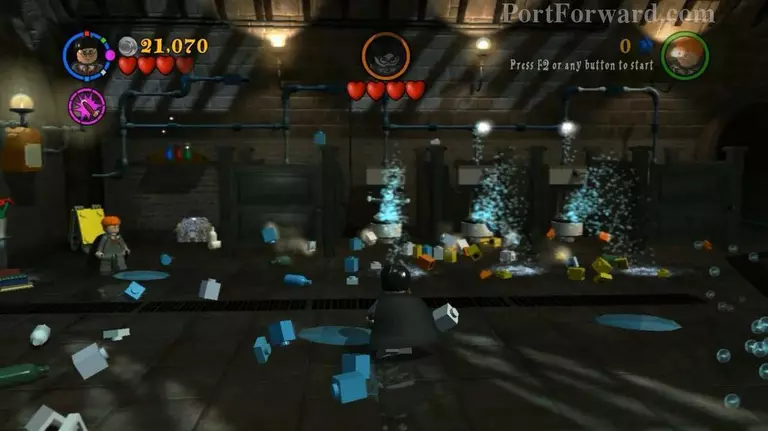
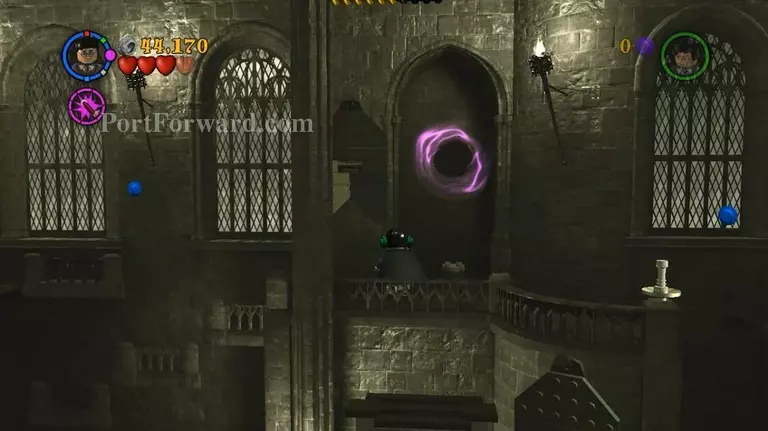
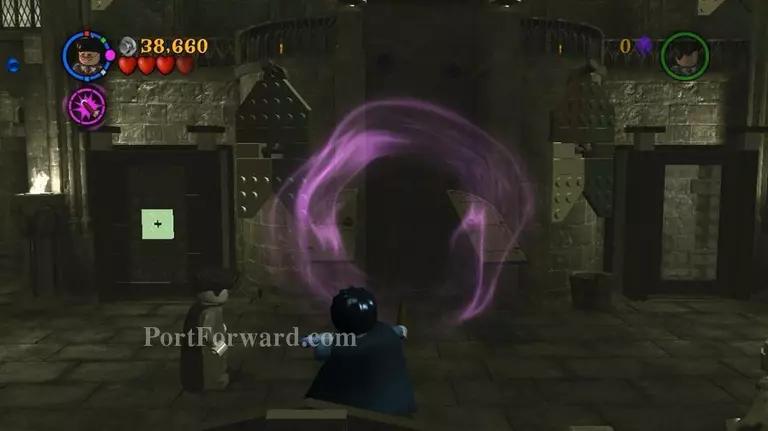
After the cutscene, you'll travel back into the past.
![Lego Harry Potter: Years 1-4 Walkthrough - Lego Harry-Potter-Years-1-4 477](lego-harry-potter-years-1-4-477-small.webp)
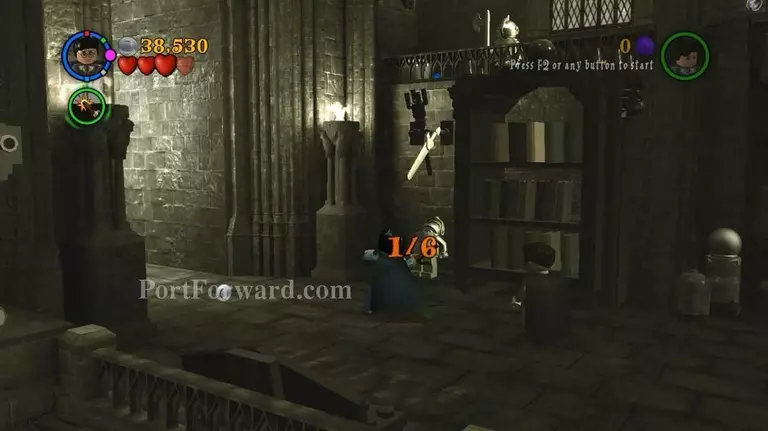
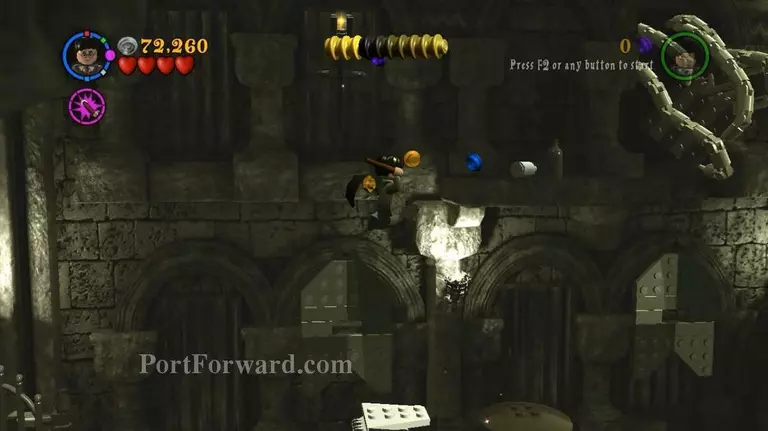
Gryffindor Crest Fragment (red) -- blast six armours in this room.
![Lego Harry Potter: Years 1-4 Walkthrough - Lego Harry-Potter-Years-1-4 478](lego-harry-potter-years-1-4-478-small.webp)
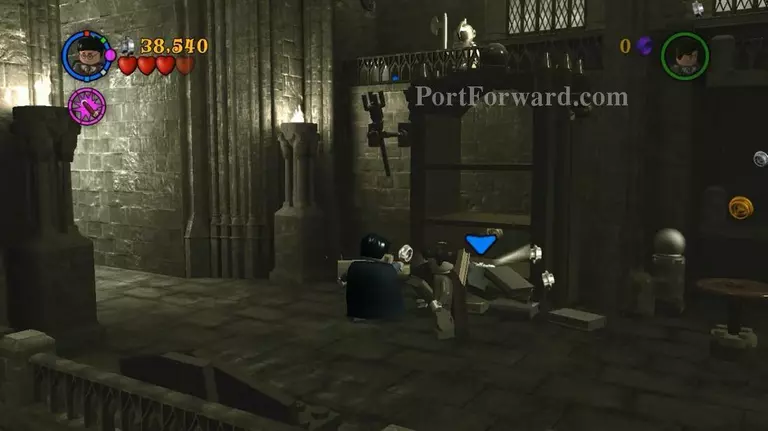
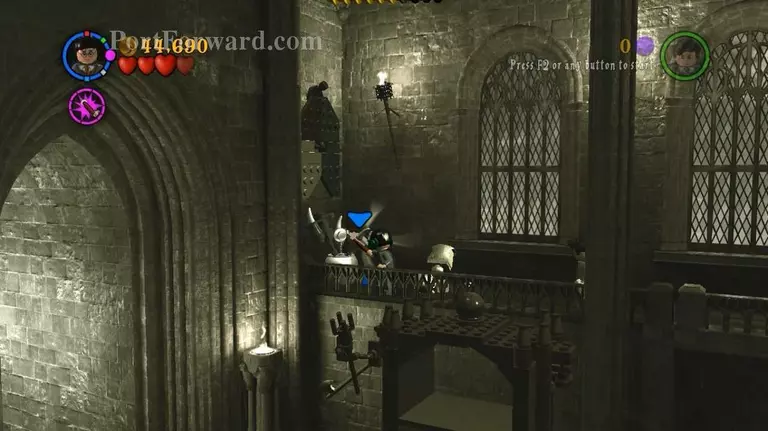
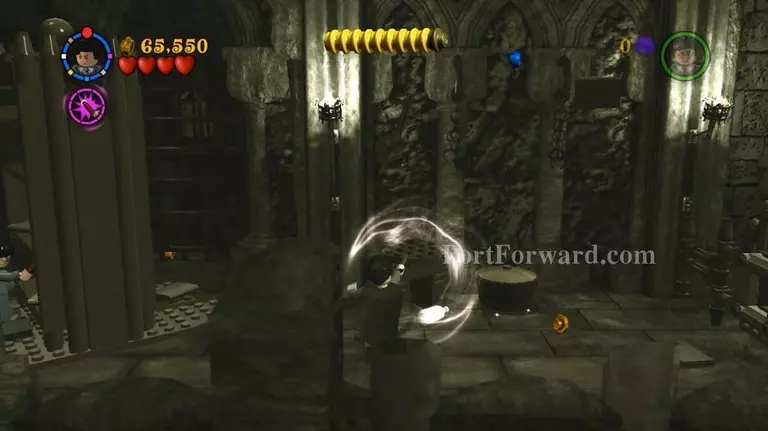
Hit the bookshelf to get your first ingredient for the strength potion.
![Lego Harry Potter: Years 1-4 Walkthrough - Lego Harry-Potter-Years-1-4 479](lego-harry-potter-years-1-4-479-small.webp)
You need to get two more ingredients at the upper balcony. Jump on the first platform-switch to extend the ledge form the wall.
![Lego Harry Potter: Years 1-4 Walkthrough - Lego Harry-Potter-Years-1-4 480](lego-harry-potter-years-1-4-480-small.webp)
Your buddy will press the two other platforms once you tend the first one. Ascend the series of ledges to the right.
![Lego Harry Potter: Years 1-4 Walkthrough - Lego Harry-Potter-Years-1-4 481](lego-harry-potter-years-1-4-481-small.webp)
Cast magic on the hanging plates on the wall to attach to its pole.
![Lego Harry Potter: Years 1-4 Walkthrough - Lego Harry-Potter-Years-1-4 482](lego-harry-potter-years-1-4-482-small.webp)
Activate the platform-switch to stop the ledges from moving back into the wall.
![Lego Harry Potter: Years 1-4 Walkthrough - Lego Harry-Potter-Years-1-4 483](lego-harry-potter-years-1-4-483-small.webp)
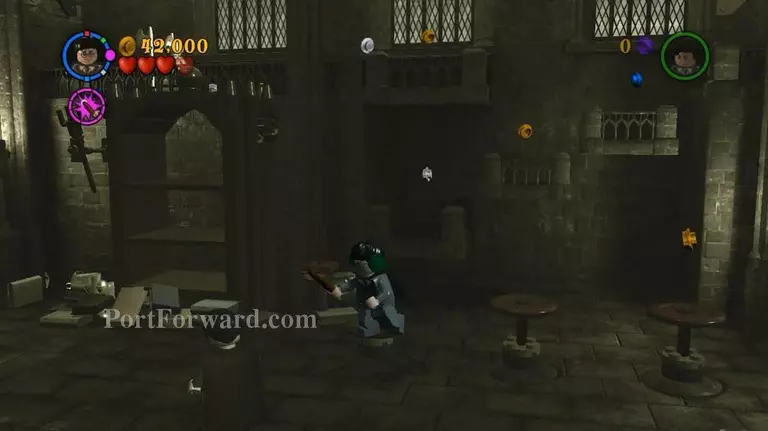
Keep heading right, cast the moving chest to get your seconf ingredient.
![Lego Harry Potter: Years 1-4 Walkthrough - Lego Harry-Potter-Years-1-4 484](lego-harry-potter-years-1-4-484-small.webp)
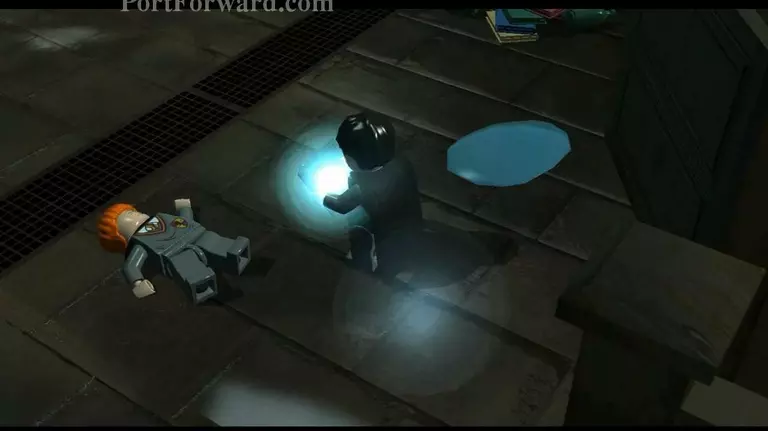
Now make your way all to the left till the end. Cast the vase to get the dragon's claw. Put all the ingredients in the cauldron but DO NOT drink the potion yet.
![Lego Harry Potter: Years 1-4 Walkthrough - Lego Harry-Potter-Years-1-4 485](lego-harry-potter-years-1-4-485-small.webp)
Instead, get rid of the Devil's Snare.
![Lego Harry Potter: Years 1-4 Walkthrough - Lego Harry-Potter-Years-1-4 486](lego-harry-potter-years-1-4-486-small.webp)
Attach the wardrobe loose doors using Wingardium Leviosa. Equip the earmuffs.
![Lego Harry Potter: Years 1-4 Walkthrough - Lego Harry-Potter-Years-1-4 487](lego-harry-potter-years-1-4-487-small.webp)
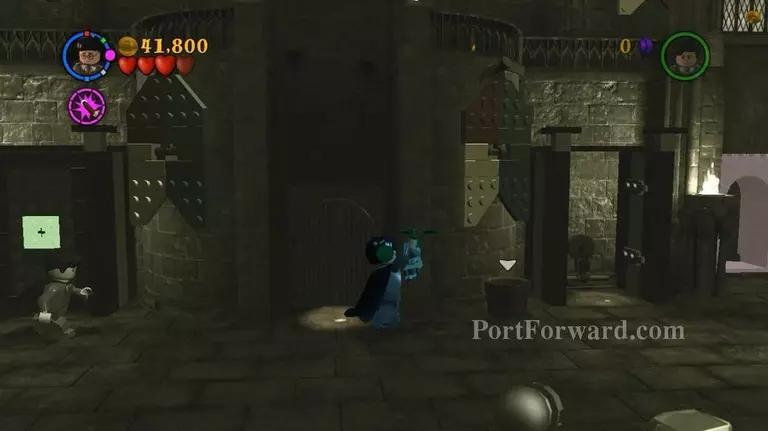
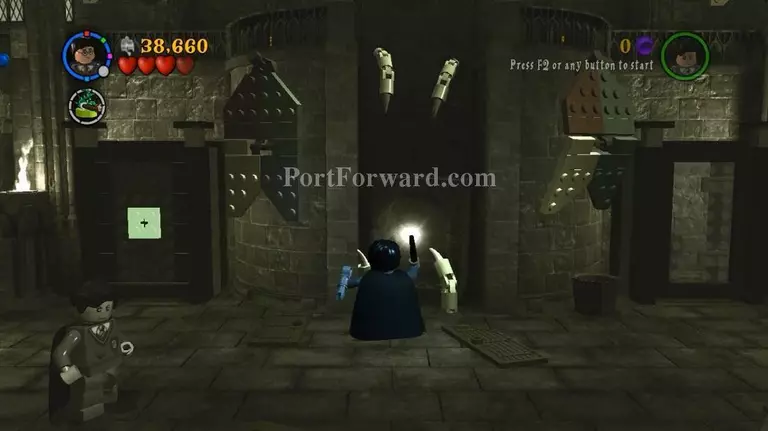
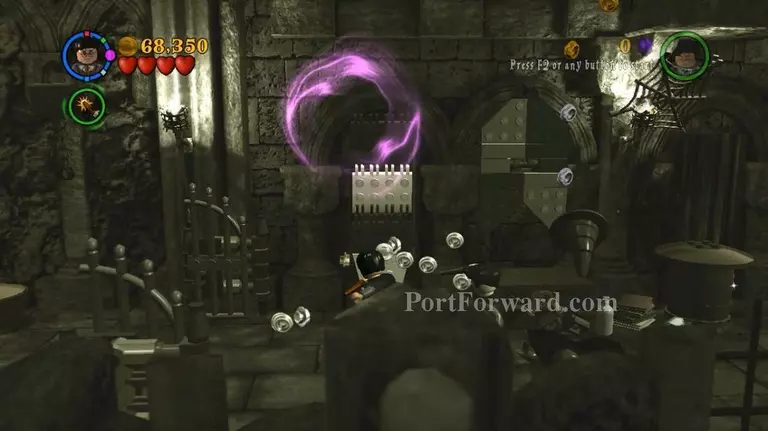
Grab the Mandrake and break the glass wall to reveal a chain.
![Lego Harry Potter: Years 1-4 Walkthrough - Lego Harry-Potter-Years-1-4 488](lego-harry-potter-years-1-4-488-small.webp)
Drink the strength potion, quickly pull then chain on the wall. A few bricks will appear.
![Lego Harry Potter: Years 1-4 Walkthrough - Lego Harry-Potter-Years-1-4 489](lego-harry-potter-years-1-4-489-small.webp)
Stack them together so you can hop on. Cast Immobilus on both Pixies, then repeat the same steps with the bricks.
![Lego Harry Potter: Years 1-4 Walkthrough - Lego Harry-Potter-Years-1-4 490](lego-harry-potter-years-1-4-490-small.webp)
Sip the potion once again, then ascend the ledges to the right end balcony.
![Lego Harry Potter: Years 1-4 Walkthrough - Lego Harry-Potter-Years-1-4 491](lego-harry-potter-years-1-4-491-small.webp)
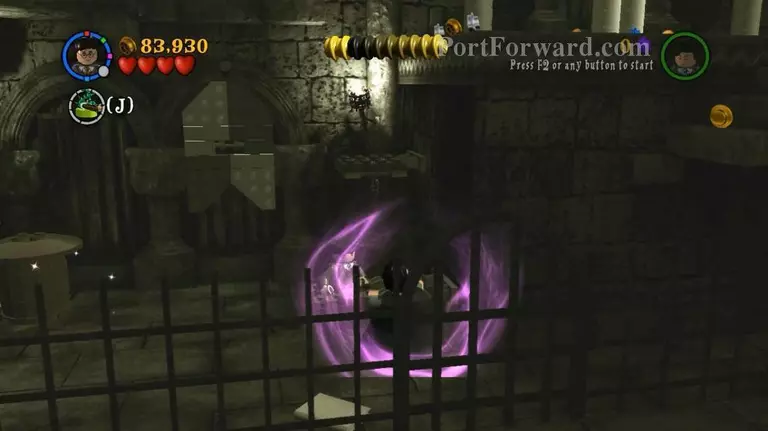
Pull the chain then jump down. Move on to the next room.
![Lego Harry Potter: Years 1-4 Walkthrough - Lego Harry-Potter-Years-1-4 492](lego-harry-potter-years-1-4-492-small.webp)
Activate the platform-switch to change the stairs position.
![Lego Harry Potter: Years 1-4 Walkthrough - Lego Harry-Potter-Years-1-4 493](lego-harry-potter-years-1-4-493-small.webp)
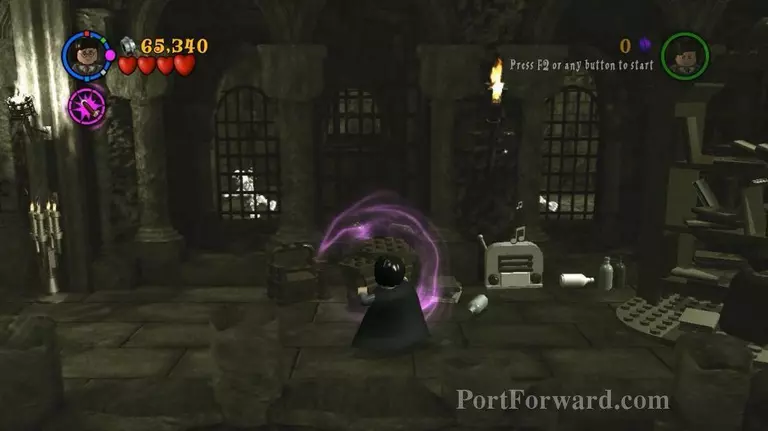
Slytherin Crest Fragment (green) -- turn on three radios.
![Lego Harry Potter: Years 1-4 Walkthrough - Lego Harry-Potter-Years-1-4 494](lego-harry-potter-years-1-4-494-small.webp)
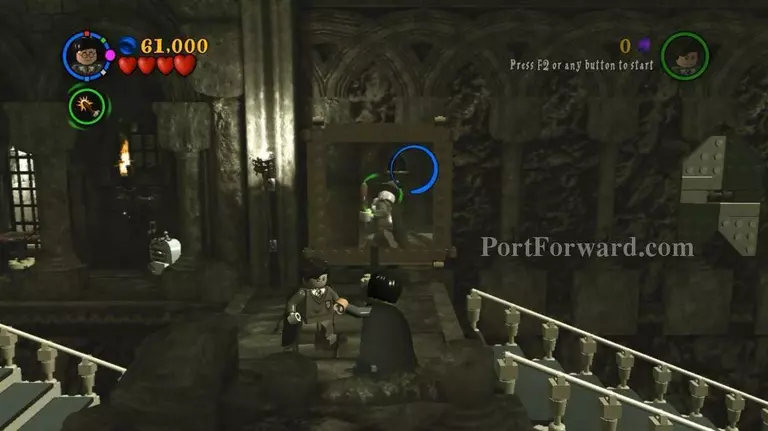
Use magic on the painting, the wizard will throw the platform plate to you.
![Lego Harry Potter: Years 1-4 Walkthrough - Lego Harry-Potter-Years-1-4 495](lego-harry-potter-years-1-4-495-small.webp)
Attach the platform plate to its pole. Again, hop on it to change the stairs position.
![Lego Harry Potter: Years 1-4 Walkthrough - Lego Harry-Potter-Years-1-4 496](lego-harry-potter-years-1-4-496-small.webp)
Cast the table, so that the second character can move on through the rotating bookshelf to the other side.
![Lego Harry Potter: Years 1-4 Walkthrough - Lego Harry-Potter-Years-1-4 497](lego-harry-potter-years-1-4-497-small.webp)
Switch character, cast magic on the table at the other side.
![Lego Harry Potter: Years 1-4 Walkthrough - Lego Harry-Potter-Years-1-4 498](lego-harry-potter-years-1-4-498-small.webp)
Hit the banner twice, to break it into pieces and to create a springboard.
![Lego Harry Potter: Years 1-4 Walkthrough - Lego Harry-Potter-Years-1-4 499](lego-harry-potter-years-1-4-499-small.webp)
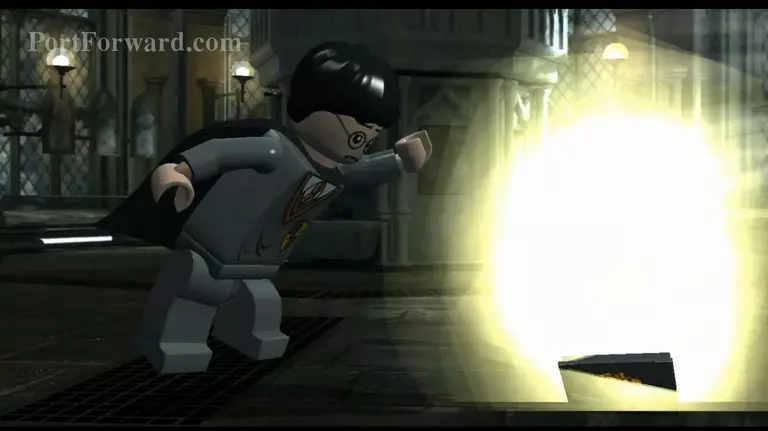
Use it to jump at the higher ledge on your right. Use Lumos Solem to chase away the Devil's Snare, which will leave behind a couple bricks.
![Lego Harry Potter: Years 1-4 Walkthrough - Lego Harry-Potter-Years-1-4 500](lego-harry-potter-years-1-4-500-small.webp)
Attach them to brackets on the wall above to create two platforms.
![Lego Harry Potter: Years 1-4 Walkthrough - Lego Harry-Potter-Years-1-4 501](lego-harry-potter-years-1-4-501-small.webp)
Shift position of the two columns.
![Lego Harry Potter: Years 1-4 Walkthrough - Lego Harry-Potter-Years-1-4 502](lego-harry-potter-years-1-4-502-small.webp)
Outro cutscene. Level completed.
More Lego Harry Potter: Years 1-4 Walkthroughs
This Lego Harry Potter: Years 1-4 walkthrough is divided into 86 total pages.