
This Lego Lord of the Rings walkthrough is divided into 28 total pages.
You can jump to nearby pages of the game using the links above.
The Black Rider

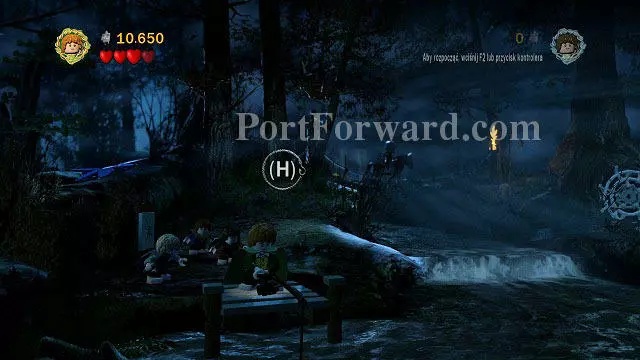
"The Black Rider is the first story mission during which you will have avoid enemies rather that fighting them. The controls have been changed - jump (J) is now used to dive-roll forward. As the mission begins, you will have to move right until you see the Black Rider.
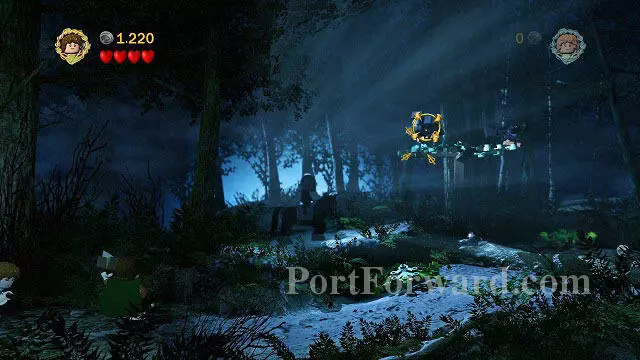
The first step is destroying the nearby rocks (H) - a small rock will fall out of them. You can afterwards pick it up (K) and throw at the nearby bird sitting on a branch of a tree (hold down H and aim at the bird). The scared animal will cause The Black Rider to move away and therefore create a path further to the right for you.
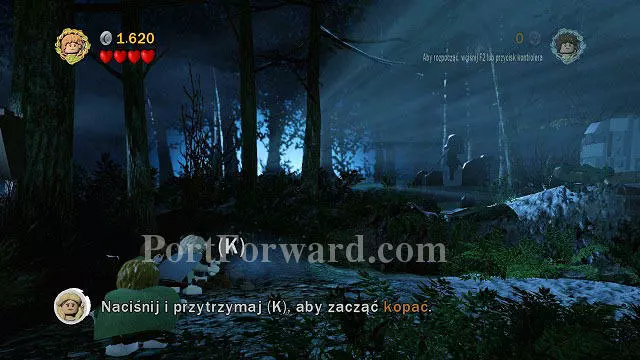
During your next meeting with the Nazgul you will have to use Sam's equipment. Switch to him (U) and approach the blocks on the ground - it's a point where you will be able to use the shovel. Hold down (K) and you will be able to dig out a hidden item. In this case it will be another rock which you will be able to throw at the boulder on the other side which will create a further path.
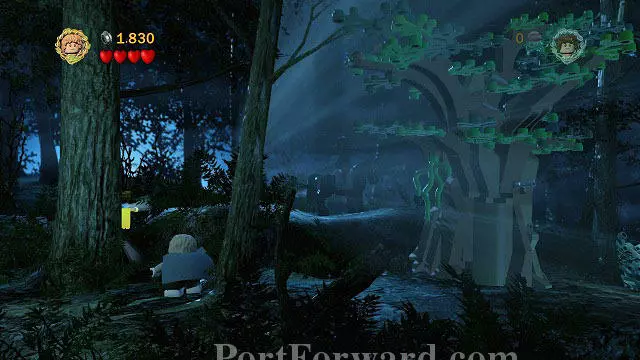
This time The Black Rider won't be idle, instead he will be patrolling the area. To avoid him, you need to wait for him to move away and hide behind a LEGO tree. When the Nazgul returns to his original position, you will have to leave your hideout and head further to the right.
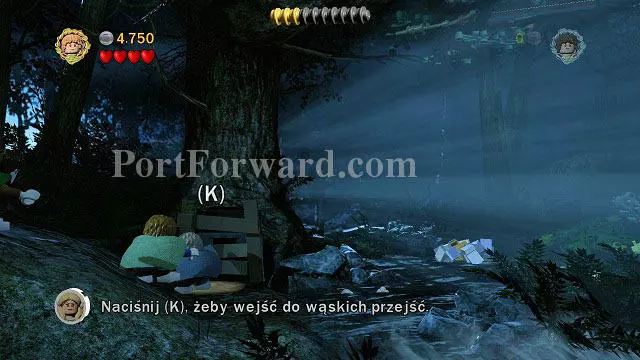
The next obstacle you will be able to pass by using the Hobbit's growth. Just use the narrow passage (K) and you will reach the branch above. Move along it and you will scare another bird which will create a further path.
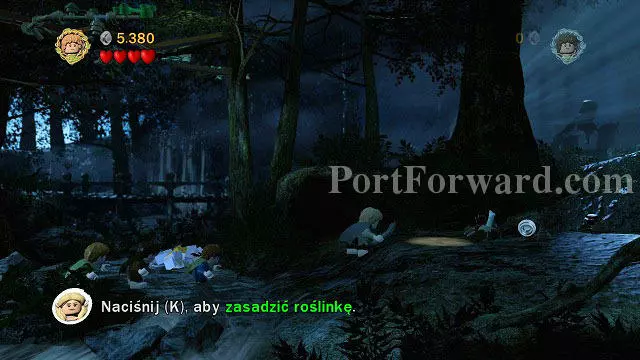
The last obstacle in this part of the game can be avoided by using Sam's skills. This time you will need to place a plant in the designated spot - just stand in the shining circle and press (K). the vast plant will protect you from the Black Rider's sight and let you continue your journey.

The game will then move to Orthank - Saruman's base. This time you will be able to control Gandalf the grey himself. If you're playing in two players mode, the other player will be in control of the Hobbits in the mean time, but you can always switch between them if you're playing solo. Regardless of your preferences, you will still have to complete Gandalf's story to continue the game.
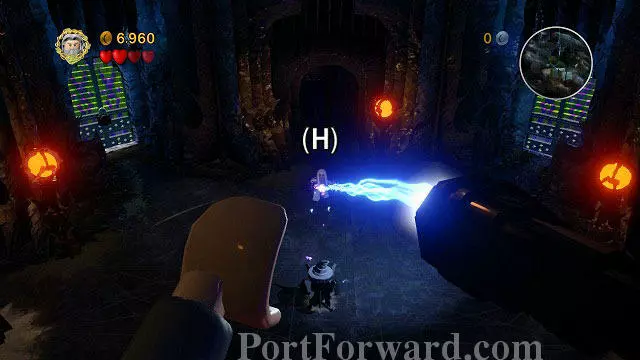
You will begin the fight with Saruman while hanging in the air - keep pressing (H) to protect yourself from the wizard's lightning attacks. After you regain control of Gandalf, you will have to focus on avoiding other of Saruman's attacks - you can dodge the fireballs by running left or right and the lightning by jumping over it.
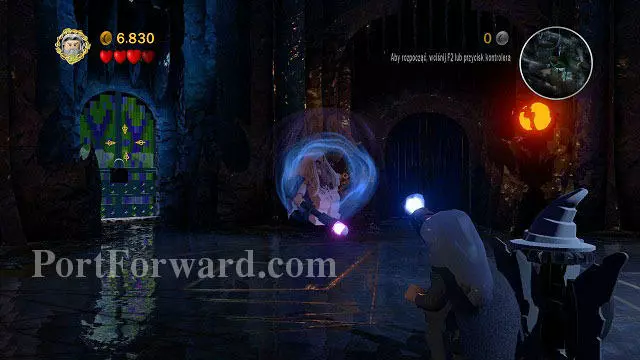
When Saruman becomes tired, you will be able to raise him into the aim (K) and throw into a piece of the environment. Repeat this process two more times to finish the episode.
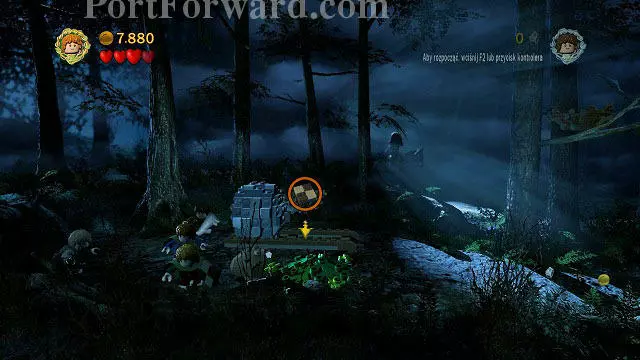
Once again you will take control of the group of Hobbits. You will have to start off by moving the nearby stone so that The Black Rider stops blocking your path. For that, you need to find three LEGO bricks under the nearby bushes and stones and place them in the designated spot (K). after constructing the floor you will be able to push the stone and move onwards to the right. On your way you will have to throw a fruit at the designated target twice (firstly some branches and then an owl) and place another plant to create a bridge from it.
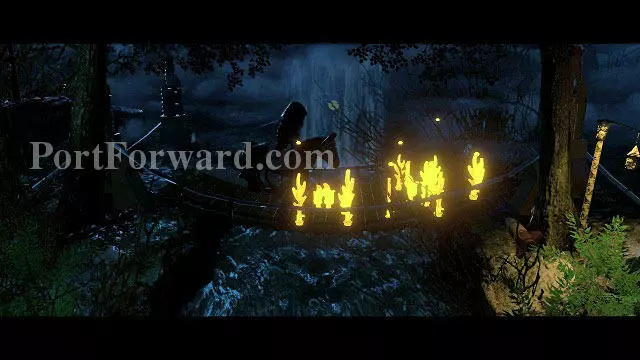
Eventually you will reach a stream where you will find a bridge from which Merry can fish. Switch to him (U), stand on the edge and take out your fishing rod (K). Fishing consists of pressing the button prompts - if you press the button at the last moment (when the symbol shines), you will receive additional studs at the end of the mini-game. This time, instead of fish, Merry will pull a crab out of the water. Just pick it up and throw at the torch. The burning Nazgul will run away and therefore create a new path for you.
"You're almost at your destination. You will have to dig out another stone from the ground which you afterwards have to throw at the nearby bee hive. Afterwards go through the newly unlocked passage to get past the Nazgul. The last trick will consist of throwing an apple into the marked spot - this time you will get rid of The Black Rider for good... at least until the next sequence.
More Lego Lord of the Rings Walkthroughs
This Lego Lord of the Rings walkthrough is divided into 28 total pages.


