
This Metal Gear Solid 3: Snake Eater walkthrough is divided into 2 total pages.
You can jump to nearby pages of the game using the links above.
Operation: Snake Eater
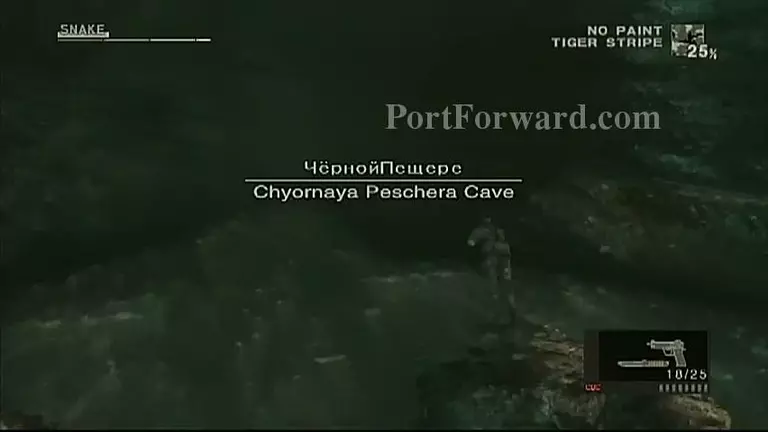
You will return to the same area to meet a agent in disguise. Head north until a cutscene with The Boss.
After the cutscene, head nrth ubtil the first trail to the right. Go through there.

Then, head north to Dolinovodno.
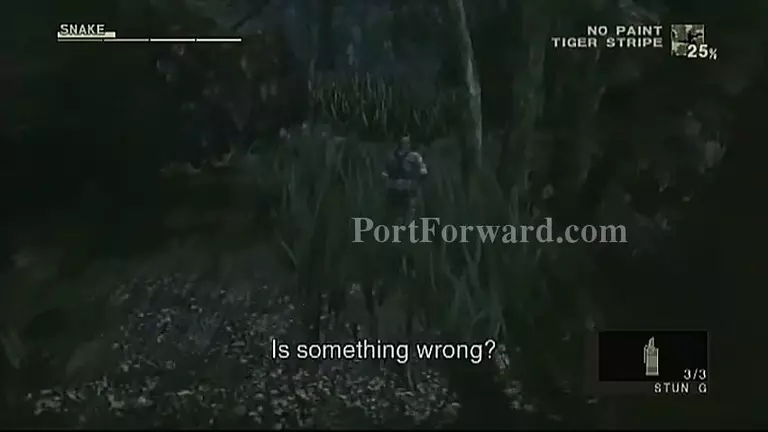
There will be a guard there again. Use a Stun Grenade to stun him.

Roll onto him to take him out.
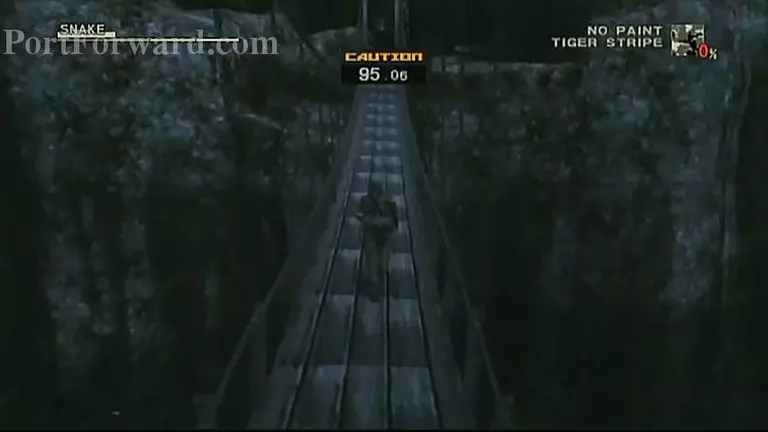
Cross the bridge after that and head to the left to get through the next area.
Enter the same way to the building.

And also to the same room to wait for the agent.
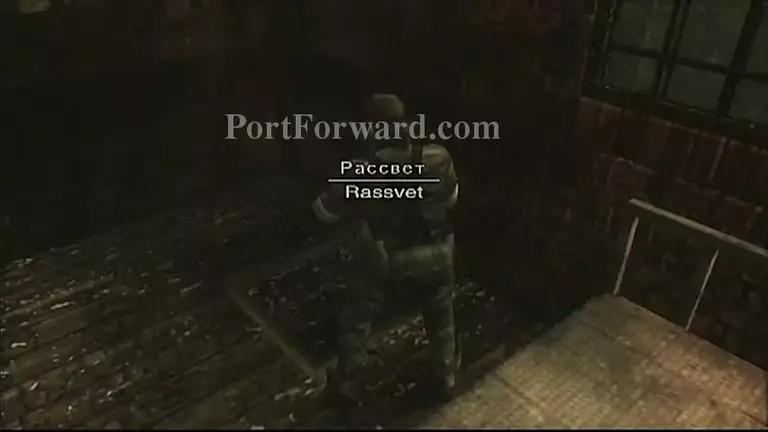
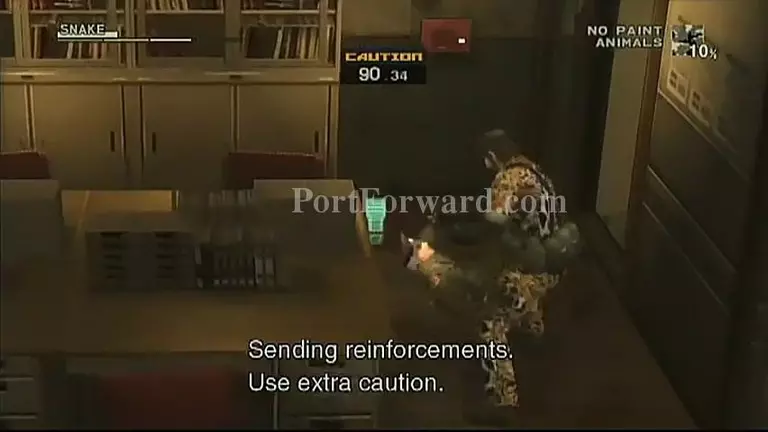
After a agent which wasn't the one you expected came and saves you, you take a nap and the gameplay resumes the next day.
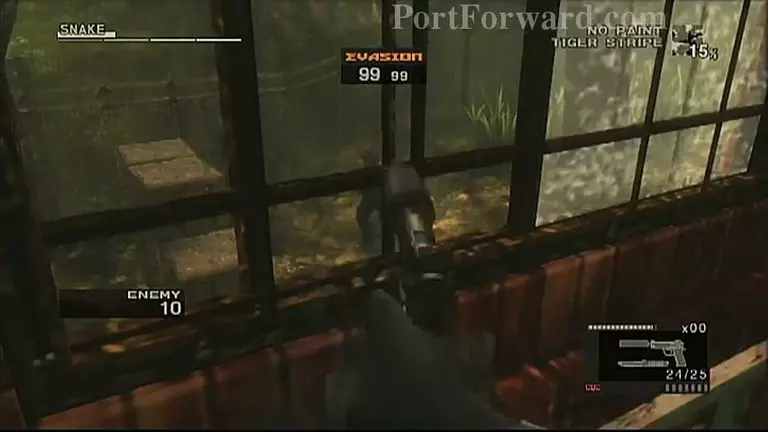
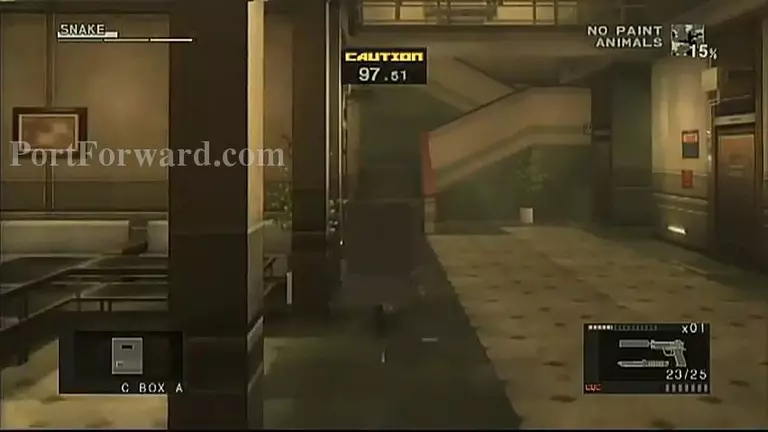
There will be 10 enemies this part. 1 on the roof, 2 on the left side, 4 inside, 2 on the other side and 1 patrolling the front. Take them out.
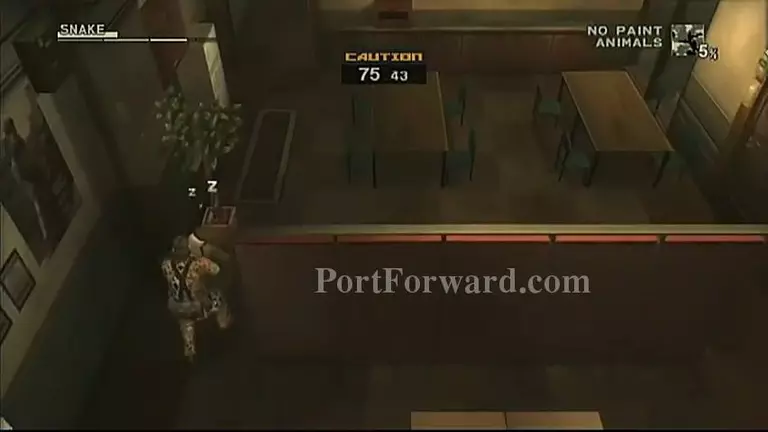
After you've done that, head through the fence on the upper right part of the property to get to the next area.
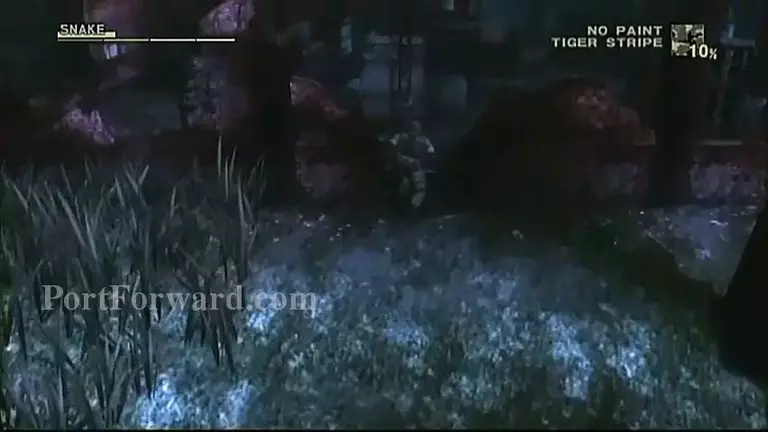
Swim through the swamp.

Head to the left and swim underwater and get through this hole.
Advance through the trail on the uper right side of this area.
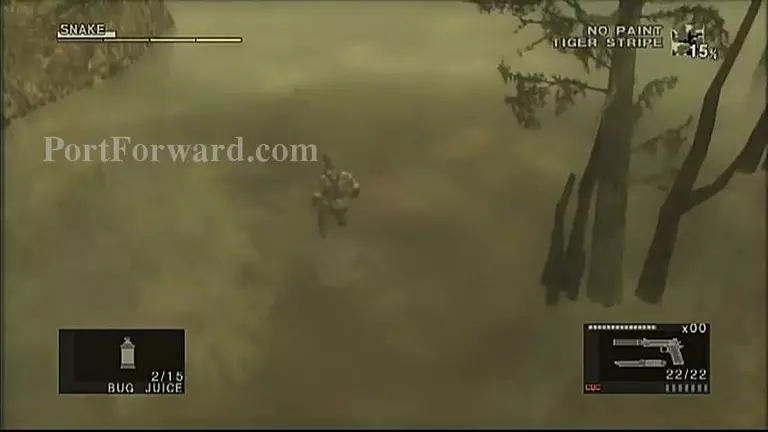
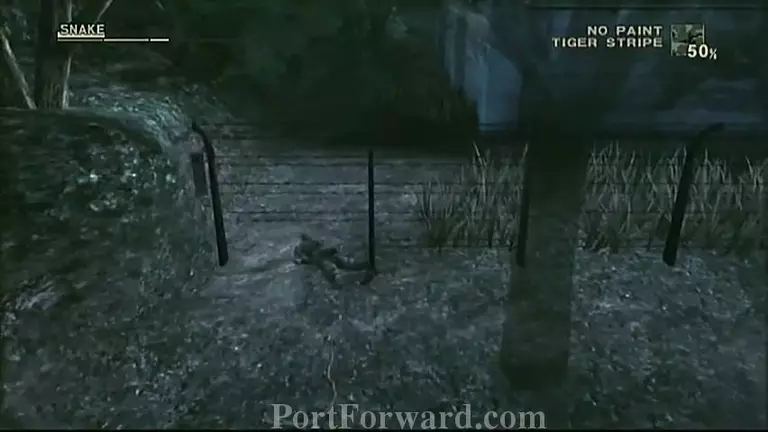
Run and crawl all the way through this field until the fence begins.
Then, climb the tree's vines, get on the branch to get over the fence.
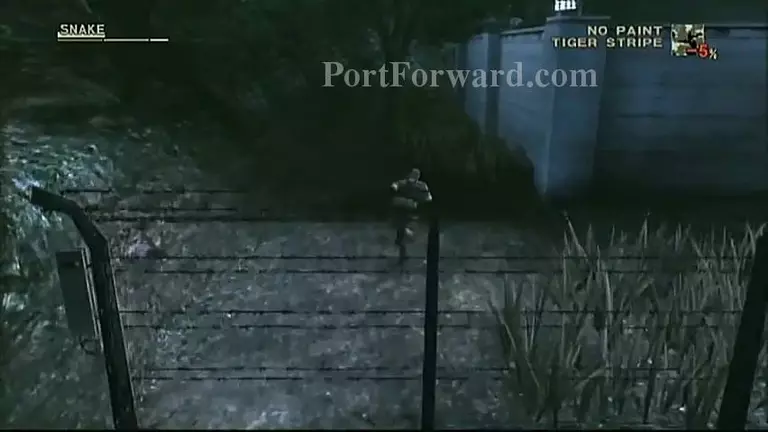
Jump through the hole in the fence and head northeast.
Crawl underneath all the fences that are in this area also.
And ead through the trial that's on your left.
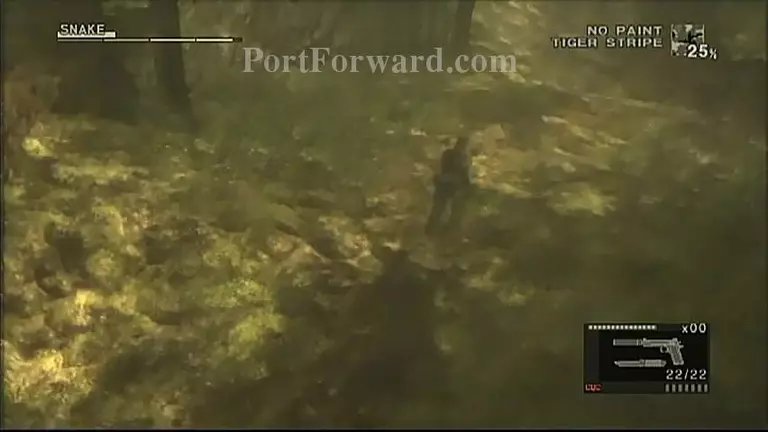
Keep heading norteast when you get to the next area.
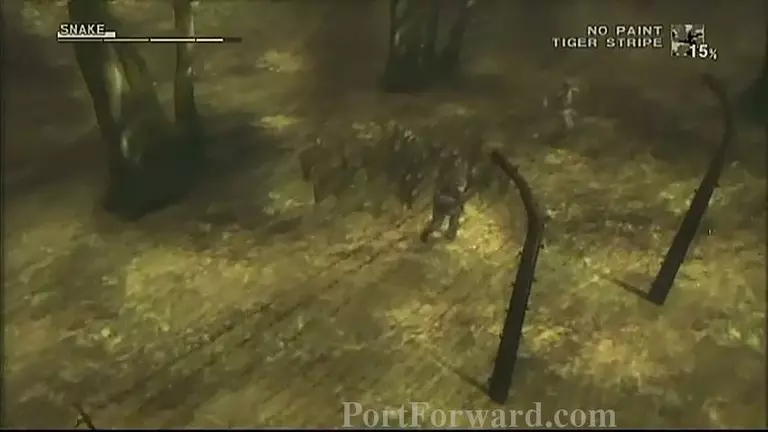
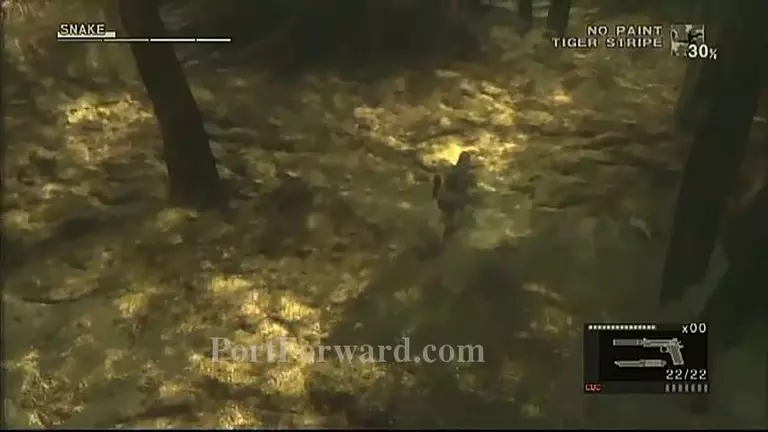
Take out the guard and head through the trail that's just up ahead.
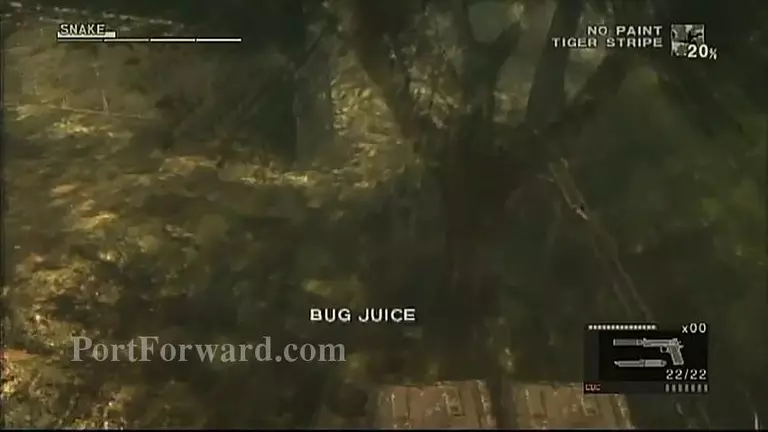
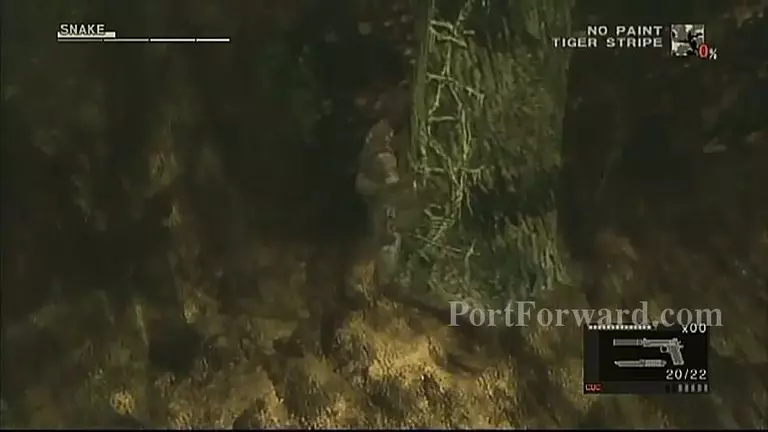
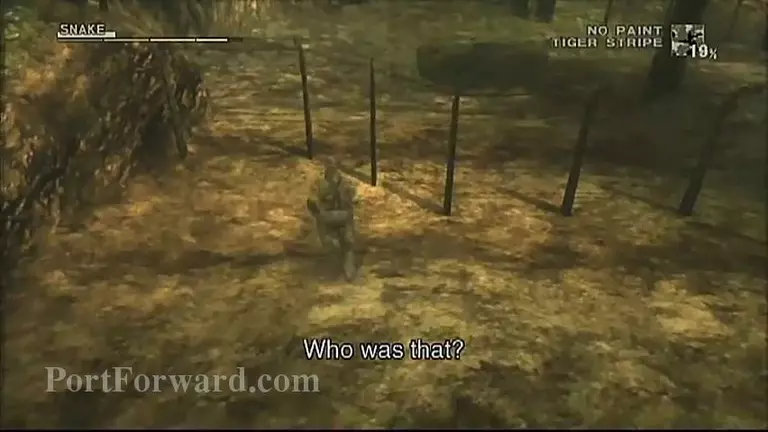
Here will be the boss fight with Ocelot. If you havent beat the game and don't have the Patriot, it's not too much of a problem. Just use your pistol instead.
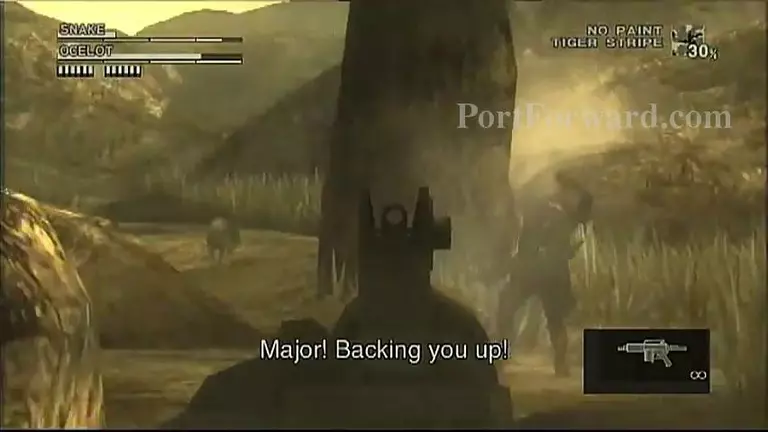
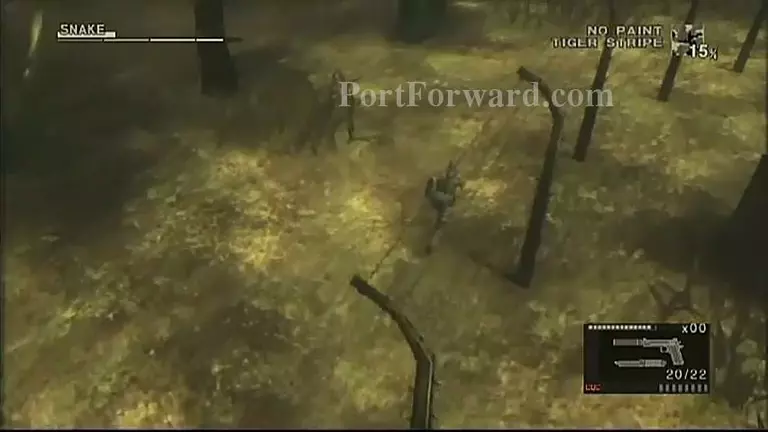
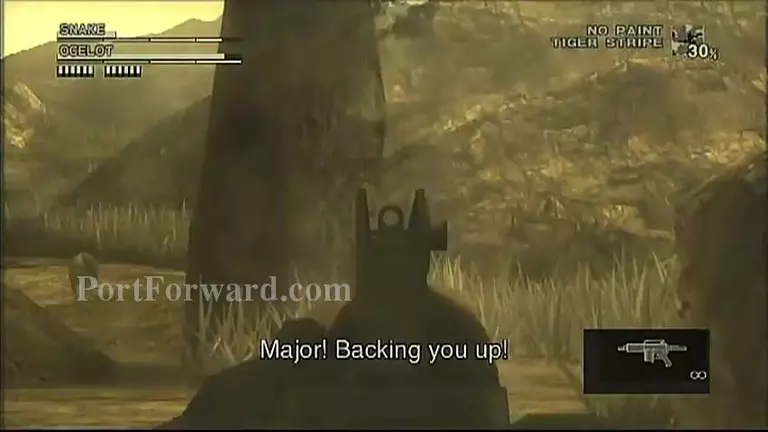
All you have to do is wait for this little faggot to pop out from his hiding spots behind the trees and blast him.
Best times to shoot is of course when he moves hiding spots and when he reloads.
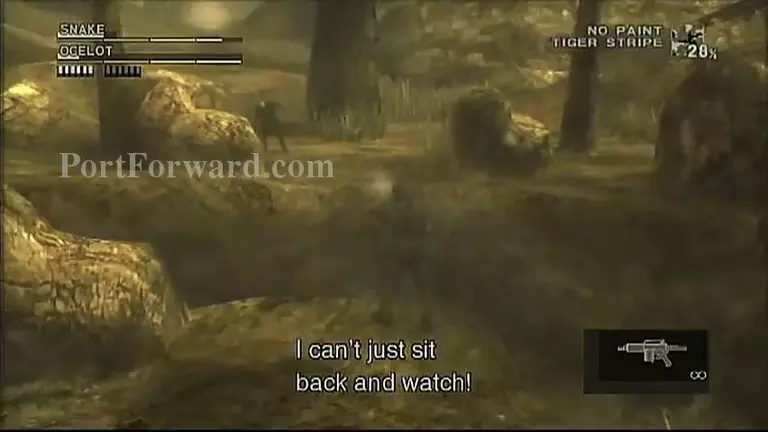
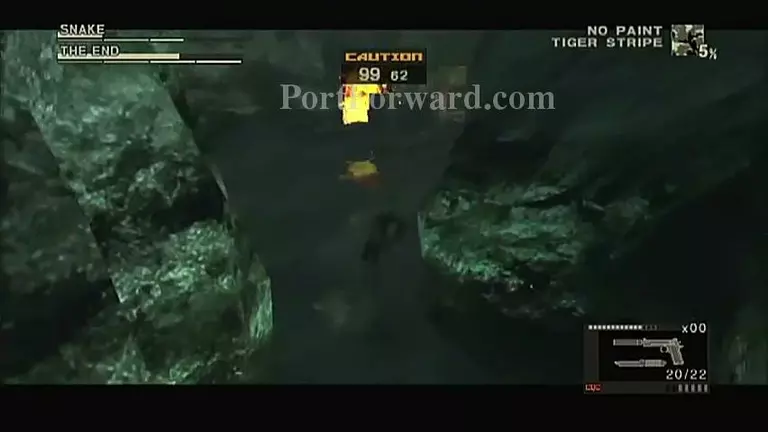
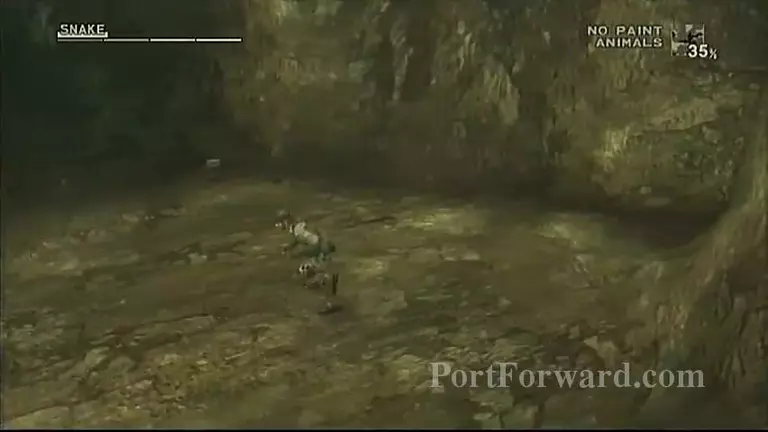
After you beat him, a lot of bess will come and sting everyone and you fall of into the crevice because you're clumsy.
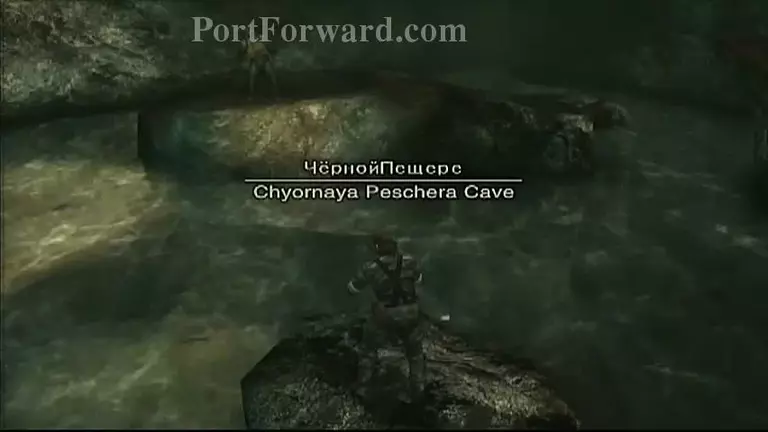
Just head to the right from where you spawn. And then head through the walkway up north of this waterfall you should get to heading right. So, head in the walkway to get out.
Keep heading straight ahead to get out.
And right here, go right to get out. Left is just a dead end with items.
Here is the next boss battle with The Pain. He's really easy and fun.
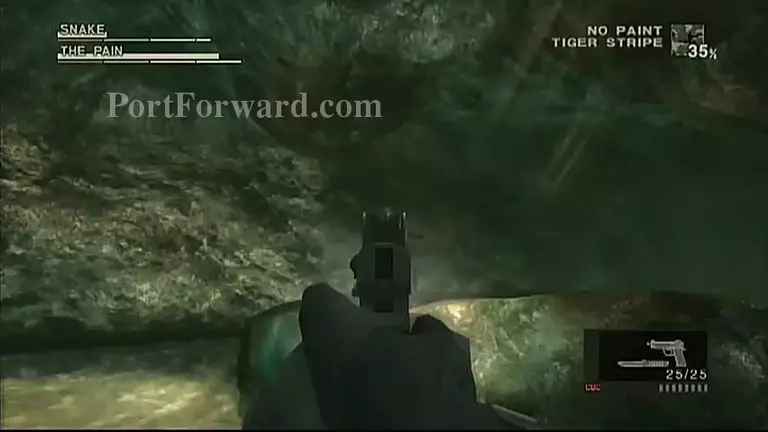
When he's walking around kind of taunting you, shoot him with the tranq.
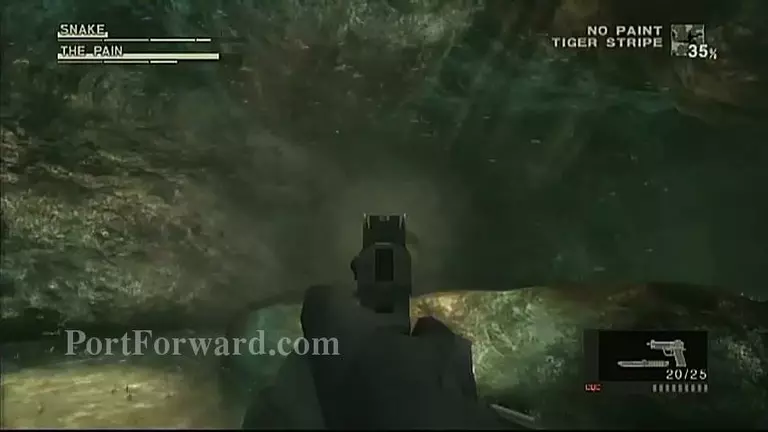
Keep doing it and don't stop before he releases his attacks.
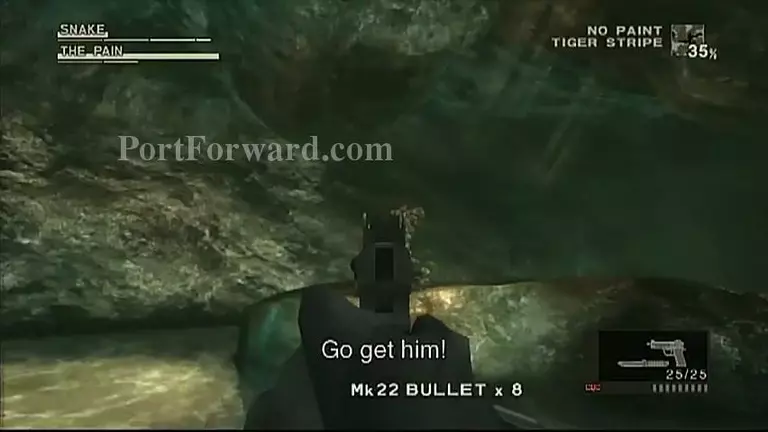
After the cutscene when you;re halfway done, throw a smoke grenade and keep shooting.
Then, head to the trail up ahead to get out. After that, follow the trail and find the light to get out.
Because of the guards, swim the whole way down this river.
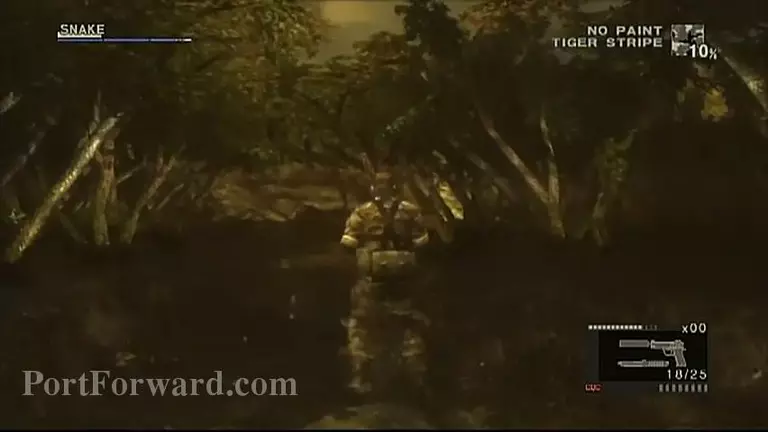
Swim all the way until you're about to lose your breath, of course. Then, continue.
Advance in the first trail up ahead.
After taking out the guards, shoot the barrels to really damage The End so you don't have to do so much work in the boss fight.
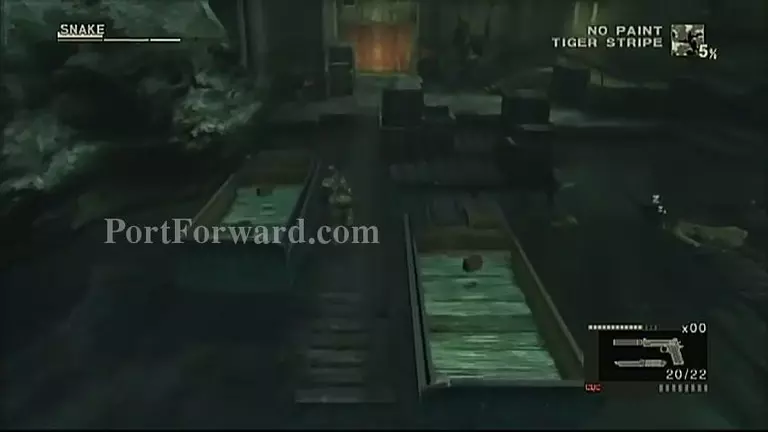
Then, swim to the dock...
And head to the left to get inside.
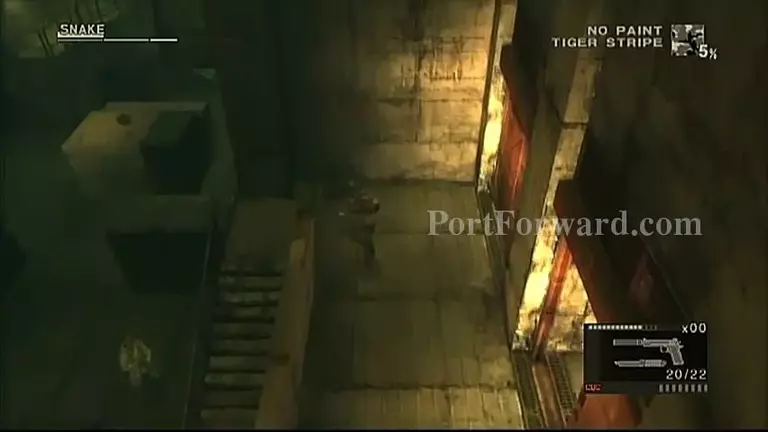
Head down these stairs...
Take out the guard and head up those stairs.
Go down this hall and enter the door.
Cross this empty area and head to the only trail ahead to get to Graniny Gorki
Head to the left and take out the guards patroliing.
Crawl in the hole made in the fence to get in.
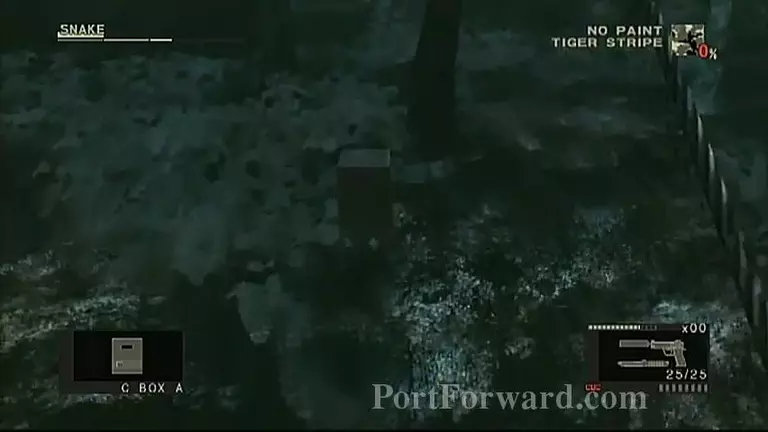
There will be a hole in the wall on the ground of that grassy area ahead of Snake in the image. Crawl into it to get in.
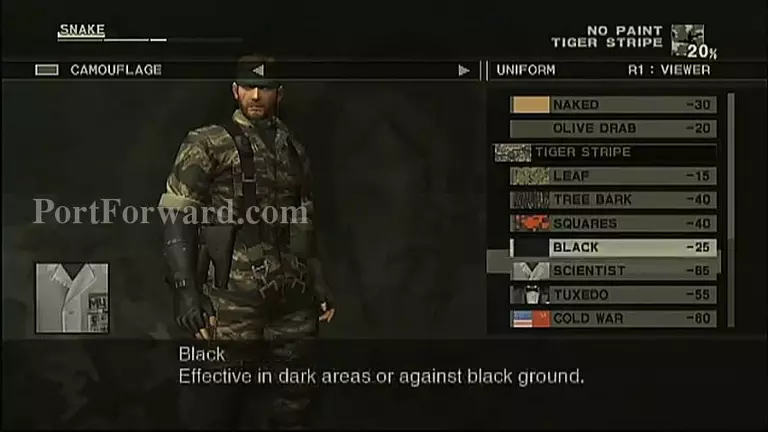
When you're about to head in the lab, use your scientist disguise in the CAMOFLAUGE section of the pause menu. Note: Don't have any face paint on while wearing this disguise.
The door will be to the right of the front double doors.
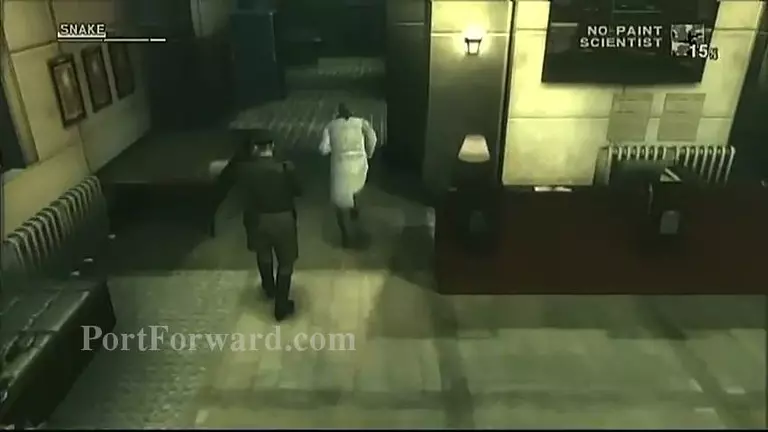
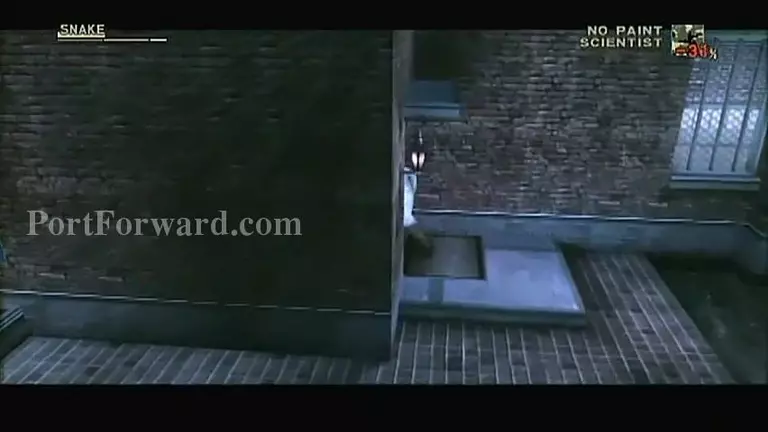
Head down this hall and enter the last door on the left. Like in MGS 2, if you bump into a guard, they will get suspicious.
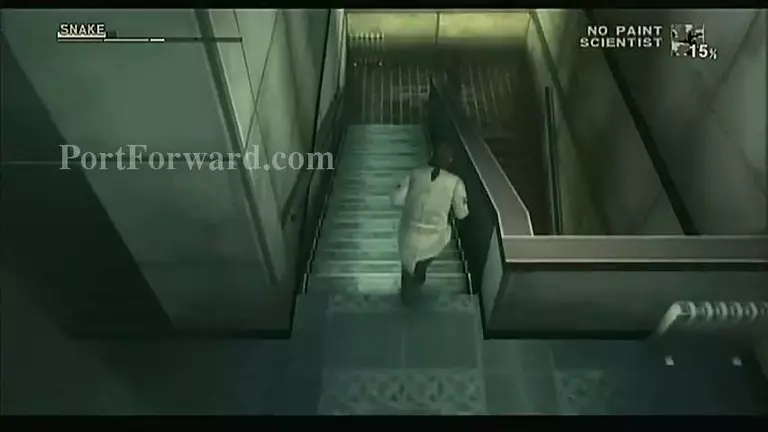
Go down the walkway and head down the stairs.

Walk down the hall and enter this door on the left.
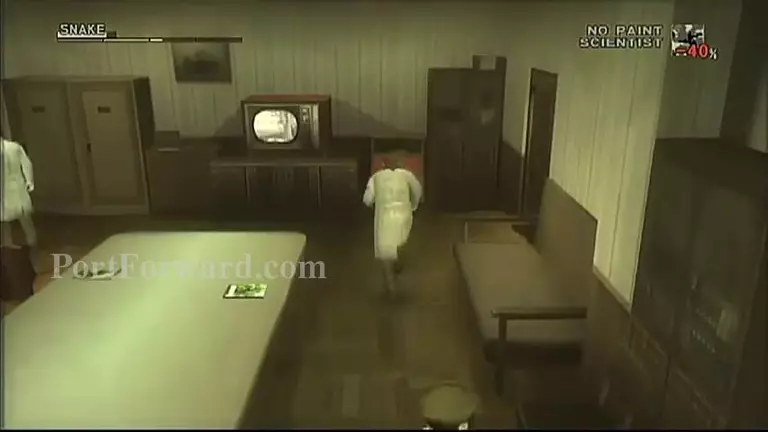
Go down the room and enter the door on the right.
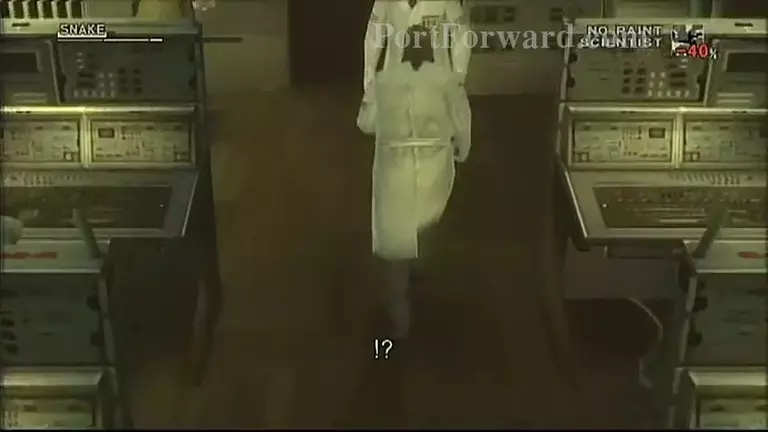
Then, go to the door on the left of the lab area. NOTE: The scientist will notice if you are a scientist or not. So try to avoid them or hurry if they see you.
Then you will get here where a huge cutscene will commence.
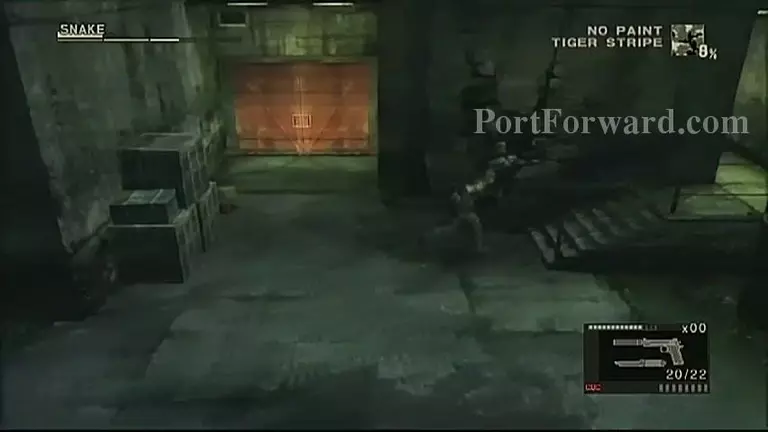
After that cutscene, backtrack to the warehouse where Colonel Volgin, The Boos and The End were at. The person, who I can't remember the name of, in the cutscene gave you the key to the door that's there.
Take out the guards that are there and head downstairs...
Then up...
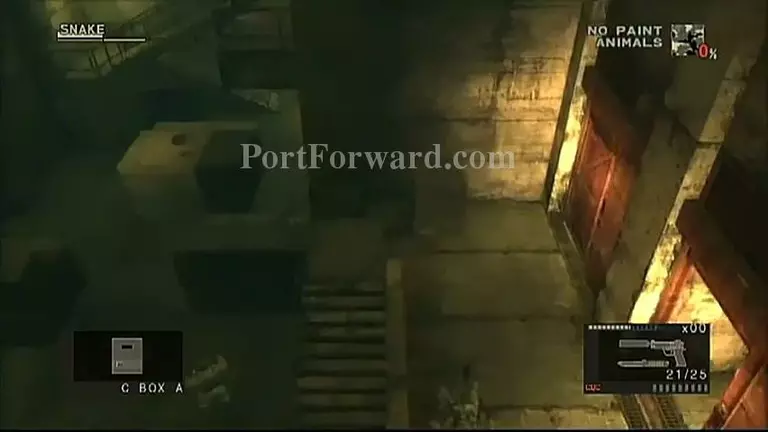
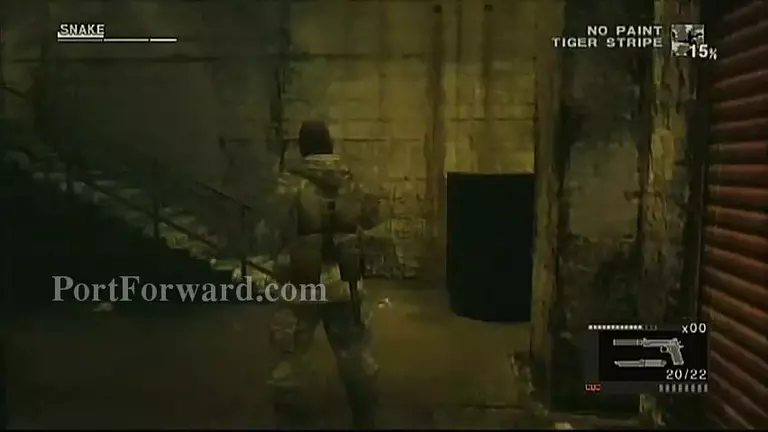
And into the red door right beside Snake in the image.
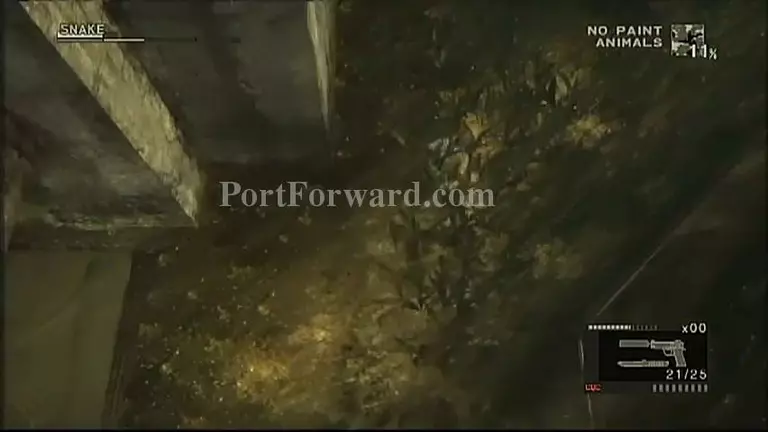
Keep going ahead to the only trail that's up ahead this area.
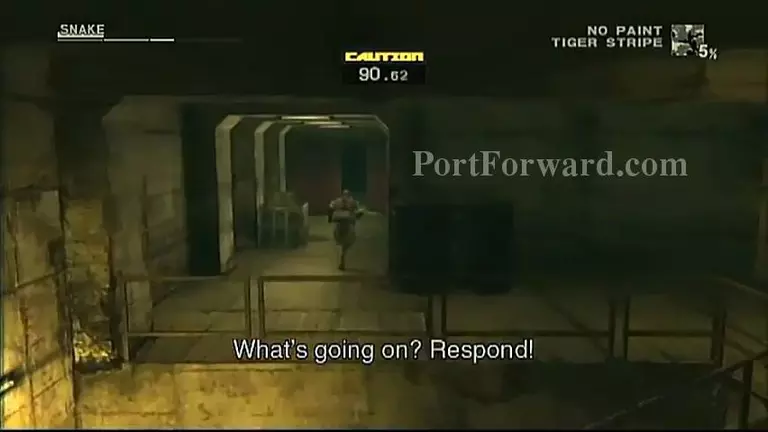
Watch out for traps and guards in this area.
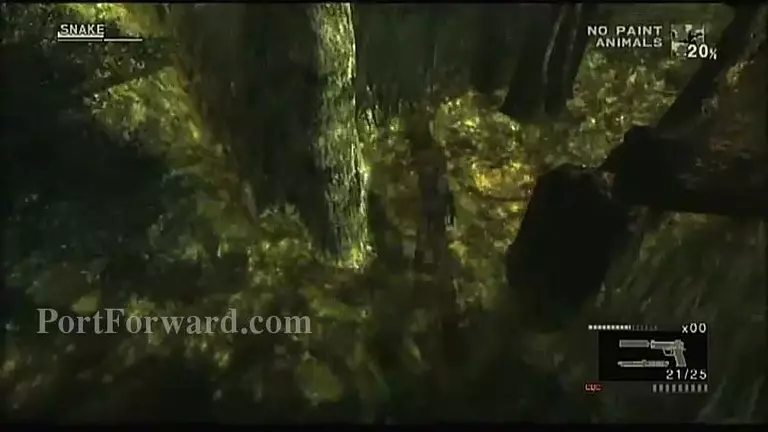
And of course, go ahead to the next area.
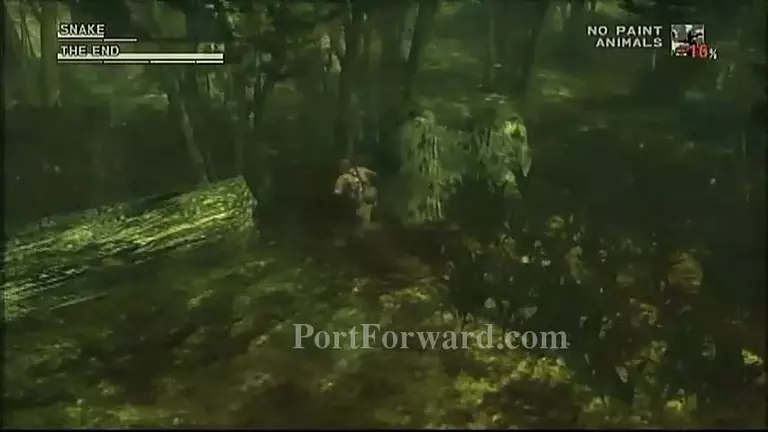
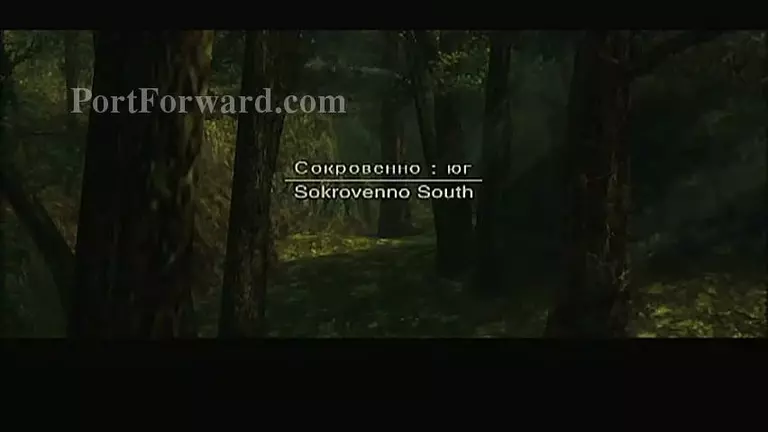
This is where you will have to fight The End. Use your sniper rifle and use you MAP in the pause menu to find all the sniping spots. Since I've played this a lot, I just went up to him. I would not recommned it for first time payers. Use the Thermal Goggles if you have them. If you don't, just use your map.
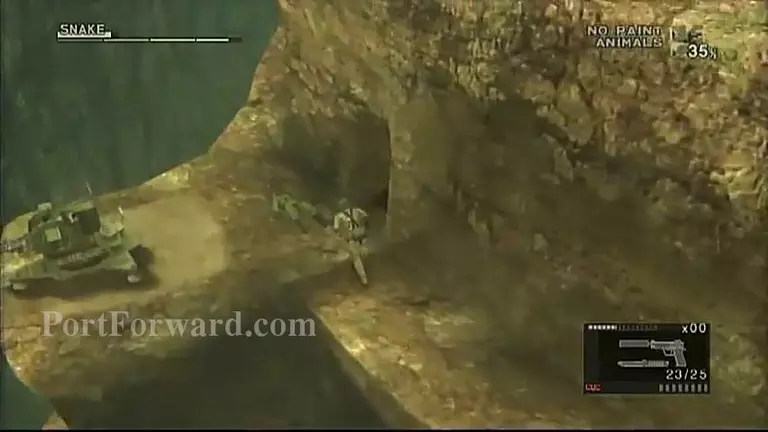
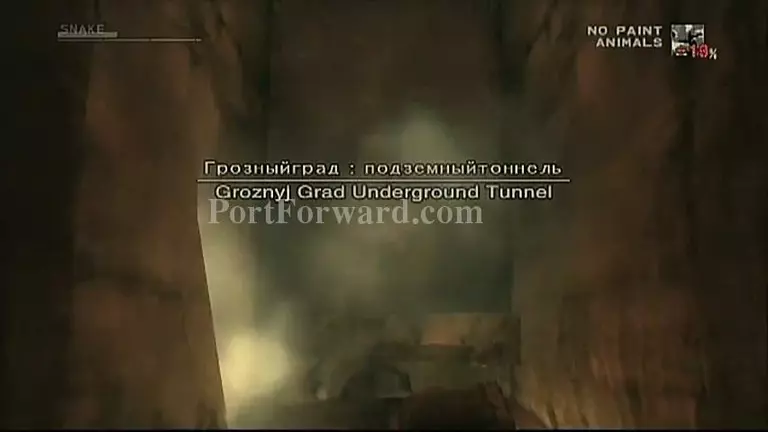
After you beat him, head up the hill and where once was lots of vines is now a tunnel to where you'll get to some mountains where you'll get to Groznyj Grad.
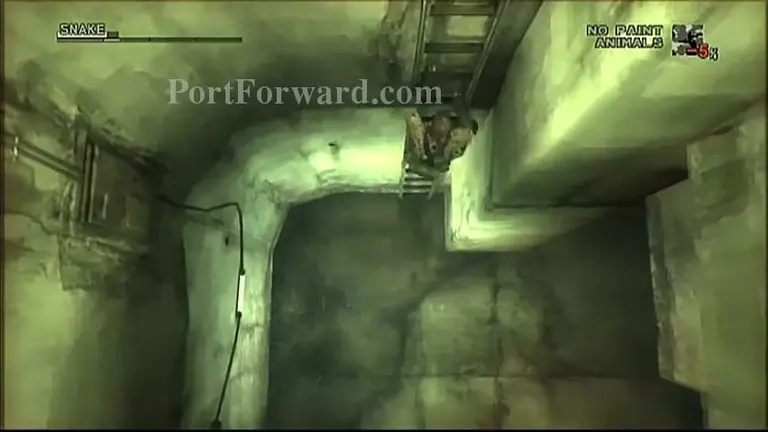
This is kind of my favorite part of the game. While you go up the ladder, the them plays. So awesome :3
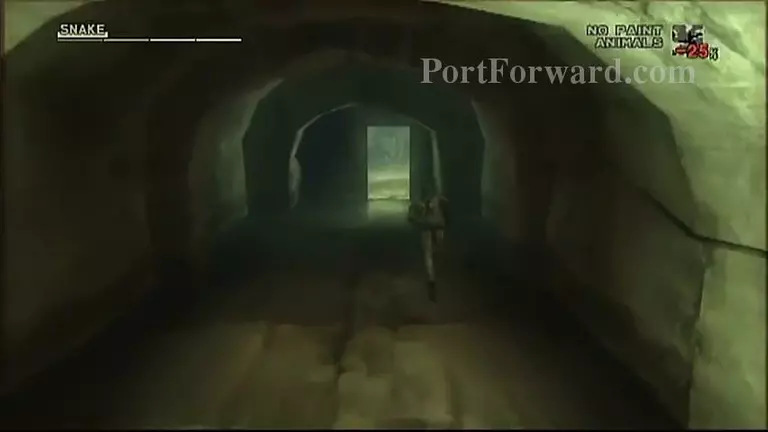
When you get to the top, just walk out through the doorway ahead.
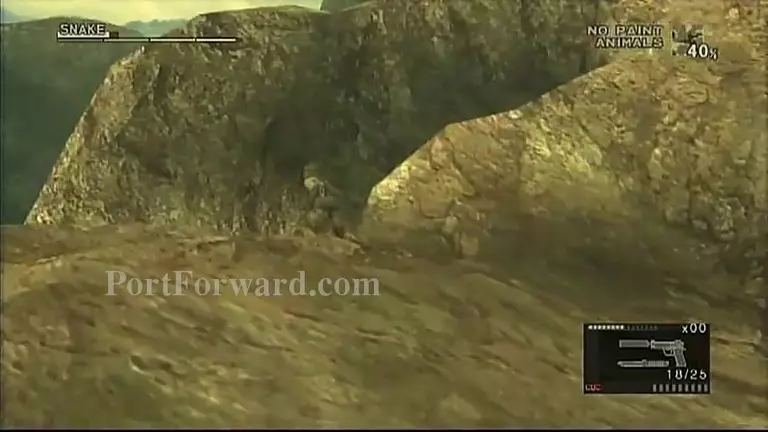
Head to the left where there'll be lots of hills and quite a few soldiers.

If you choose to sneak by them, which is the hardest way, stay close to the mountain side since there's guards on towers. If you choose to take the out, take out the guards on the towers first then the guards on ground level.
Then go to the right to the next area.
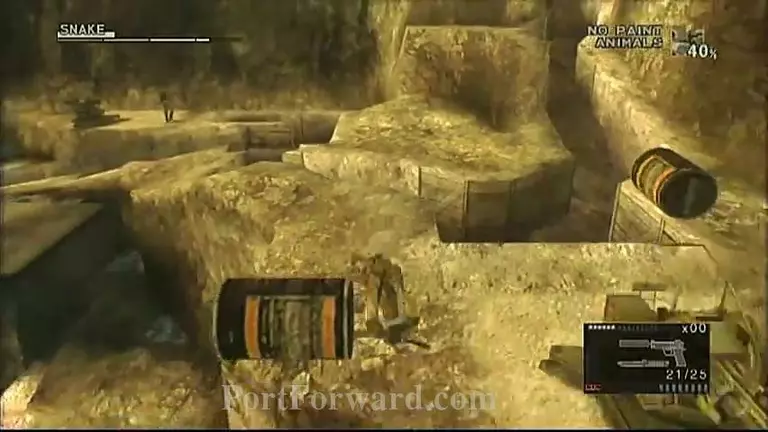
There will be a helicopter that you'll need to avoid.
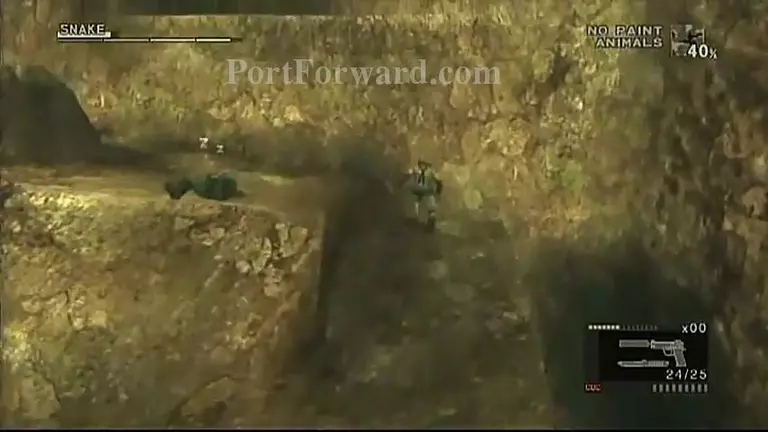
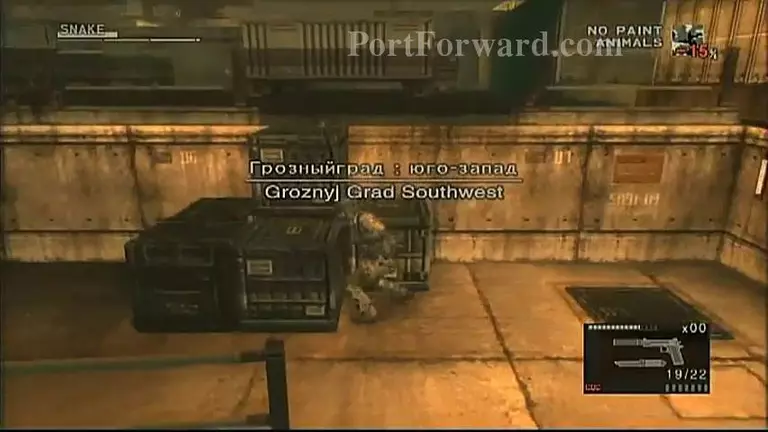
And of course, guards will be patrolling the area.
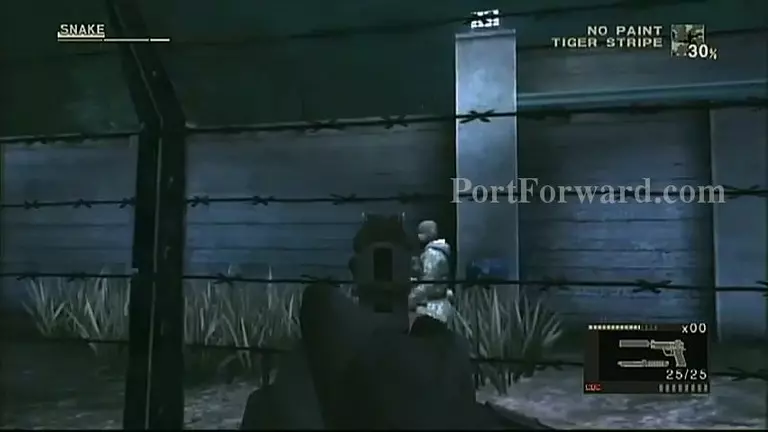
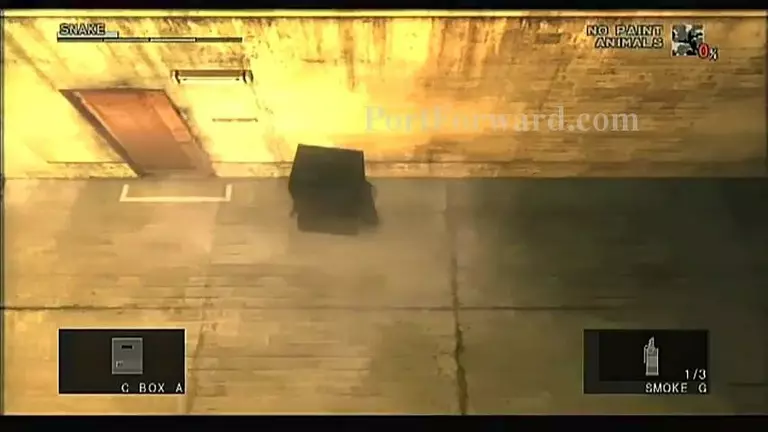
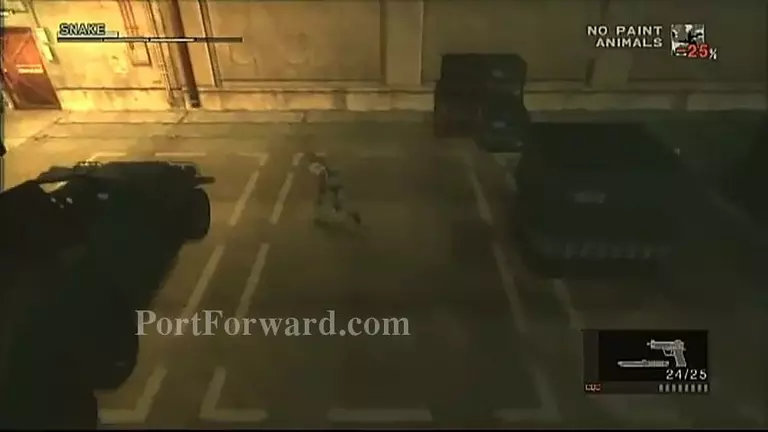
NOTE: If in any circumstance you possibly happen to get the helicopter's attention, use one of these bad boys at the left side of the image to destroy one. but there will be more so it's best to hide.

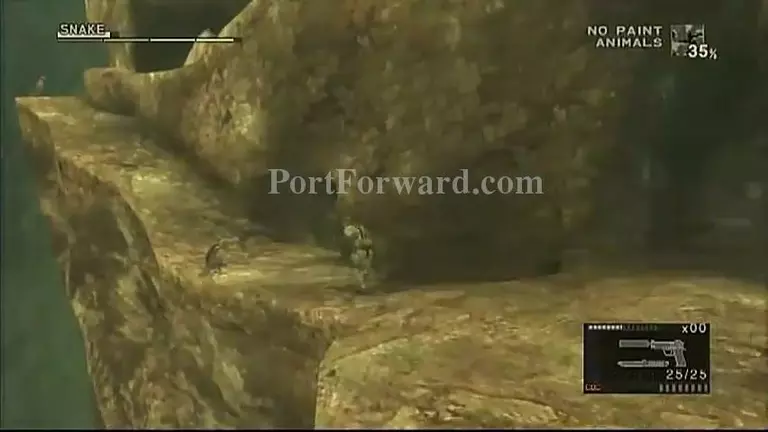
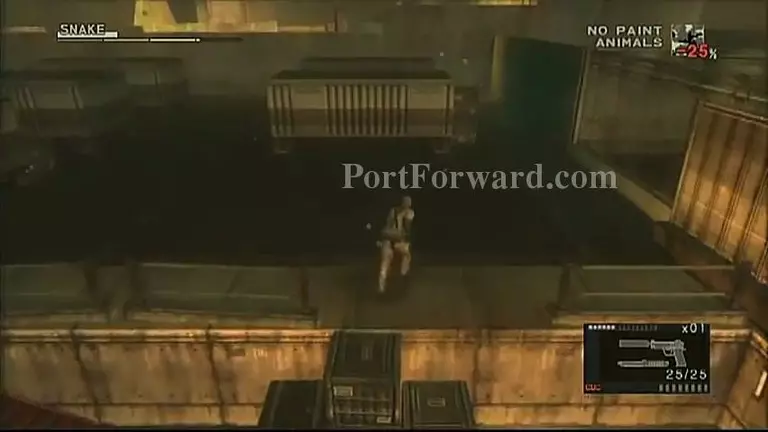
When you get to the top, take out the guards that'll be pa
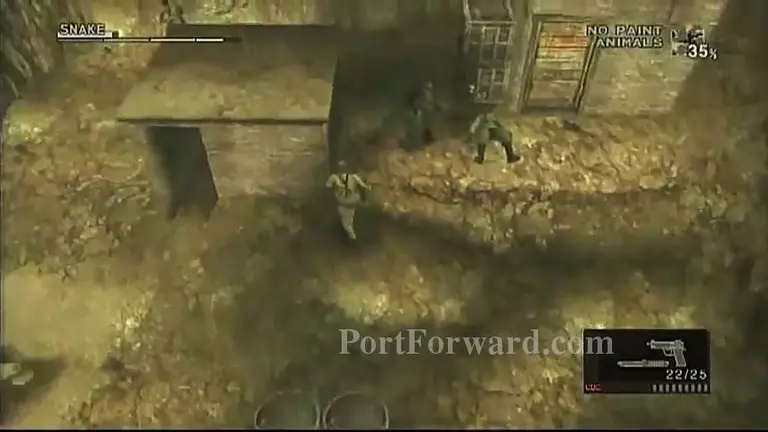
Then, head up the walkway and head into the little walkway ahead.
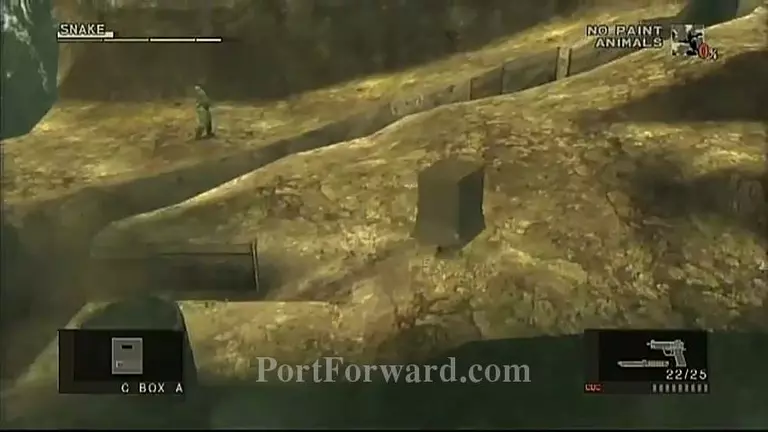
The best thing to do here is to be in the bunkers and walk that way.

Also, if you're evading or in the caution stage, you won't be able to get in the building and meet up with EVA, the agent you met yesterday. So wait when it's all clear.

After the cutscene, go back into the building and out of it to the mountain top.
Go down a level from here...

And go to the right and there'll be a door there to get into Groznyj Grad.
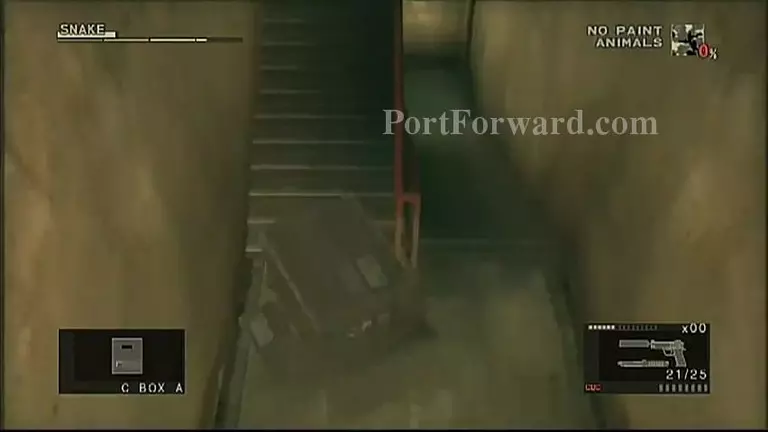
Go downstairs to head into Gronzyj Grad.
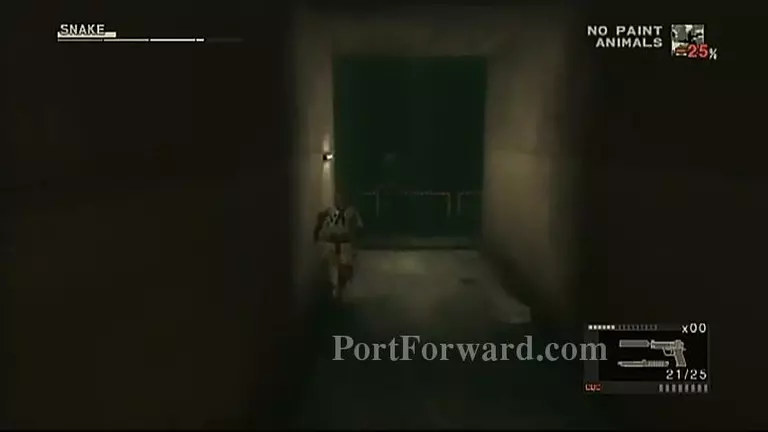
And continue to the left on this walkway.
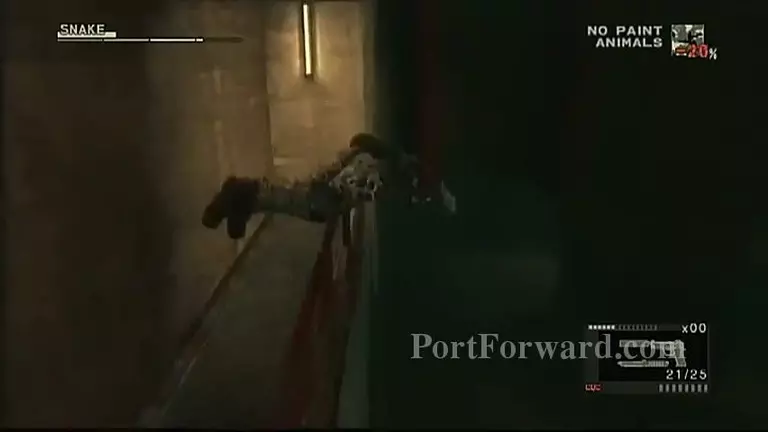
Then head down on the ground where you'll meet your next boss: The Fury.
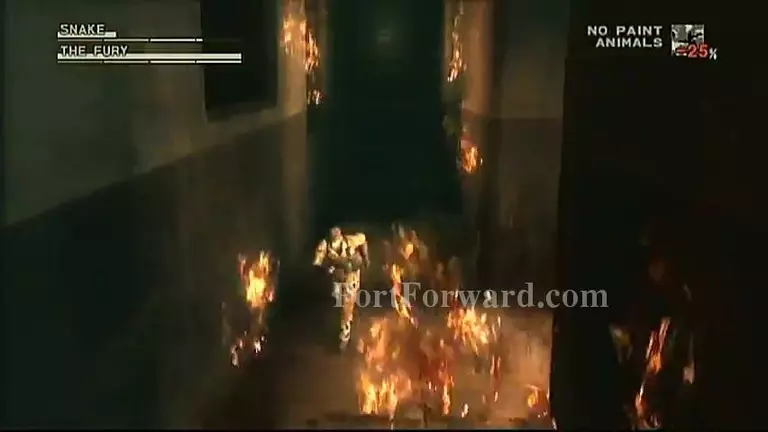
Some tips on how to beat him: Move a round A LOT. Use your themal goggles or NV to find him. SHoot and move. That's it.
When you defeat him, go through the new hole in the hall and go down the hall.
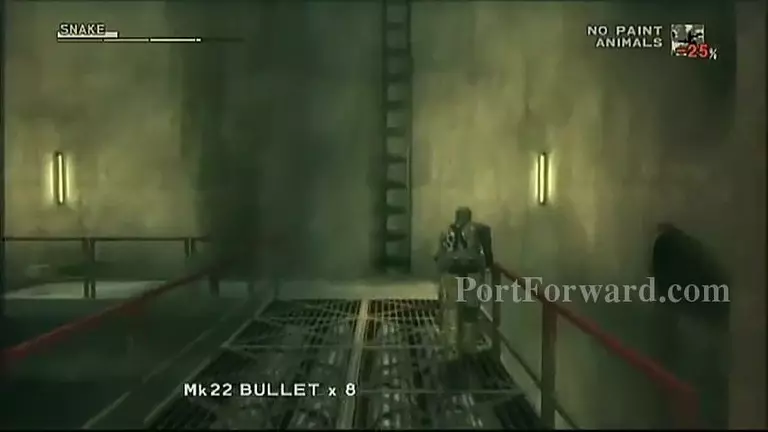
Climb the ladder ahead.
And you'll finally be at Gronzyj Grad!
Head up the stairs and crawl through the hole that's ahead.
Now, head to the wall on the other side and walk through the hall that's there.
Take out the guard that's there.
Now, walk to the door that's to your left.
Walk to the upper left side of the area where you'll find a door where you'll finally get inside.
Head upstairs to find Maor Raikov
When you do, knock him out.
Drag him to the next room where there'll be some lockers.
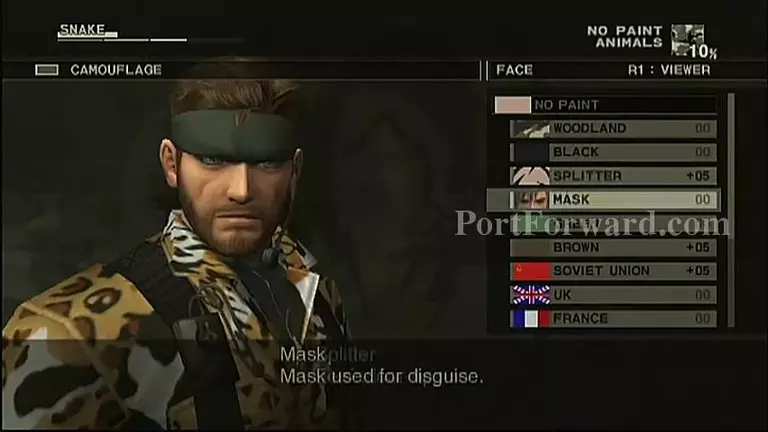
Now, go into the pause menu into the CAMOFLAUGE section to put on the mask and the newly acquired uniform disguise.
Head to the lower left side of the room where'll you'll be directed to the Main Wing.
Follow the hall and enter the door on your left into the West Wing.
When you et near the doors, a long cutscene will start.
After Volgin finds out who you are and beats the living daylights outta you, you'll be sent to the Torture Room where lots will happen. But it's just a cutscene, like in all the MGS games.
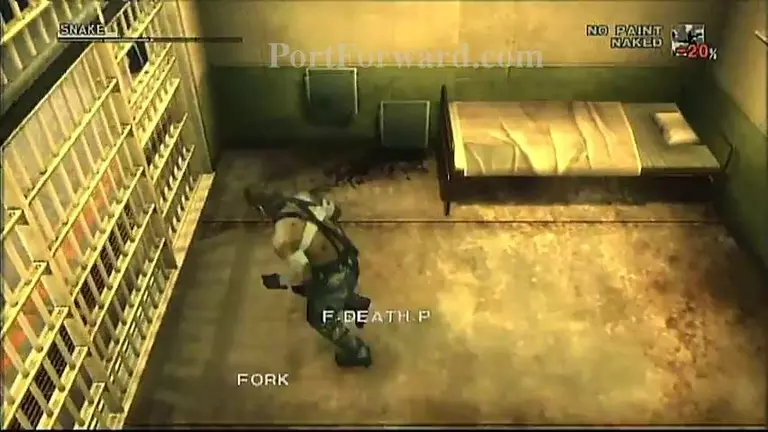
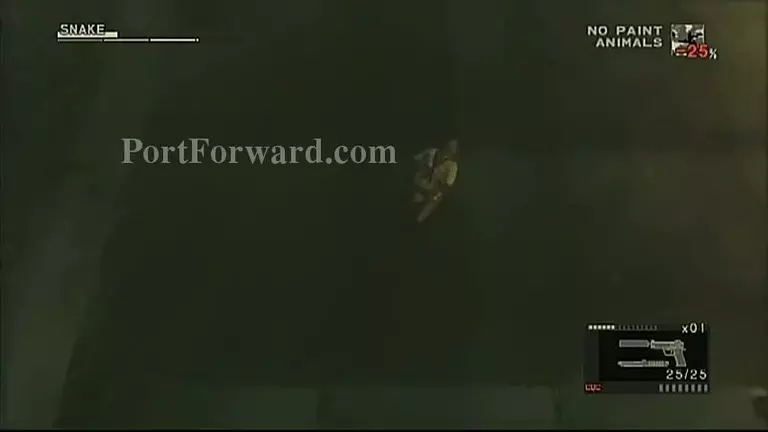
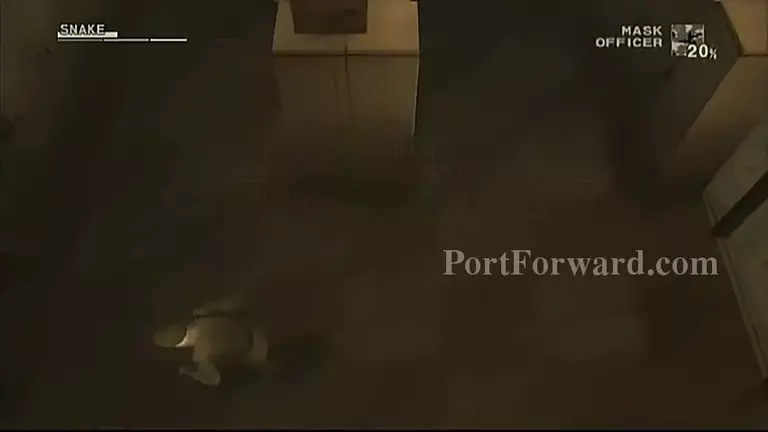
When you're in your Cell, there'll be a fake death pill. Use it to escape. Sound familiar to some of you MGS fans? c:
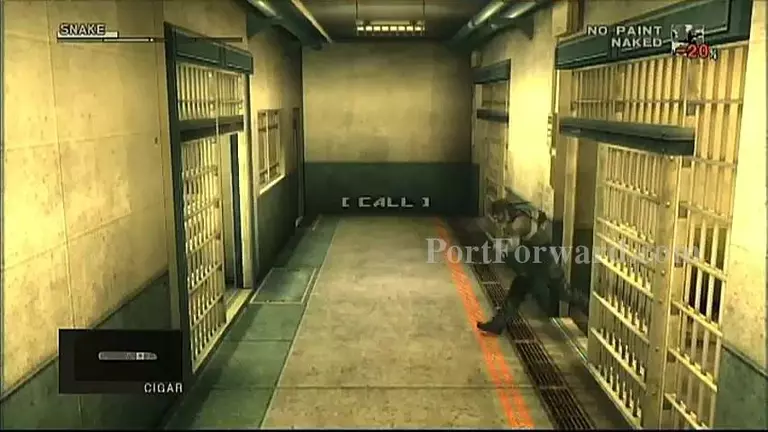
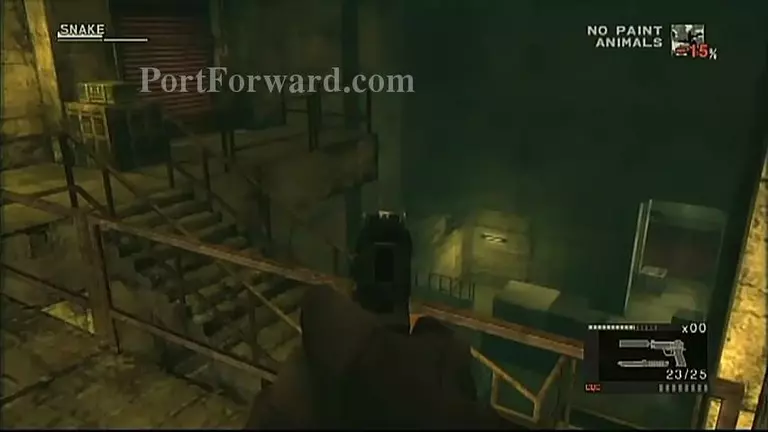
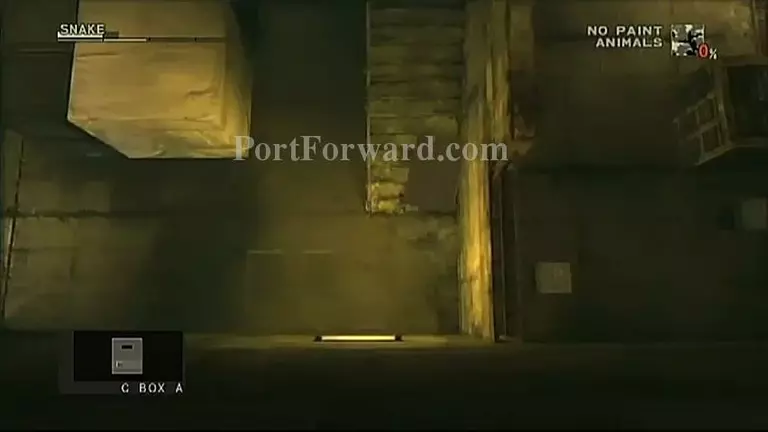
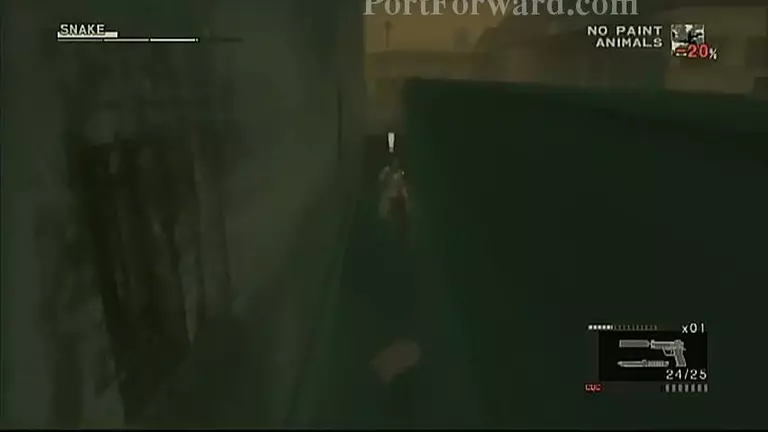
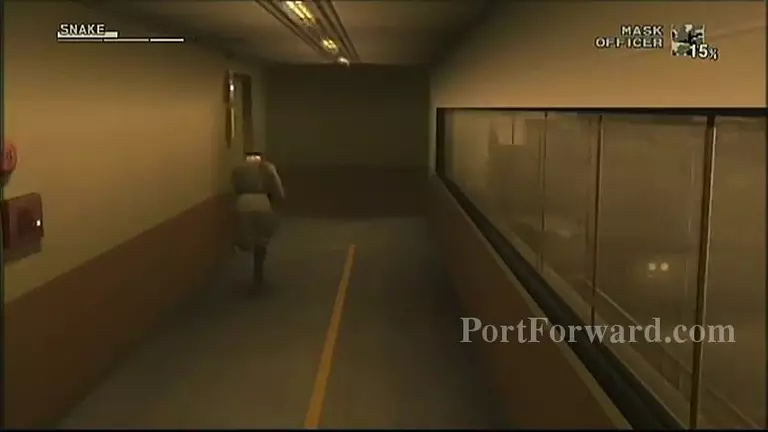
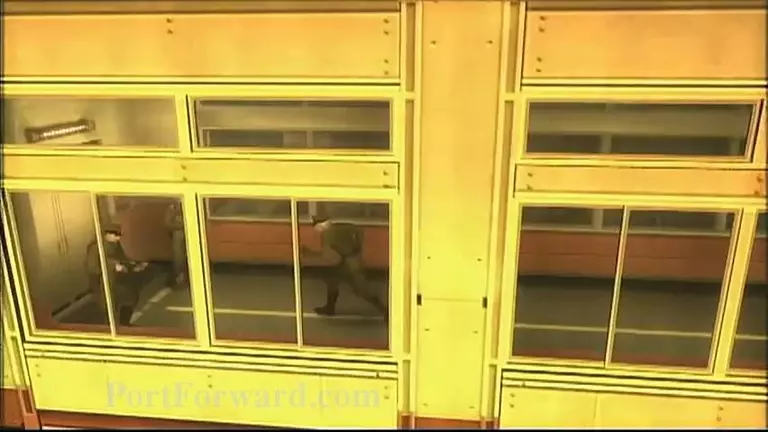
Wait for the guard to leave and book it. img(204681); Take out the guard when/if he comes back. img(204682); Enter the door on the left to get out. img(204683); Just follow this hall now. img(204684); Head past the stairs and ahead will be a door. Enter it. img(204685); Throw a smoke so no one sees you and go around the area through the aley that's to your left. img(204686); Enter through this door now. img(204687); Now head straight ahead without getting noticed. img(204688); When you get here, crawl underneath so you can get inside the trap door into the sewers. img(204690); There you go! img(204691); Go down the sewers... img(204692); Crawl through the hole on the left. img(204693); Then, go down the walkway and into the hole on the right. img(204694); Get on the stairs... img(204695); Go through the last hole on the right now... img(204696); Then to the left hole. img(204697); And run to the light and there will be a cutscene. img(204698); You'll land in a river and meet the next member of the Cobra Unit; The Sorrow. img(204699); Just go down the river, walking or swimming, and avoid the ghosts because they will damage you when you touch them. And that's it. img(204701); When you wake up, cross the river to the right. img(204702); Then go through this little walkway. img(204703); Head right at the end of it. img(204704); And jump off this log onto the water. img(204705); Turn right when you see land. img(204706); Go around this side. img(204707); Follow the river and go behind the waterfall. img(204708); After the cutscene, go through this tunnel. img(204709); Keep following the tunnel until you get to this room with the ladder. Go up the ladder. img(204710); When you get up, take out the guards... img(204712); Then head towards that truck up ahead. NOTE: Make sure you get in there while in the box. img(204713); You will be shipped to the Main Wing. img(204714); At this point, you will have to plant the C3. Make sure no one sees you and if they do, take them out quickly. img(204715); This will be the first destination for the C3. img(204716); Then on the other side of the room, here. img(204717); And now here... img(204718); And lastly, here. img(204719); After the long cutscene, you'll have to face Volgin. img(204720); This boss is pretty simple. Avoid his attacks and to attack, use a CQC knockout. img(204721); Then, immediately take out a weapon and shoot him as many times as you can. img(204723); Or do what I did, snipe him c: Same applies after the cutscene. img(204724); Then, you'll get on the motorcylce with EVA. img(204725); You will inflict no real damage on the Shagohad NO matter what gun you use. So don't even try. img(204726); Just take out, or stun like I did, the soldiers so you can get out of there safely. img(204727); This will go on for about...5-7 minutes? So just survive. img(204728); Of course when they chase you, take them out. img(204729); After the cutscene, EVA will show you that she planted C4's on the bridge. So use your sniper to explode them. But wait for the Shagohad to be on it. img(204730); But after you do that and the cutscene shows, the Shagohad has not been taken down. So you'll have to do it yourself. img(204731); Start by shooting by "legs". img(204732); Then, shoot the middle. And avoid all attacks and that's it for the first part. img(204734); But, now Volgin with his weird electrical powers, he'll control the tank. So just shoot him now. img(204735); After that, the soldiers will chase you, kind of like in MGS 1 with Liquid except now the soldiers are following you. So, take them out. This will last a while so just survive. img(204736); Then, you will crash. Both you and EVA have very bad wounds. So heal EVA, since her injuries are more severe, in the CURE section of the pause menu. img(204737); You will have to get to the lake with very wounded EVA, while there are soldiers chasing you. img(204738); A lot of the time, you'll have to wait for her but make sure no guards are around. img(204739); Make sure you get to this area, Zaozyorje East, to advance. img(204740); Then, get here to get to the last boss battle. The Boss. img(204741); Like the Volgin fight, use the CQC knockout move to get her down then shoot her as many times as you can. img(204742); But, she's a lot more stronger and aware. So, hide or use stun grenades so she can't see you. img(204743); And that's all to it. img(204745); Then, the last part of the game is Ocelot will get in the WIG for a game of Russian Roulette. Just choose a gun, nothing will really affect the game. img(204746); My result was I won. img(204747); And the rest is just cutscenes and the credits. I hope this walkthrough helped you guys! Game on! NOTE: There's a cool cutscene at the end that kind of connects this game and the new Metal Gear Solid V game. It's a big plot twist! There's actually one in every game, I beleive.
More Metal Gear Solid 3: Snake Eater Walkthroughs
This Metal Gear Solid 3: Snake Eater walkthrough is divided into 2 total pages.


