
This Metro 2033 walkthrough is divided into 36 total pages.
You can jump to nearby pages of the game using the links above.
Chapter 2: Dead City I
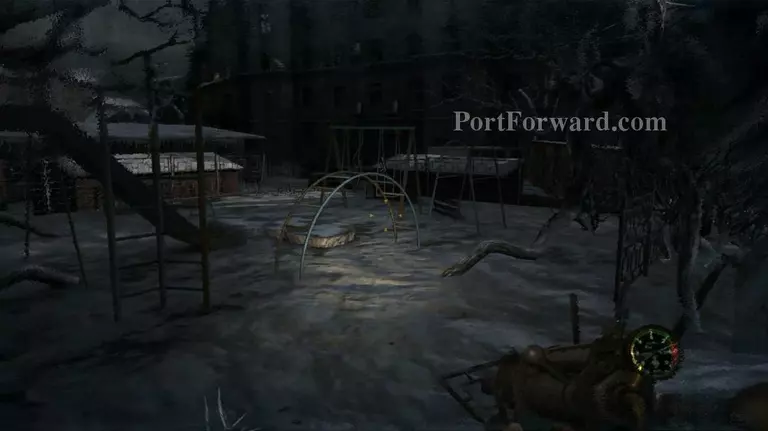
Search this area for extra supplies.
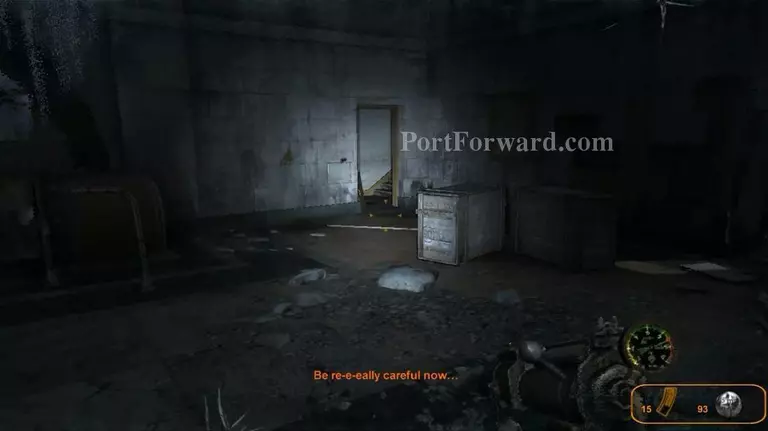
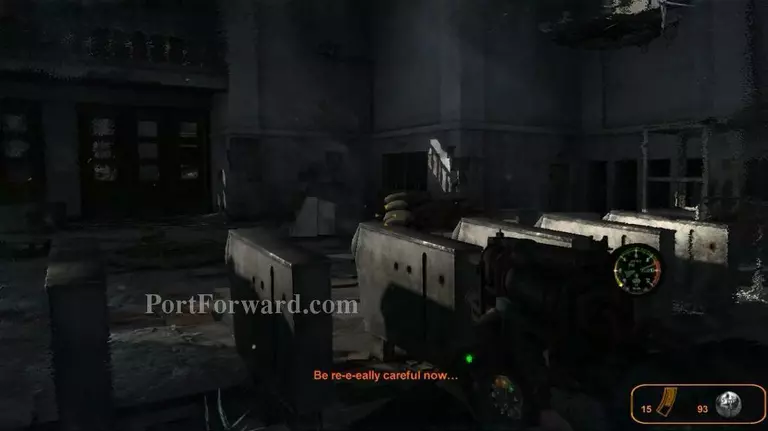
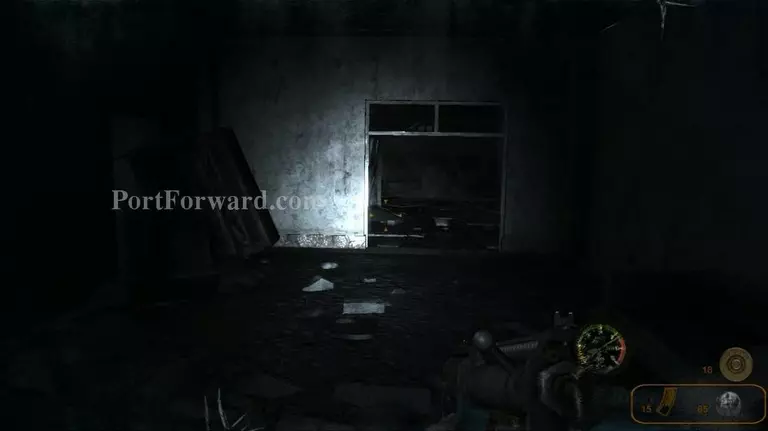
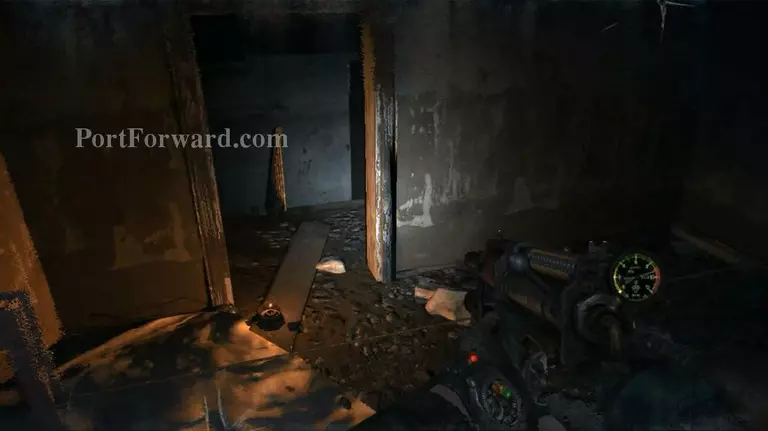
There's a door that lead you to the 2nd floor. But...
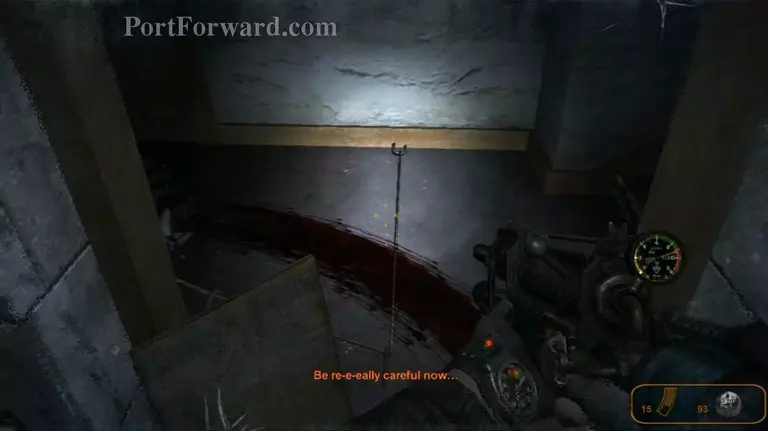
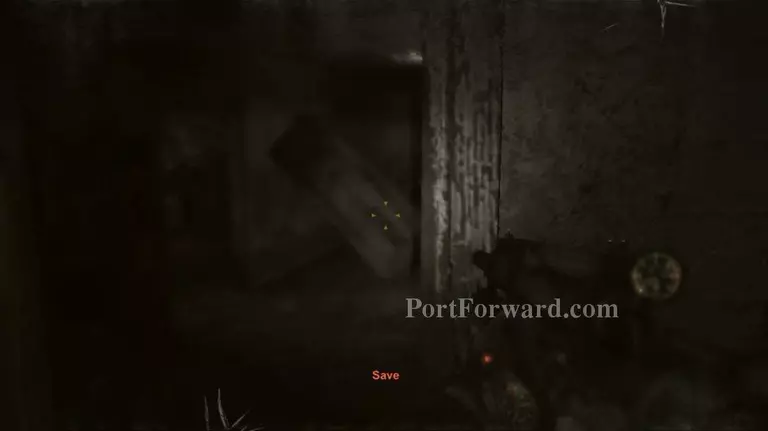
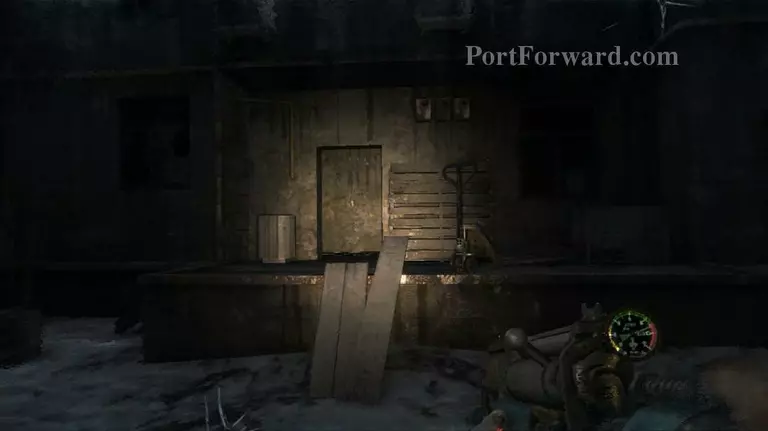
Be careful. Trap was set up directly at the entrance. Walk slowly to avoid the trap.
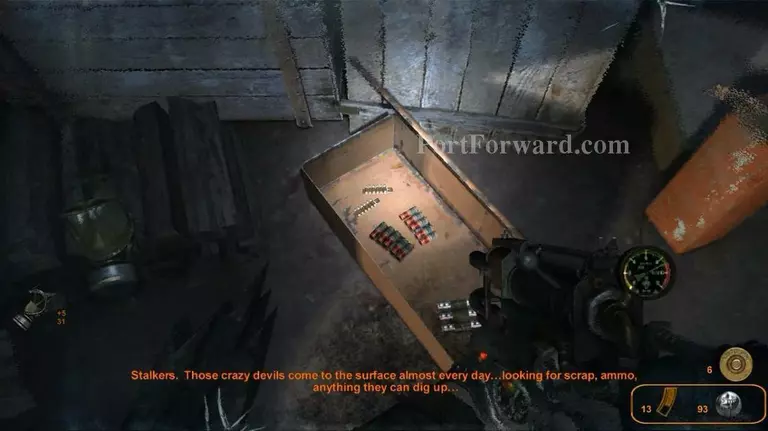
More ammo here. :)
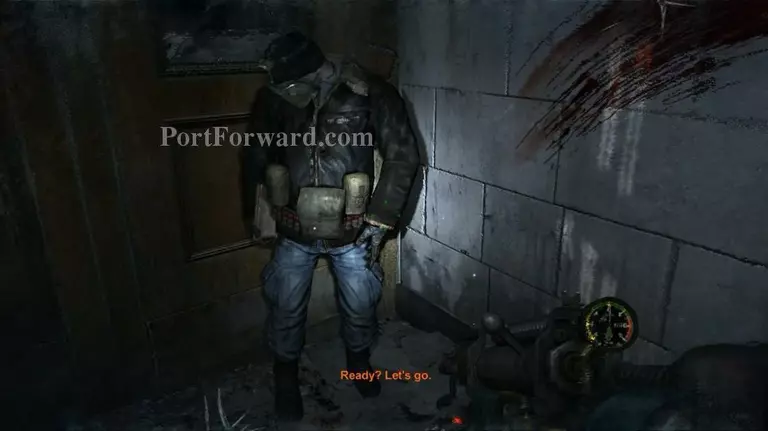
Then go meet Bourbon to continue.
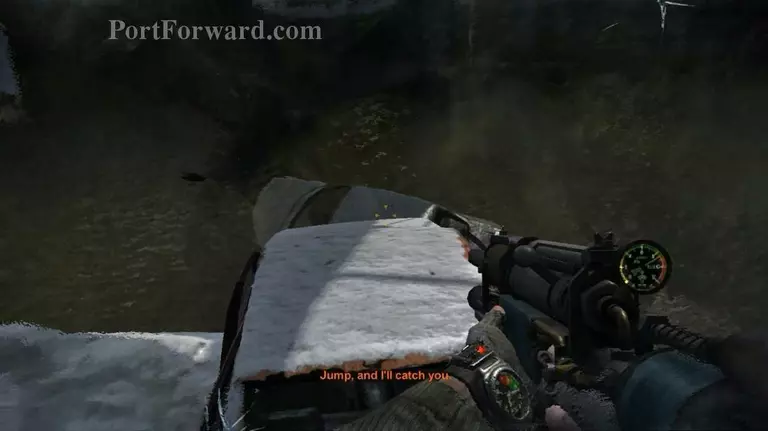
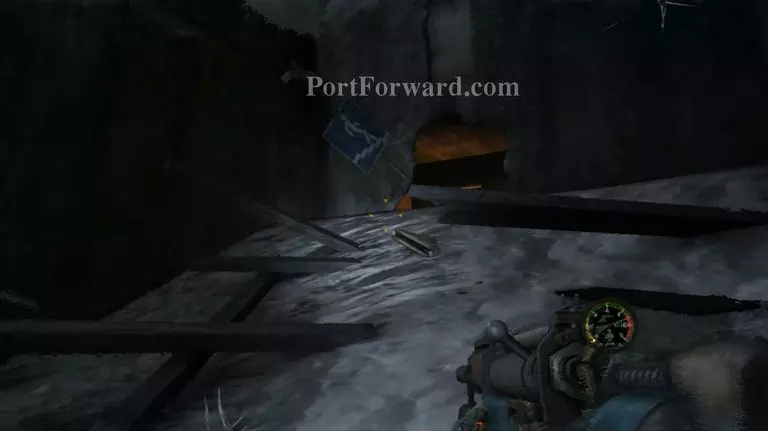
Just jump but you won't make it. That's how it should be.
Turn around and find your own way.
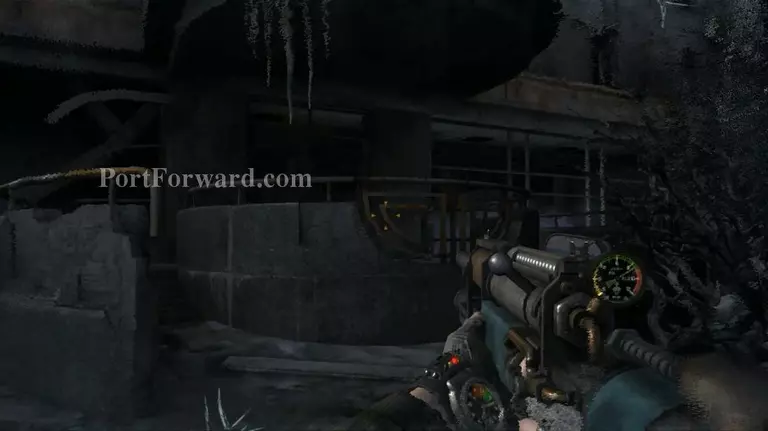
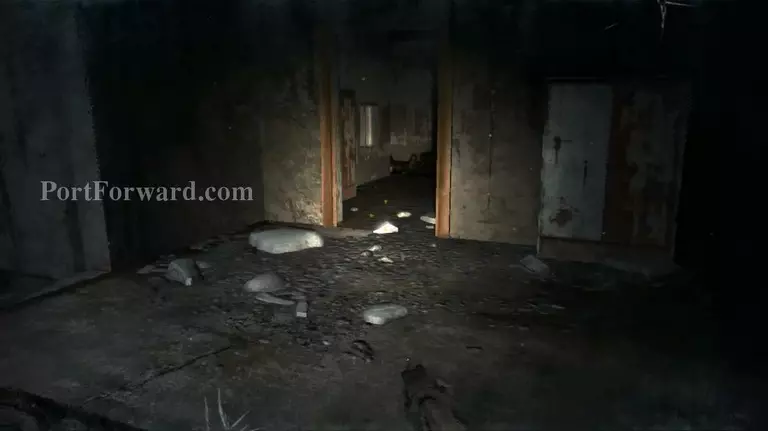
Enter this building.
Go here.

Keep going..
Now ghost trying to mess with you. Just ignore. Enter the room at the left.
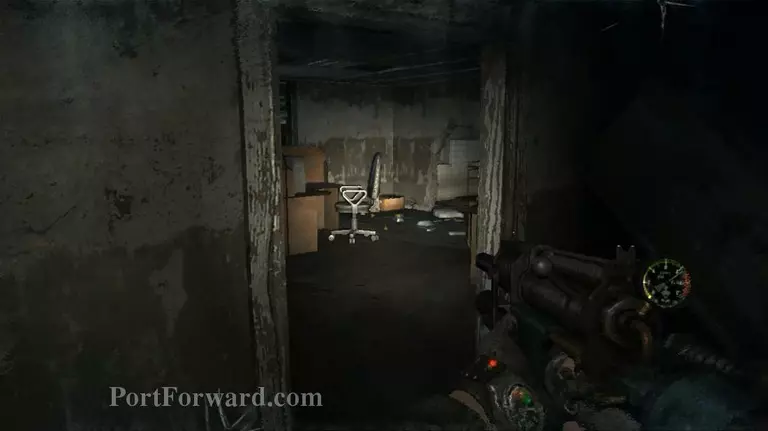
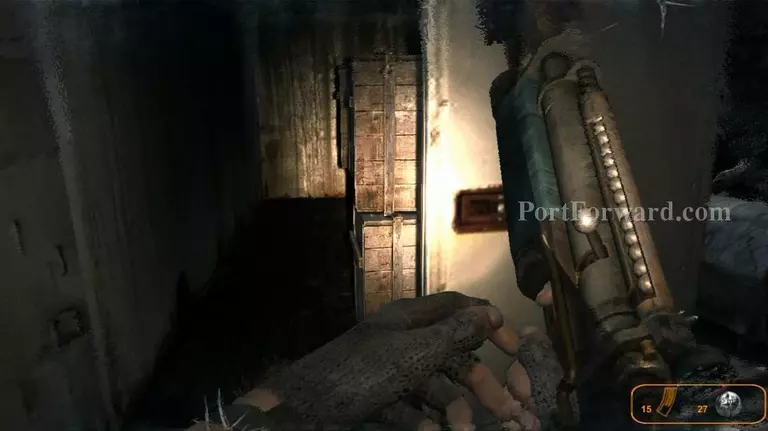
Yeah this room.
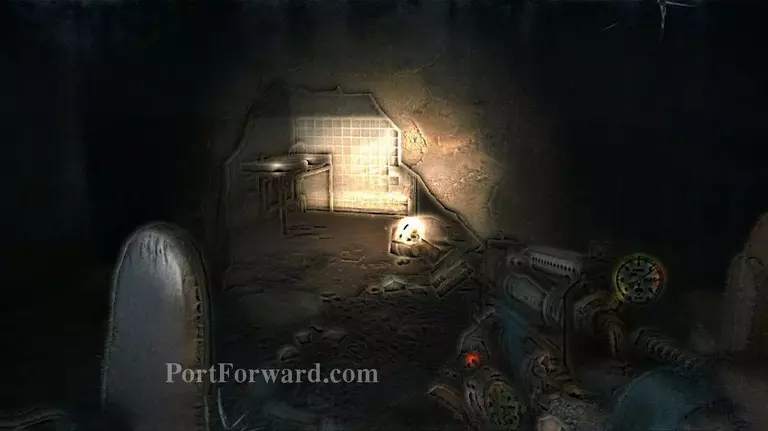
Through the cracked wall.
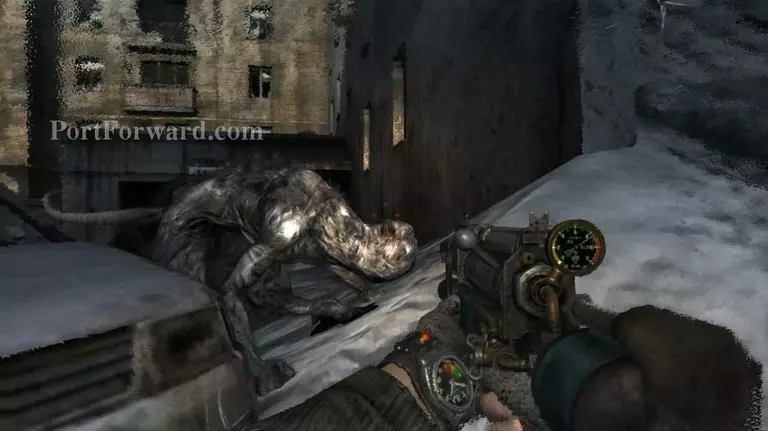
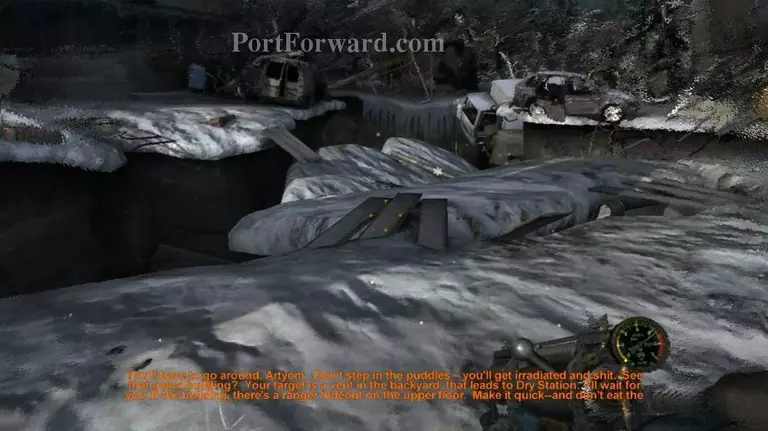
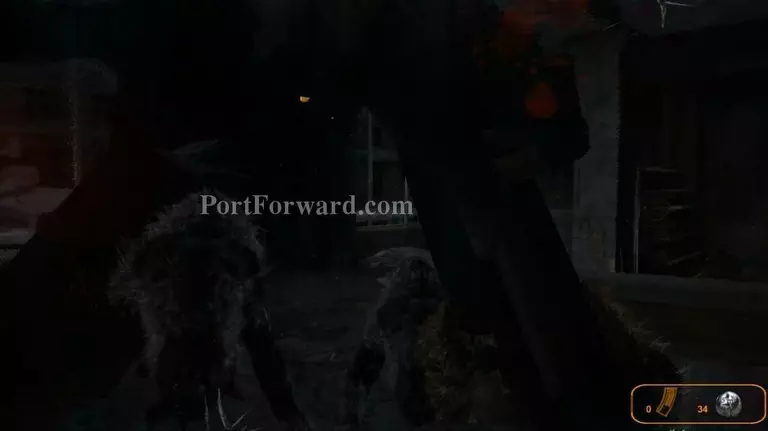
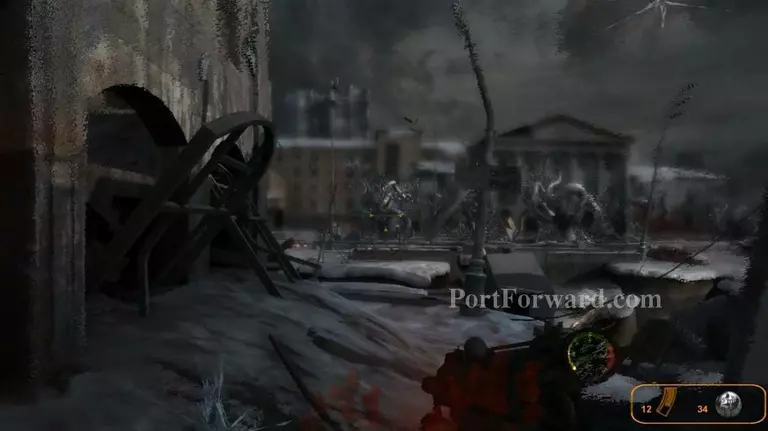
Go out here and try not to notice the nosalises here. From here go straight.
There'll be an entrance. Prepare for sudden attack.
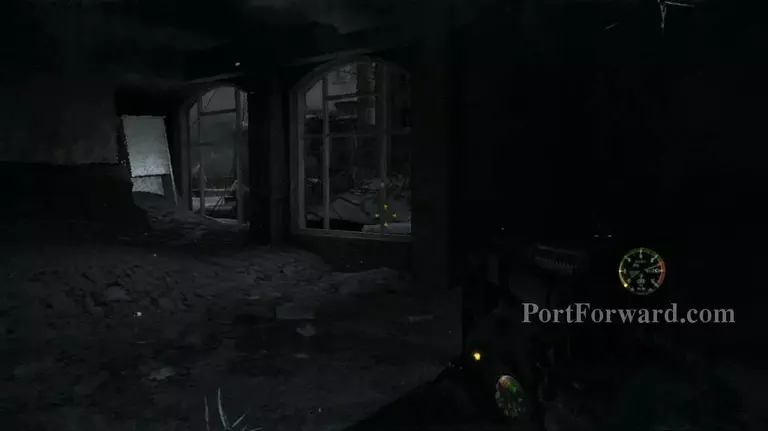
To get extra supplies, enter the back of this lorry.
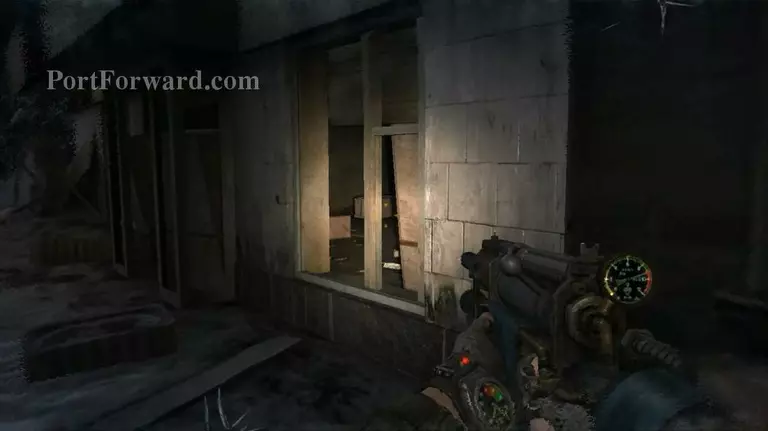
And here to. Go through the window.
Continue your way to here. Just ignore the vision.
Through here...

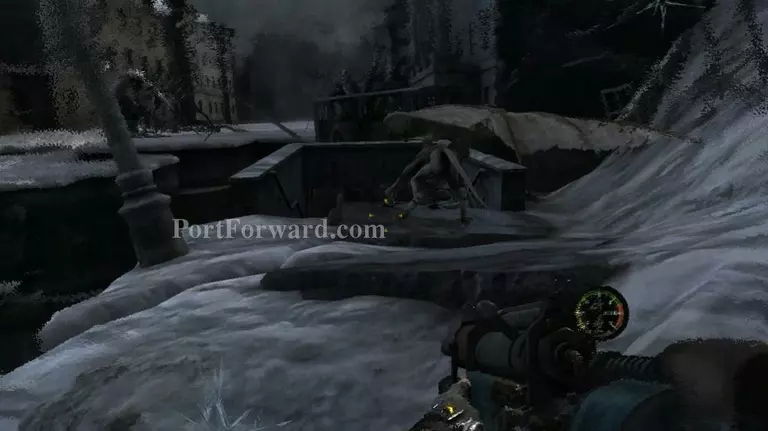
Again, try not to alert anything here.
IF they found you. Better restart last checkpoint. XD
OR you can just run quickly through this window.
Run straight and you'll find a stairs. Go down there.
When you reach here. Restart to last checkpoint. Make sure that the disc icon showed before restart. Easy right? XD
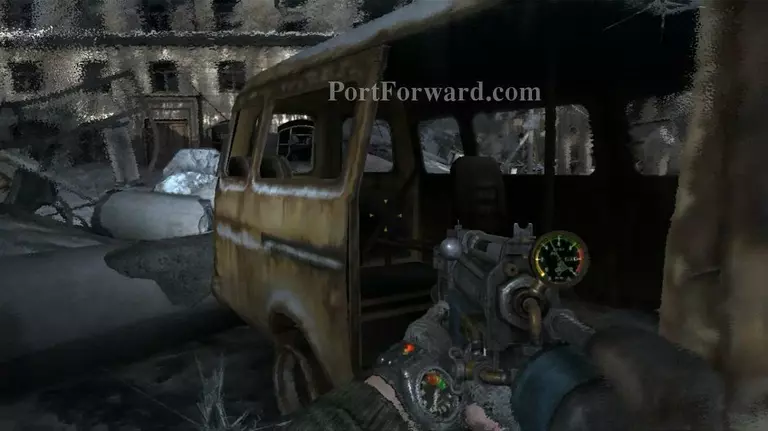
Right after you go up, turn around and you can see a van. Go into it to grab some supplies.
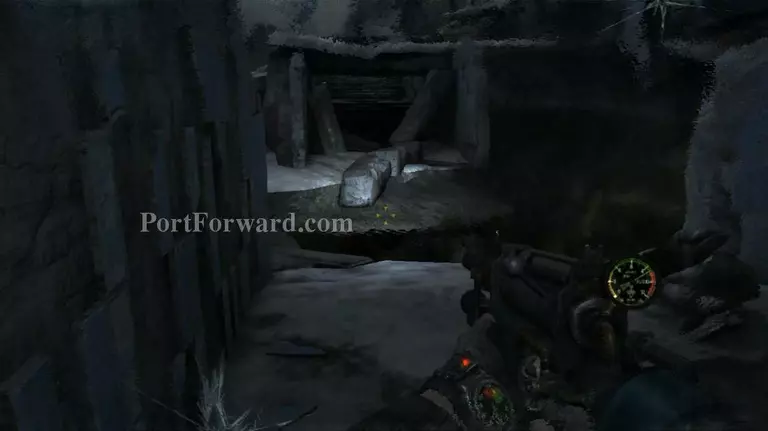
Now, when you reached here. Turn right and look up. There's a cracked wall. Go through there.
Yeah, this is it.
Traps everywhere. Through here to continue or go right door to get some more supplies.
More Metro 2033 Walkthroughs
This Metro 2033 walkthrough is divided into 36 total pages.


