
This Puzzle Quest walkthrough is divided into 5 total pages.
You can jump to nearby pages of the game using the links above.
Battles
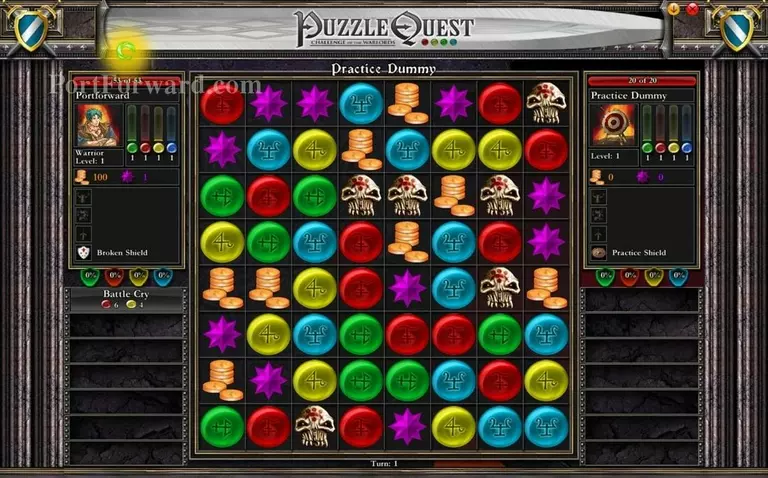
Combat in Puzzle Quest may seem intimidating at first but do not fret. Your goal is to ultimately damage and reduce your opponents HP to 0. To accomplish this, we need to line up the skulls on the board to atleast 3x linear or horizontally..
You do this by clicking on an orb and then clicking a spot adjacent to it either horizontally or vertically.
Doing this will merge the orbs and give your character an expendable resource for using skills. More on that later.
Ultimately, you want to simply shuffle the board and get the opportunity to slap 3 or more skulls together. Doing this will severely harm your opponent.
The trick to this game is to place yourself in a position whereas you will have the turn to use skulls when your opponent can't. You do this by making your opponent shuffle the board and aligning the skulls for you. It's a game of cat-and-mouse mostly.
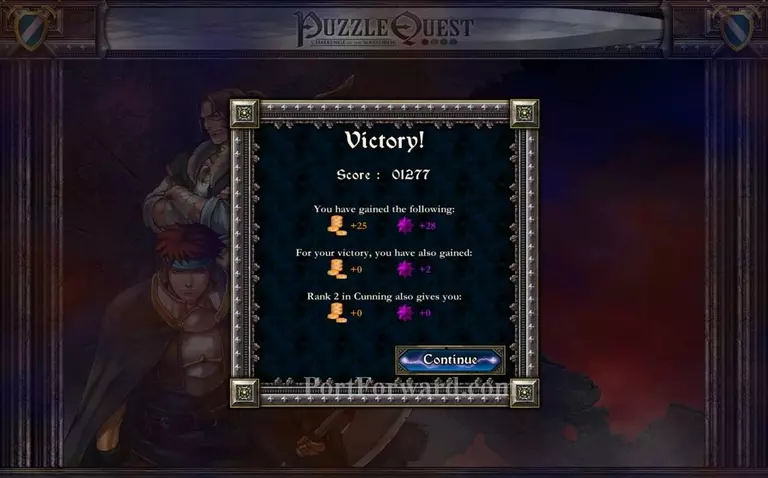
Evidently, you will win either way as this was only a training dummy.
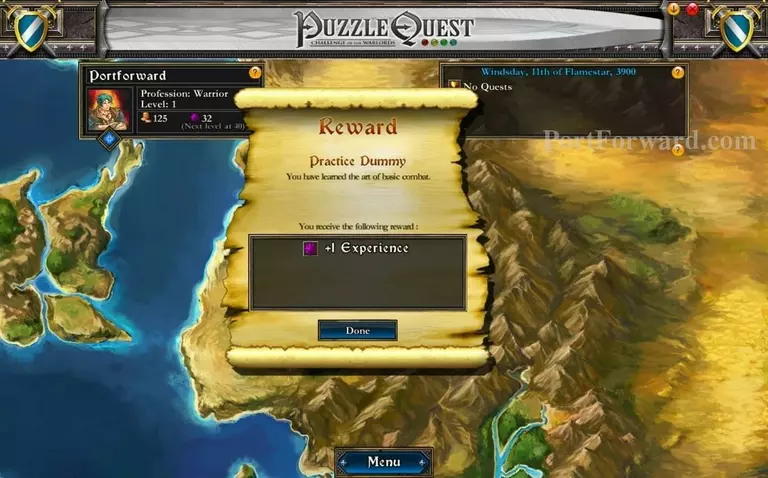
Accept your reward..
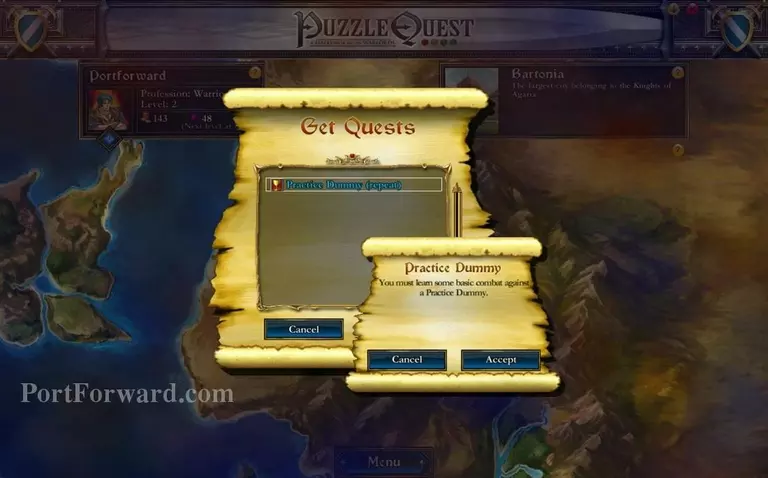
And take yet another quest. You can either continue practice with the dummy or move on with the main storyline.
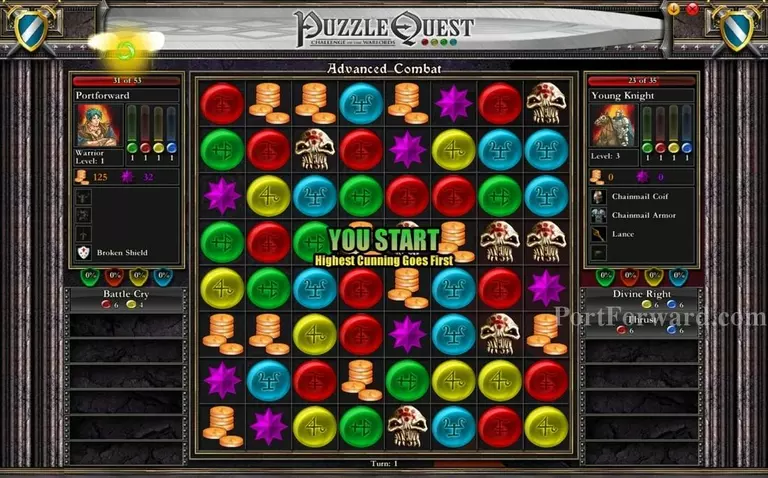
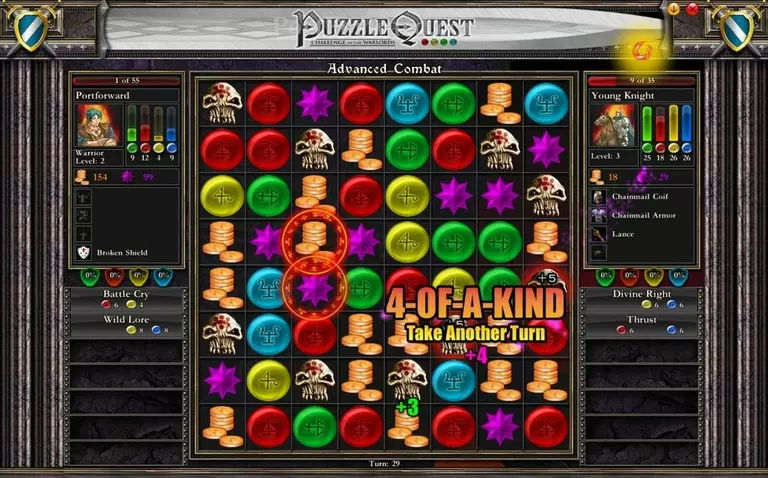
Going on the main quest will give you a much more difficult opponent to do battle with. This also introduces new game mechanics such as the "Stat rolling". In this case, I was more cunning than the knight and so, I get to start first. It can be very important to have this opportunity.

As the board will be fresh, and have a big chance of having a 4x row.
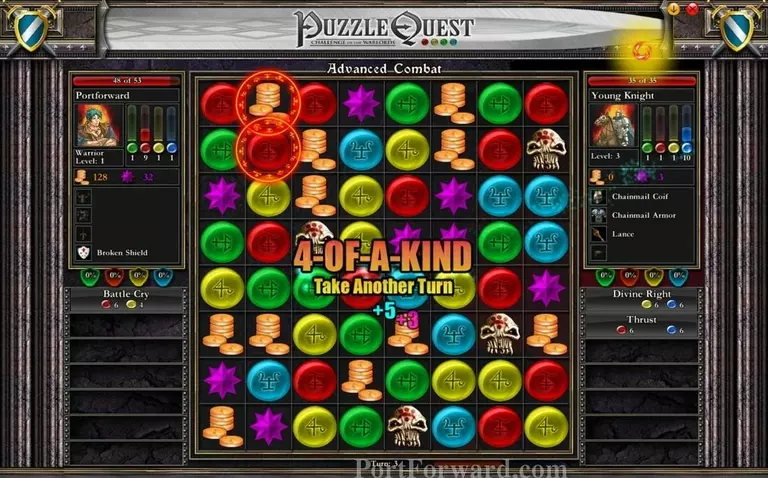
Scoring 4 orbs at once will reward you with an additional turn. This can quickly become one of the most lethal situations there is where your opponent will go on a "take another turn" streak.
As you may have figured out, the top left of the screen is you. And the long red bar over your portrait symbolzies your HP (Health Points). Drop to 0 and you lose.
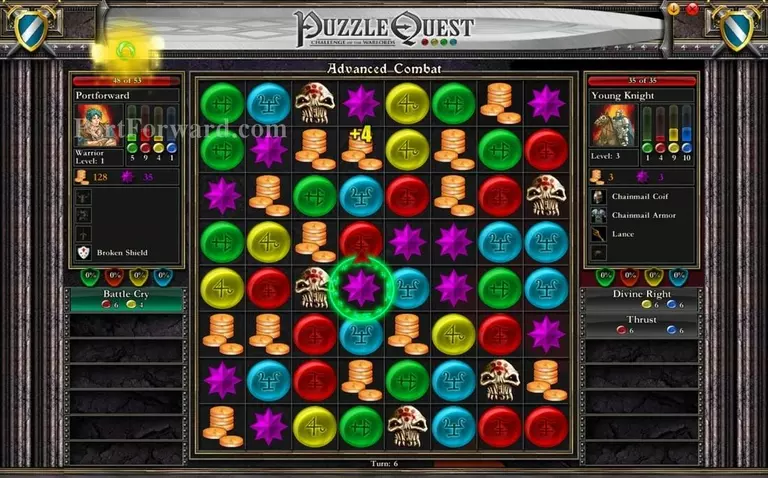
The primary goal of this game is character progression. To achieve the maximum amount of this, you will need XP (Experience Points). To get XP, you do quests, win battles but more importantly, match up these purple stars together. They are your biggest source of XP.
Along those are your monetary benefits. AKA, Money. They are symbolized by copper coins and matching up 3 or more will net you a small profit.
The other orbs (Red, green, blue, yellow) are all their own "resource" kind, AKA; Fire, wind, water, etc.
They are used for certain spells and should mostly only be a distraction to getting more skulls alligned.
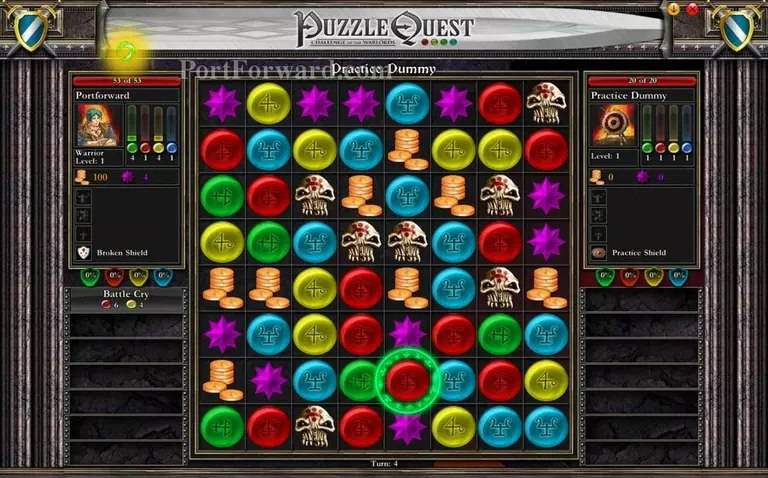
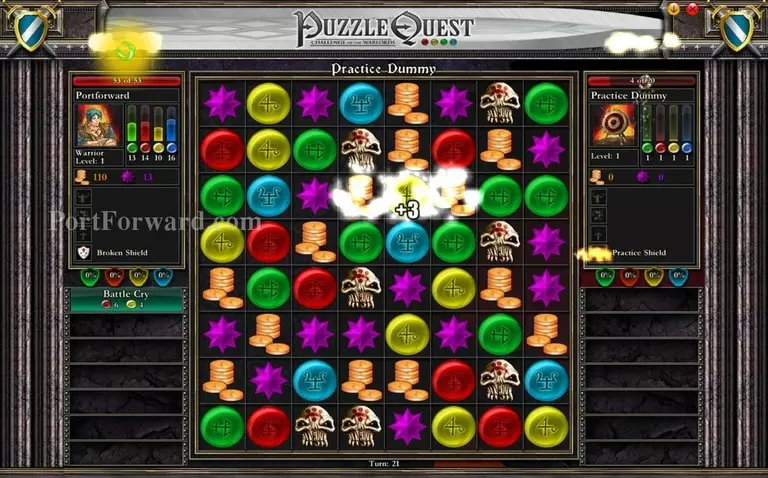
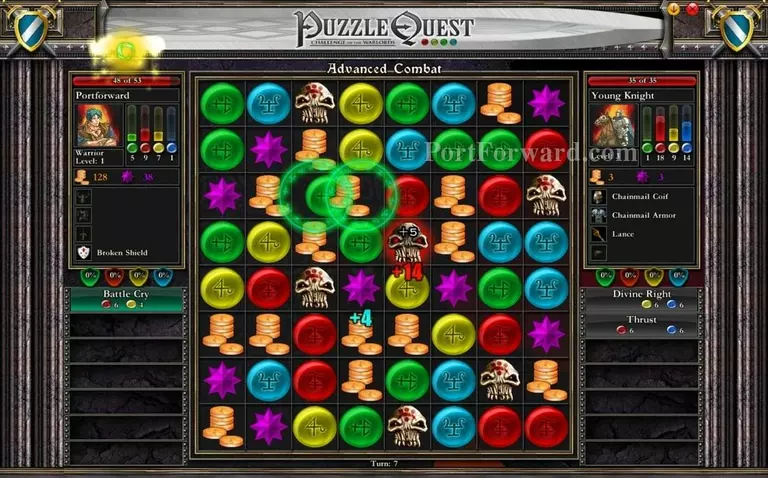
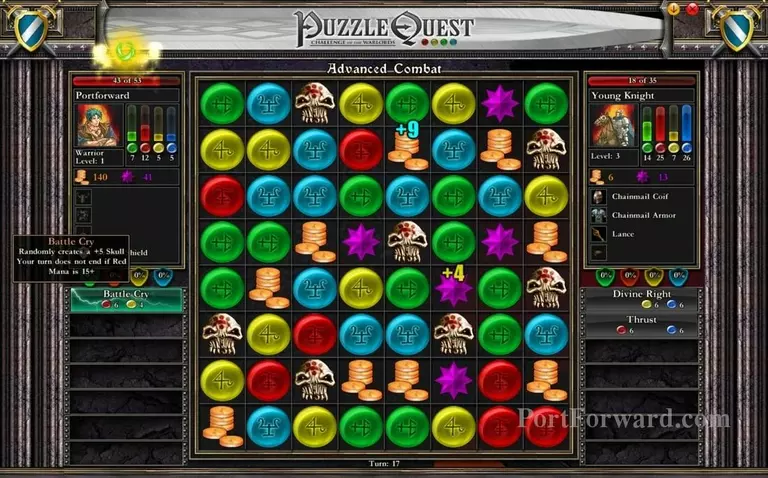
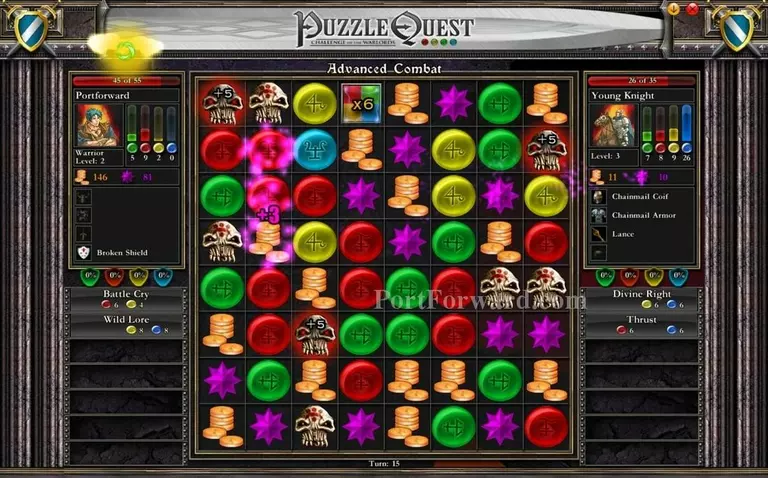
The most important thing you'll ever see on the board are these super charged skulls with a +5.
When matched, they do absolutely devastating damage.
Here I shaved off over half of my opponents HP in one move.
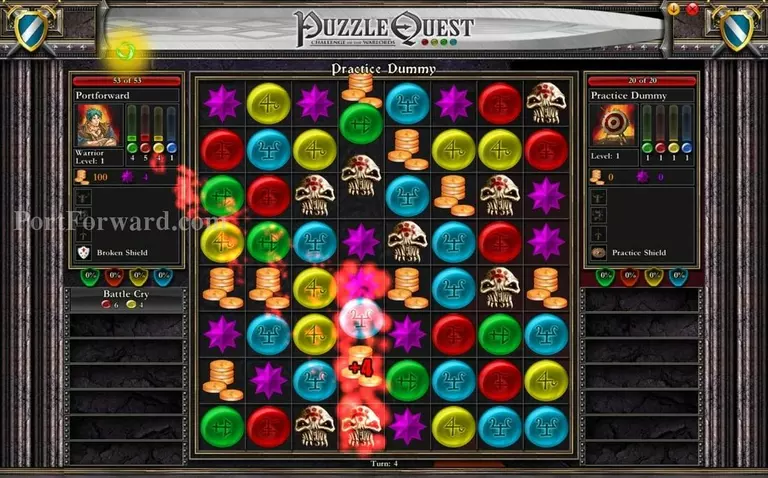
To get more of these super-charged skulls, we have the unique ability as a warrior to do a "Battle cry". This will cost us 6 red orbs and 4 yellow ones, but in return..
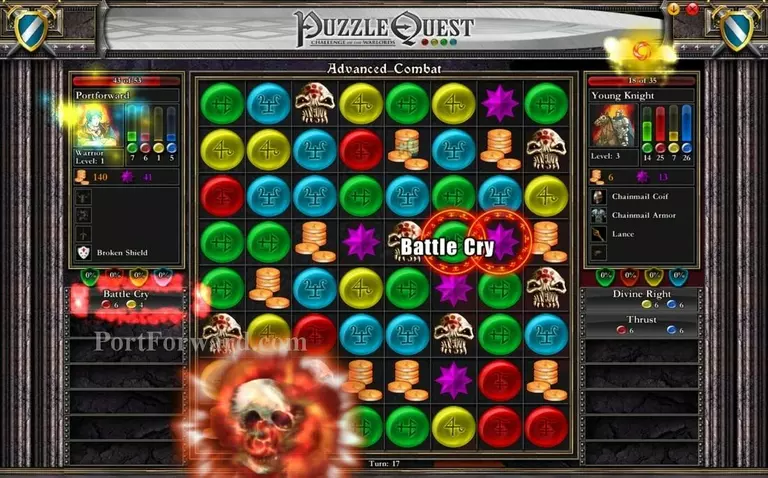
We will violently transform a random block on the board..
To a super-charged skull.
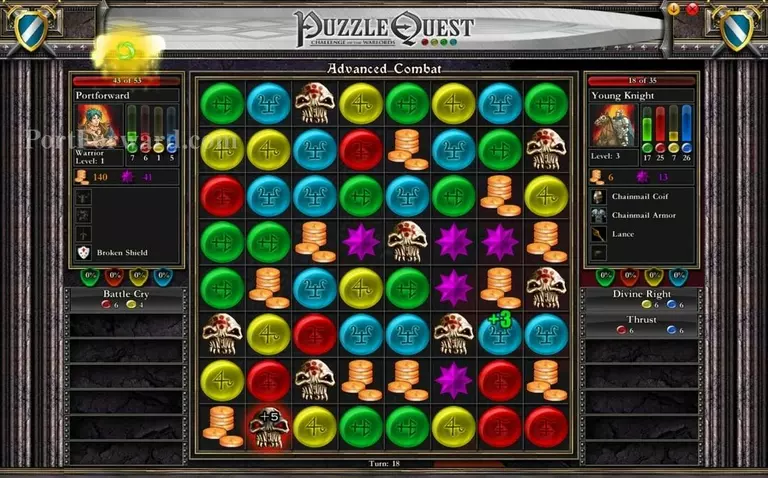
This can be a double-edged sword because in this scenario, my opponent ended up being able to use the summoned super-charged skull and amassed huge damage on me.
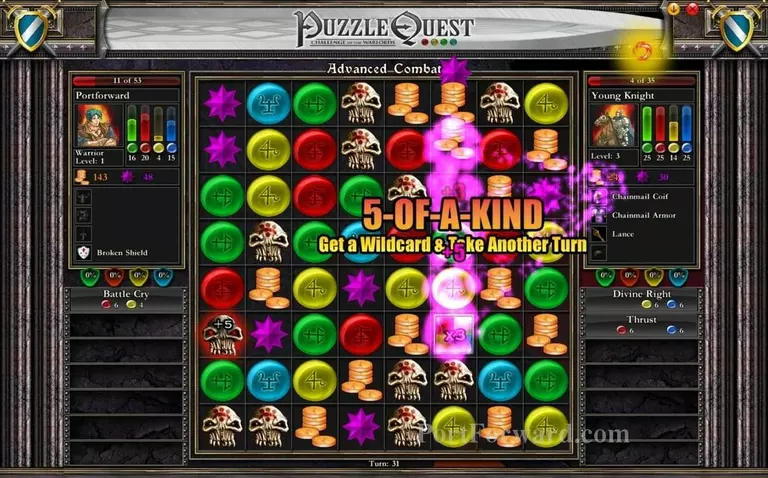
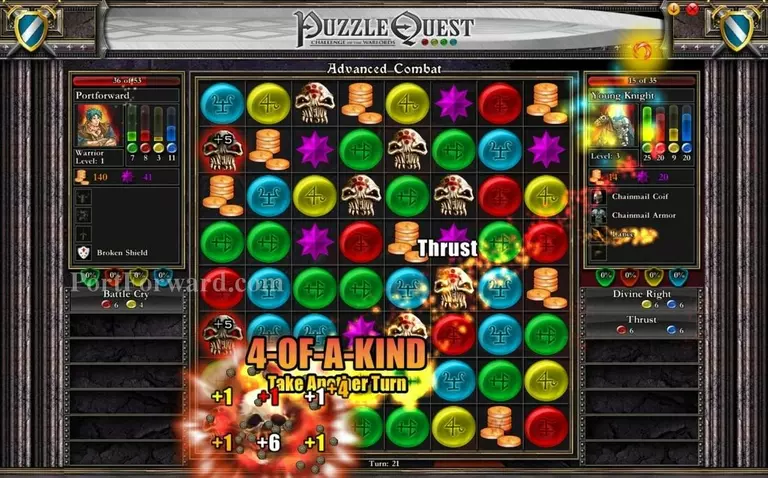
Evidently, Puzzle Quest is all about planning and using caution. Here, I wittled down my opponent to almost no health.. But he got a whopping 5 of a kind..
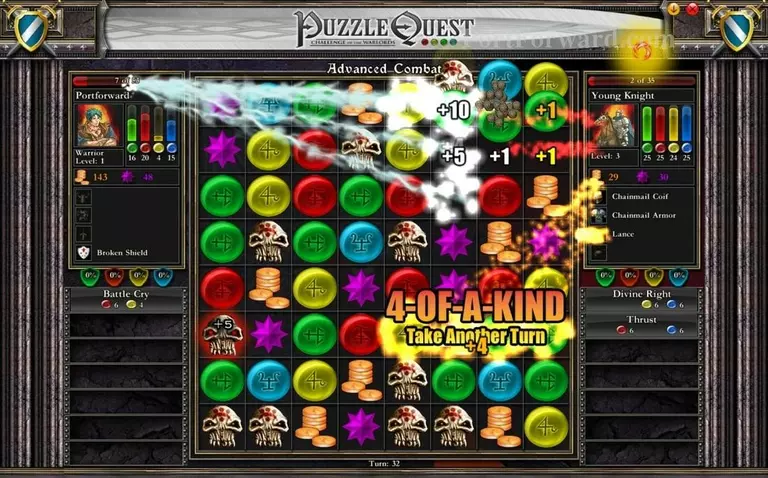
Used a whole bunch of skulls, namely 4 in a row, damaged me heavily while also getting another turn..
And then finishing me off with yet another pair of skulls.
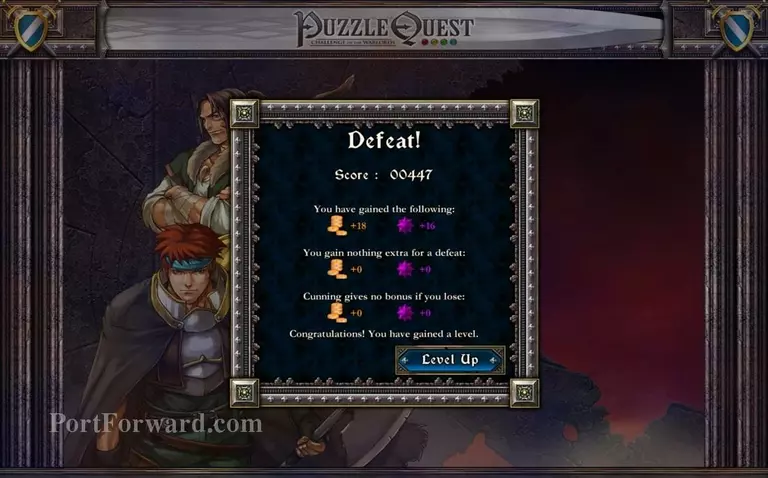
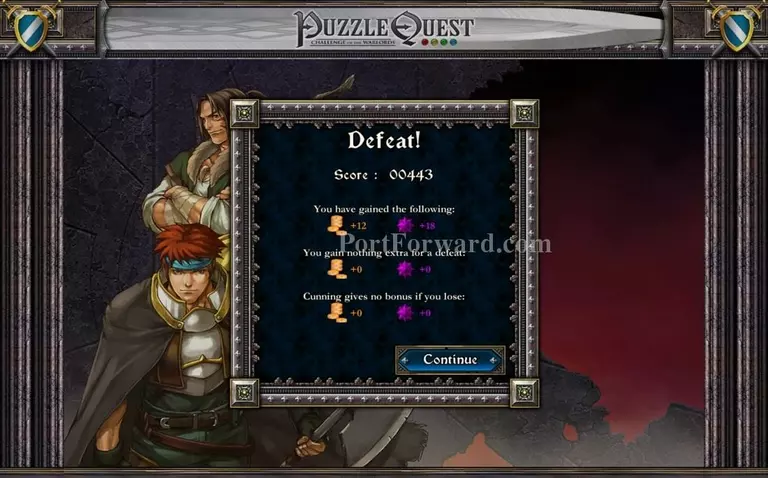
Don't be discouraged, however, If you lose because It's a part of the game and we still got a nifty cash & xp reward for our efforts.
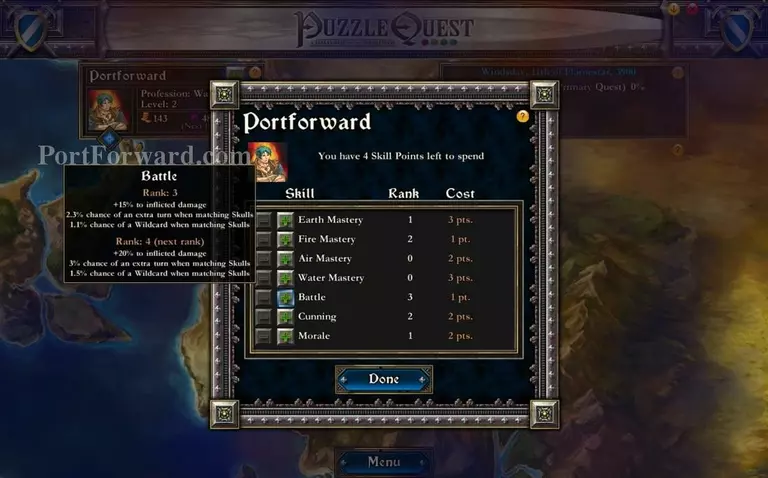
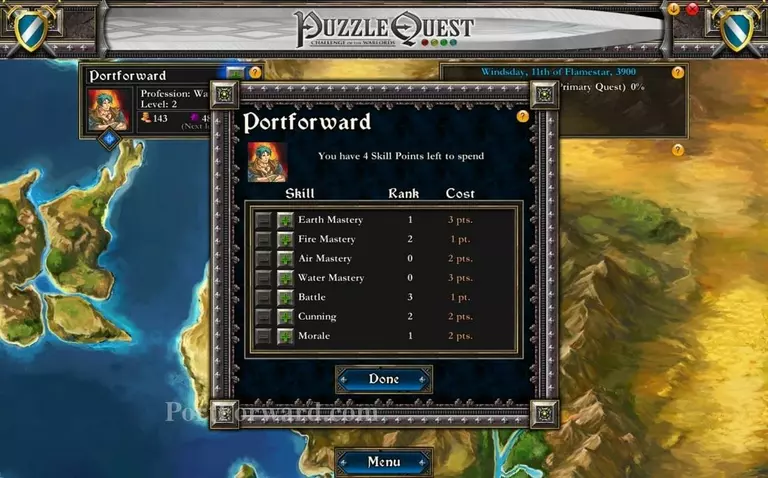
The XP reward allows us to apply points to existing skills. These are various and I will explain them later. For now, however, take "Battle" for more damage and "Morale" If you want more HP.
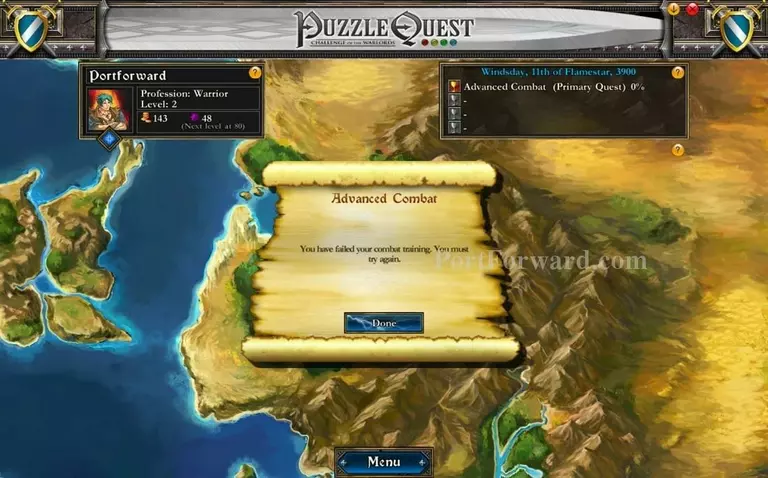
As the quest will also tell us, we failed. But we are free to try again.
Going back to the quest list, you will see that It's gone.
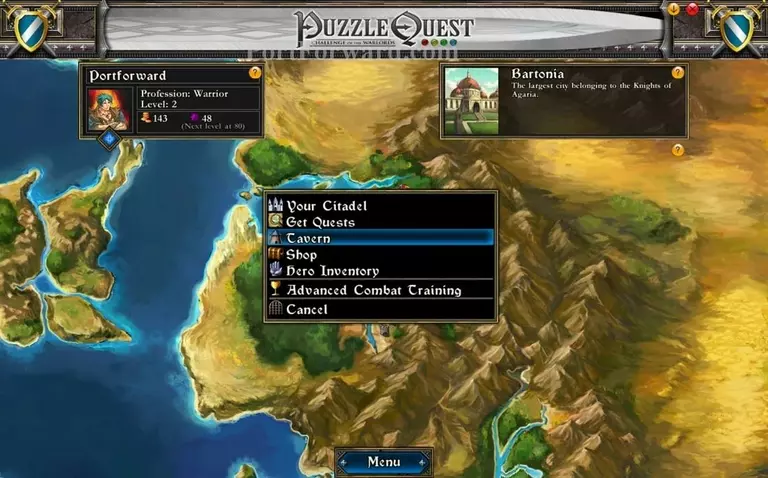
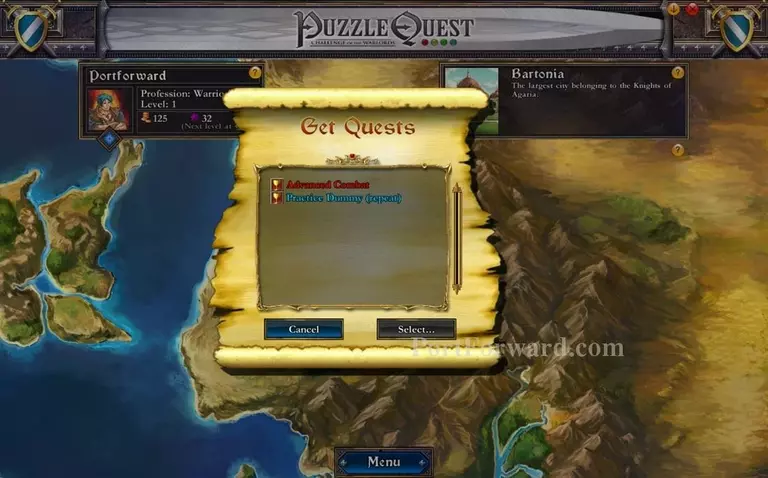
Click the castle back and you will see a new option, however.
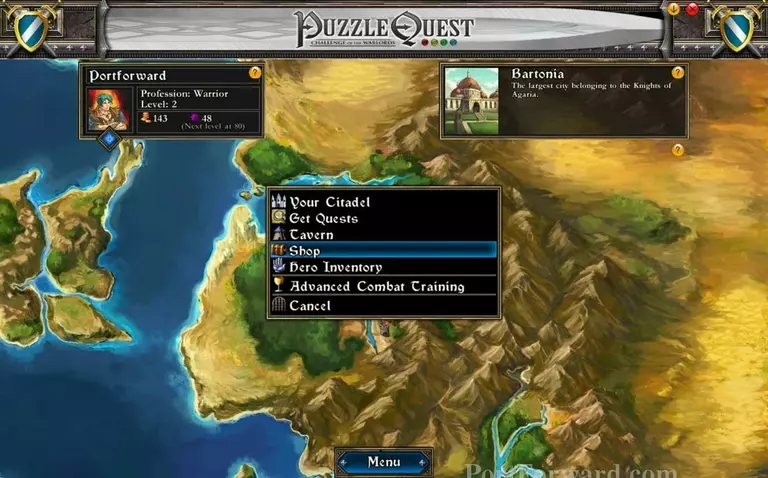
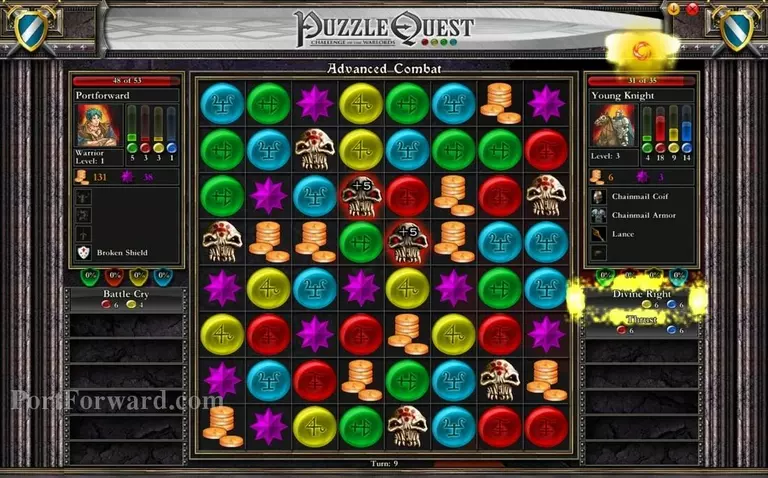
"Advanced Combat Training" will come up along with a chalice next to it. This means It's a quest.
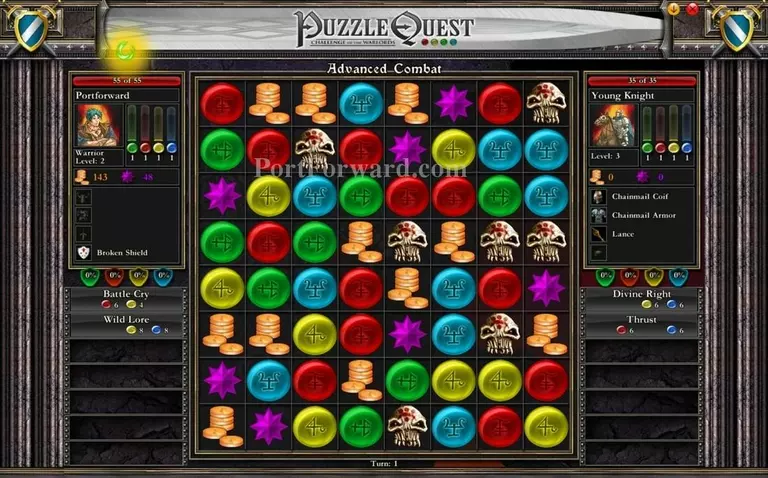
The battle will restart but this time, we have a new skill to our arsenal.
Skills are unlocked as you level up.
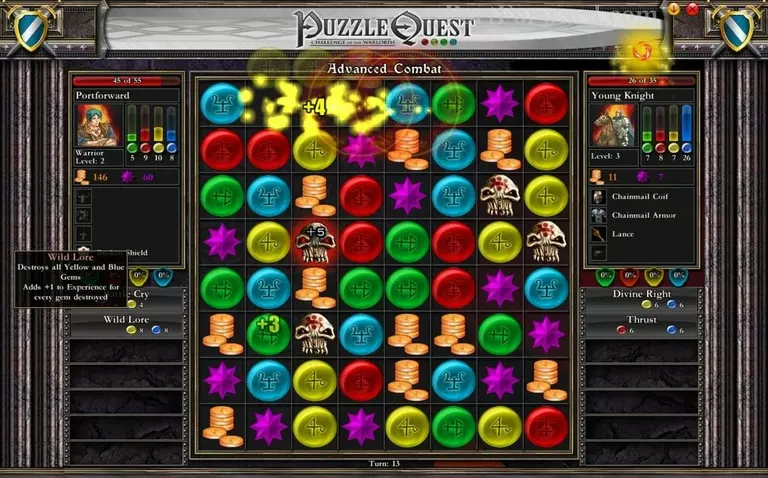
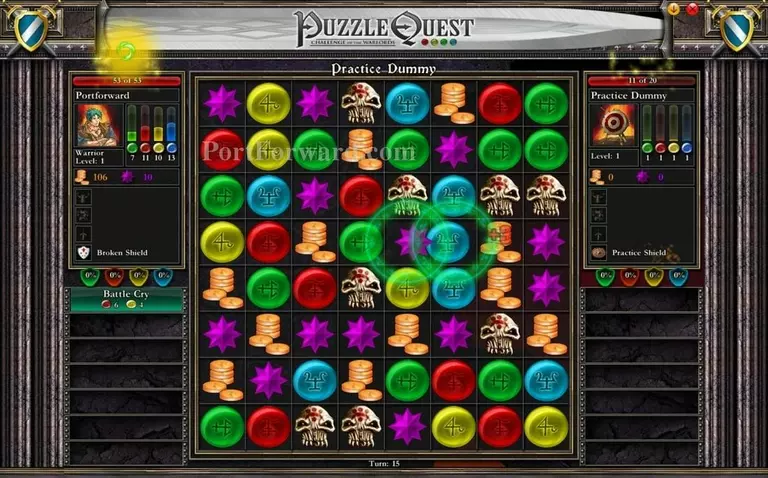
Wild Lore is an extremely powerful spell that shakes up the board greatly..
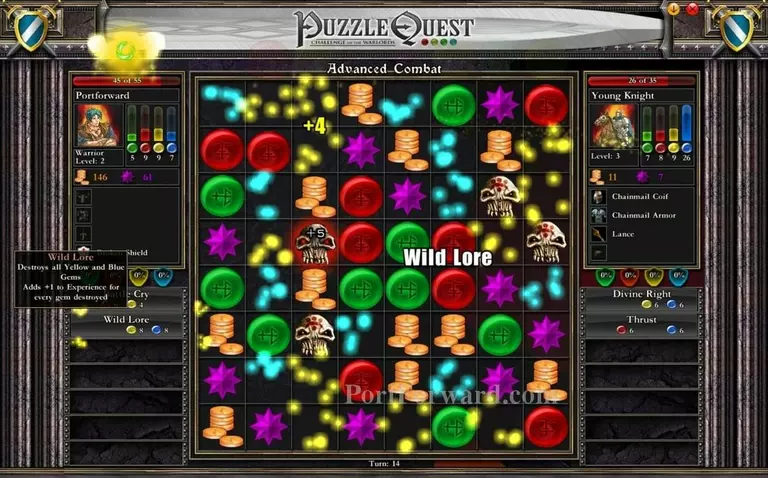
By removing all yellow and blue orbs on it. This can cause a massive influx of both resources, money and opponent damage but It also gives you a flat huge bonus to your XP the more orbs you destroy.
In this case, It also crippled our opponents future income for casting spells as he depends on yellow and blue orbs as a paladin.
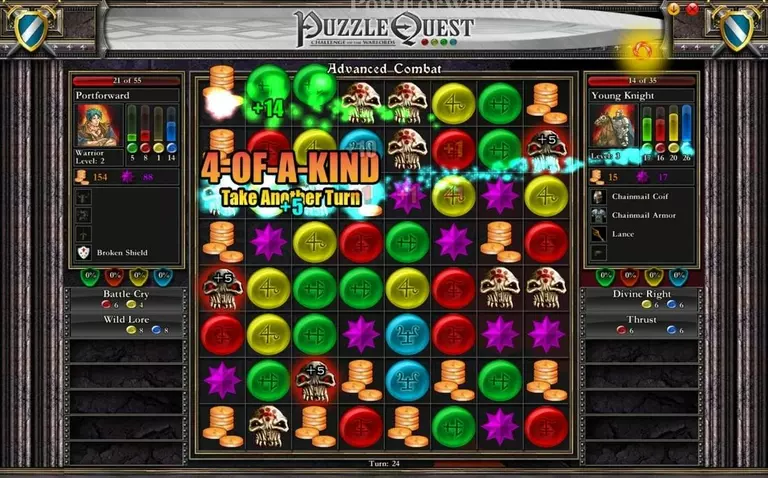
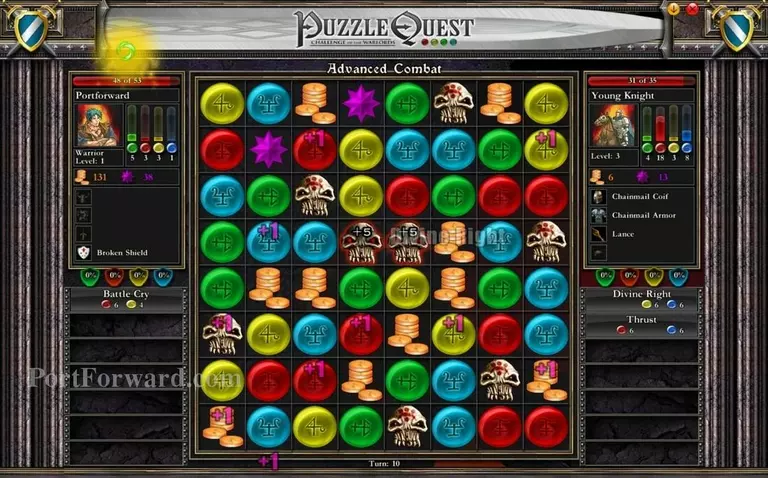
Four of a kinds should be used whenever possible no matter what as they always give you an extra turn and a good chunk of resources.
Here, for example, my opponent ended up almost wrecking me yet again by getting a four of a kind again..
And again..
And again.

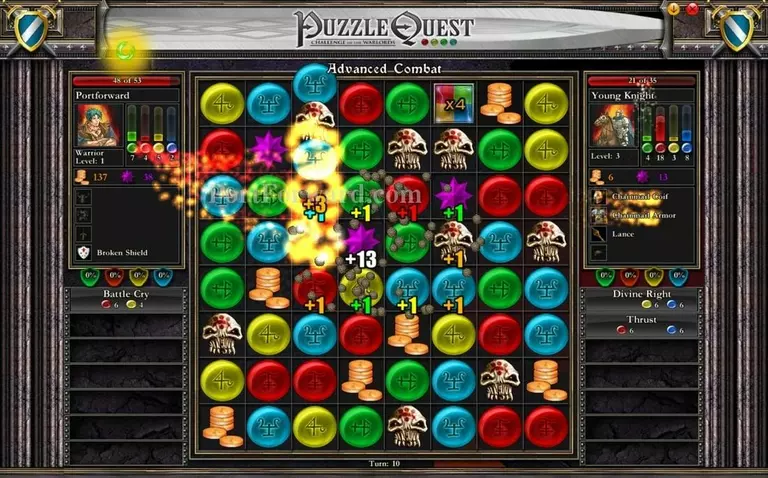
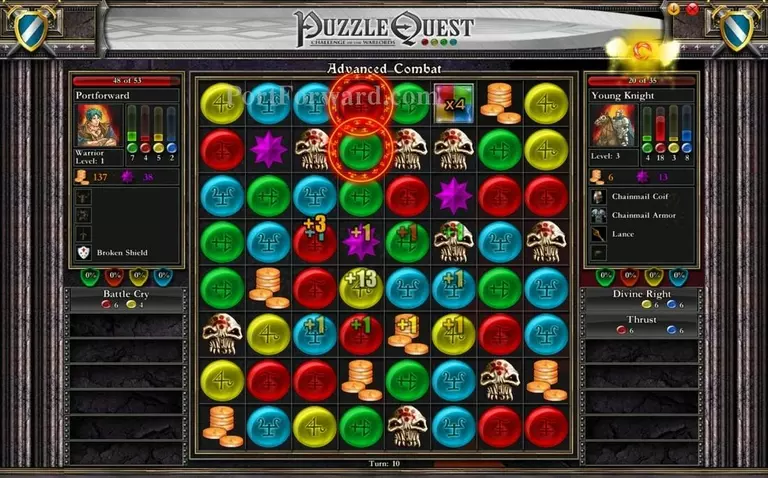
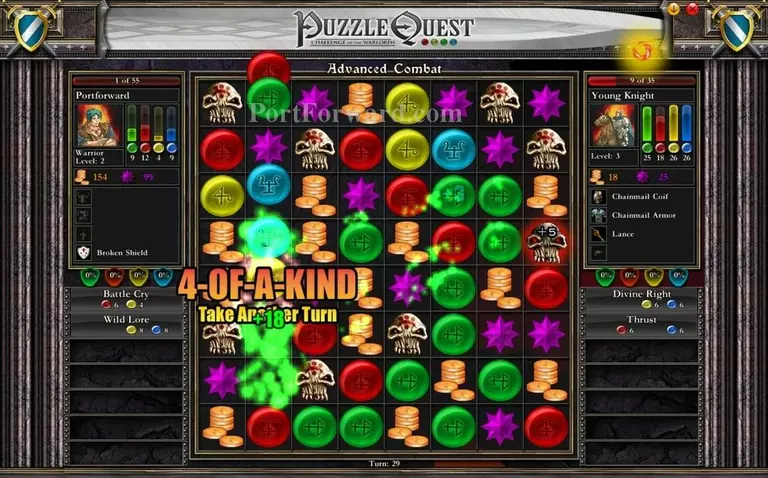
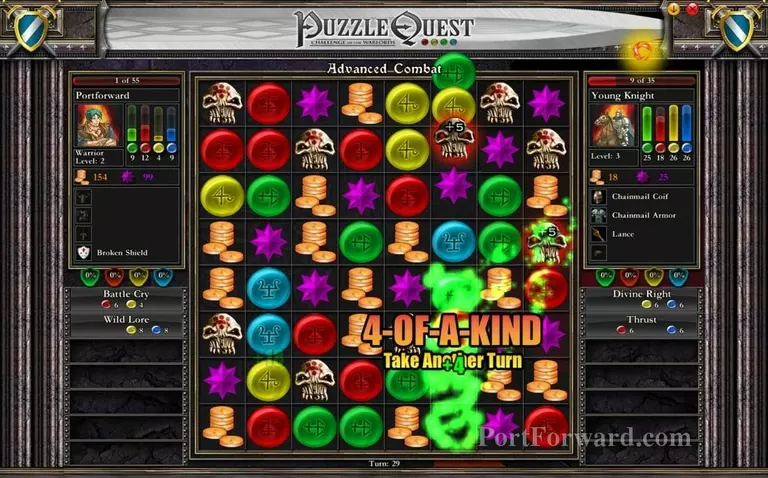
I barely survived and with careful planning, I started wittling him down instead while avoiding all damage.
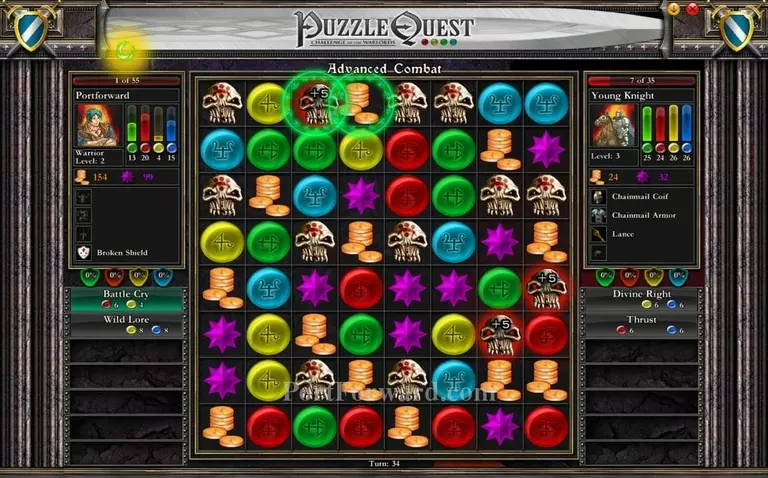
With him weakened, I got my hands on a +5 skull and paired it to finish him off..
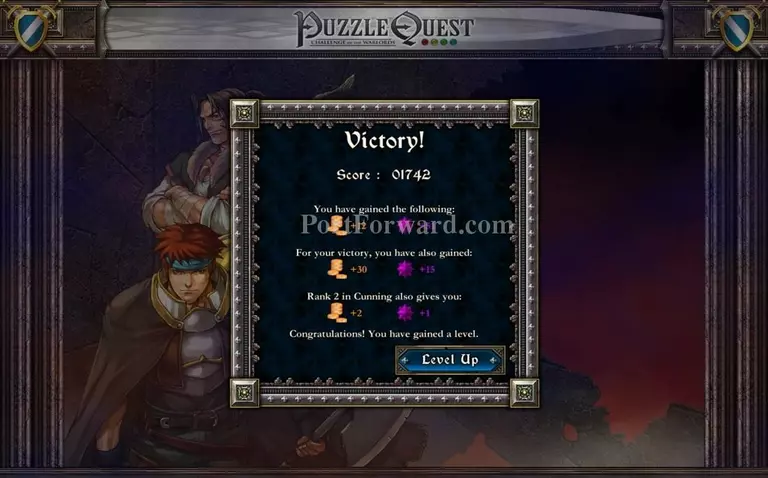
Grating me a victory.
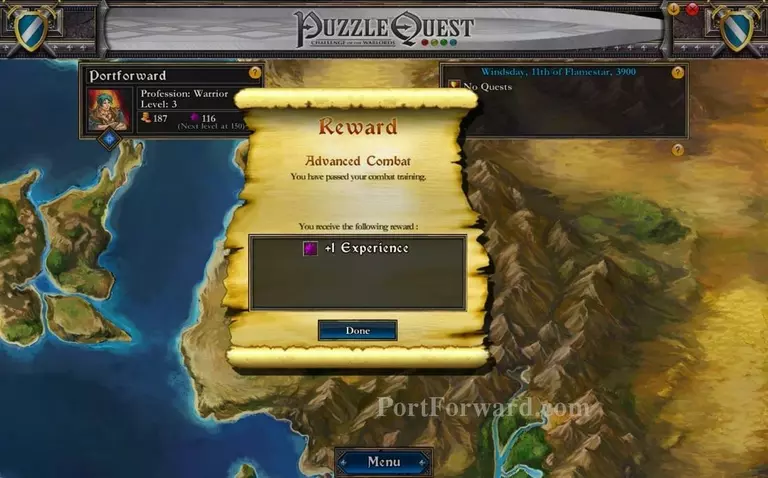
You shouldn't dally on the starting quest too long however, since the rewards are very poor.

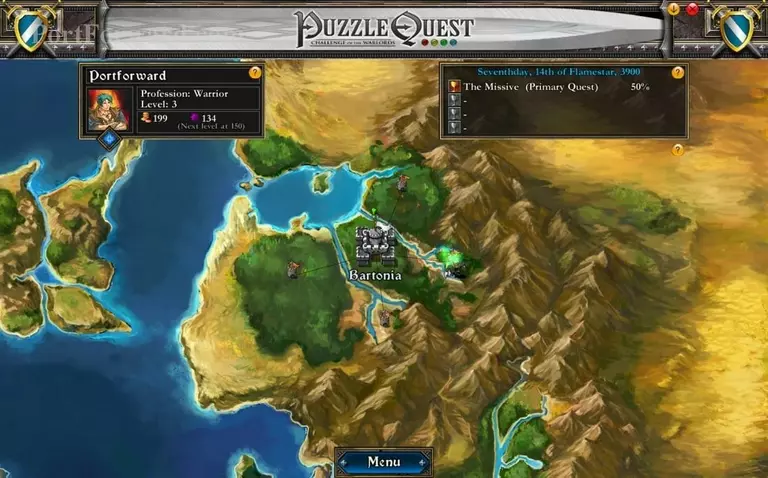
Once without quests, open the menu and click "Get Quests".
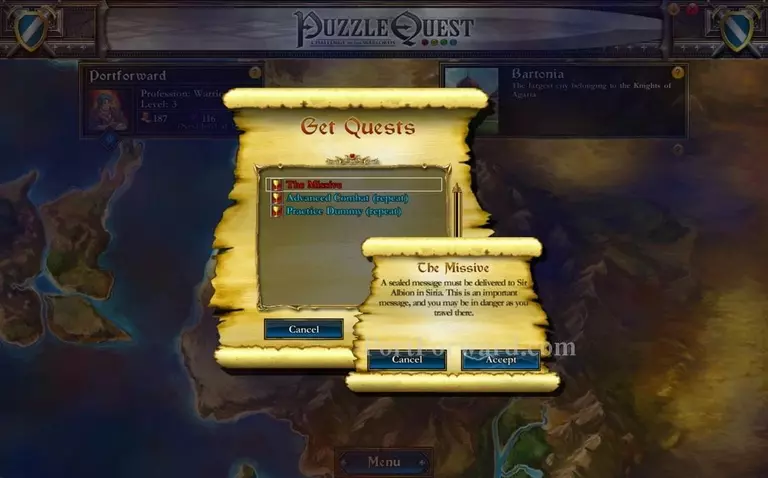
Blue quests are repeatables while red ones are considered to be "the main plot".
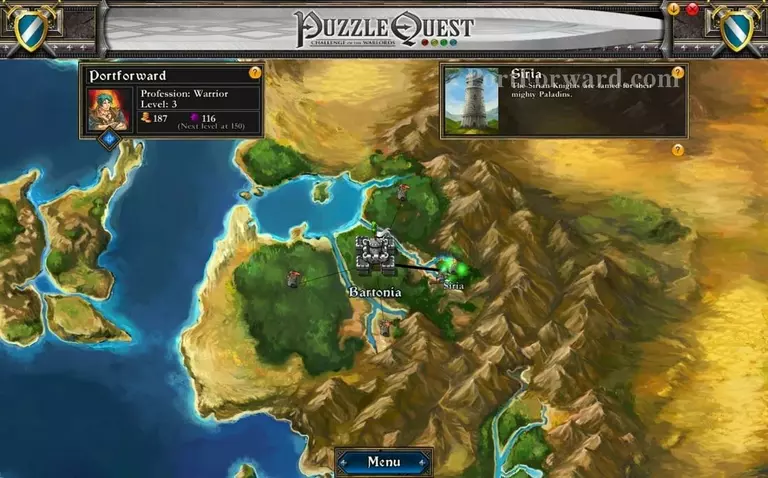
Travel to the destined location..
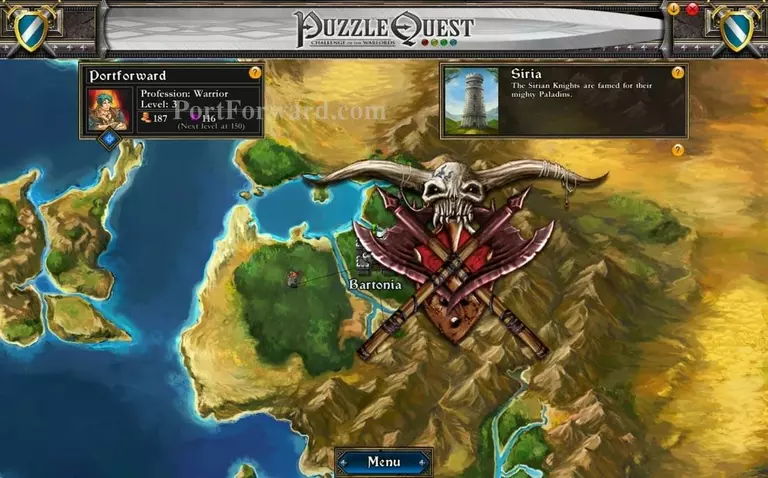
And get ambushed by a Thief.
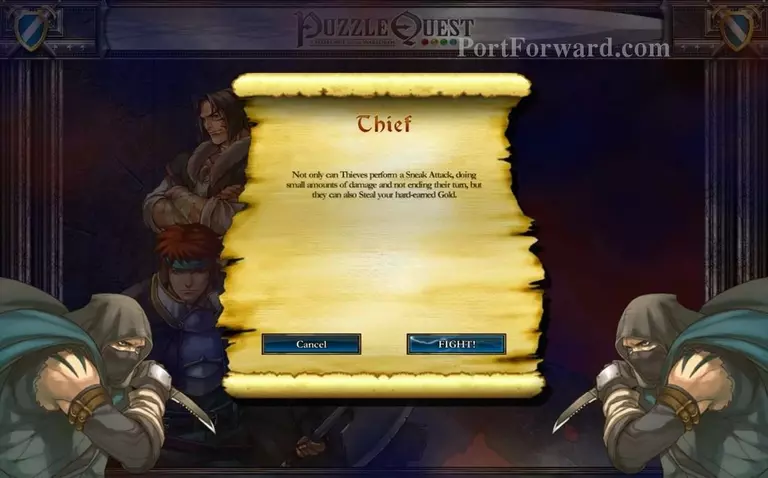
Thieves are very tricky opponents that can damage you directly and still do their turn while also being capable of stealing your money.

They are also highly cunning, often giving them the first turn.
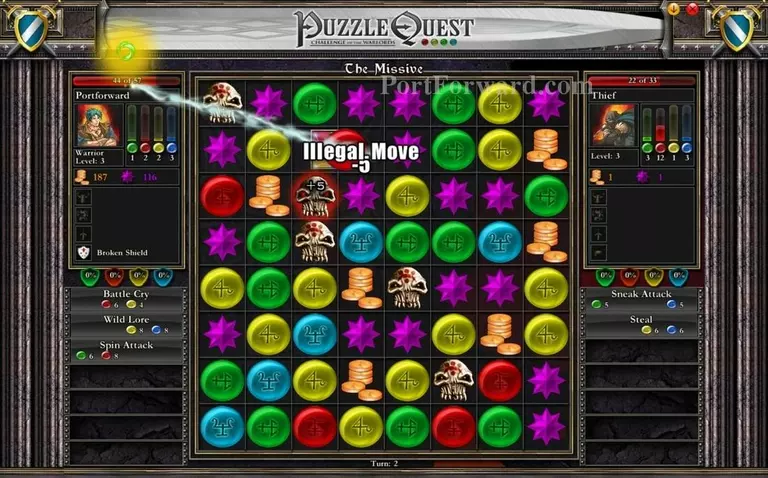
If you see no possible way for you to do a move without serious harm coming to you, you may execute an "Illegal move", by moving two orbs that will cause nothing to happen. This will penalize you 5 HP but will be much better than a possible 15+ damage alternative.
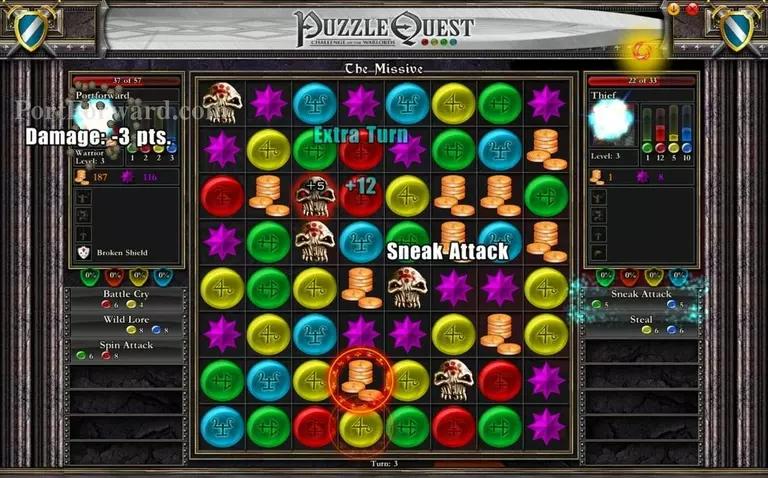
One of the thieves unique attacks is the Sneak Attack. It will damage you directly for +3 points.
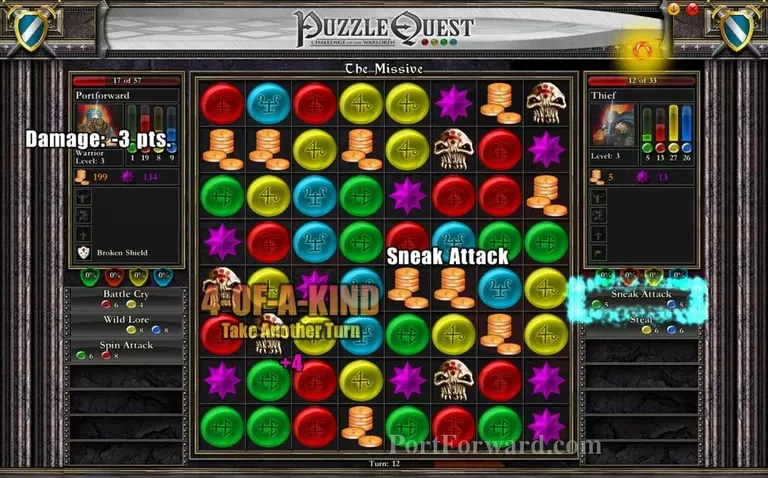
Letting your enemies get the 4-of-a-kinds first is fatal. It grants them huge amounts of resources, bonus rounds and complete liberty to spam spells.
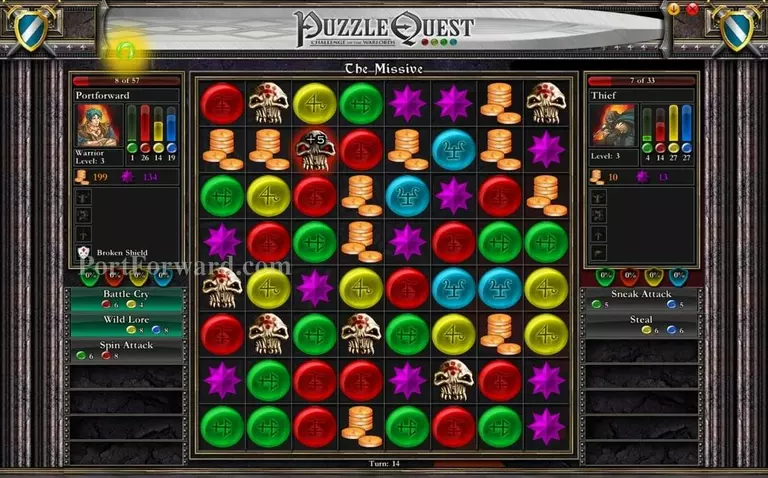
Another absolute necessity to know is how Puzzle Quest builds their blocks. Here, we have a scenario where I need more green orbs. Just grab the ones at the bottom, no problem right?
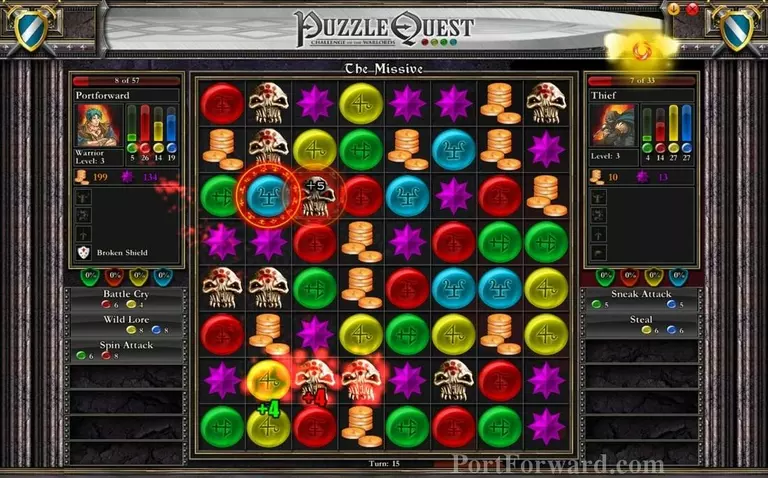
Wrong. It ends my turn, and as the orbs at the bottom disappear, new ones fall in from above, two of them being skulls that place themselves perfectly above a supercharged +5 skull which my opponent is guaranteed to use.
And It ends up killing me instantly.
In this case, the thief also got away, disabling us the opportunity of a rematch and he also stole a letter we were supposed to deliver. Plot points like these happen and we have to deliver the bad news to our father.
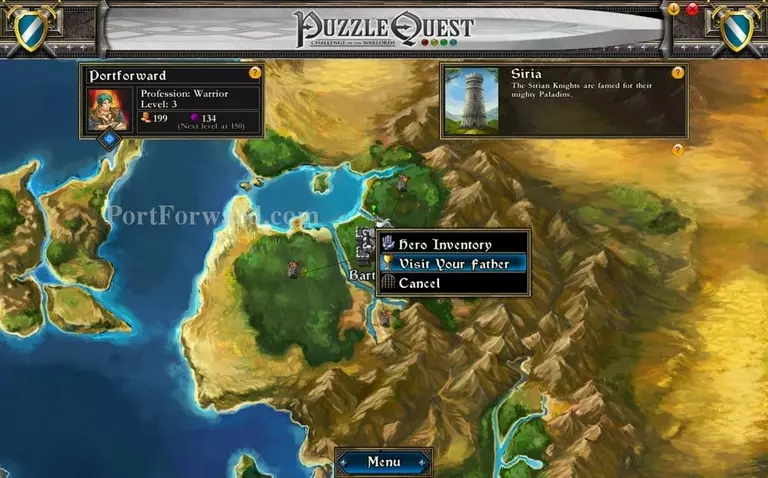
Traveling there and clicking as usual.
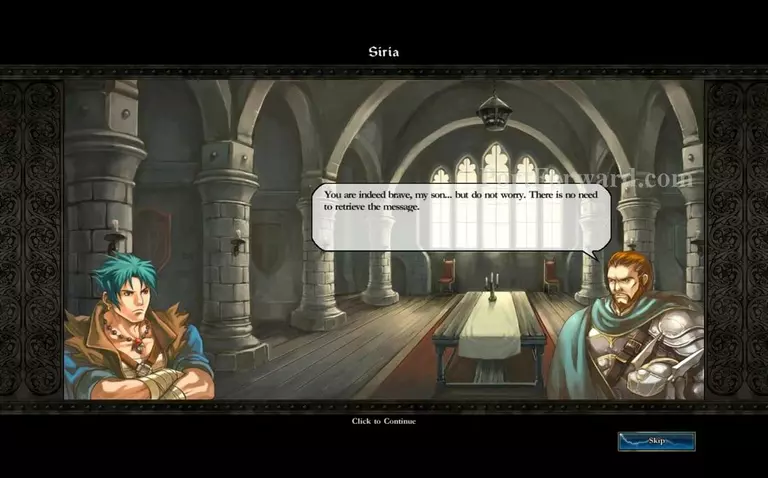
He does however, not hold our failure against us and instead decides to reward us for our dedication.
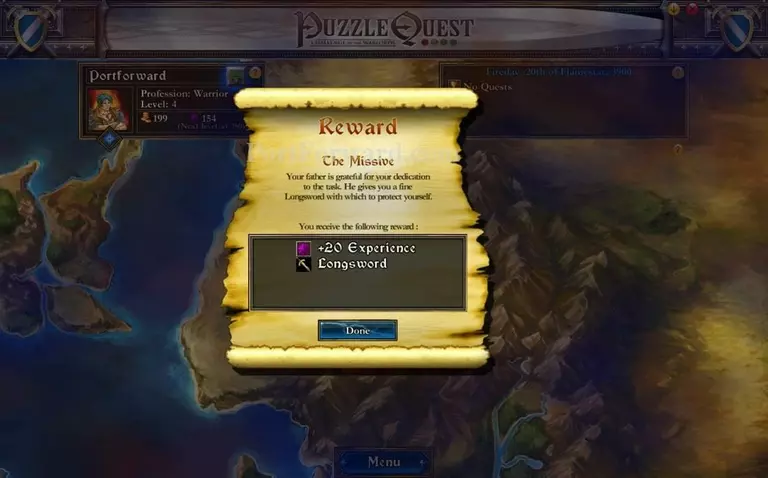
This reward ends up being a longsword and 20 experience.
More Puzzle Quest Walkthroughs
This Puzzle Quest walkthrough is divided into 5 total pages.


