
This Quantum Conundrum walkthrough is divided into 43 total pages.
30 - A Course Of Matter
33 - Nothin' But Vat
34 - Whoever Belt It, Dealt It
35 - Flipping Out
36 - Robot Transfer
37 - I Saw The Sine
You can jump to nearby pages of the game using the links above.
Whoever Belt It, Dealt It

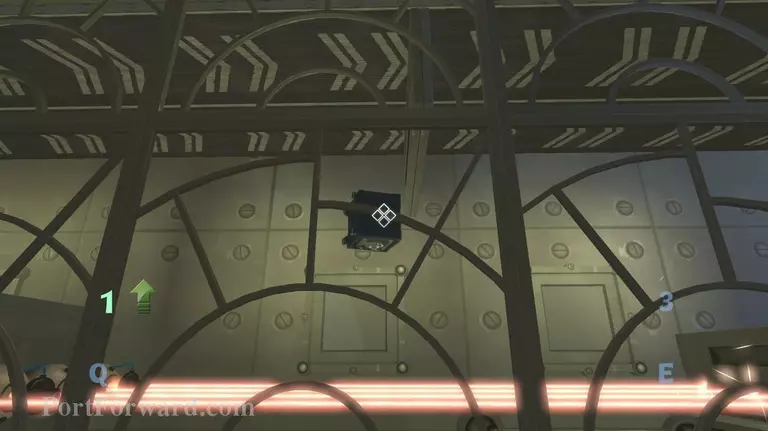
Turn on Gravity to let the safe go over the lasers.
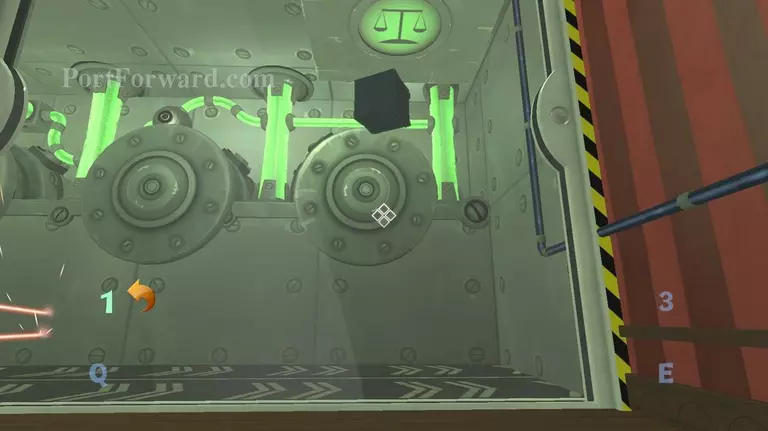
Then Turn on Gravity again to let the safe reach the scale.
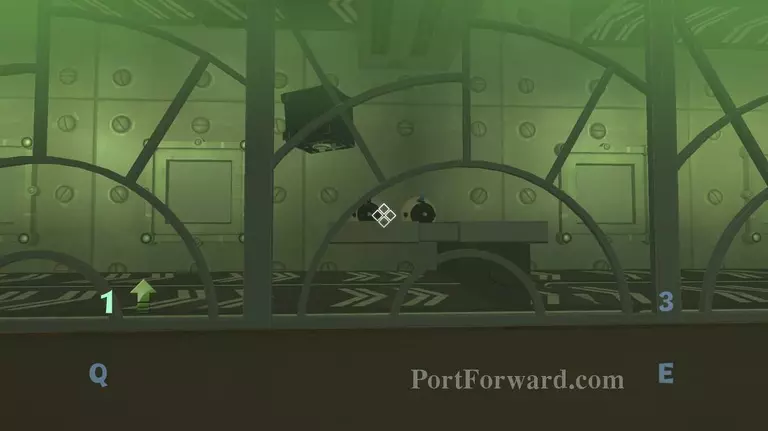
Now Just Tap Tap with Gravity to let the safe glide in between spaces and over lasers.
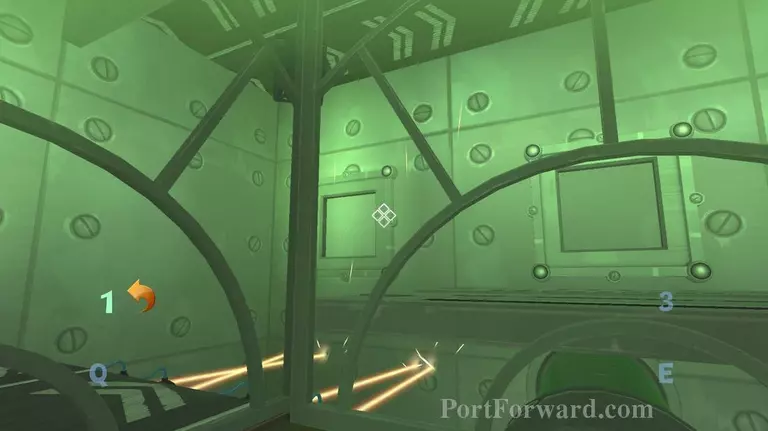
Turn on gravity in the corner.
Then Tap Tap the safe just over the wall.
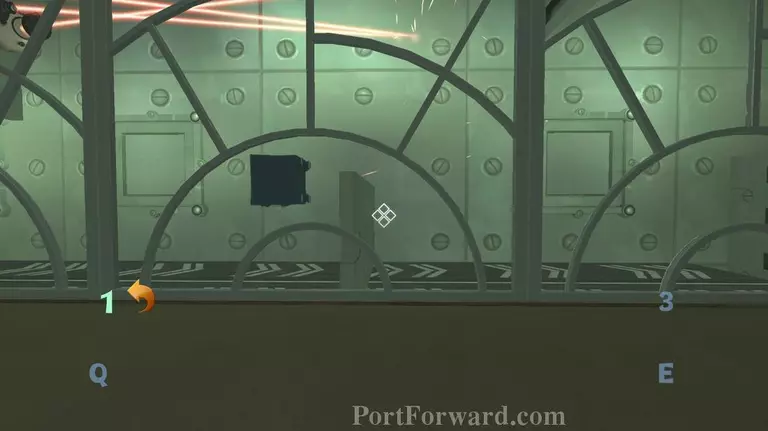
Now Let the Safe fall down and quickly Turn Gravity back on to let it go right of the wall.
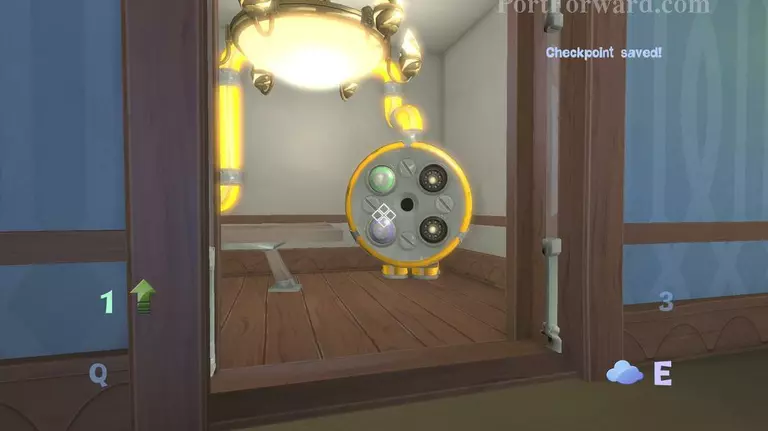
Put in the IDS.

G-Ride the safe and go to the next room.
More Quantum Conundrum Walkthroughs
This Quantum Conundrum walkthrough is divided into 43 total pages.
30 - A Course Of Matter
33 - Nothin' But Vat
34 - Whoever Belt It, Dealt It
35 - Flipping Out
36 - Robot Transfer
37 - I Saw The Sine


