
This Saints Row IV walkthrough is divided into 47 total pages.
You can jump to nearby pages of the game using the links above.
04 - Learn the Rules
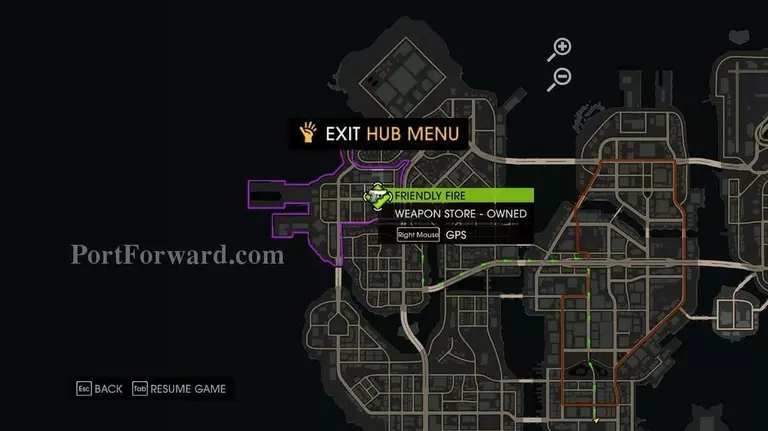
LEARN THE BASICS > You'll be transferred to Steelport at the Sunset Park. Steal a car and open your Hub Menu to find Friendly Fire weapon store.
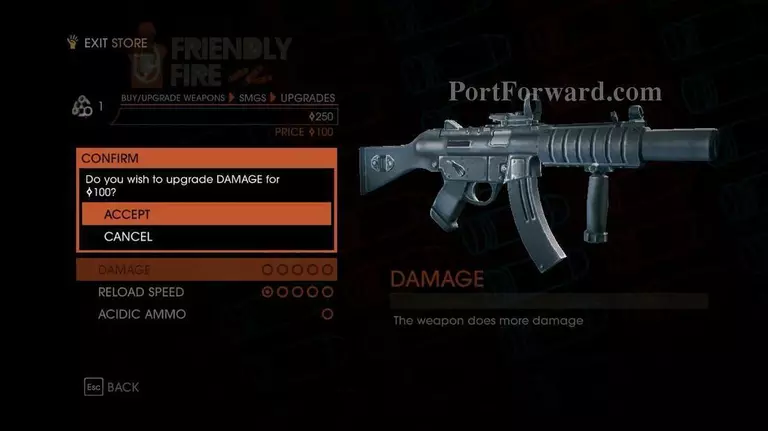
Buy and upgrade your weapon. Don't forget to buy the ammo.
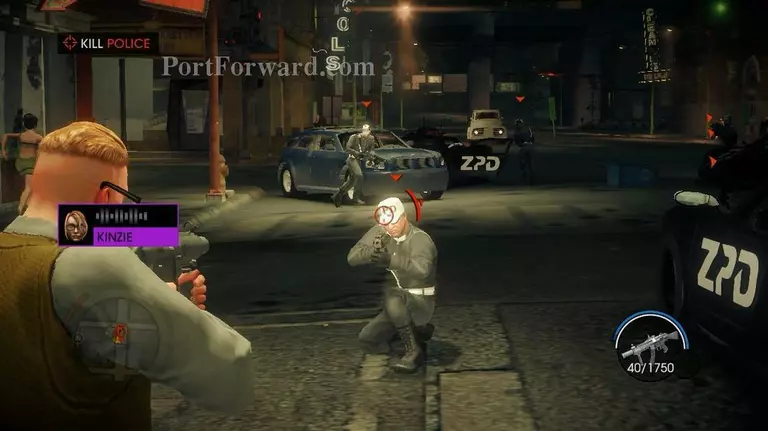
When you leave the store, a bunch of cops will be waiting for you. Dispatch them, then get into the car. Follow the map to a Flashpoint.
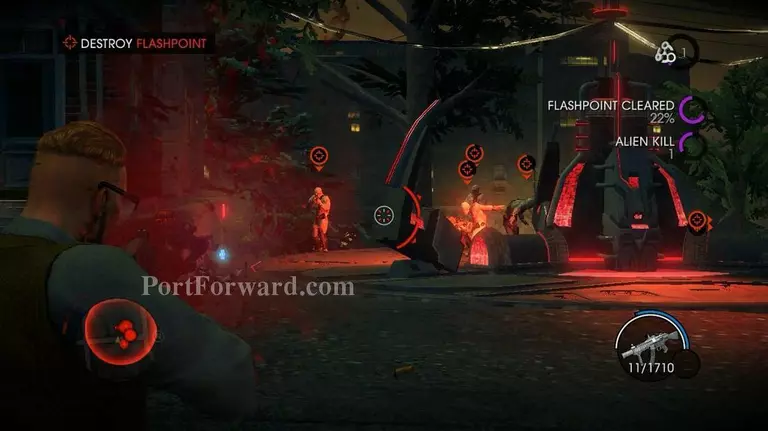
Clear a Flashpoint covered by the aliens.
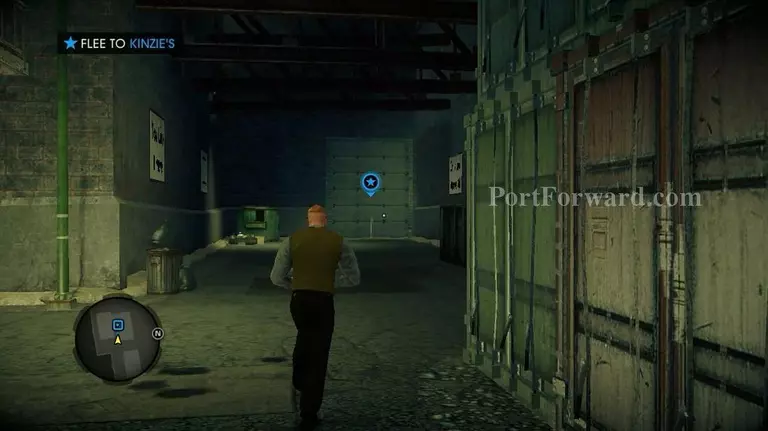
Again, follow the mini-map for directions to the Kinzie's warehouse.
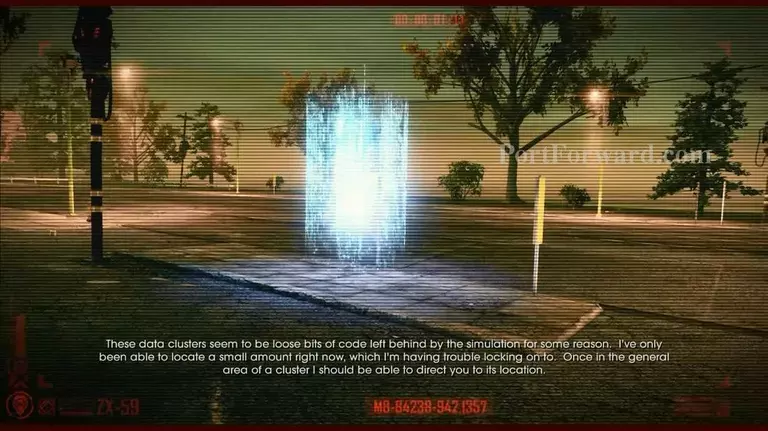
TIME TO INCREASE THE TEMPO > You need to collect four Data Clusters.
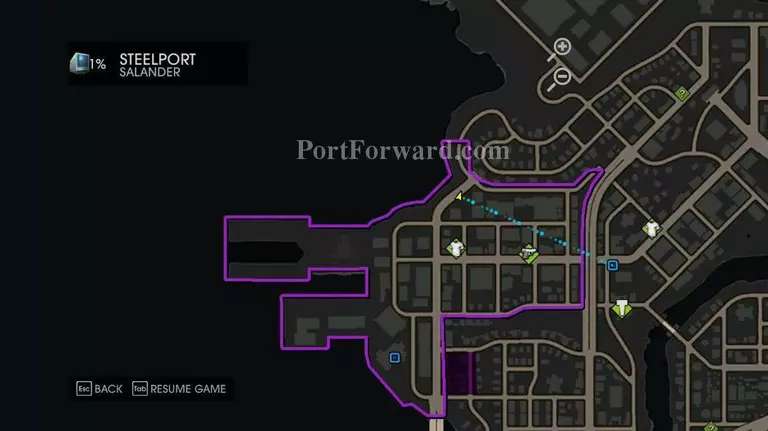
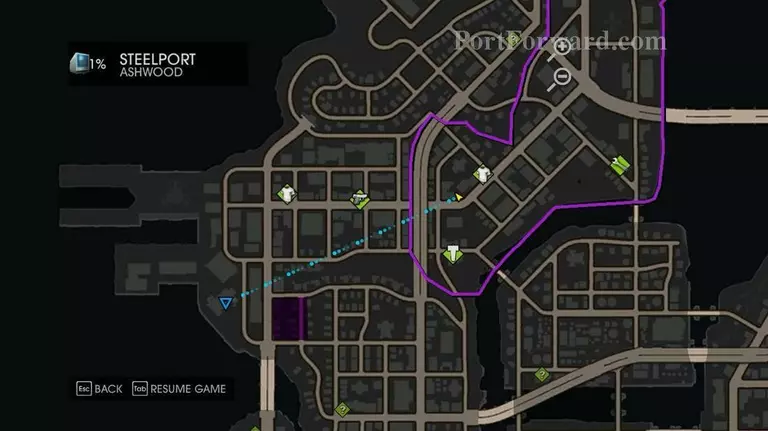
Map below shows the exact location of the fist Data Cluster.
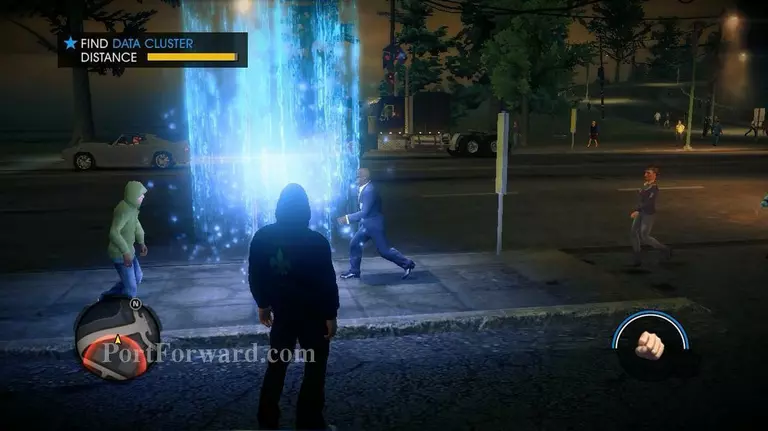
When you reach your destination, you'll see a Distance Bar in the upper left corner. The closer you are to a Data Cluster, the more the bar fills.
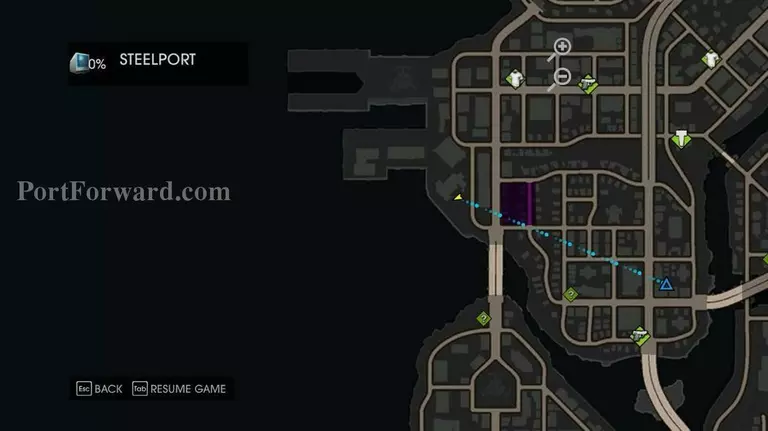
Location of the second Data Cluster.
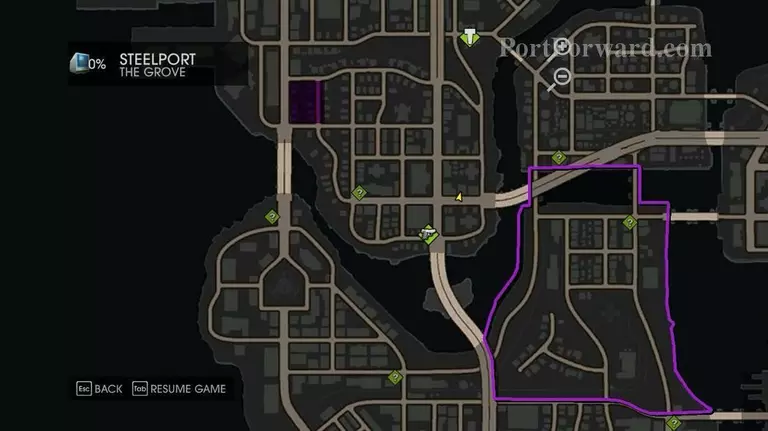
Location of the third Data Cluster.
The last one.
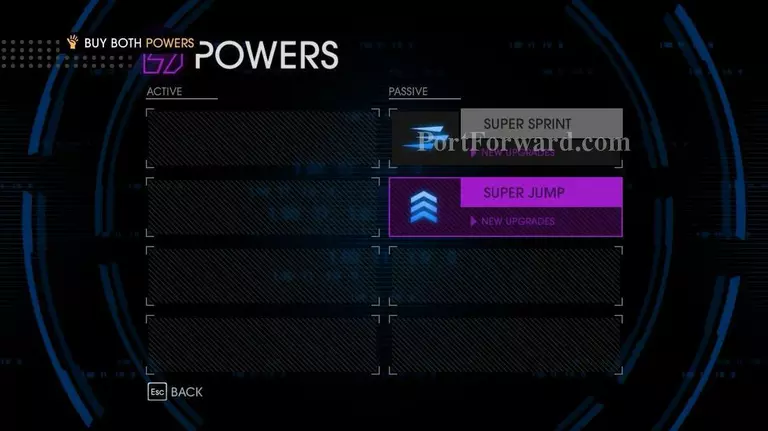
Open Hub Menu, purchase both passive super powers.
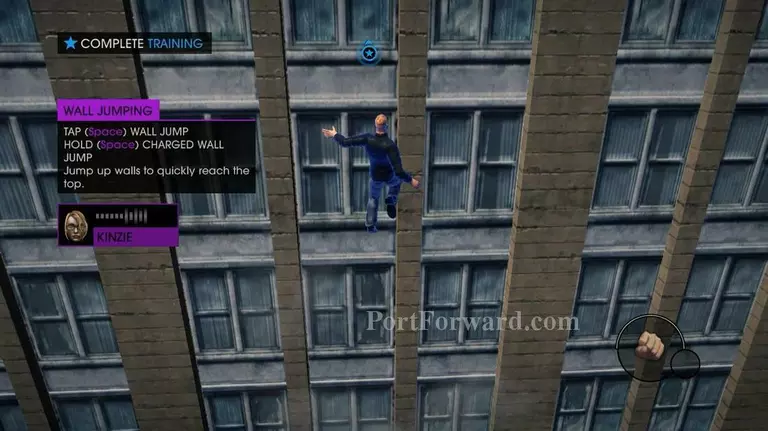
You'll be transferred into a training simulation to learn how to use the newly unlocked powers.
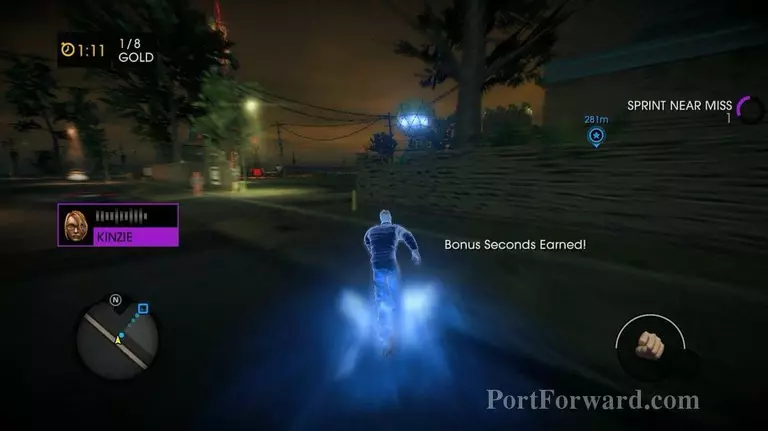
Next, it's time for a race. Sprint through the blue arrow checkpoints while collecting the green orbs to boost your speed. This will unlock Blazin activity.
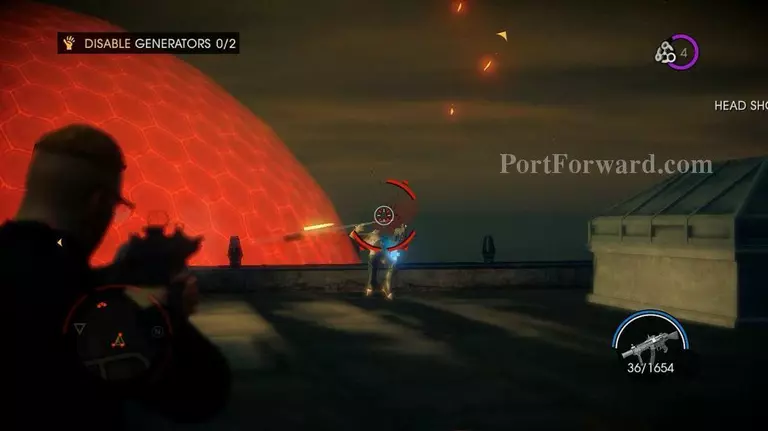
LEARN TO DAMAGE THE ALIEN PRESENCE > [**Restock ammo and upgrade your weapons first before start this mission, as it's quite hard since you don't have any active powers yet] Every hotspots are protected by shield generators..
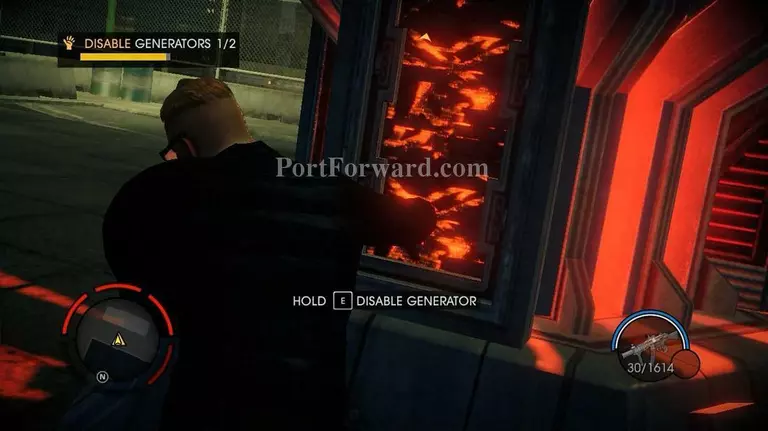
and there are aliens guarding the generators. You have to eliminate them first, then turn off the generators by holding E button.
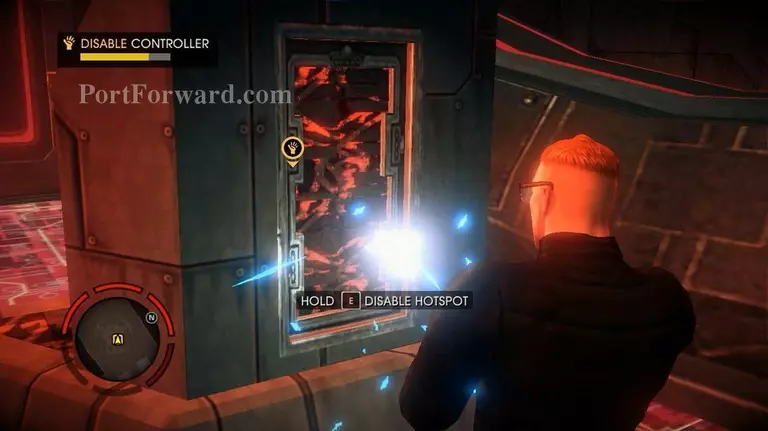
Disabling both generators causes the shield to vanish, giving you access to the central service point. Hold E button to disable the controller.
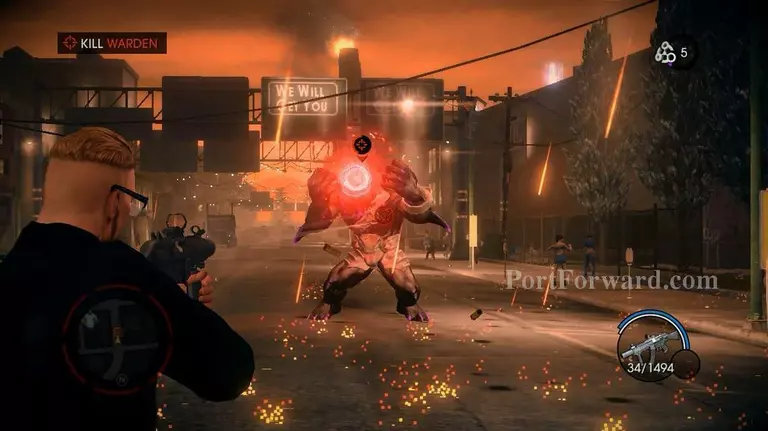
Once you've successfully disable the hotspot, one of the strongest enemies - the Warden will appear. [**Tips: Run as fast as you can. then wait for him to chase after you. Shoot him using the RPG. Pick the health he drops. Repeat these steps.]
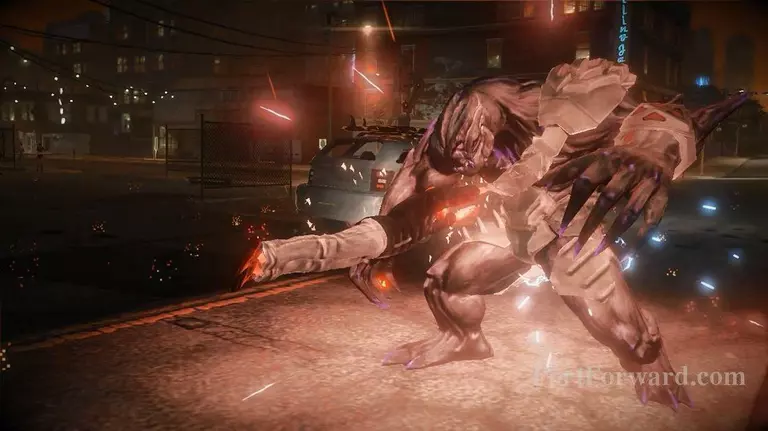
Take the Warden's health down to 0, then press LMB to merge with the Warden.
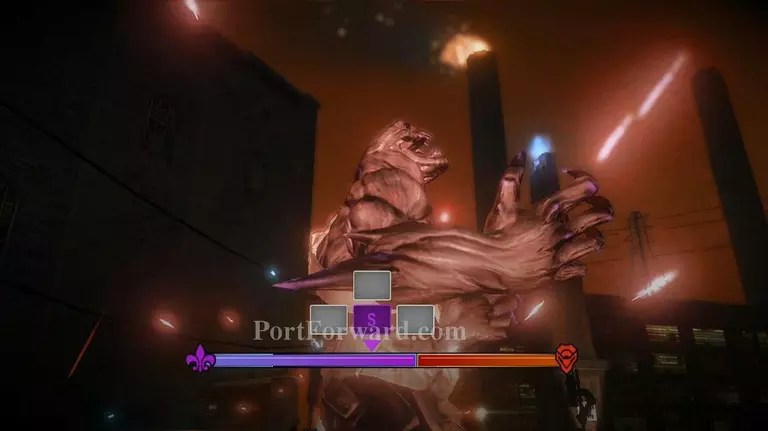
Follow the on-screen prompts until the bar fills up in purple completely.
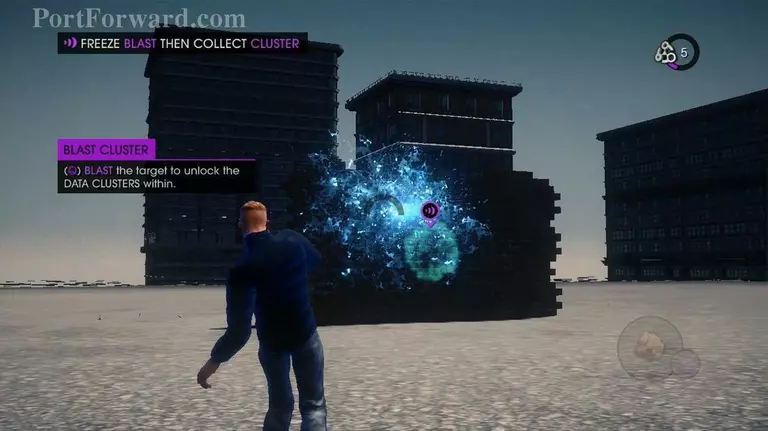
If you're successful, you'll unlock Freeze Blast and get transferred into a training simulation. You can use this active power to recover Data Cluster from walls
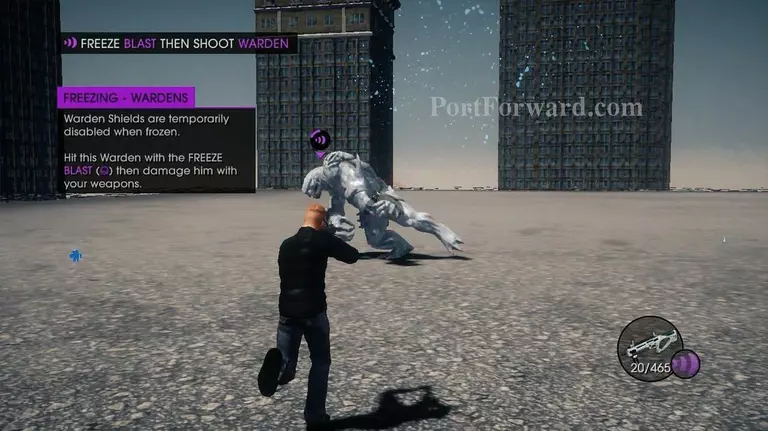
or even to freeze your enemies before shoot them.
More Saints Row IV Walkthroughs
This Saints Row IV walkthrough is divided into 47 total pages.


