
This Shadow Ops: Red Mercury walkthrough is divided into 24 total pages.
13 - Sanctuary
14 - Too Little, Too Late
15 - Overboard
16 - Day to Day to Day
17 - A Road Less Traveled
18 - Two Weak Evils
19 - Vicious Circle
20 - In Sheeps Clothing
You can jump to nearby pages of the game using the links above.
A Road Less Traveled
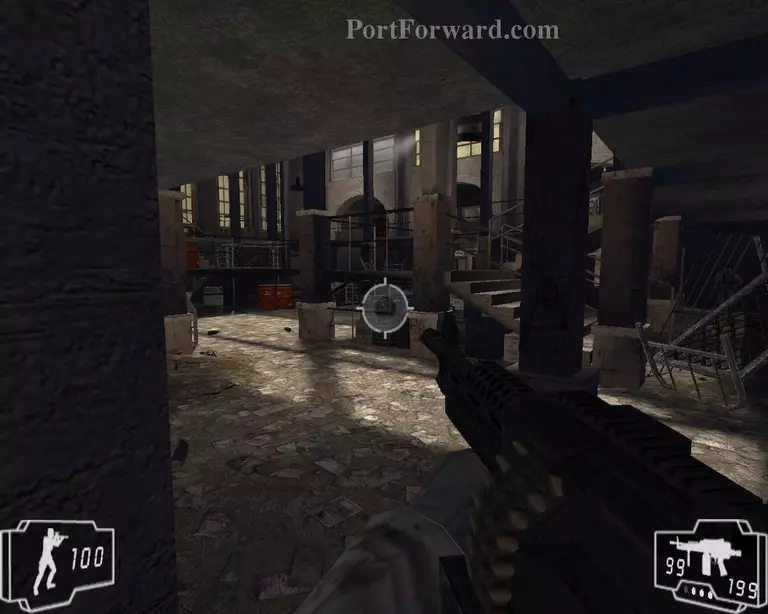
Fight your way through the warehouse
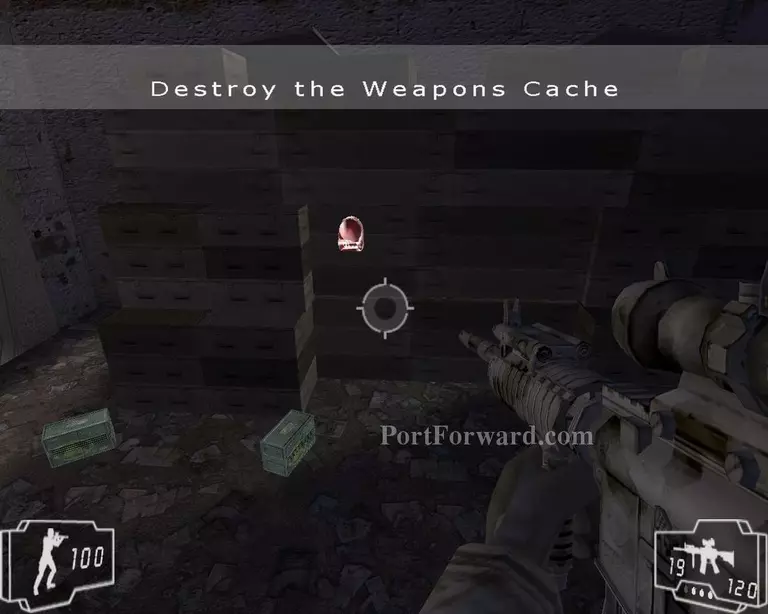
Place the explosives then after it explodes go through the hole in the wall
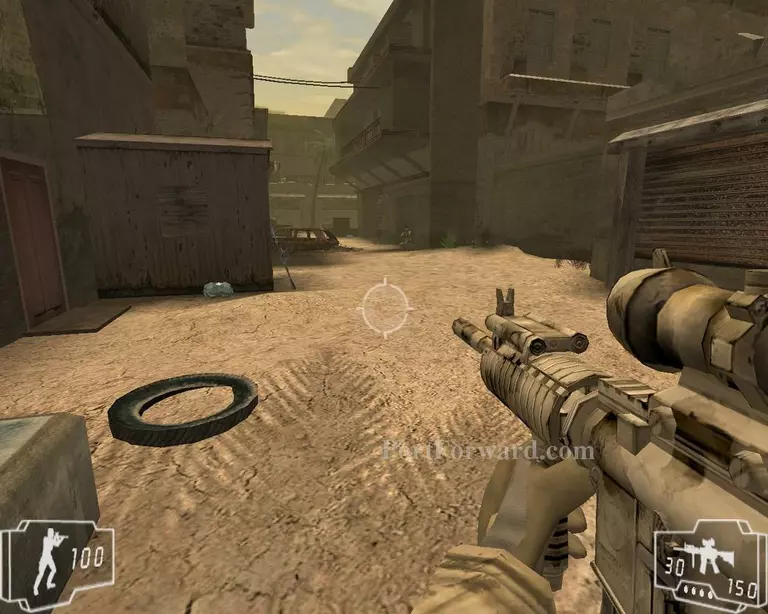
Take the RPG and clear the streets
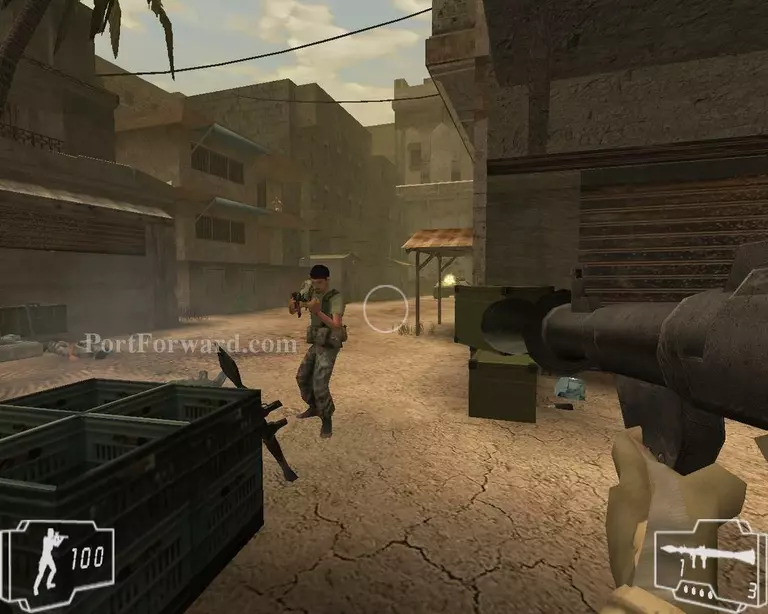
And now you will need to use it to destroy the APC
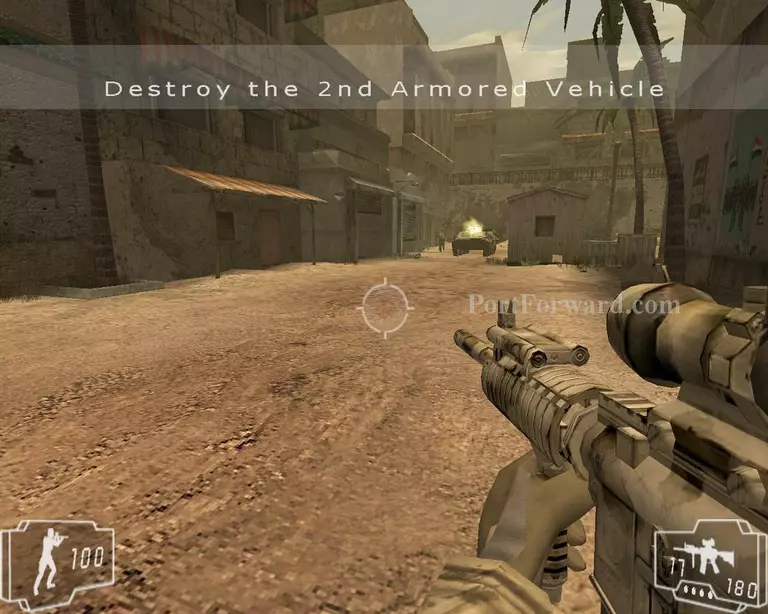
And the other one
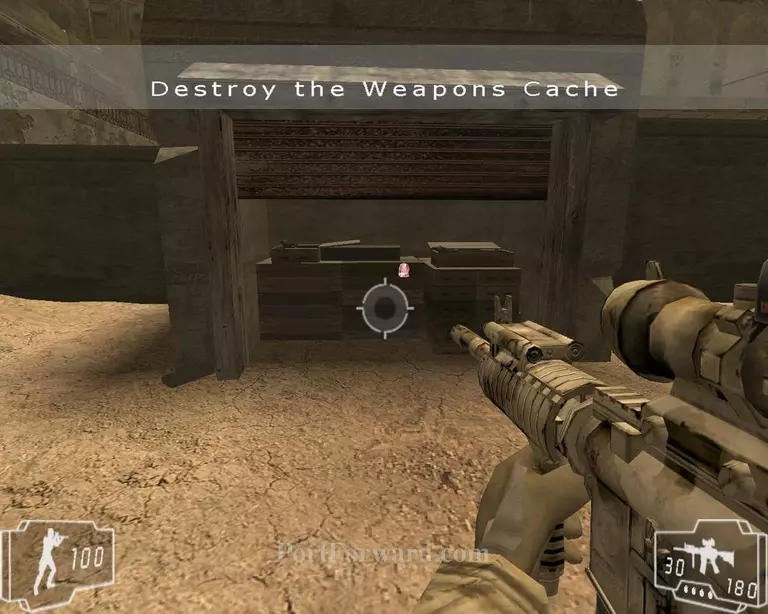
Place the explosives and go through the hole in the wall
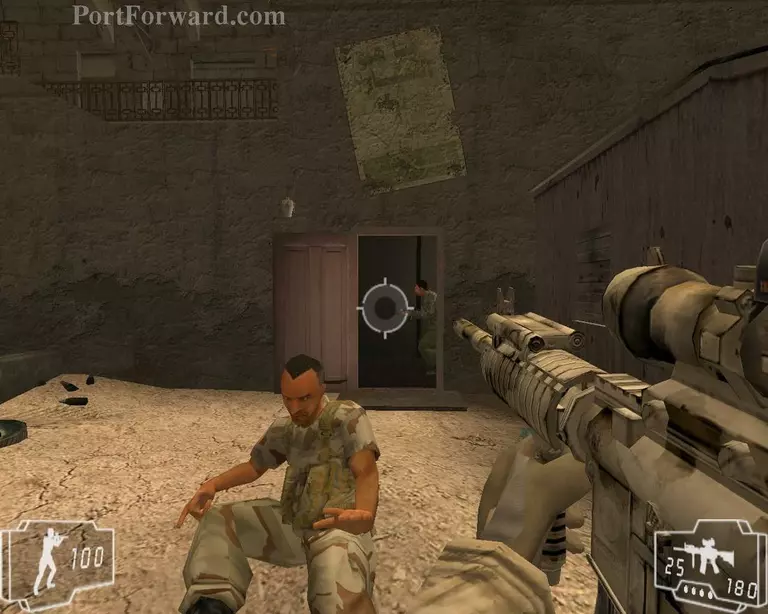
Kill the last of the enemies and go through that door
More Shadow Ops: Red Mercury Walkthroughs
This Shadow Ops: Red Mercury walkthrough is divided into 24 total pages.
13 - Sanctuary
14 - Too Little, Too Late
15 - Overboard
16 - Day to Day to Day
17 - A Road Less Traveled
18 - Two Weak Evils
19 - Vicious Circle
20 - In Sheeps Clothing


