
This Shadow Ops: Red Mercury walkthrough is divided into 24 total pages.
11 - Cry Me a River
12 - Unlikely Allies
13 - Sanctuary
14 - Too Little, Too Late
15 - Overboard
16 - Day to Day to Day
17 - A Road Less Traveled
18 - Two Weak Evils
You can jump to nearby pages of the game using the links above.
Overboard
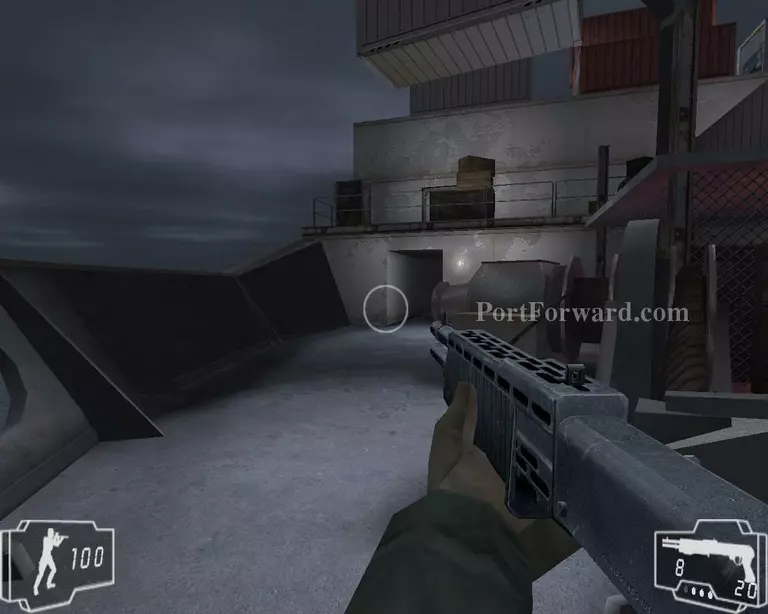
Your team will go right, you go left

To clear the entire room shoot the explosive barrels, yes that one in the back between the crates

If you don't feel like waisting ammo melee him and put explosvies on the radio
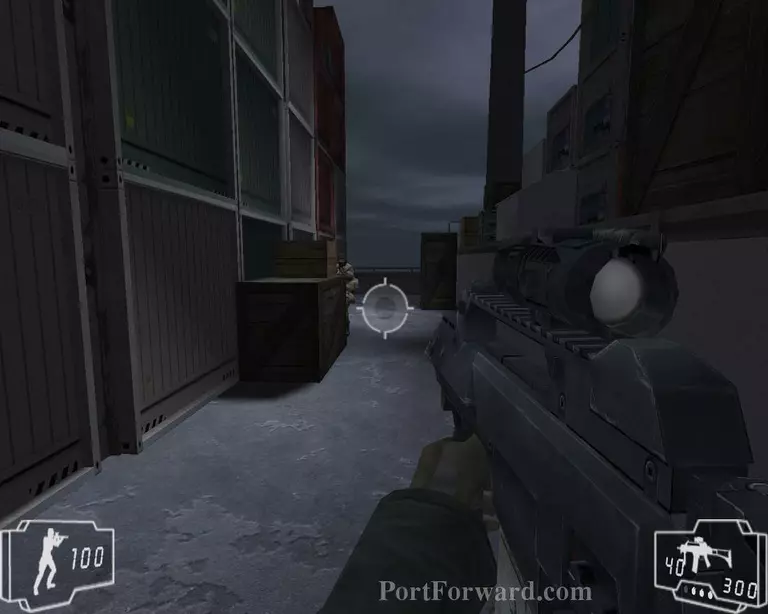
Go across the ship and kill anyone you see

Go inside clear the room and go to the next one

Open the safe and take the papers inside
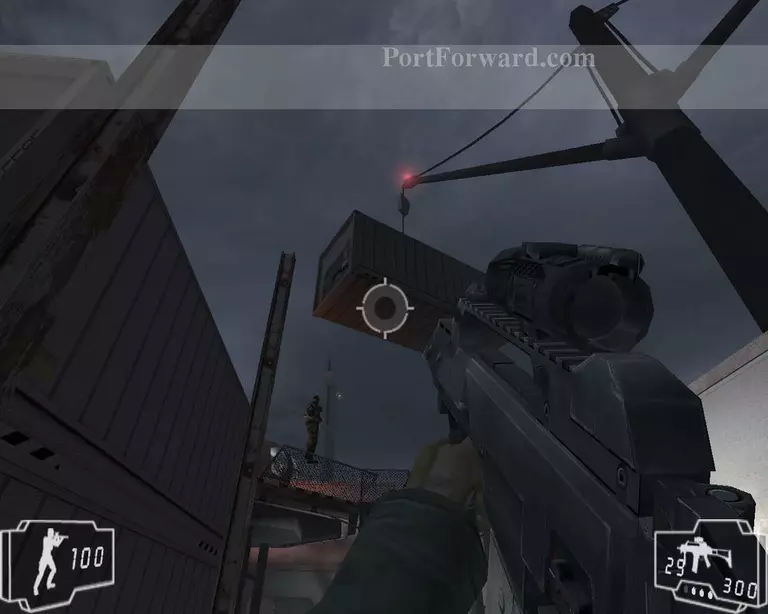
An easy way to clear the area is to hit the hook and drop the container on their heads
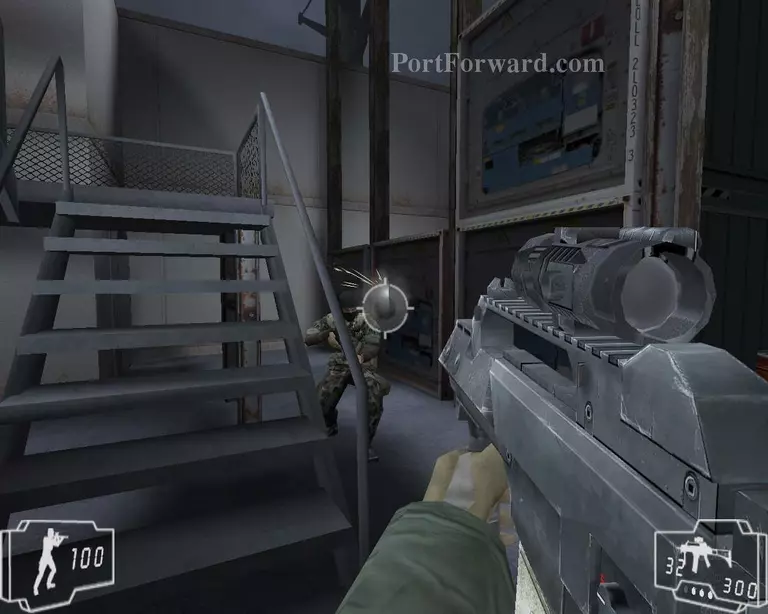
Then just run up the stairs
More Shadow Ops: Red Mercury Walkthroughs
This Shadow Ops: Red Mercury walkthrough is divided into 24 total pages.
11 - Cry Me a River
12 - Unlikely Allies
13 - Sanctuary
14 - Too Little, Too Late
15 - Overboard
16 - Day to Day to Day
17 - A Road Less Traveled
18 - Two Weak Evils


