
This Super Smash Bros Melee walkthrough is divided into 6 total pages.
You can jump to nearby pages of the game using the links above.
4 - Event Matches
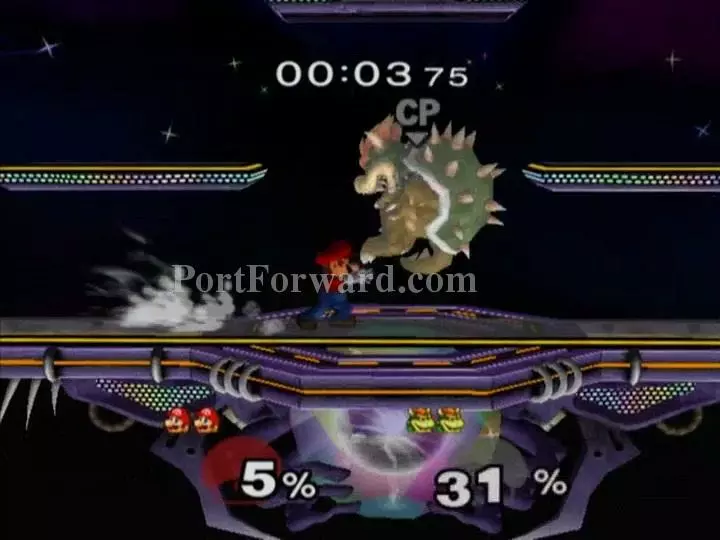
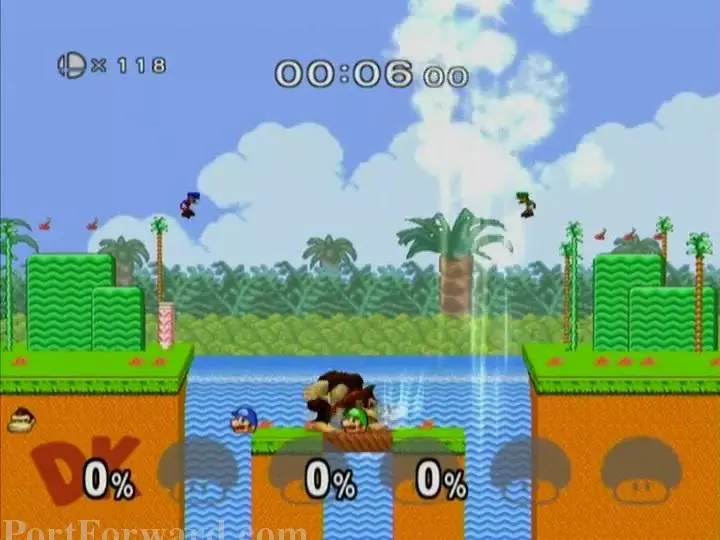
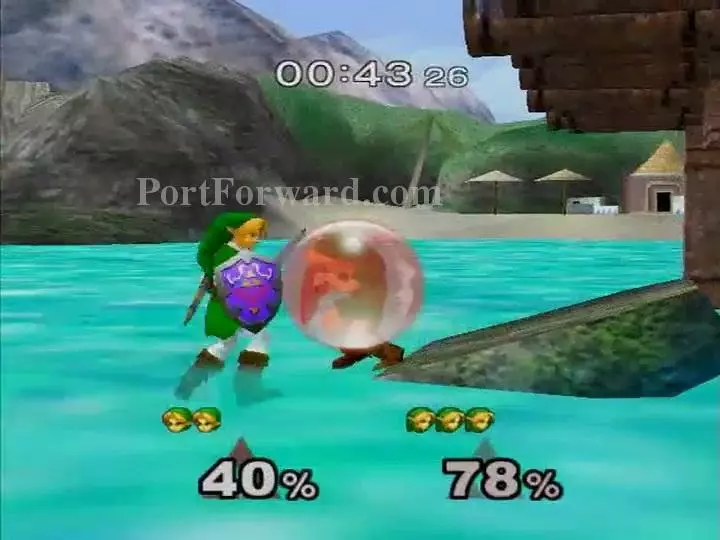
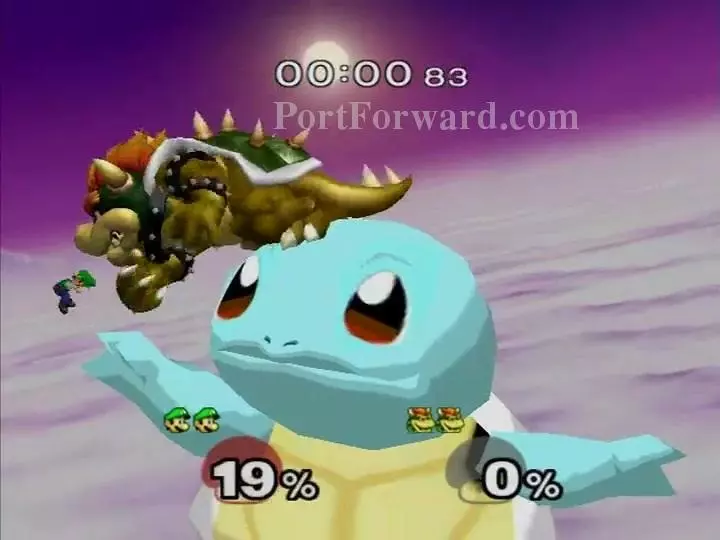
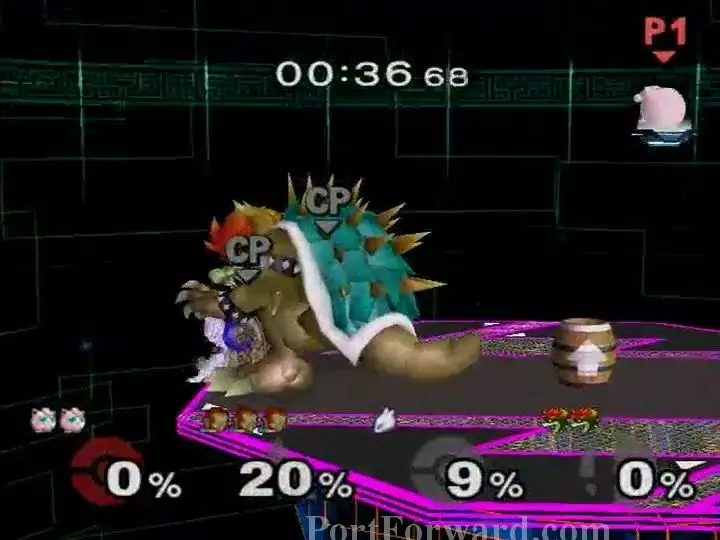
Event 1: The early event matches tend to give you a handicap and/or set the computer AI pretty low, so Bowser should be a pushover here. Hit him off of the stage (Jab to Down-Smash works well) then charge Forward- or Down-Smash while he's trying to recover. Mario's cape will also turn Bowser around during his up-B, often making him fall to his death.
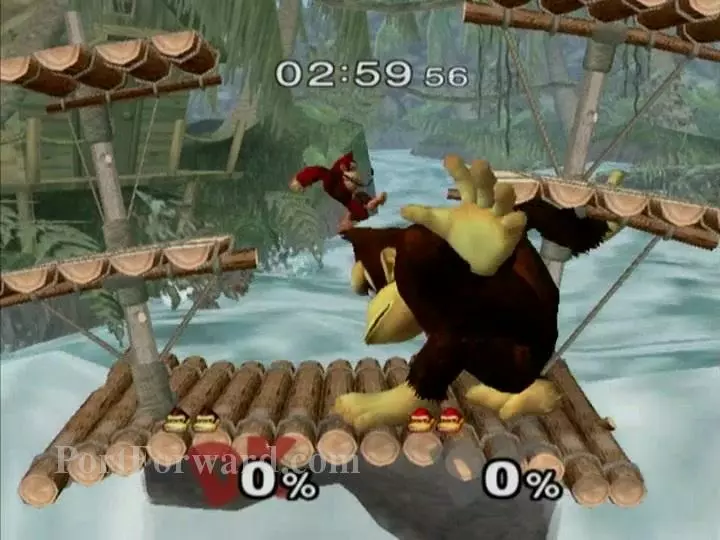
Event 2: Surprisingly, you're using the giant Donkey Kong, not the small one. It can be hard to hit him while he's on the ground since you're so much taller, so try to get him above you then Up-Tilt, Up-Smash or Up-Aerial repeatedly. It's hard to miss with those huge gorilla arms.
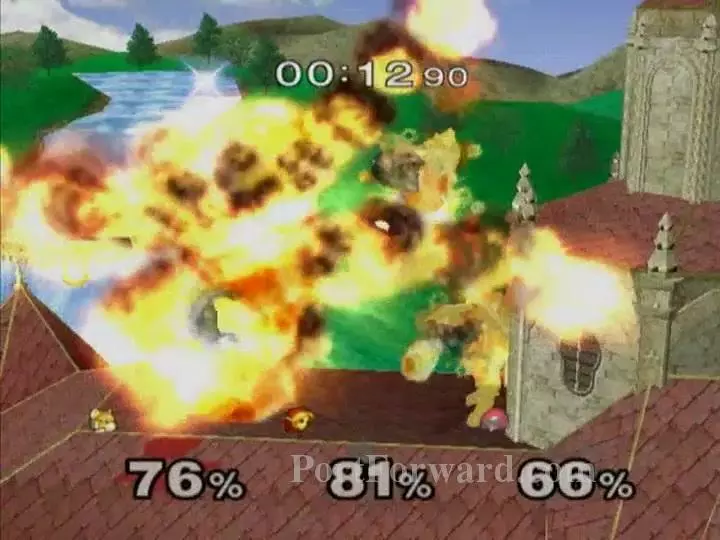
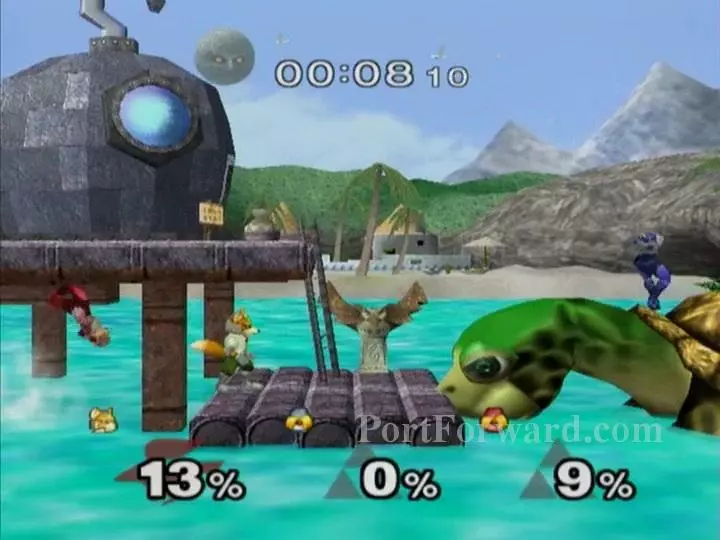
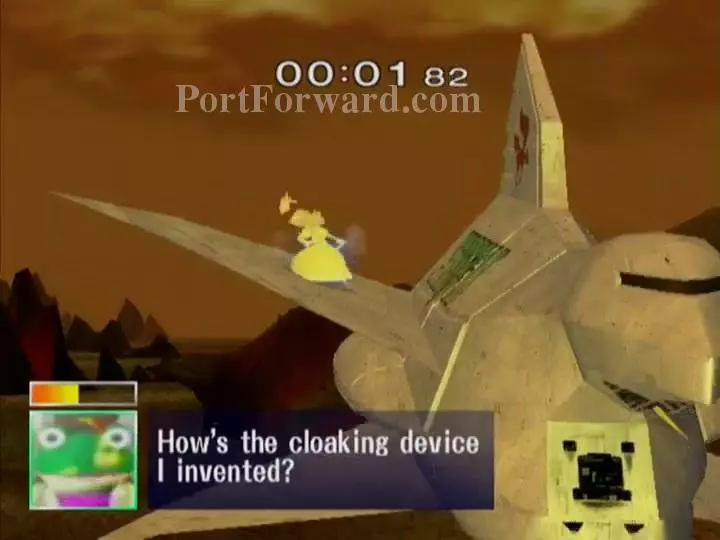
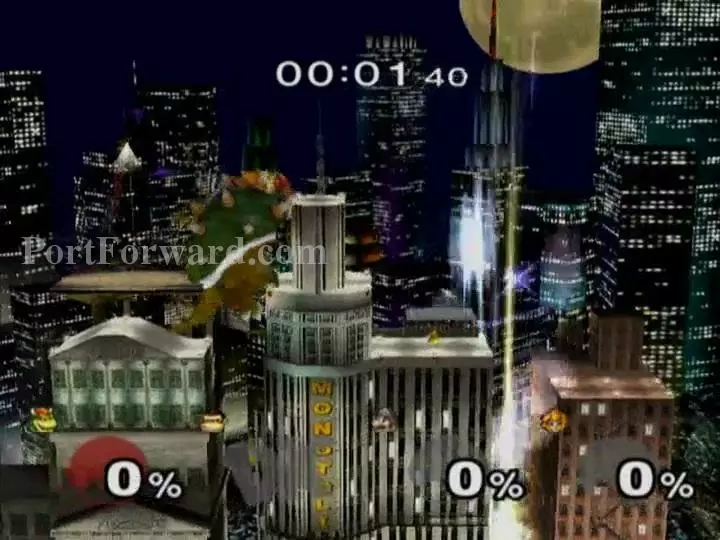
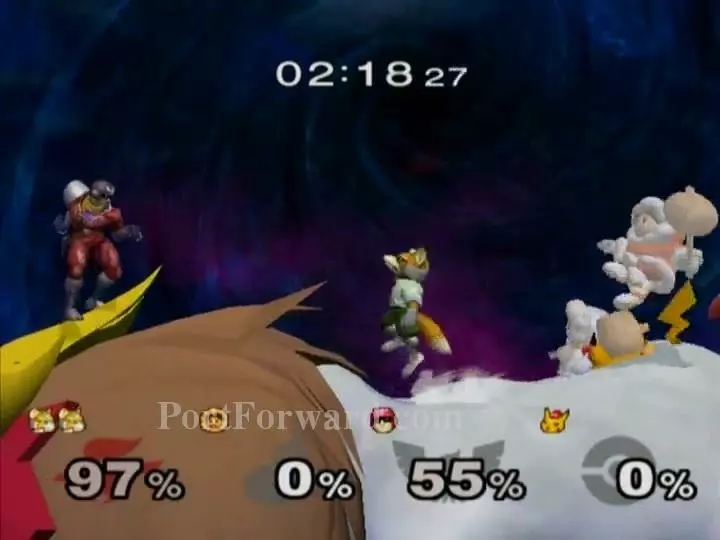
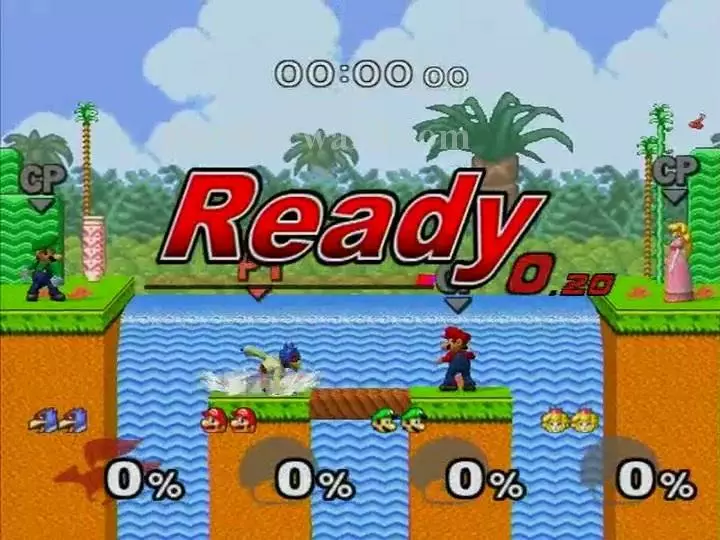
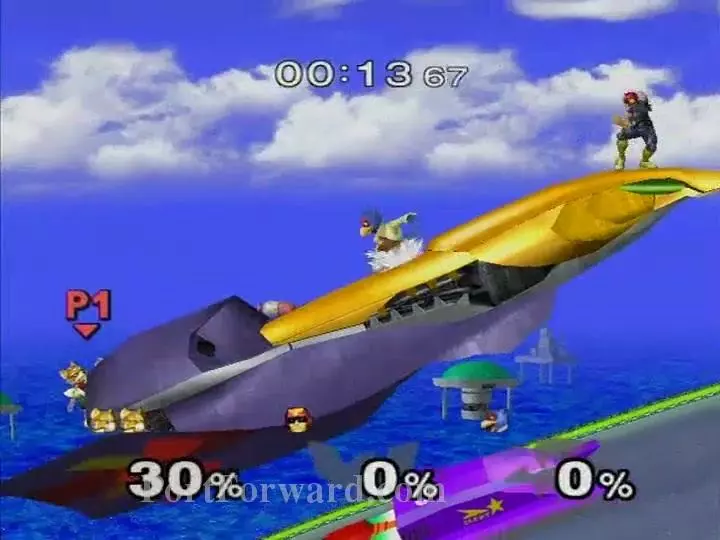
Event 3: It doesn't really matter which character you pick since it's just going to turn out like this. Fox is overall a good choice since he can reflect all the projectiles, but ultimately, the computers are just going to blow themselves up anyway.
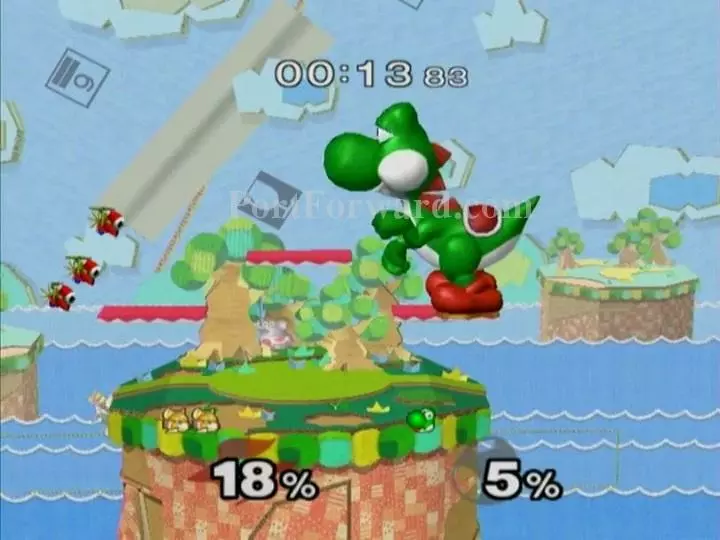
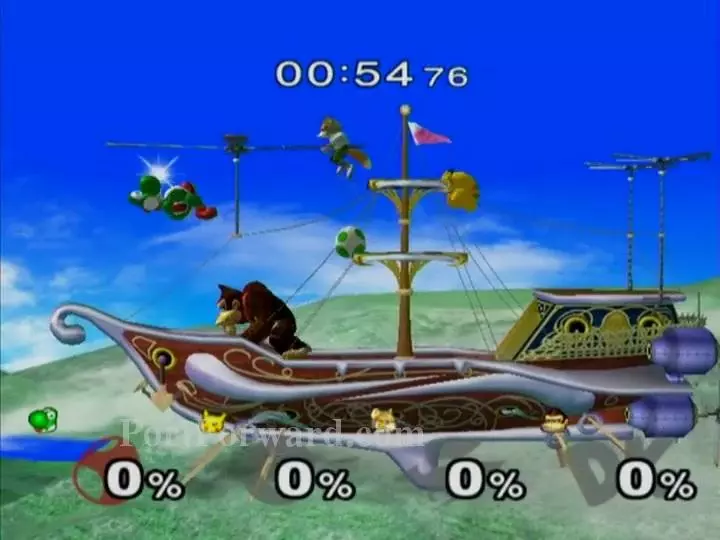
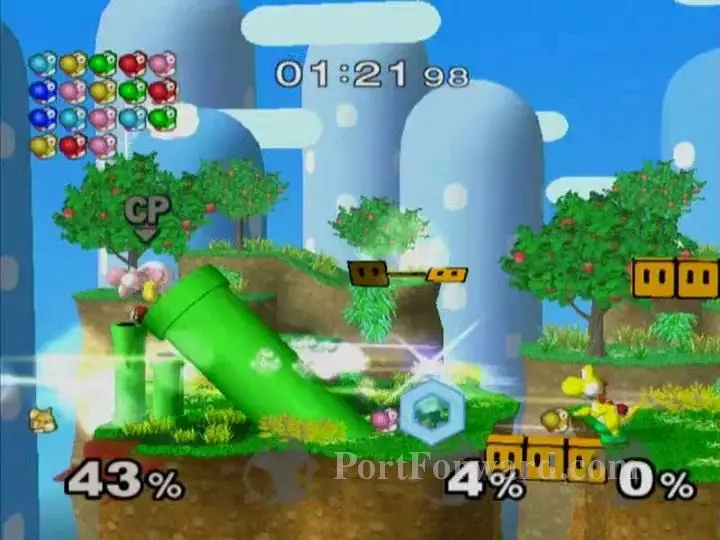
Event 4: Hang around the edges--Yoshi will often walk right off. This seems to be a common problem with the AI for gigantic computer-controlled characters. You can also combo Yoshi repeatedly with weak upward-hitting moves, like Fox's uptilt, since he's so heavy.
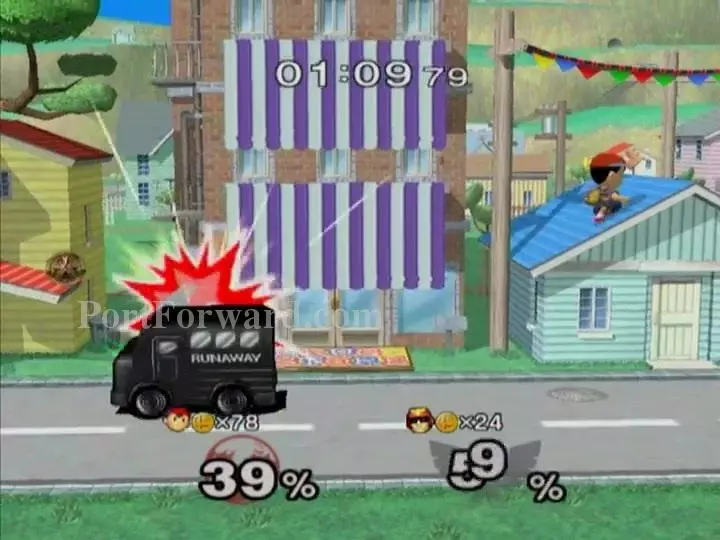
Event 5: An introduction to Coin Mode. Hitting him once will generate coins; first to 200 coins wins. Falcon does little to avoid oncoming traffic, so let the cars hit him then grab all his lunch money. Taking a stock will also net you lots of coins at once, but it's not necessary.
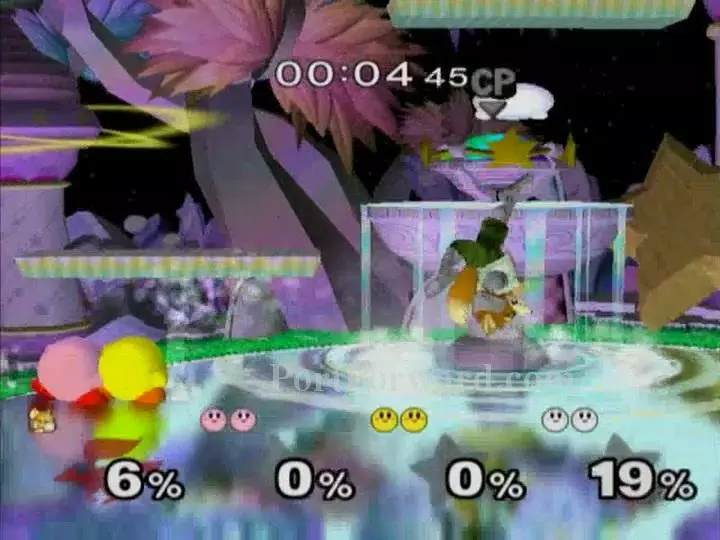
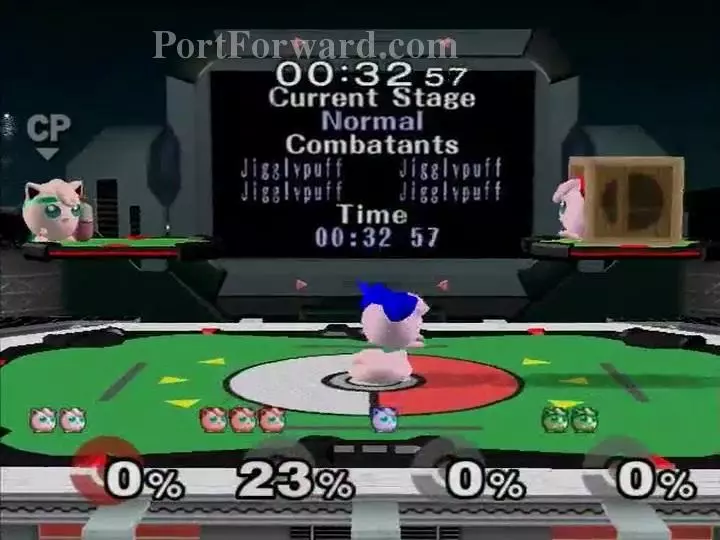
Event 6: A cliched strategy by now: pick Fox, hit the lightweight characters upward. Up-Smash is the easiest way to finish off these Kirby clones.
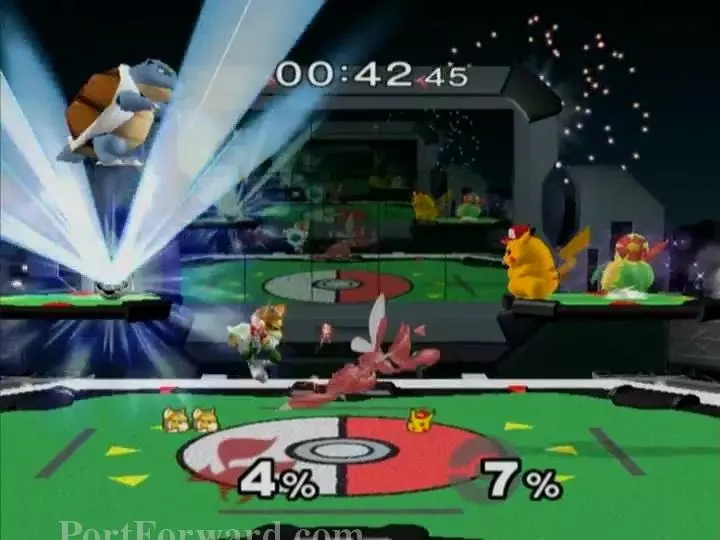
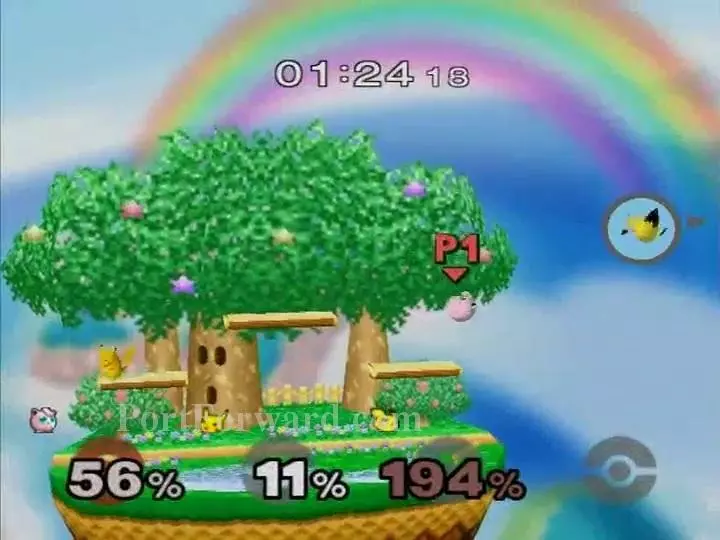
Event 7: Have you ever done a match with friends with only Pokeball items on, turned to Very High? That's what this match is. You can't hit Pikachu yourself, so just grab and throw down every Pokeball you can. What comes out is random, so just pick a fast character to run around and pick up the most Pokeballs. Fox can also reflect them and steal the Pokemon that comes out, but Pikachu usually throws them straight downward anyway.
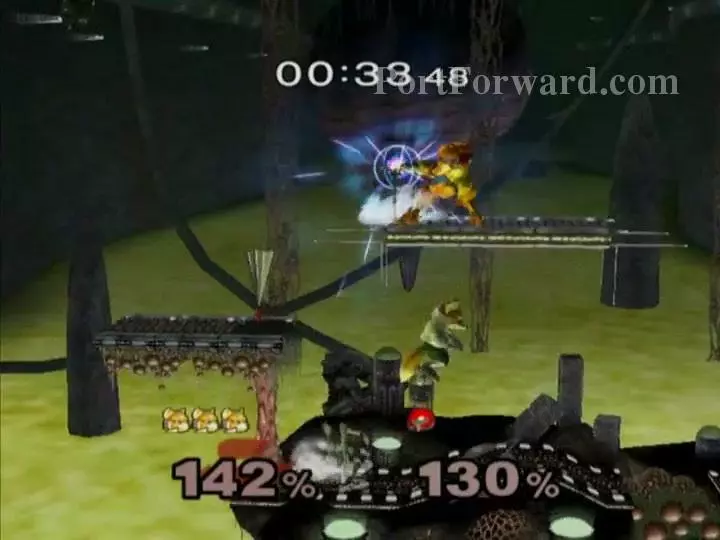
Event 8: I chose Fox again since the lava makes it hard to kill Samus off the bottom or the sides, so his upward kill power is valuable here too. There are other playable characters in this game, I swear. (Also, you can knock Samus down into the lava on purpose, then attack above that area to hit her as she flies upward.)
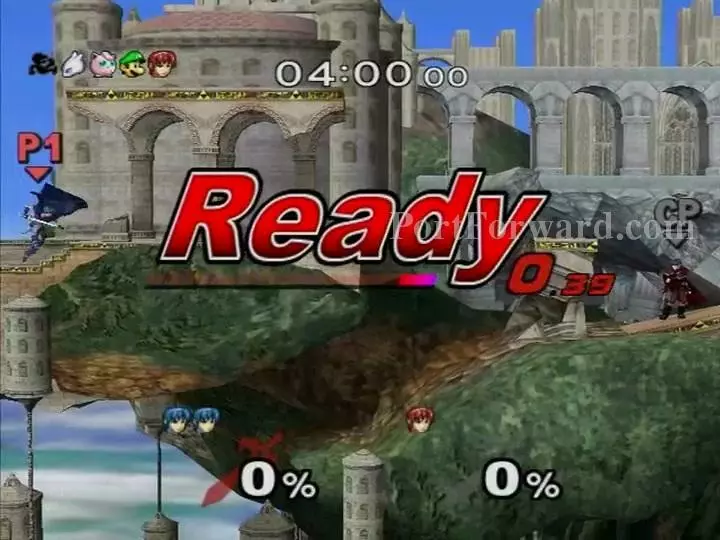
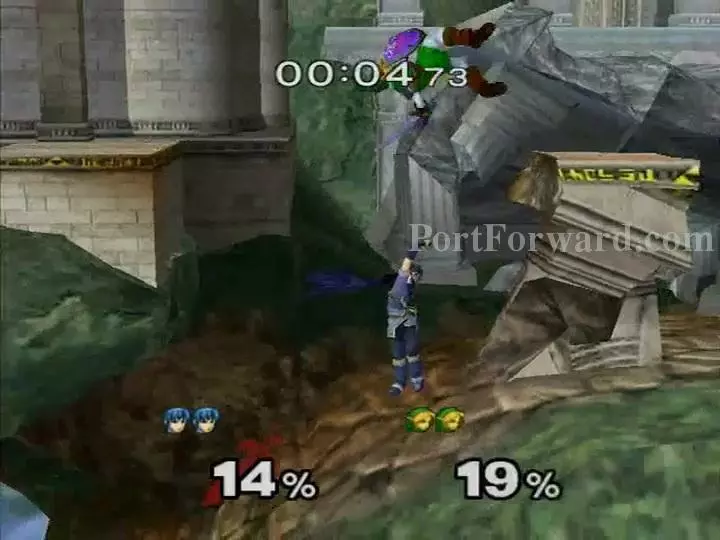
Event 9: You can only kill her when she's Sheik, so go down to this spot, wait for one to transform, then throw her under the platform behind you to get a quick kill. If she starts to come back, try to hit her with a move at the same angle (like Back-Aerial) to finish the job.
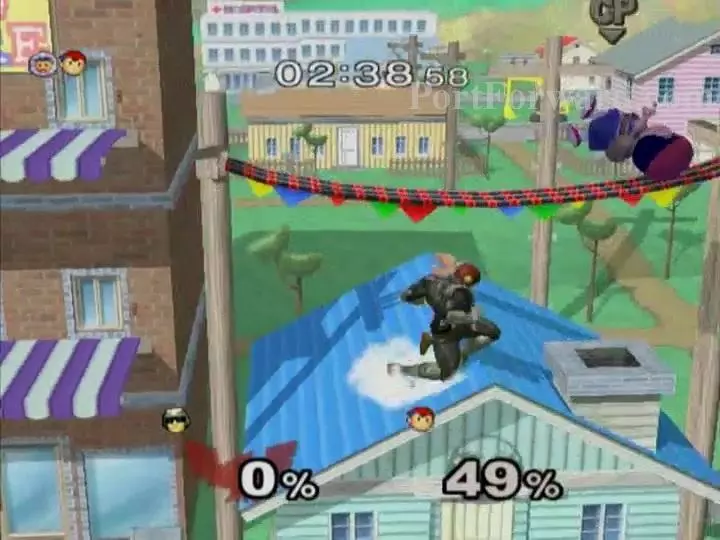
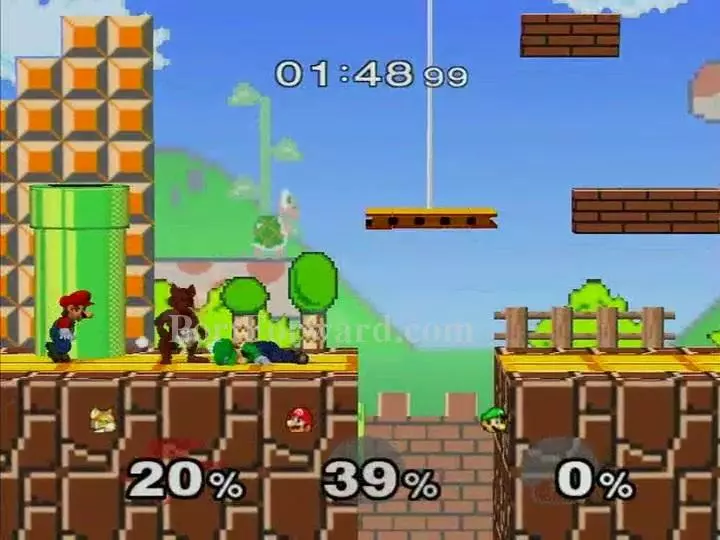
Event 10: This is a series of easy 1 vs. 1 battles. Pick whichever character you're most comfortable with. I chose Captain Falcon because he's Captain Falcon. Also, the CPUs like to walk right into his Falcon Punch. Be careful not to fall into the gaps on Yoshi's Island and Jungle Japes.

Event 11: Evade the Ice Climbers for 1 minute to win. Fox is good because he's fast and can move upward easily with his Up-B, but Jigglypuff is also effective at floating around to run out the clock. Captain Falcon is also fast and his Forward-Aerial (AKA "The Knee") can power through whatever the Ice Climbers try to throw at you.
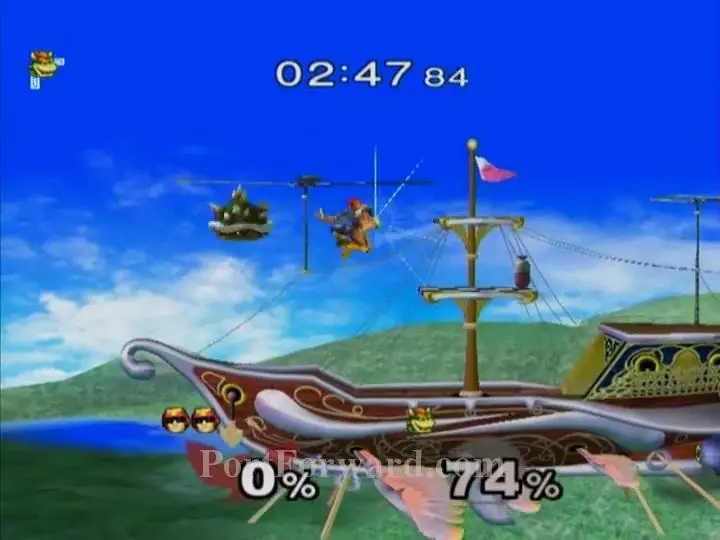
Event 12: Pick Jigglypuff, and use the strongest move in the game: Rest (down-B). This usually kills Falcon in one shot around 30-40%, let alone 100.
Event 13: One of the more interesting event matches. The Yoshi Egg item actually does not appear anywhere else in the game. I found it easiest to simply pick up the egg and run away for the whole match. Evasion is a little tricky at first but gets easier as the stage expands. Yoshi's double jump also has "Super Armor" which lets him take a hit and keep on going.
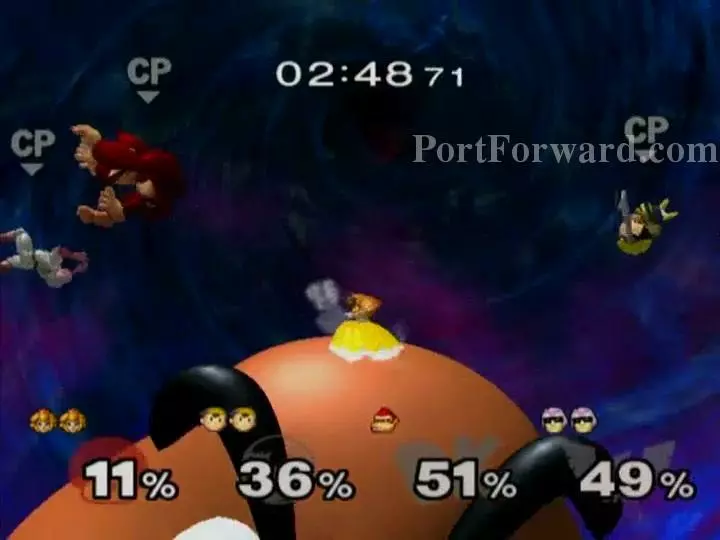
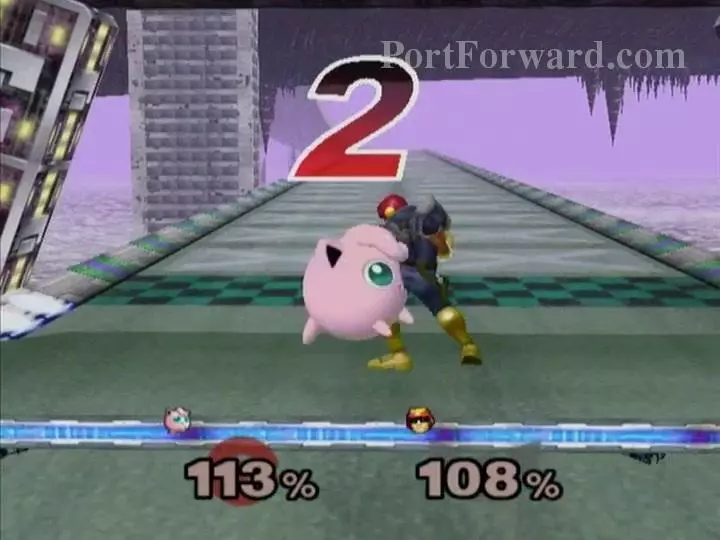
Event 14: There are three opponents clustered in a small space, so...pick Peach and just spam her Down-Smash. Over and over. It will send all of them flying in opposite directions, hits multiple times, and is very fast and powerful. Peach's dress is apparently made of Nintendium or something.
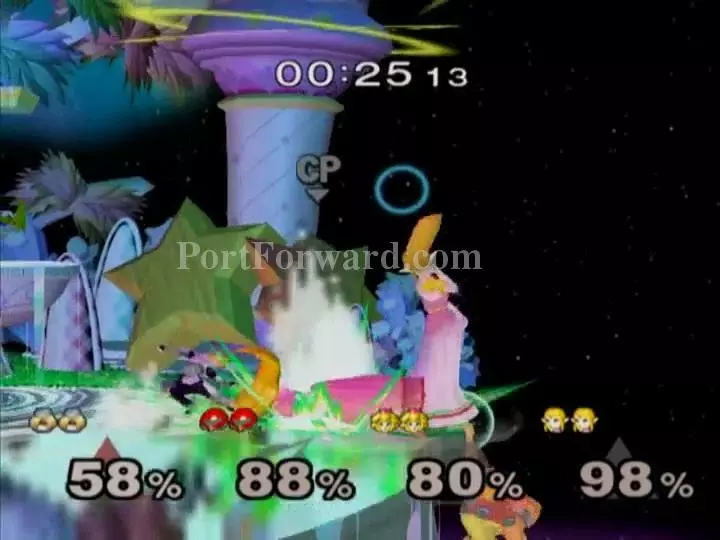
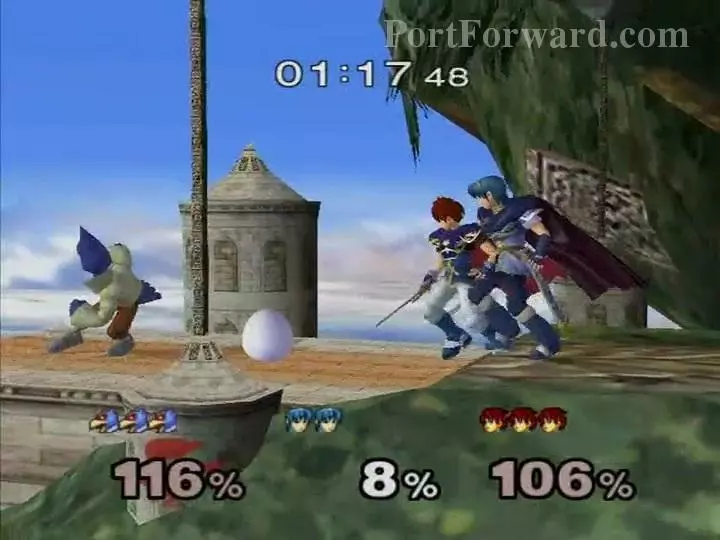
Event 15: It would be easier to do this using the Peach Down-Smash trick, or repeatedly using Rest with Jigglypuff, but I thought it would be more appropriate to pick Sheik. Sheik's Down-Smash is also fast and powerful, as are many of her moves. Forward-Tilt combos effortlessly into Forward-Air, and combined with frequent Down-Smashes, Sheik is capable of hitting all three offstage and preventing them from coming back. Her Back-Aerial is good, too.
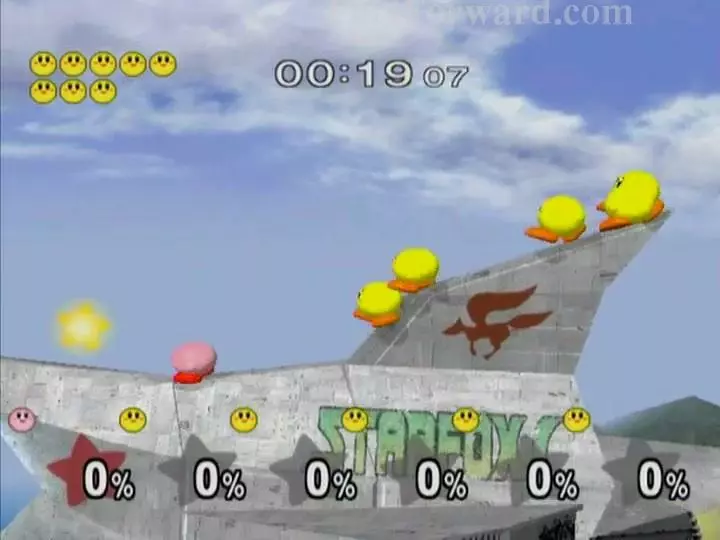
Event 16: These Kirby clones will wander back and forth, and can only be hurt with Warp Stars. Press A (or Z in midair) to grab them, then hold the control stick left or right to help aim the star.
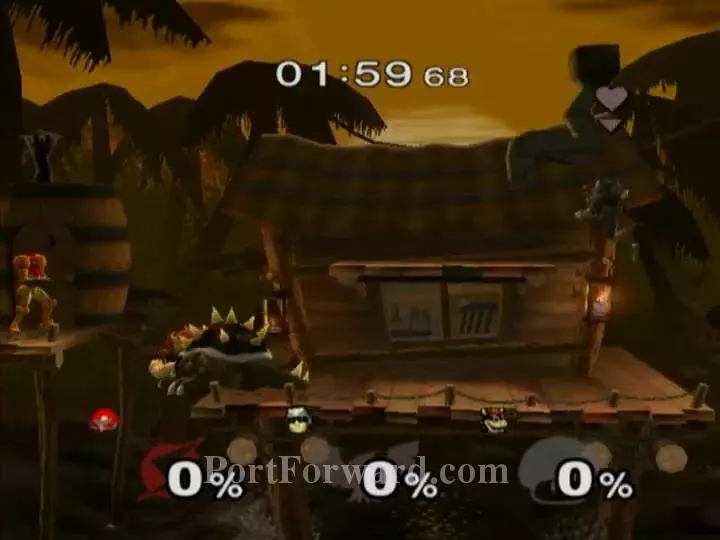
Event 17: Kill Bowser before Captain Falcon does. You can't hurt Falcon, but he sometimes self-destructs accidentally, making this match a lot easier. Either way, it's good to stand on a side platform and use Down-Smash to hit Bowser behind you, then finish him off with Forward-Smashes and Up-Tilts.
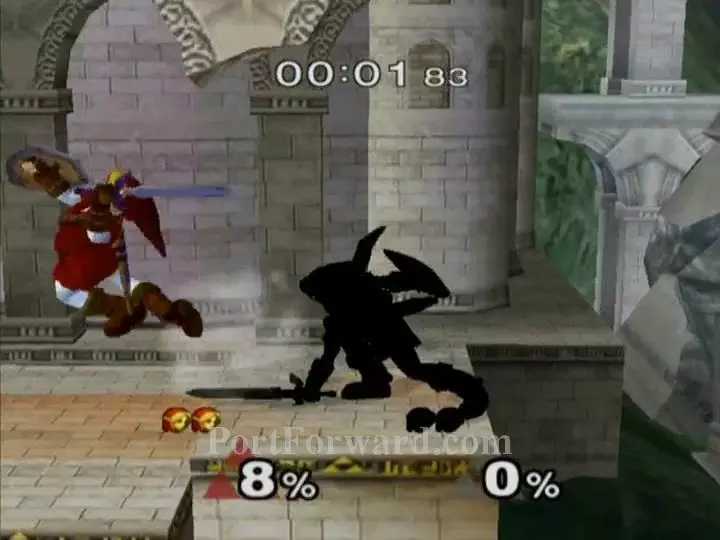
Event 18: Dark Link is a surprisingly tough opponent. Try grabbing him, then throwing him above you and comboing him with Up-Tilts. Down-Smash and Forward-Smash are also useful, and Down-Aerial is one of Link's strongest moves. It even works if you jump up at Dark Link from below while using Down-Aerial. Link's Up-B is another powerful killing move.
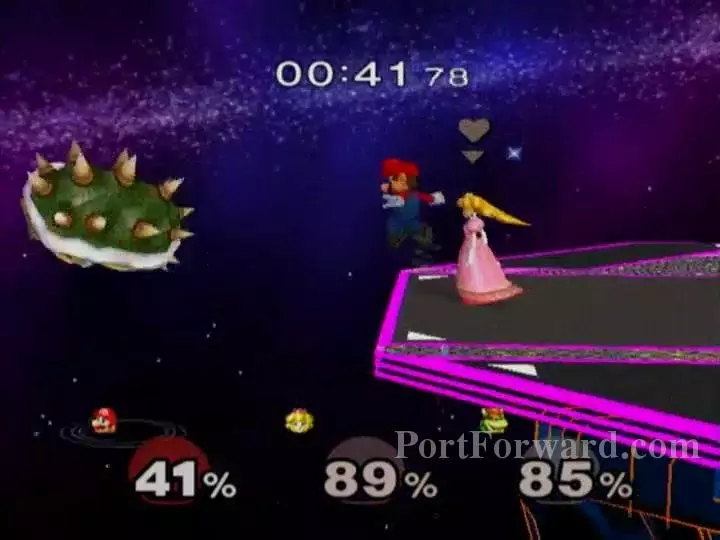
Event 19: Bowser will try to attack Peach, and you have to protect her until the timer runs out. The easiest way to do this is to just keep hitting Bowser. Do anything that eats up time: throw him upward, throw him offstage, combo him with Up-Tilt for a while. If you kill him, he'll respawn, but that takes some time too.
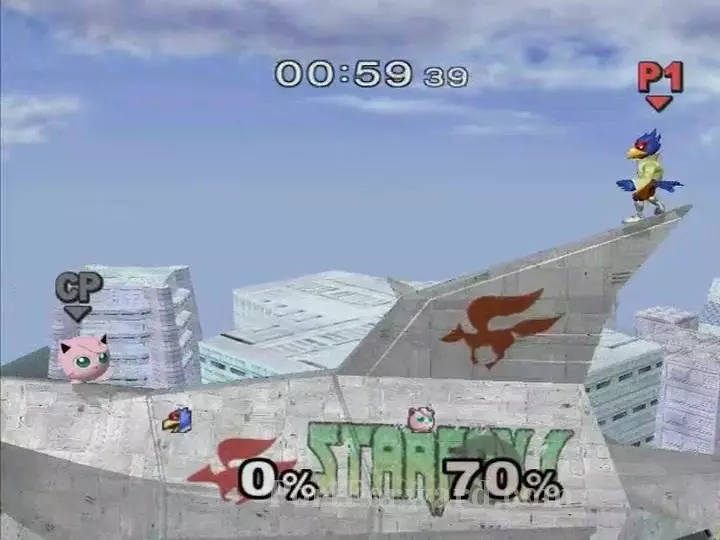
Event 20: Captain Falcon is actually quite useful this time around. His Knee (Forward-Aerial) is great at killing Samus on Brinstar, and he can Falcon Punch link in this spot to end the match quickly. The opposing Falcon is forced to recover into a Falcon Punch on Mute City, and Knee will kill Fox quickly off the right side of Corneria.
Event 21: Note that Nana's percentage is separate from Popo's, but hidden. Both Ice Climbers will mindlessly jump up and down, so hit each Nana repeatedly with Fox, then charge an Up-Smash once you've dealt a bit of damage.
Event 22: The 15-Minute Melee strategy applies here: pick Donkey Kong, go to the center, and press Down-B until the match is over. All you'll have to watch out for are randomly explosive items.
Event 23: Since your opponents are invisible, the easiest thing to do is use Peach's Down-Smash. It will hit them if they approach you from any angle, and the move is active for a long period of time as she keeps spinning. If you feel like aiming something, Peach's Neutral-Aerial and Forward-Aerial are powerful enough to be used to finish them off.
Event 24: Do the Fox thing again. Up-Tilt, Up-Smash, Up-Aerial and Reflector are all effective ways to kill these adorable Yoshis. The blocks start flipping once something hits them, so be careful not to use any attacks near the middle lest you create a gap to fall through.
Event 25: As you can see here, giant Donkey Kong walked right into that gap less than 2 seconds into the match. I would say to use Bowser's Up-B, Down-Smash and Forward-Air to beat up DK, but he's probably going to off himself twice before you even get the chance.
Event 26: The all-in-one Peach strategy (Down-Smash) is again the most effective here, but this stage gives you more space than the last Trophy Tussle, so it's easier to win with a wider variety of characters. Fox's overall strength makes him capable of separating everyone as well, and hitting enemies with Forward-Smash, Down-Smash, or Reflector off-stage can take their stocks quickly.
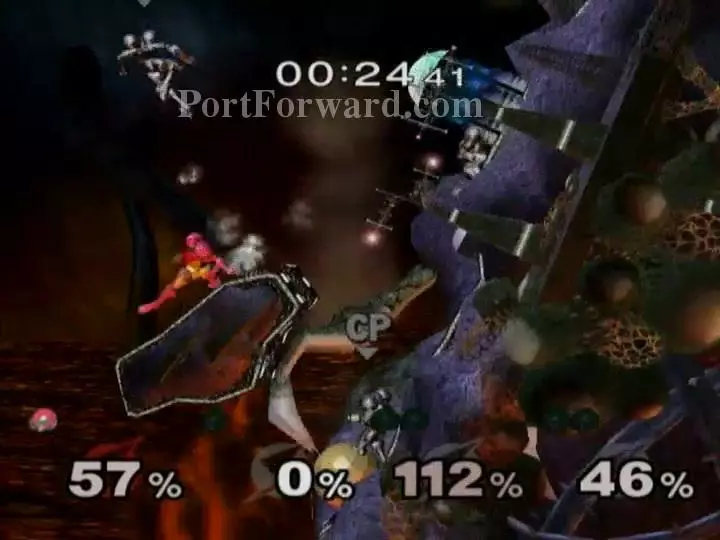
Event 27: This event looks difficult at first, but there's a simple trick you can use: go to one side, hit enemies behind you with Samus' Down-Smash, then just let them fall to their death. It's very difficult for Samus to recover on this crazy, rotating stage, especially since metal characters fall much faster than normal. Wait...isn't her suit already made of metal?
Event 28: Peach and Fox are good here as usual, but I actually found it most effective to use the same strategy as in the previous event. Samus' Down-Smash just sends them all flying so cleanly. Samus also automatically Crouch-Cancels (see Advanced Techniques section) while attempting to use it, which helps her break through the barrage of attacks from all the Kirby clones.
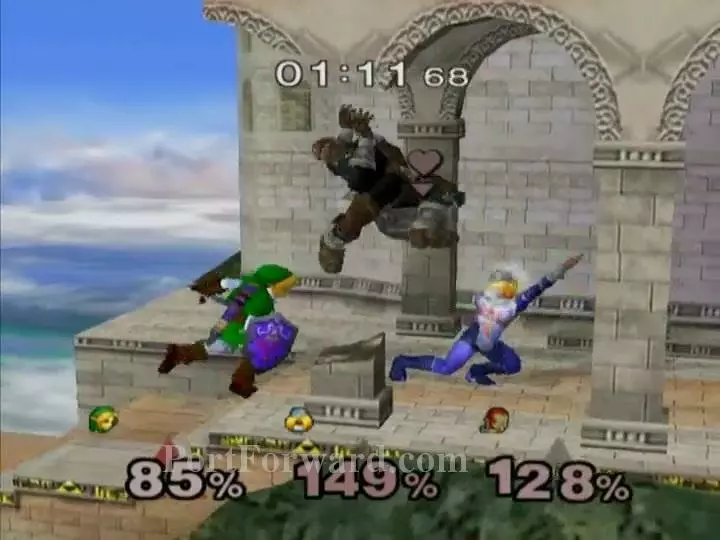
Event 29: [Unlocks Ganondorf] It's best to either lure Ganondorf toward one of the the upper edges and continuously hit him off, or attack him at the same time as Zelda. Up-Tilt can keep him in the air for easy combos, and your best attacks for killing him are Down-Aerial and Up-B.
Event 30: At this point it just seemed to be a tradition to use Captain Falcon in the Trophy Tussle event matches. His Knee actually sets up well for additional knees on Ness on the right side of Onett, especially since computer-controlled characters never Tech (see Advanced Techniques section).
Event 31: Events 31-40 appear once you've beaten the first 30 and have unlocked Jigglypuff, Luigi, Dr. Mario, Falco, and Young Link. Pick a character that's good at racking up kills at the near edges of the stage. Samus and Peach can use Down-Smash, Falcon can use Knee, Fox can use Reflector and Forward-Smash. If you have Marth, his Forward-Smash will also work well.
Event 32: All you have to do is kill Jigglypuff more than the Arwing lasers do, so here is a list of Falco's strongest moves: Forward-Smash, Down-Tilt, and Back-Aerial. His Down-Aerial will also pop Jigglypuff up and make it easy to kill her with a Back- or Up-Aerial. The biggest risk you face is that one of your killing moves will hit Jigglypuff into a laser.
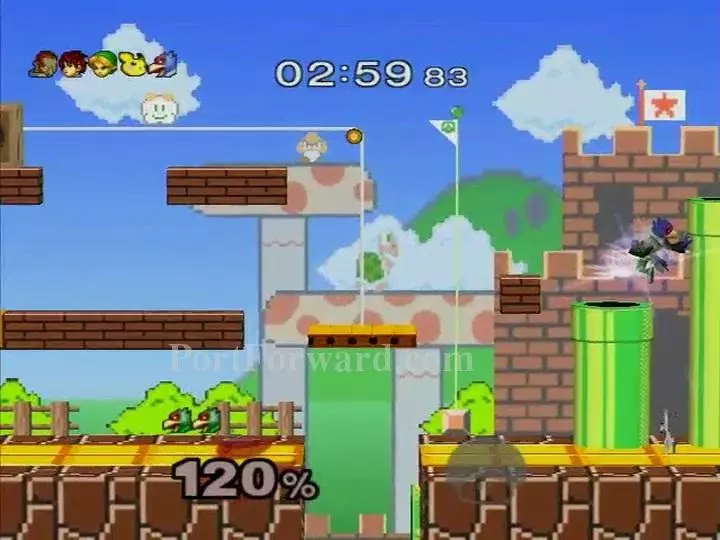
Event 33: Run as fast as you can to the right. When the warning sign for approaching cars appears, jump onto the nearest platform (they're spaced out well enough that there should always be a safe spot waiting for you). When you get to the end, stand just to the left of the finish line and let the cars launch you over it. Because why not?
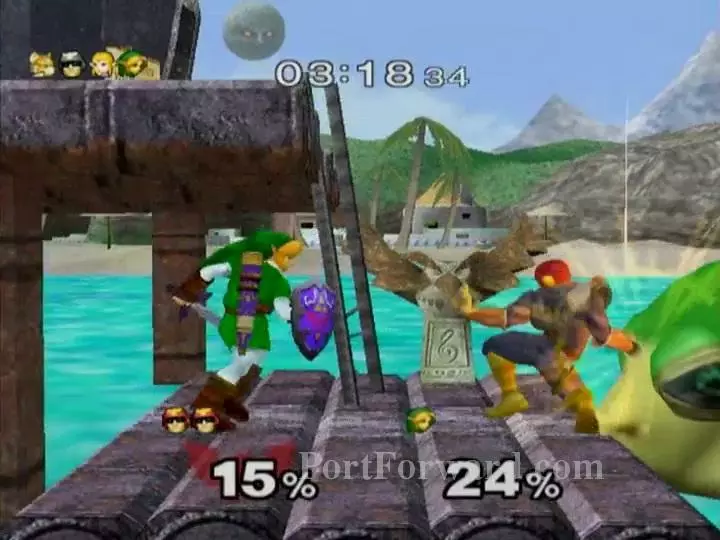
Event 34: Young Link isn't the best at killing Link by hitting him underneath the middle platform, so I found it best to rely on straight-up fighting him. Young Link's Down-Smash hits opponents more horizontally than Link's, so it's good for killing him off either side. Young Link also has a powerful Neutral-Aerial, and his Up-Tilt combos into itself much like his adult form's. When in doubt, you can always throw bombs and boomerangs from a safe distance.
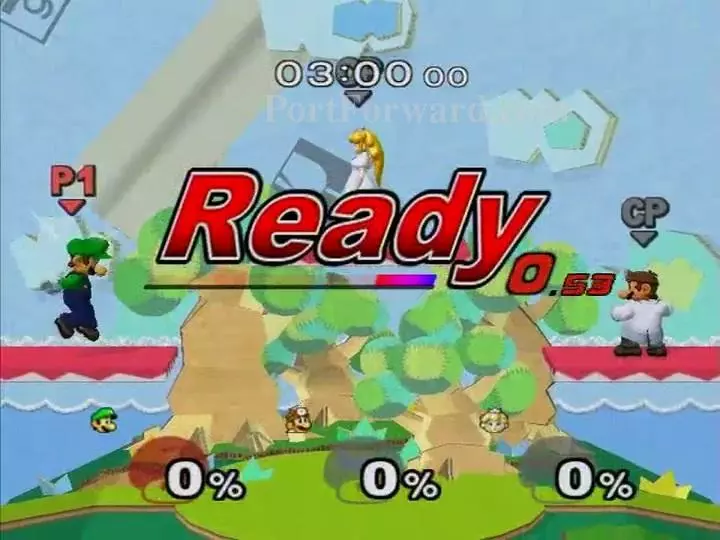
Event 35: Luigi has several strong, high priority moves. You should rely mostly on his Aerial attacks (they're all good) and Down-Smash. Both Peach and Dr. Mario have recovery moves that send them at a slight upward angle, so Luigi can grab the edge and use Back-Aerial to take their stocks quickly. Down-Smash is a powerful move on the stage, and Forward-Aerial and Down-Aerial are great for hitting them off of it.
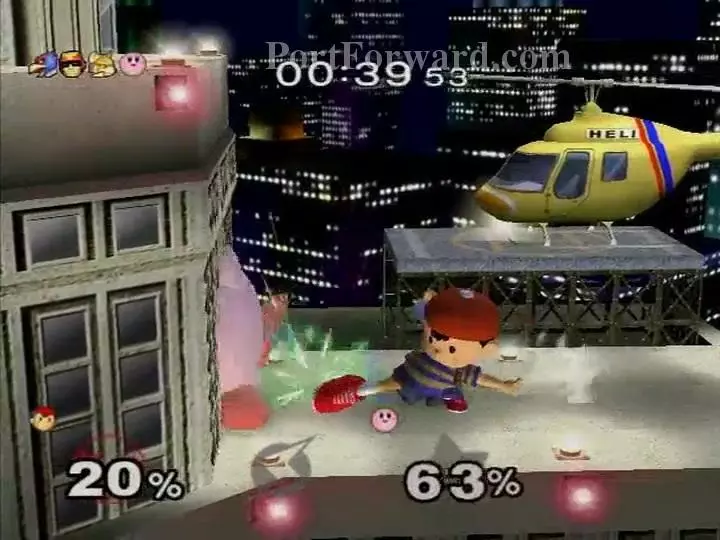
Event 36: Brief overview of how to play Ness against CPUs: Down-Aerial/Up-Throw hit opponents up for combos, Up-Tilt/Up-Aerial continue those combos, and Back-Aerial/Back-Throw/Forward-Smash are good killing moves. For quick damage, push the opponent into a wall and Down-Tilt repeatedly. Ness' recovery is poor (he has to awkwardly hit himself below with his Up-B), so try not to end up offstage.
Event 37: [Unlocks Pichu] Grab all the Pokeballs. They'll all be Legendary Pokemon, which generally deal tons of damage. It also works well to use Rest on the wireframes with Jigglypuff, as they'll normally wake you up right away with a weak attack.
Event 38: Falco is great for this event match, since his Down-Aerial sends opponents into those pits at the perfect angle, and his Forward-Smash is strong enough to kill them off the sides at low percentages. Also, Falco is just a very powerful character overall, so almost any combination of his attacks will make short work of these three. Other good choices are Falcon (Down-Aerial + Knee) and Fox (Up-hitting moves).
Event 39: Again, Jigglypuff has the strongest move in the game: Rest (Down-B). Its two downsides are that it has minimal range--basically the space between Jigglypuff's eyes and mouth--and that Jigglypuff falls asleep for a while afterward. The former isn't a problem when your opponents keep walking on top of you, and the latter isn't when they keep jabbing you to wake you up. So just use Rest over and over.
Event 40: Events 40-50 appear once you've unlocked all the hidden characters and stages. I chose Marth for variety's sake. For relatively neutral battles like these, you should generally pick the character you're best with, although Marth happens to be good against all of these characters. None of them can really get past his Forward-Smash (except Marth himself) and Marth can do Backthrow to Forward-Smash on Jigglypuff at low percentages. Also, Marth can Forward-Throw, run forward, and Forward-Throw again against all of these characters at lower percentages, pushing them toward an edge.
Event 41: Marth definitely has the advantage in this character match-up. Throw link upward, then Up-Tilt him repeatedly as he tries to get back down. Keep him on the upper part of the stage so that you can actually kill him. Forward-Smash is good to use, but that should be no surprise by now.
Event 42: Okay, this one can actually give you some trouble if Bowser doesn't self-destruct at some point. I found this very specific strategy to be your best shot: from your starting position, repeatedly use Up-Tilt and Bowser will soon jump into it. Eventually, Bowser will most likely fall off to the left and die. The stage will rise, meaning this only works for his first stock, but the general rule of trying to get giant characters to kill themselves still applies. Hit him off of the slippery Pokemon floats as much as possible; Up-Tilt combos are great for racking up damage, too.
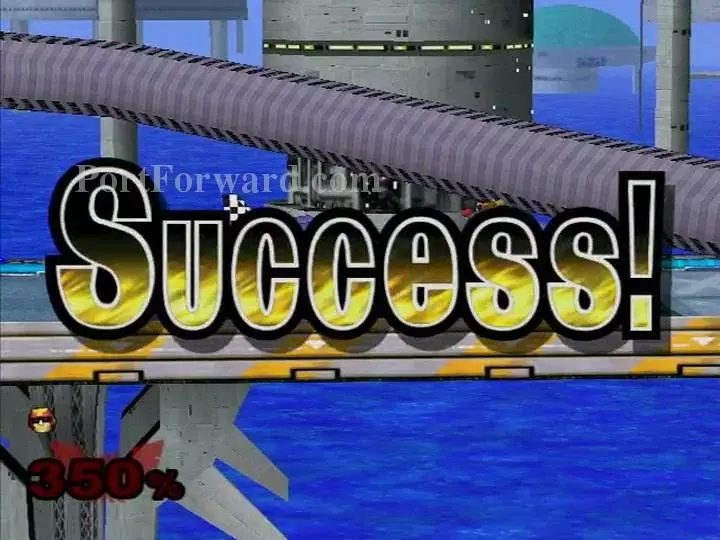
Event 43: Big Blue is a wacky stage. Anytime a CPU character lands on the road, it will lay there long enough for the moving stage to kill it. Jump down onto one of the cars, and either Back-Throw or Reflector your enemies onto the road.
Event 44: As the description says, avoid Zelda and wait for Mewtwo to appear. All you have to do is kill Mewtwo on a relatively uneventful stage, so there isn't much strategy here; pick whichever character you prefer to fight with. Some good choices, for reasons mentioned ad nauseum throughout this guide, are Marth, Fox and Falcon. Sheik, Falco and Jigglypuff will work just as well. Mewtwo is a weak character, so don't overthink it.
Event 45: These 25 weak Game&Watches are especially easy to kill on this tiny stage. Use Down-Tilt as they fall on top of you to defeat them as quickly as possible. Watch out for random falling tools and Game&Watch's Side-B move, which can OHKO you if it gets a "9."
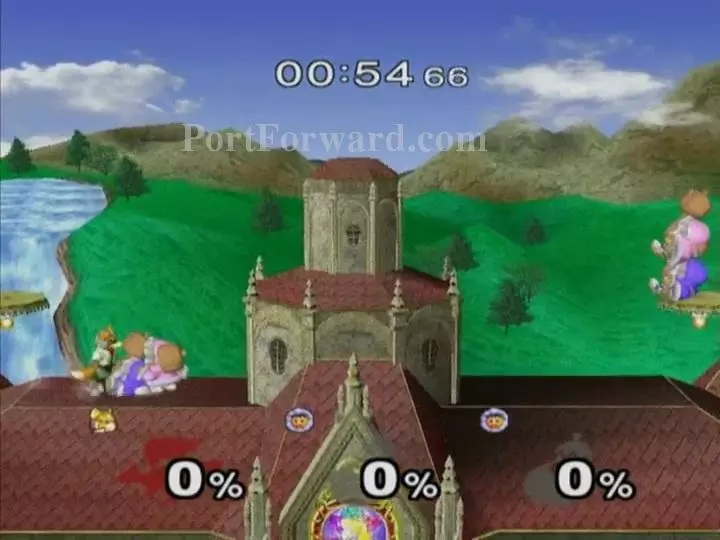
Event 46: This fight doesn't have a simple gimmick for you to rely on, so it's best to pick a character that 1) you feel comfortable with, and 2) can separate Marth and Roy easily. I chose Falco because he can ruthlessly combo pretty much any character, and the big stage allowed me to divide and conquer. His Down-Aerial spike also helped kill them more quickly at the sides of the stage, and they had a habit of walking right into his Forward-Smash, as in this picture.

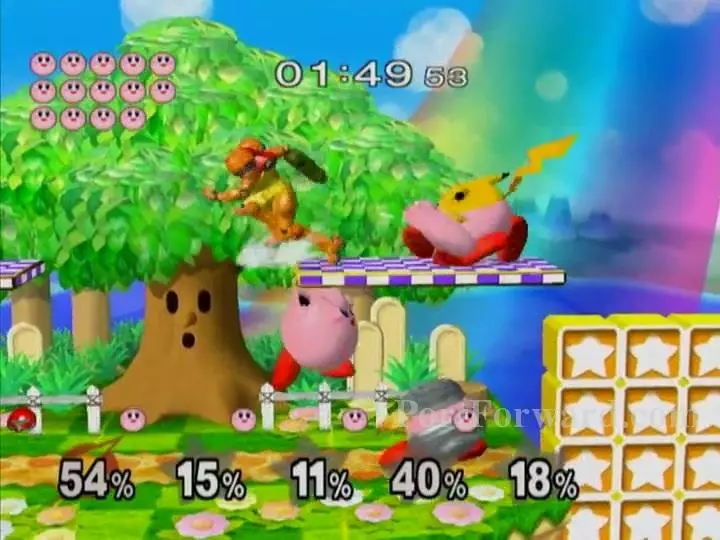
Event 47: I tried out several characters for this one, and Marth was clearly the best choice. While standing in this spot, he can Up-Tilt anyone who attacks from above and Forward-Smash through the big yellow spikes to attack where Kirby is standing. The characters you fight are randomized, but it doesn't really matter who they are since none of them can deal with this setup. If any of them do sneak into the middle area, continue using Up-Tilt to hit them back up and out. If all three of them get down there somehow, use Down-B (counter).
Event 48: This one is harder than it looks. The goal is to defeat both Pichus, but Pikachu is the one chasing you down all the time, and they're all stronger than usual. I found it easiest to pick Jigglypuff, rack up some damage on each of the Pichus separately, then use Rest to kill them quickly (though they still live up to much higher percentages than usual). Ignore Pikachu as much as possible.
Event 49: Another series of regular battles which you should probably use your preferred character for. Marth is a great choice since the layout of most of the stages makes it easiest to kill enemies horizontally (Forward-Smash) and avoid taking damage at the same time. Falcon is good for the same reason (Knee). But of course, there's nothing Falco can't handle.
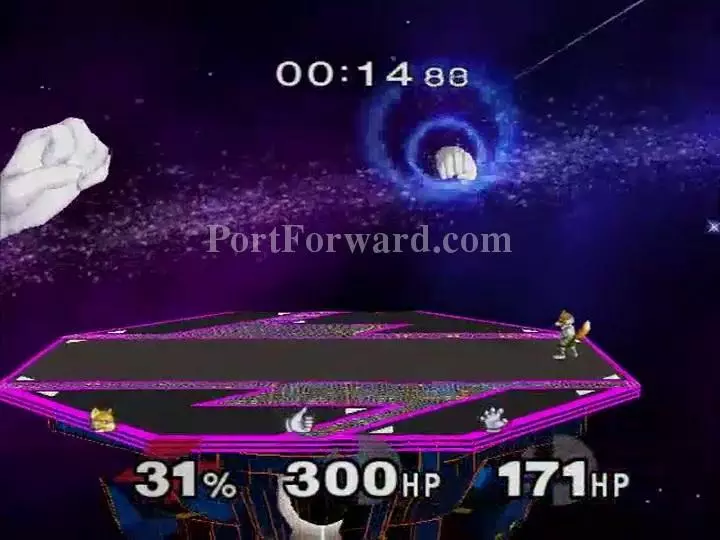
Event 50: This one is really open-ended. You want a character that is fast, doesn't die easily, and has strong aerial attacks. After trying several such characters, Fox turned out to be the best one for the job. His Up-Aerial and Down-Aerial combined with his speedy jumps gave him more than enough damage output. It's best to kill the right hand (Master Hand) first since the battle is much harder when they're both alive, and Master Hand is easier to kill individually. Crazy Hand flails around a lot more, but this isn't a problem once Master Hand is dead. It will still stick to the left side of the stage, so Fox can wait in Master Hand's spot and shoot lasers to deal safe damage. When Crazy Hand uses its own lasers or misses with an attack, move in and use Up-Aerial and Down-Aerial.
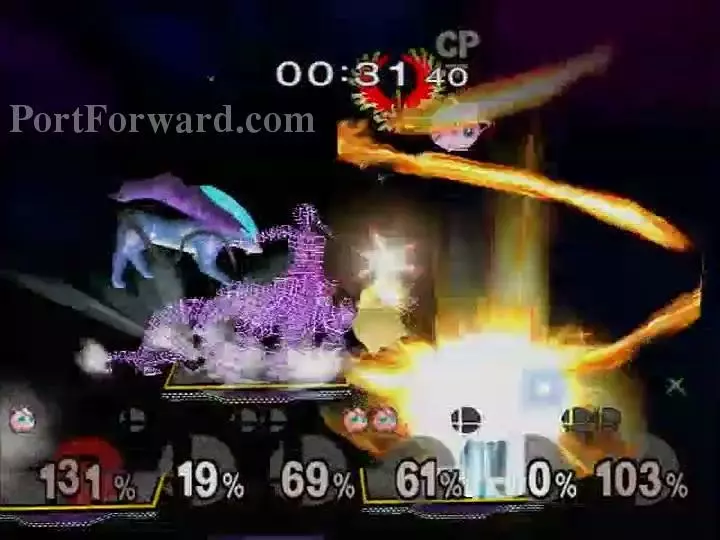
Event 51: [Unlocks Final Destination] Event 51 can be challenging if you don't know the trick to it. Pick Jigglypuff. First, hit Giga Bowser once or twice to get him to around 30%, then use Rest to kill him. Do this three times. Now, grab either edge. Mewtwo and Ganon will bunch up above you, and occasionally, Mewtwo will fall off the edge while charging Shadow Ball or Ganondorf will Up-B off of the stage and fall to his death. Alternatively, while onstage, do the same trick to either Mewtwo or Ganondorf: hit them a few times, then use Rest. The easiest way is to wait for Ganondorf to miss with Up-B (why does he keep doing this?), leaving you with a simple 1 vs. 1 with Mewtwo. When in doubt, use Jigglypuff's surprisingly long-ranged Back-Aerial to keep opponents away. Her Forward-Smash is also a great killing move.
More Super Smash Bros Melee Walkthroughs
This Super Smash Bros Melee walkthrough is divided into 6 total pages.


