
This Super Smash Bros Melee walkthrough is divided into 6 total pages.
You can jump to nearby pages of the game using the links above.
6 - Advanced Techniques and Protips
By the way, I've actually been playing Melee competitively in tournaments for several years now, and I thought it would be nice to include a general overview of some of the game's most important advanced techniques. This list is by no means exhaustive and is in no particular order (the order of importance varies by character and matchup anyway), but any prospective Melee player will need to master all of these skills to truly be able to compete.
Spacing: The concept of aiming to hit the opponent with the farthest reach of your attacks, keeping yourself optimally safe while swinging for a hit. Without proper spacing (and timing), all of your attacks become useless. Also called "zoning" in most other fighting game communities. To quote Futurama: "Instead of shooting where I was, you should have shot where I was going to be."
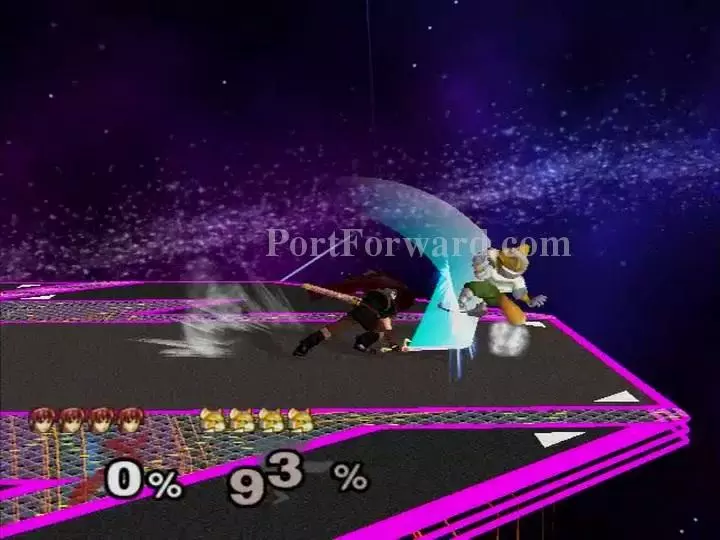
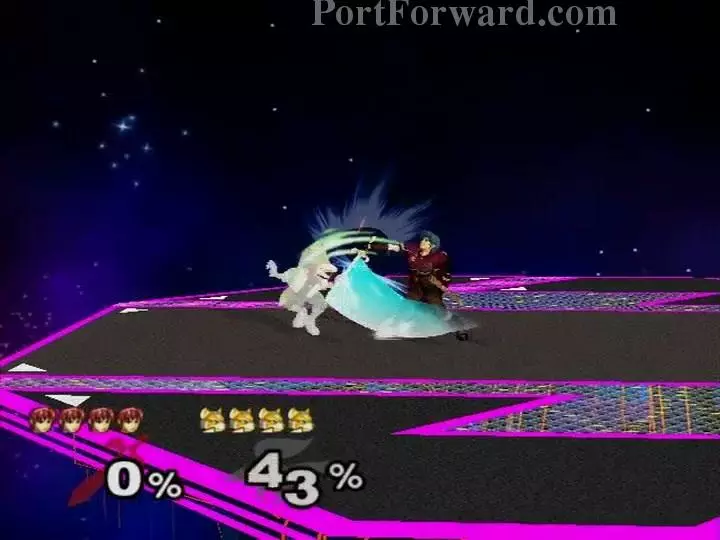
Directional Influence: Used to affect your trajectory after getting hit, both to both escape combos and to survive much longer when hit by potential killing moves. While in Hitstun (you just got hit and can't act temporarily), hold the control stick in a direction PERPENDICULAR to your trajectory. If the move hits you straight upward, hold left or right. In this case, Fox did not "DI" Marth's Up-Throw; had he done so, he could have wound up near the edge of the stage, or equally far behind Marth. Think of DI as yanking yourself out of a tractor beam. It's tempting to hold the direction opposite to your trajectory (get hit up, hold straight down), but that actually does nothing. Directional Influence distinguishes Melee from most other fighting games by forcing opponents to improvise combos, rather than simply memorizing inputs.
Wavedash: Probably the most well-known Melee technique. Simply jump and immediately airdodge diagonally at the ground. If done quickly enough, you will slide a noticeable distance. Wavedashing is actually a relic of the game's physics: the momentum of the airdodge is what pushes you along the ground. It doesn't do much on its own, but is powerful in the hands of an expert. For instance, wavedashing allows you to retreat while still facing your opponent, and it's often the best option to get away from shield pressure, or to punish an opponent's mis-spaced attack on your shield. And if you're Luigi, well...
Combo: The simplest concept of all. True combos in Melee are sequences of moves from which the opponent cannot escape (i.e. they are still in "Hitstun" by the time the next attack connects). Combos are affected by many factors, including move selection, spacing, weight, damage percentage of the character getting hit, and Directional Influence.
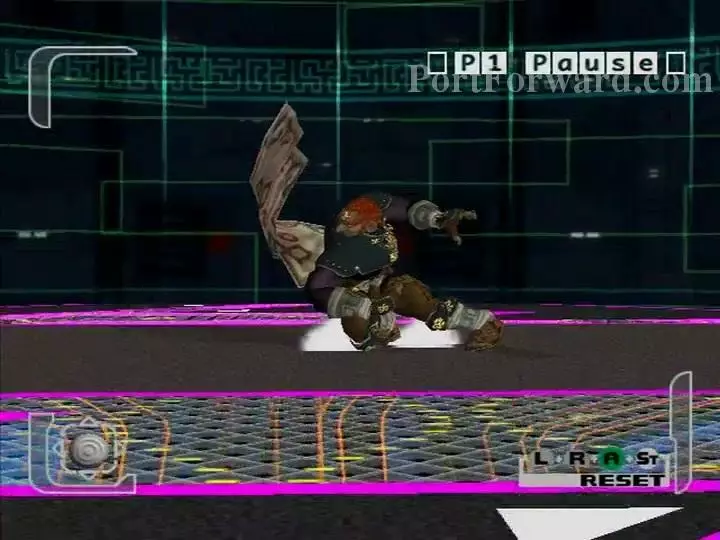
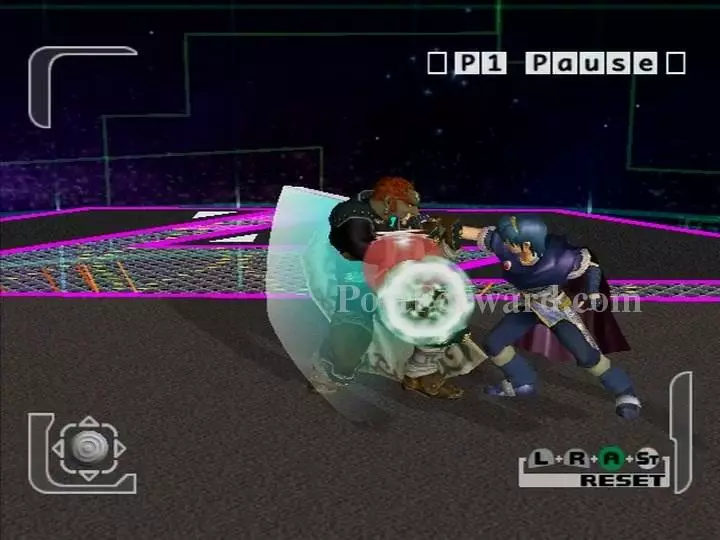
L-Cancel: Jump, use an A button aerial attack, then press L, R or Z as your aerial attack touches the ground to halve its landing lag. This vastly increase a character's speed and allows for many combos and movement setups that would not be possible otherwise. (It doesn't work with B button aerials.) This feature was actually included intentionally by the developers, and was in the original Super Smash Brothers as well. Here Ganondorf is L-Canceling a Forward-Aerial.
Edgeguard: The concept of hitting someone offstage, then preventing them from getting back on. Basically you want to keep hitting them until they're too far away to recover anymore. One trick is to grab the edge so that your opponent can't anymore. Since competitive Melee matches are always 4 stocks each, taking one of those lives extra-quickly is always a bonus. Conversely, dropping edgeguards extends your opponent's lifespan, which can drastically alter the momentum of the match. In this King-of-the-Hill style game, the ability to efficiently claim the hill is often what separates the good players from the great.

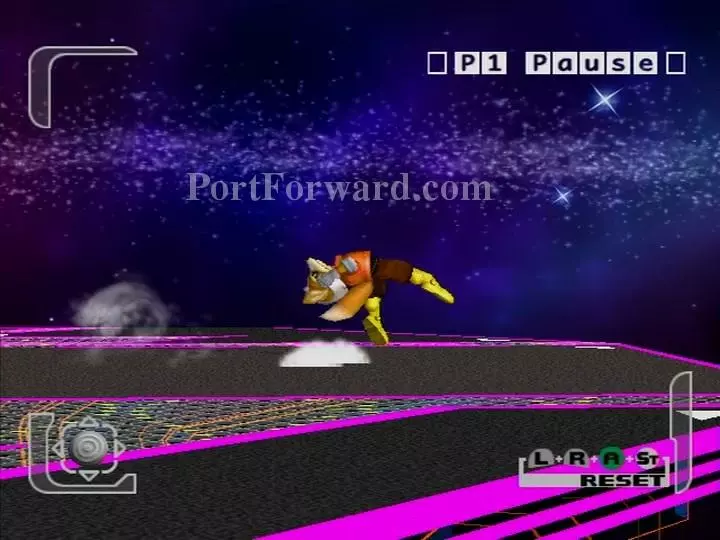
Dash Dance: Flick the control stick back and forth; you will repeatedly start one dash then cancel it with another dash. This is another important movement option. If you wait too long before starting the second dash, your character will instead enter a slow, annoying animation that serves no purpose. Dash dancing is used to quickly weave in and out of an opponent's range, both making it look as though you are vulnerable, and putting yourself in a position to punish any mistakes they make. Captain Falcon is the best at this since he has the fastest run speed and longest dash distance.
Teching: When a character in hitstun hits a solid surface, they can press L or R to "tech" and quickly bounce back. Holding the up direction while teching off of a wall will make any character wall-jump. Importantly, a character knocked to the ground can also tech-roll; it's different from rolling out of your shield.
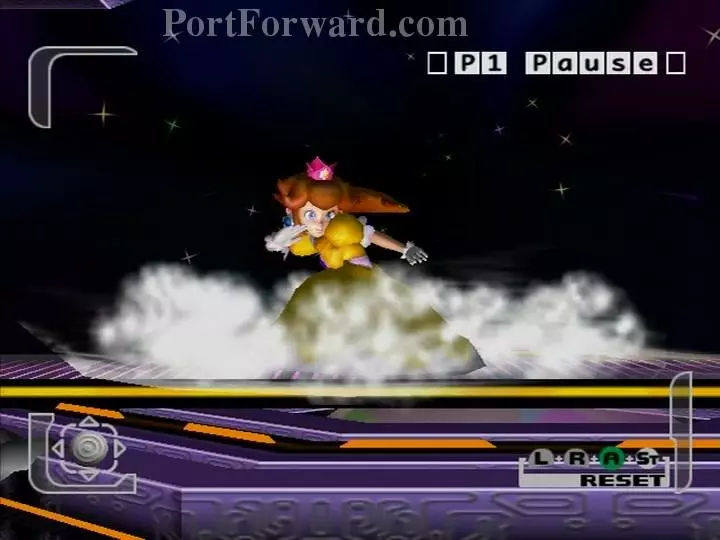
Crouch-Cancel: Hold down as an attack hits you to receive less knockback (self-explanatory) and Hitstun. In general, this works best against weaker moves and at lower damage percentages; strong enough moves against characters with enough damage will break through the Crouch-Cancel. A character's weight also affects their ability to do this. Essentially, Crouch-Canceling is just DI-ing down while on the ground, but it has the specific property of allowing you to act sooner than you normally could, which opens up a lot of options for certain characters. In particular, Peach and Samus benefit greatly from this technique, but it's helpful for every character.

C-Stick: Melee's developers seemed to think the C-Stick would only be used by new and inexperienced players. In reality, it's almost mandatory for competitive players. Not only does the C-Stick use Smash attacks more quickly and without any potential to fail the input, it also allows you to do things like activating Down-Aerials while rising from a jump, or using a Forward-Aerial while jumping backward. I find it incredibly disorienting to do anything in the game's 1-Player modes--the loss of C-Stick feels almost equivalent to deactivating one of the main buttons.
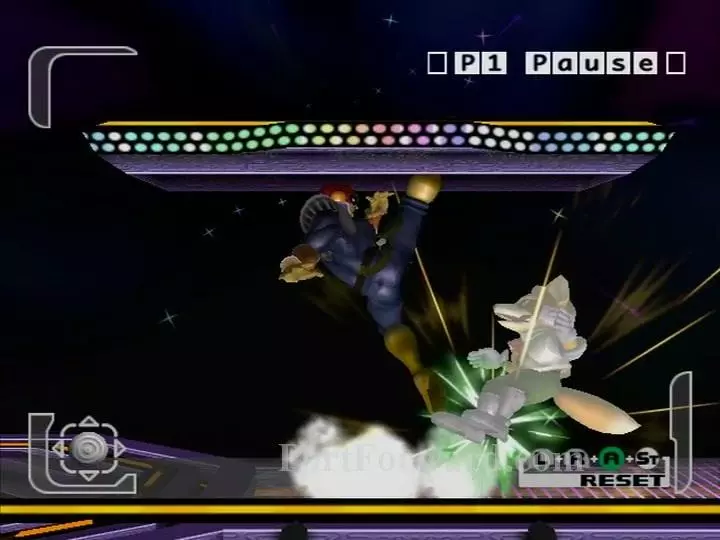
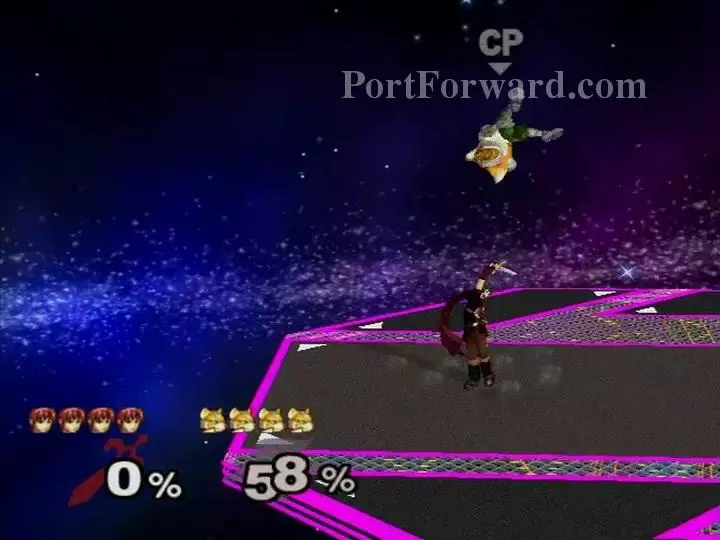
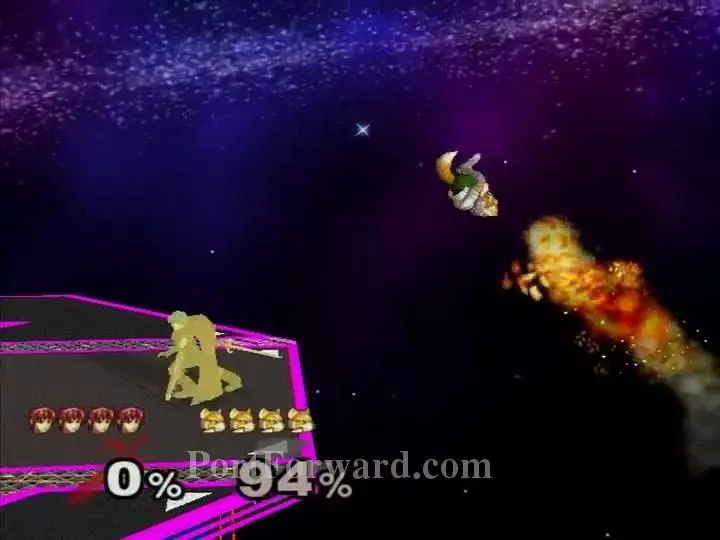
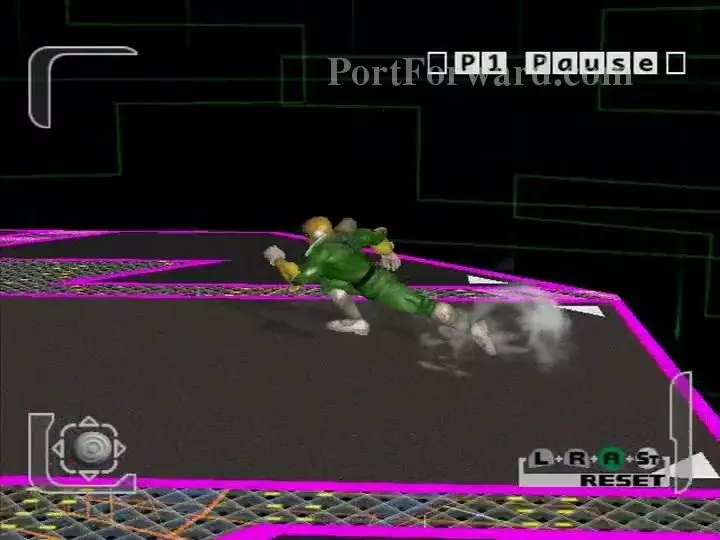
Tech-Chase: Knock a character to the ground, then follow them around and hit them repeatedly. Similar to a combo, but notably different in that the opponent has four options once they hit the ground: they can tech in place, tech roll, stand up in place, or "miss" the tech to lie on the ground before choosing one of the first three. Tech-Chasing is an important way to rack up damage on an opponent, especially for characters like Sheik which have fewer "true" combos but can chase characters around on the ground for an entire stock. Here, Falcon reacted to Fox "missing" tech by running up and using an Up-Smash. Fox is probably about to die.
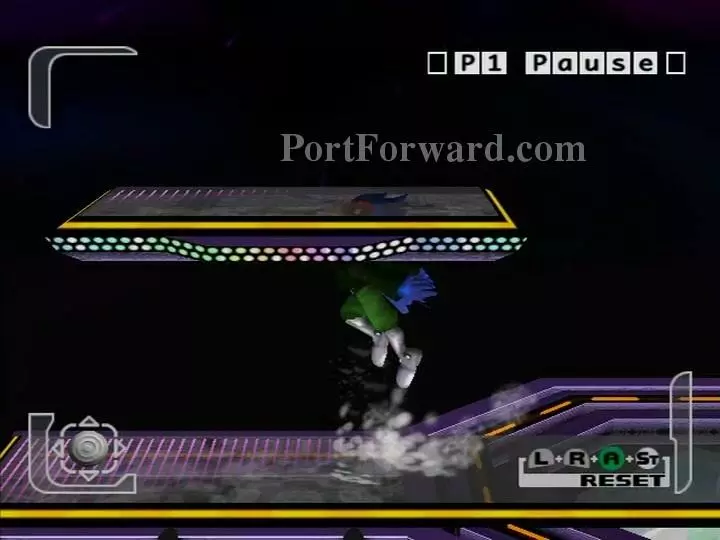
SHFFL: To Short Hop, or jump to a lower height than usual, lightly tap the Y button/X button/control stick upward. Every character has two jump heights. Falco's Short Hop peaks at only this point, whereas his normal jump takes him all the way to the top platform. You can also "Fast Fall" by holding down on the control stick just as you reach the peak of your jump. Combining these two with L-Canceling yields the ultra-fast "SHFFL'd Aerial:" a Short Hopped, Fast Fallen, L-Canceled aerial attack.
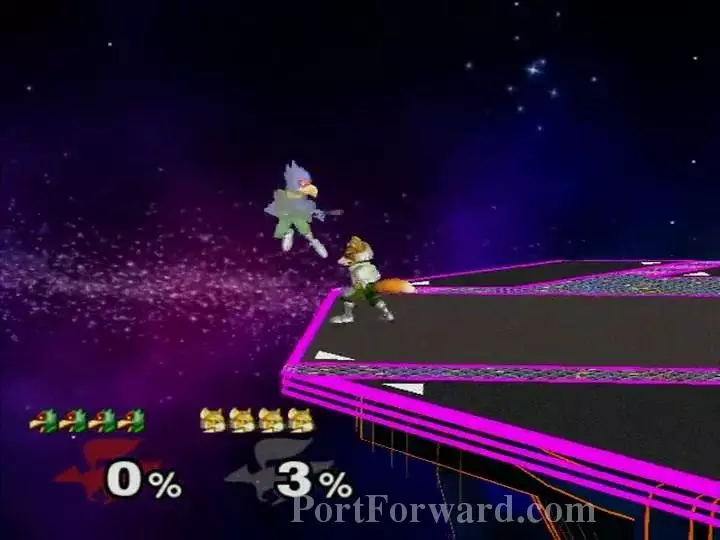
Edge Hop: Press the control stick down or backward while holding the edge to get off from it, then immediately jump. This is a more controlled way to get back onto the stage; the default jump from the edge, simply by pressing Y/X/control stick upward, is much slower and generally inferior. With an Edge Hop, you can come back onto the stage with an attack or a Wavedash. Here, Falco is Short Hopping and firing two lasers directly from the edge.
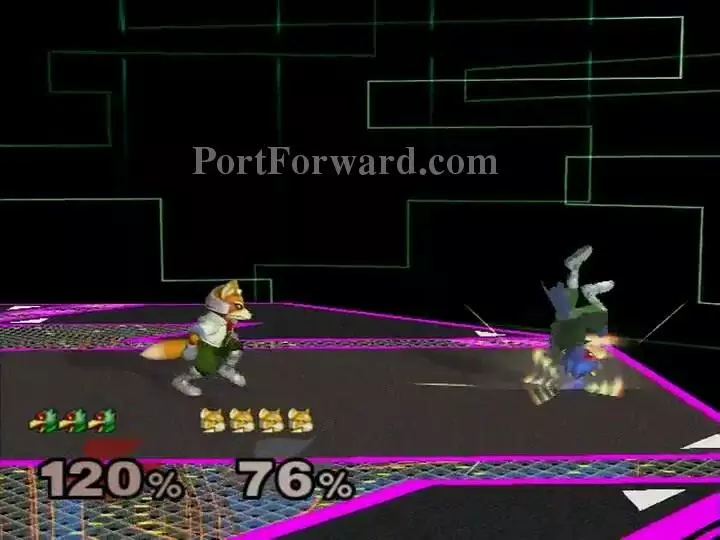
Shield Pressure: Competitive Melee works a little bit like Rock-Paper-Scissors. Shield beats Attacks, Grab beats Shield, Attacks beat Grab. But grab only works on the ground, and is often a slow and easily avoidable option. The alternative is Shield Pressure: unleashing a barrage of attacks on the opponent's shield, pressuring the opponent to do something before their shield depletes to the point it can be hit through or broken. Fox and Falco are capable of fantastic Shield Pressure, thanks mostly to their Shine (AKA Reflector) moves, which start in 1/60th of a second, are initially invincible, and can be canceled immediately by a jump (which leads into a wavedash or aerial attacks). Scary.
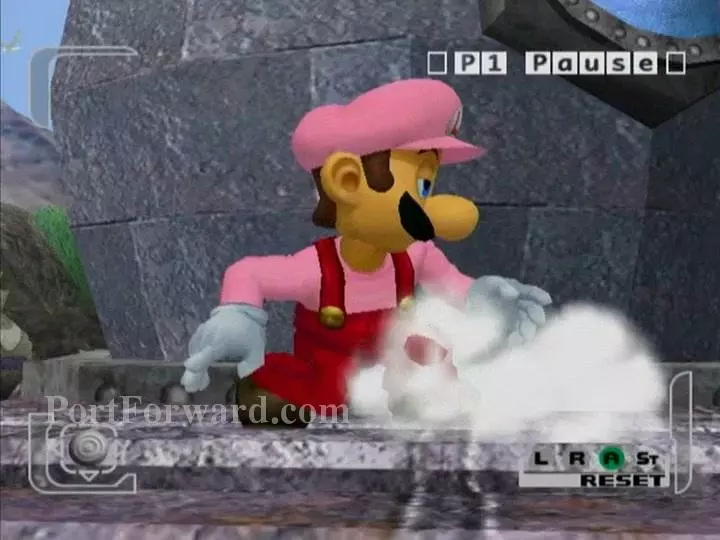
Jump-Cancel: Cancel your jump with an attack. There is a short period of lag after pressing the jump button during which you can interrupt the jump with a specific set of moves. These moves are grab, Up-Smash, Up-B, and item throw. Jump-Canceling a grab works by running, then jumping while instantly pressing Z: you end up doing a standing grab while sliding, which is superior to the dashing grab for many characters. This also allows you to run then immediately use an Up-Smash; the mist behind Fox indicates that he Jump-Canceled this Up-Smash out of a dash. Since you can jump out of shield, it's also possible to do Jump-Canceled attacks out of shield. [Confusingly, this term also sometimes refers to canceling a move with a jump--the reversed order of operations--as is possible with the shield and Fox and Falco's Shine (AKA Reflector)].
Moonwalk: Mostly pointless, but really stylish. Moonwalking is exactly what it sounds like: moving backward while in the running forward animation. Dash one way, then immediately hold the control stick in the opposite direction. The easiest way to do this is to first Dash Dance, then immediately after starting one dash, rotate the stick along the bottom half. This is the fastest way to move the control stick from one side to the other without activating another dash. For example, 1) dash left, 2) rotate joystick down toward right, hold right to slide right while still facing left.
More Super Smash Bros Melee Walkthroughs
This Super Smash Bros Melee walkthrough is divided into 6 total pages.


