
This Super Smash Bros Melee walkthrough is divided into 6 total pages.
You can jump to nearby pages of the game using the links above.
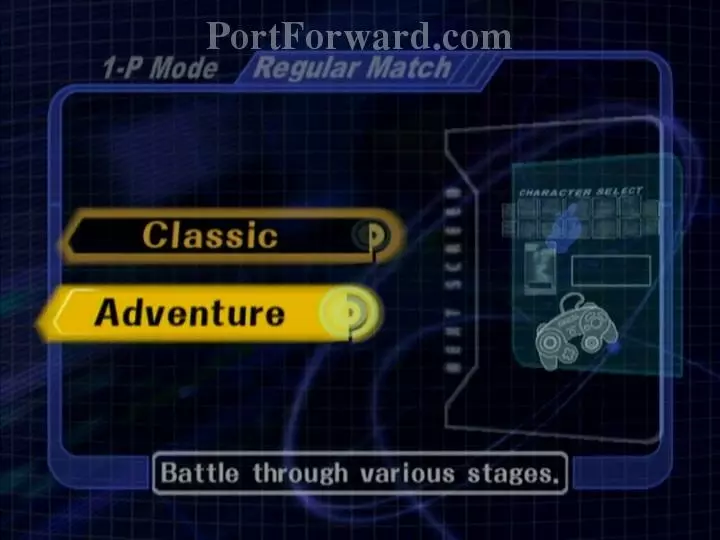
3 - 1-Player Modes
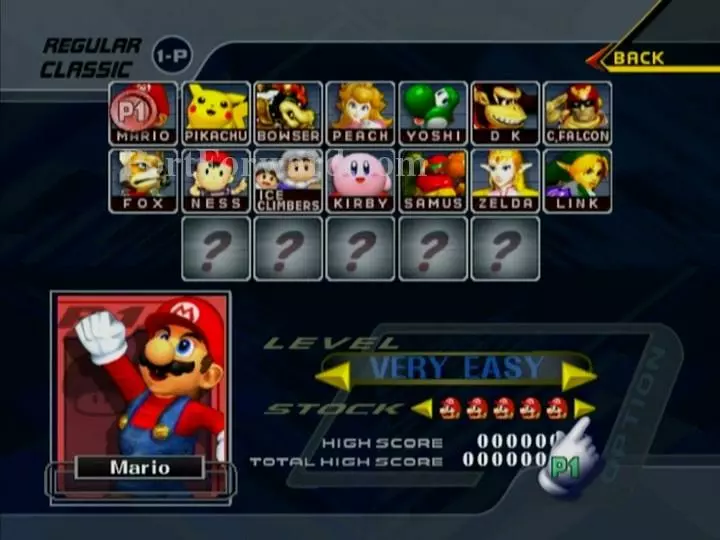
Classic Mode: The easiest of the three modes. This guide will complete Classic Mode as Mario and on Very Easy with 5 stocks, since this is the easiest way to unlock Dr. Mario, but the basic principles are the same for all characters. On Very Easy, all attacks will hit opponents farther than usual, and the computer-controlled AI is basically set to "Very Stupid."

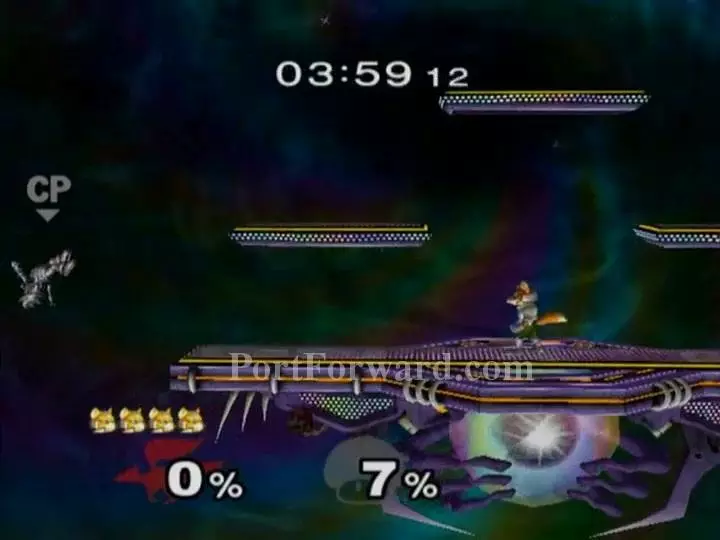
Stage 1: Bowser is a pushover. Hit him off the stage, then charge your Forward-Smash A attack. He'll usually throw himself into it. This is generally an effective tactic throughout Classic Mode, even on the harder difficulties. Watch out for the Big Bullet Bill, although only its explosion poses any real threat.
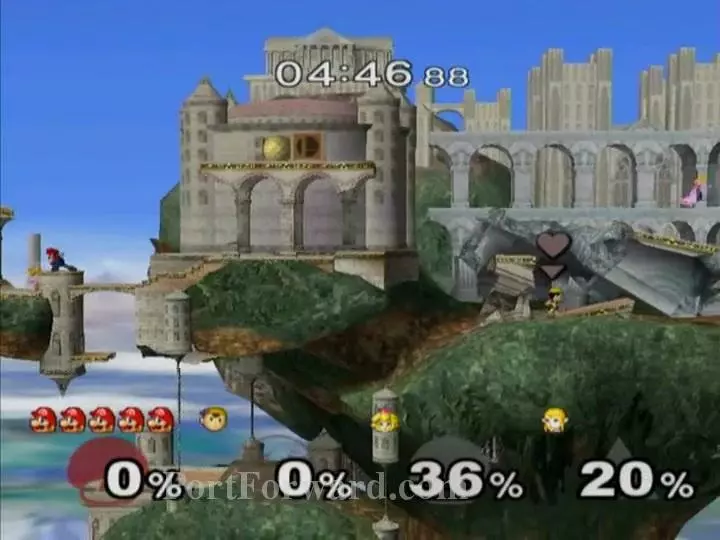
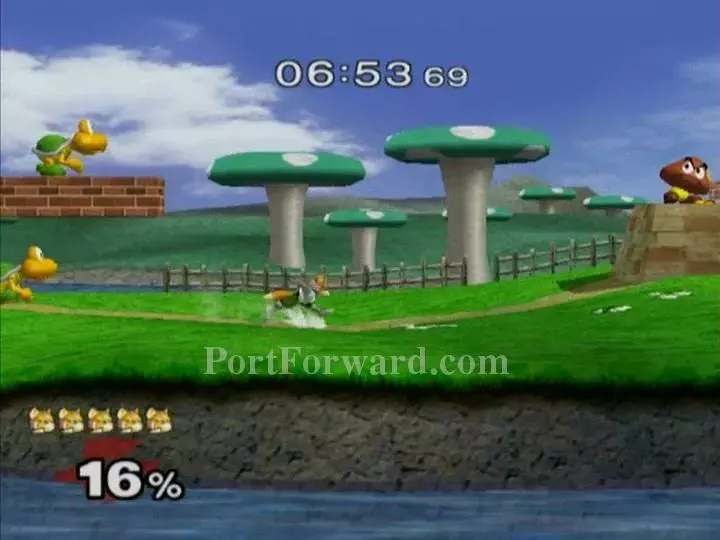
Stage 2: The CPU AI is pretty annoying. It will usually head toward any item drop, no matter how useless or far away it is, and it's just a hassle to chase them around on such a big stage. You'll generally want to stay on the top area since you can kill things faster up there. On Very Easy, your partner's AI is much smarter than the enemies'.
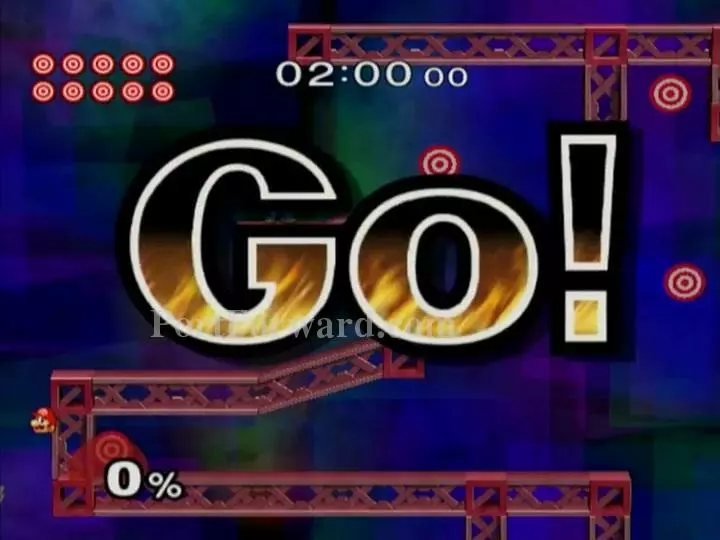
Break The Targets: You can finish this if you like, or run off the stage and self-destruct. It doesn't actually matter in Classic or Adventure Mode.
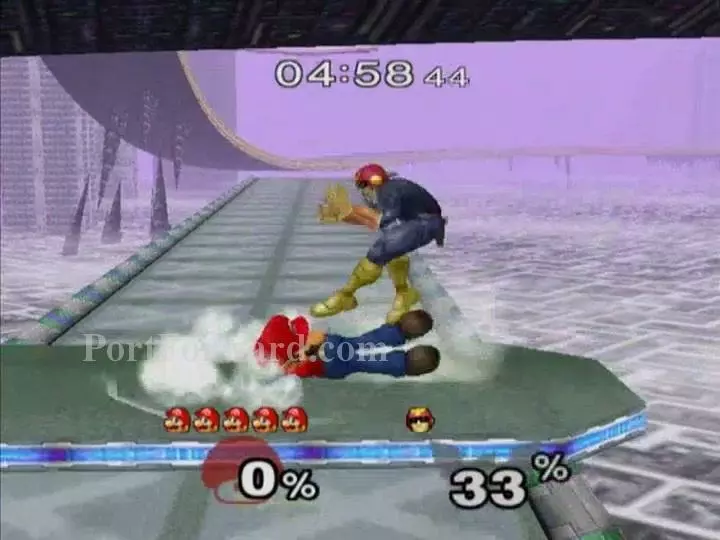
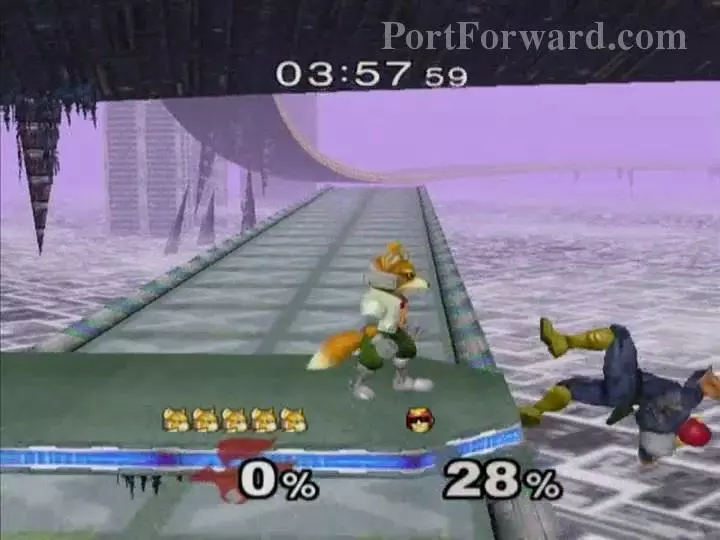
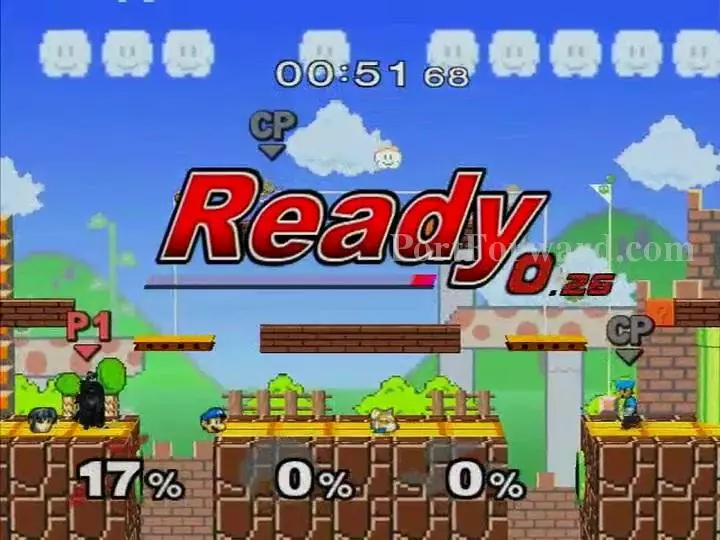
Stage 4: Another useful trick: use jab (A) then Down-Smash (A + down on control stick simultaneously). This sequence is a combo on the CPU characters, as well as most human opponents. There are no edges on Mute City, so you can charge up Smash attacks for as long as you want once Falcon gets hit off of the platform.
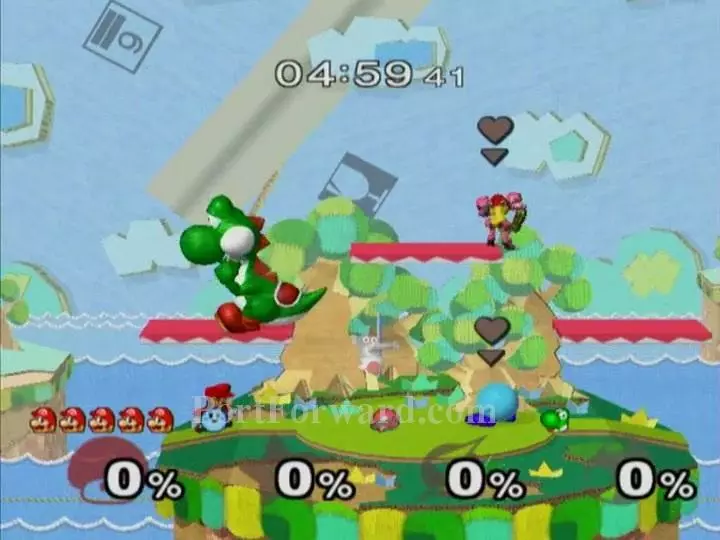
Stage 5: If you hold an edge, giant Yoshi will often throw himself off the stage for some reason. I surprised myself while recording this by killing him off the side with a single Forward-Throw at 0%.
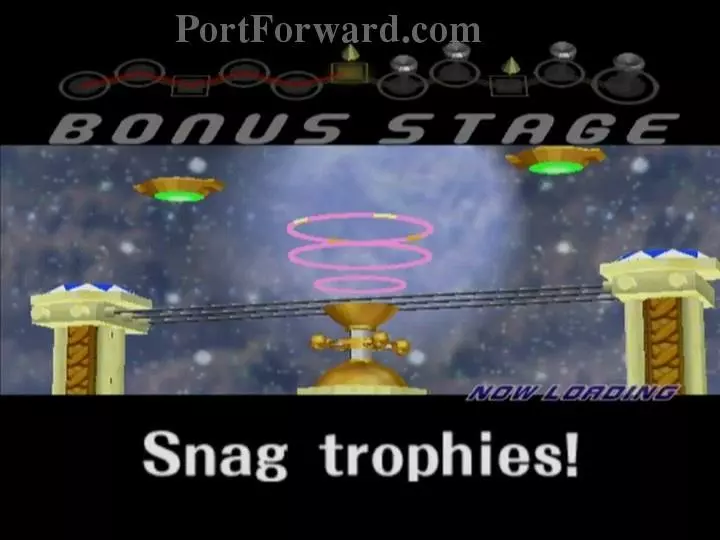
Snag trophies!: This is one opportunity to get that elusive Birdo trophy. Trophies will fall, and you'll want to hit them toward the centered container thing with any attack. By the way, most trophies are pointless, unless you're an obsessive collector.
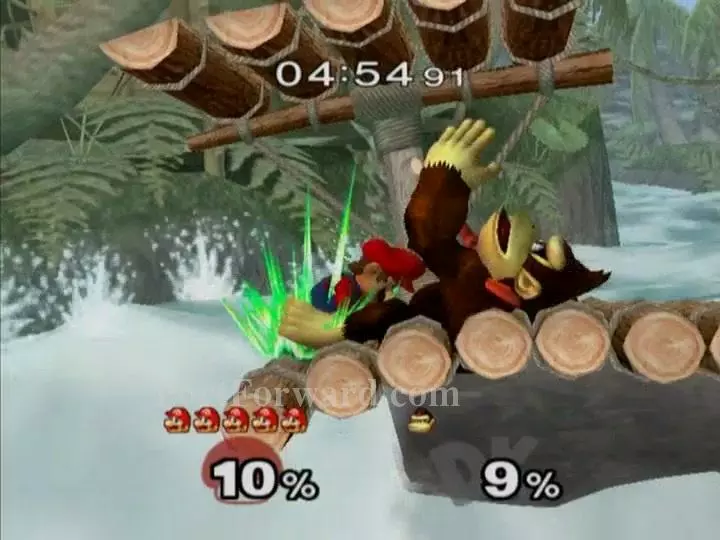
Stage 7: The classic rivalry. DK's recovery move (up-B) works much like Bowser's, so you can wait and charge a Forward-Smash against him too. Even on the ground, he'll usually walk right into it. Enjoy the DK Rap while it lasts.
Stage 8: Anytime the game gives you a legion of enemies to fight, they will all be much weaker than usual. On Very Easy difficulty, this means you'll have few moves that WON'T kill these Kirby's (Kirbies?) in one shot. So just...do...anything.
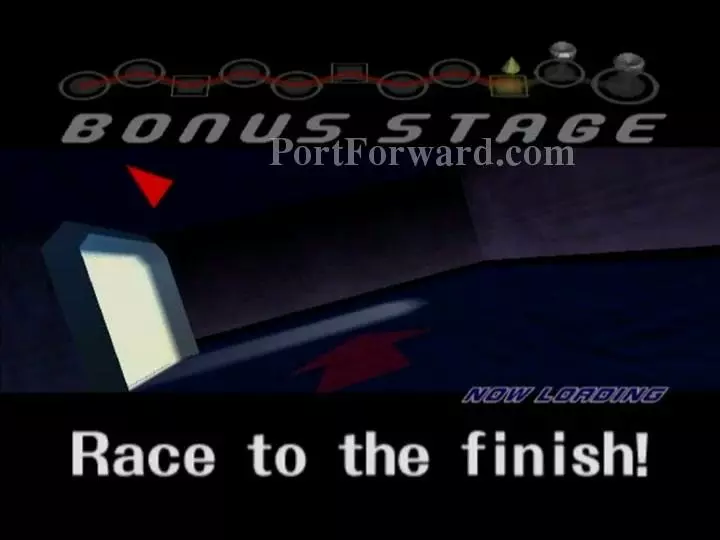
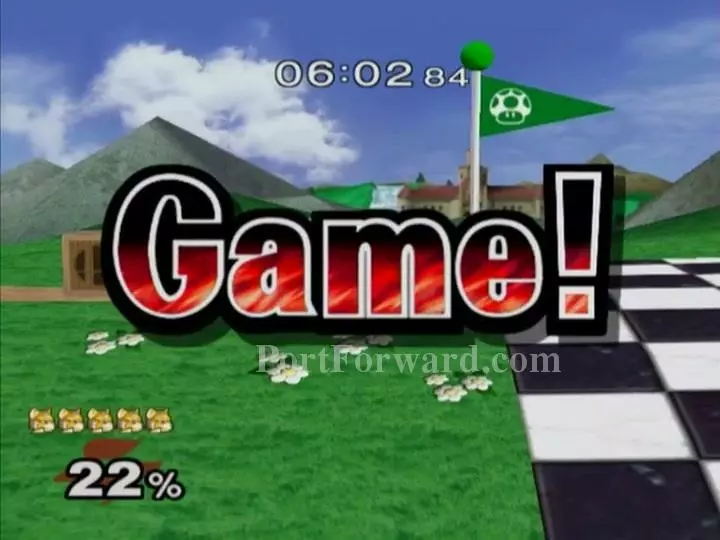
Race to the finish!: Again, completing this is unnecessary, but it's fun and you can't replay it later like the Break The Targets segments.
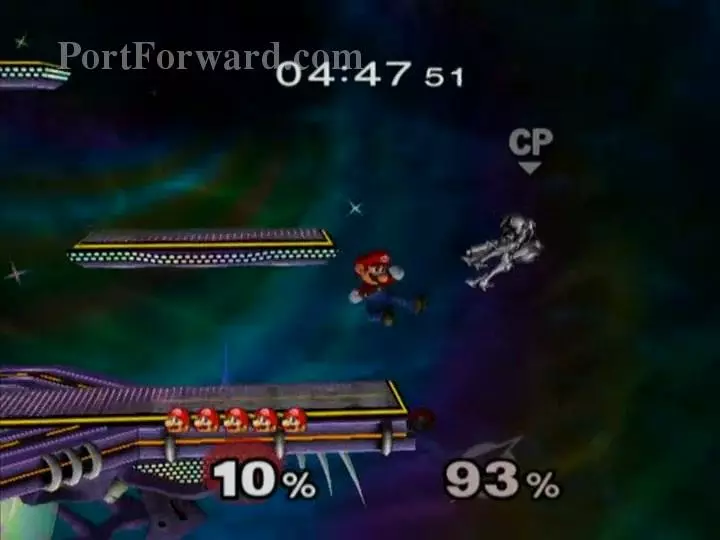
Stage 10: Metal characters can take a lot of hits, but they also drop like a rock, so try to hit them offstage as soon as possible. Strong moves like Down-Smash and Forward-Smash are preferable here. Actually, wouldn't some pure metals drop faster than a rock...?
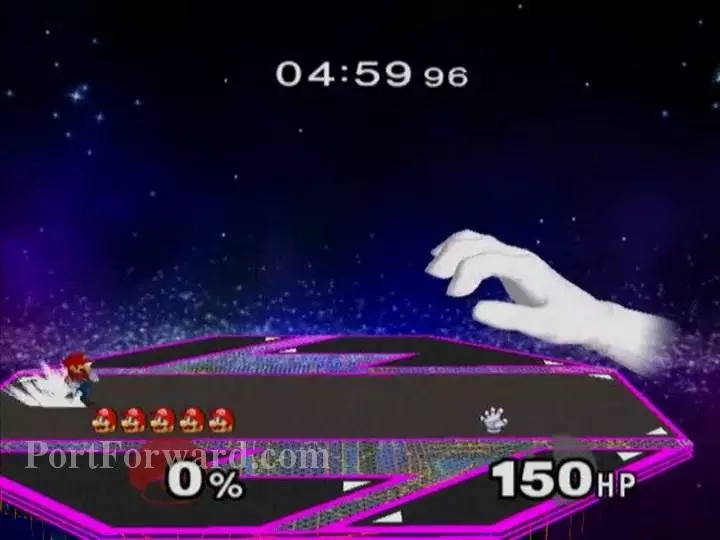
Stage 11: Master Hand is an unusual foe. He has 150 HP, and your attacks reduce his health rather than increase his damage, though the numerical values are the same. Mario's Down-Aerial A attack is a good choice here, as are his Smash attacks that will reach. Master Hand's attacks aren't as strong as they look, and can usually be dodged by Shielding and Rolling with good timing, or grabbing the edge and pressing R or L. You can walk behind its blue lasers and continue attacking.
Adventure Mode: The stages in this one are longer and more diverse. There's more of an emphasis on movement and exploration than straight-up fighting. This time, we're going with Fox, Very Easy, 5 stocks.
Stage 1: Fox is fast, strong, and can launch himself far upward and sideways, so he's the ideal choice for our purposes. Here, just keep progressing right until you hit a wall, then ascend it using the platforms. On top, kill all the Yoshis with Up-Tilt or Reflector (Down-B).
To unlock Luigi, cross the finish line when the seconds digit hits 2. He will replace Mario in the next area. Beat Luigi and Peach in under a minute and Luigi will appear as a challenger once you're done with Adventure Mode.
Just hit them both upward until they die. Fox's Up-Tilt, Up-Smash, and Up-Aerial A attacks are all very strong, and especially effective against Very Easy opponents.
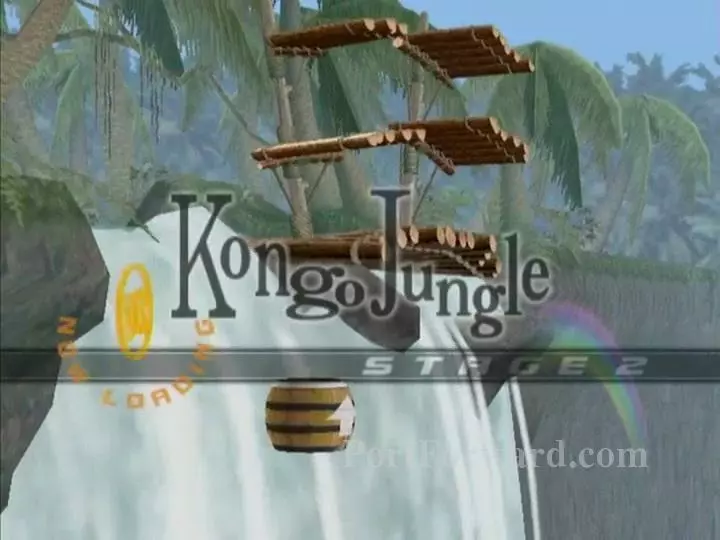
Stage 2: The two tiny Donkey Kongs are actually kind of trickier to fight than the normal-sized one, since they're so much harder to hit. But they also don't do much to you. If anything, the one difficulty here will be in them double-teaming you, so keep them separated and you should be fine. Upward-hitting moves work well, as usual.
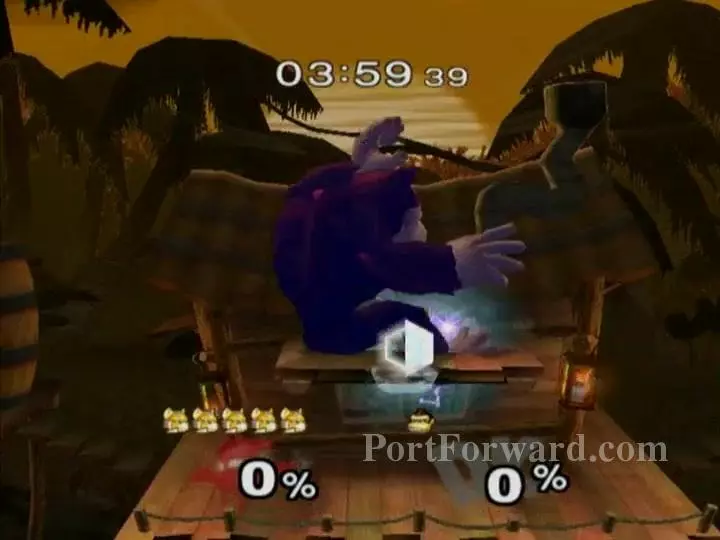
Giant Donkey Kong is a lot heavier, but the combination of Very Easy physics and the set knockback distance of Fox's Reflector (Down-B) make it a good choice against the huge target. In general, since DK is heavy and this stage has many pitfalls, you should try to hit DK into the water rather than killing him off the top. Those gaps in the floor are basically instant death for the stupid AI.
Stage 3: The Underground Maze is a unique area. Your goal is to find the Triforce, which will spawn randomly in one of several locations. All the other spots will have a Master Sword instead and will trigger a fight against Link. But...
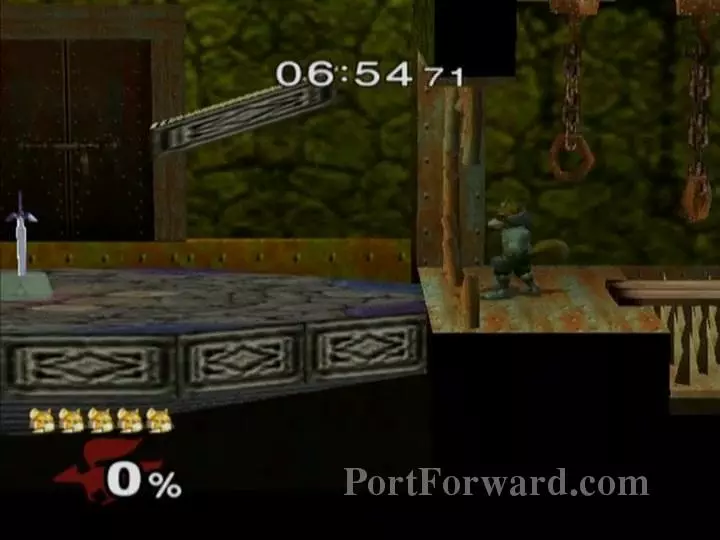
You can stand at this distance to check for the Triforce without initiating a battle. Also, some of these areas are blocking the pathways behind them, but Fox can either Side-B or Up-B to cross them without alerting Link. He only shows up if you stand on the ground. It's always possible to get to the Triforce without having to fight anything.
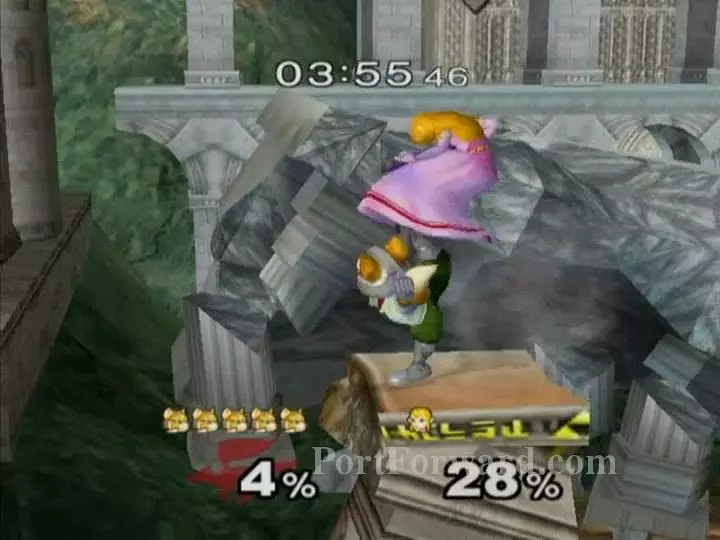
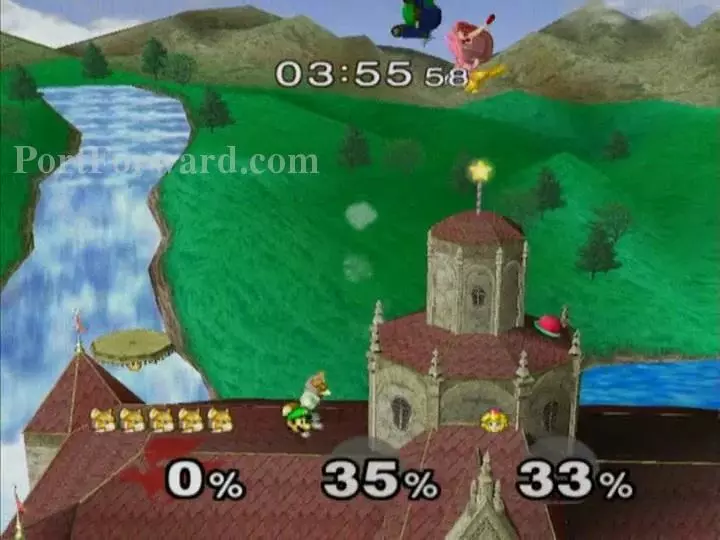
Afterward, you'll fight Zelda on Hyrule Temple. This picture pretty much sums up how to defeat her. Stay near the ceiling and hit her upward until she dies.
Stage 4: There's rising lava on the floor, so killing Samus off the top is still the easiest method. Of course, if it hasn't risen yet, you can use Reflector to prevent Samus from recovering and win even more quickly.
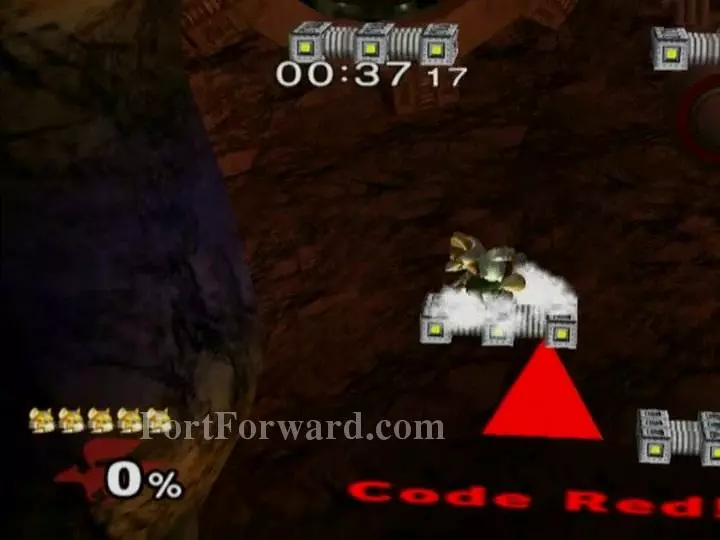
This bonus level resembles the escape sequence at the end of Super Metroid. Climb upward before Planet Zebes explodes, uh, Fox.

Stage 5: Funny story: this stage was actually banned from competitive Melee tournaments mostly because Fox is too powerful here. You can kill Kirby off the top at ridiculously low percentages.
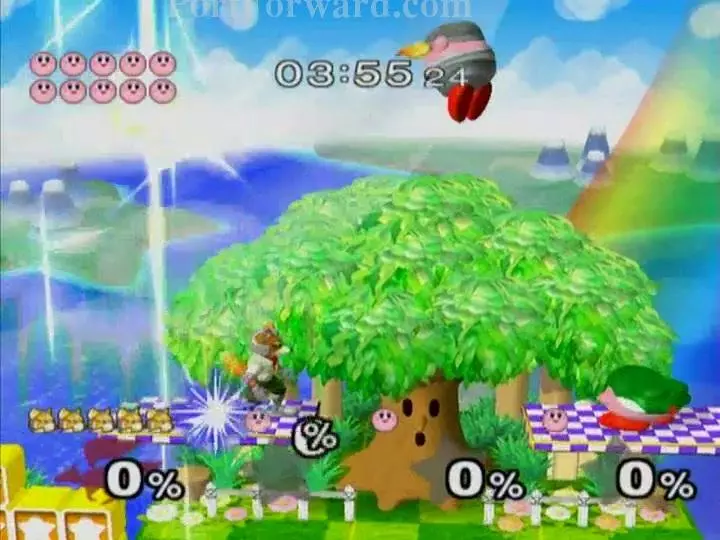
Doubly so for these even weaker Kirby clones.
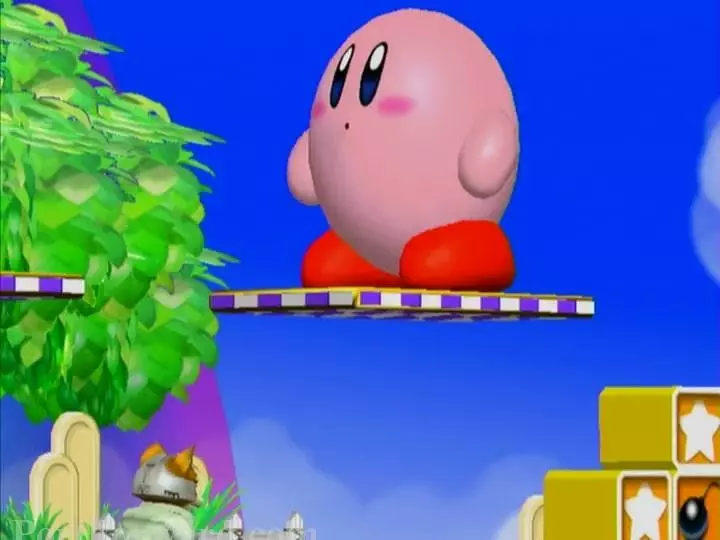
Defeating the Kirby clones fast enough will lead to a fight with this giant Kirby. He's heavier now, so you should aim to KO him off bottom or the sides. Hitting him with Reflector while he's recovering will usually end his life quickly.
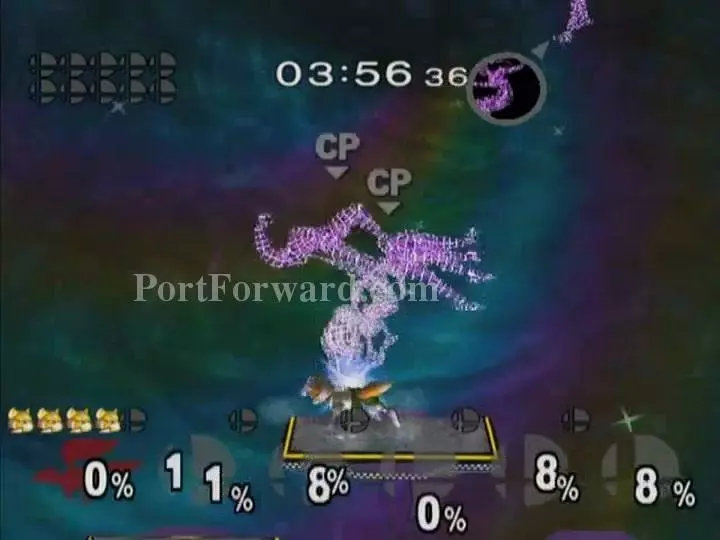
Stage 6: Fox is no match for Fox. Corneria also has a low ceiling, and the Great Fox's upper tip raises you very close to it. Still, on Very Easy, a charged Upsmash will kill the CPU Fox anywhere on the left side of the stage at around 40%.
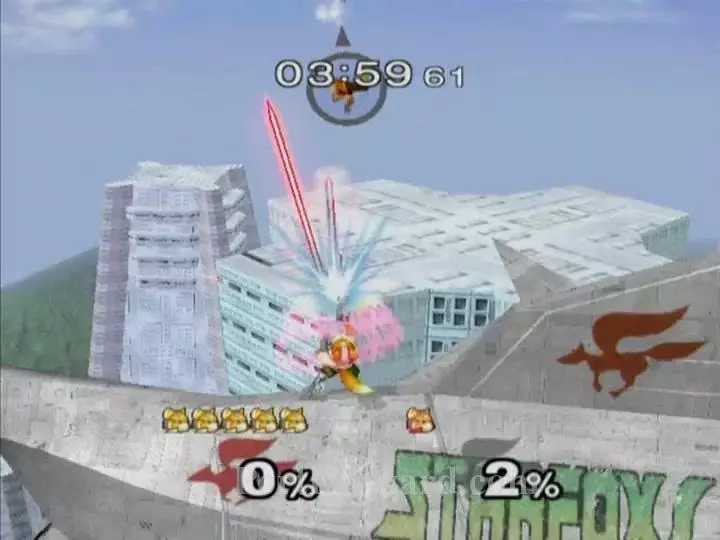
Fox's allies arrive for extra support. The other Fox's allies. They don't seem to recognize you. More Arwings appear to bombard you with lasers, but these can actually be reflected when they're angled to hit you directly. If you've already unlocked Falco, you'll fight him here instead of another Fox.
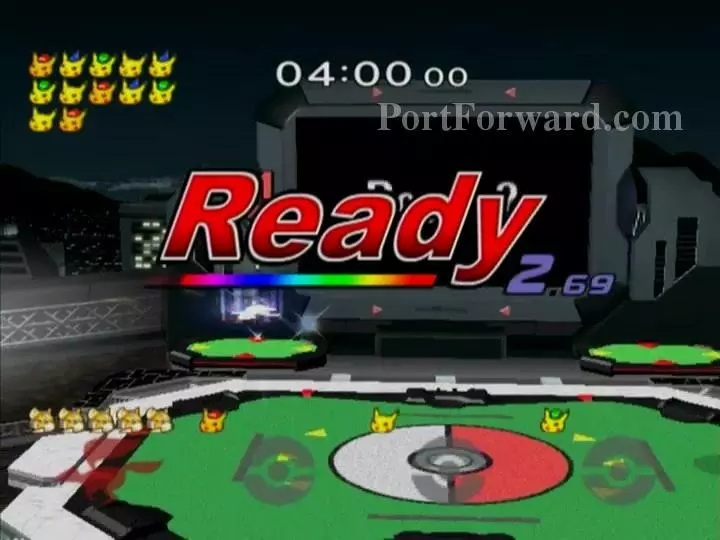
Stage 7: Up next is a horde of Pikachus (or Pichus) on Pokemon Stadium. There will be Pokeballs everywhere, so take them for yourself and let the Pokemon do all the work. Fun fact: if you throw a Pokeball and Fox reflects it, the game treats it as though Fox used it and the Pokemon allies with him instead.
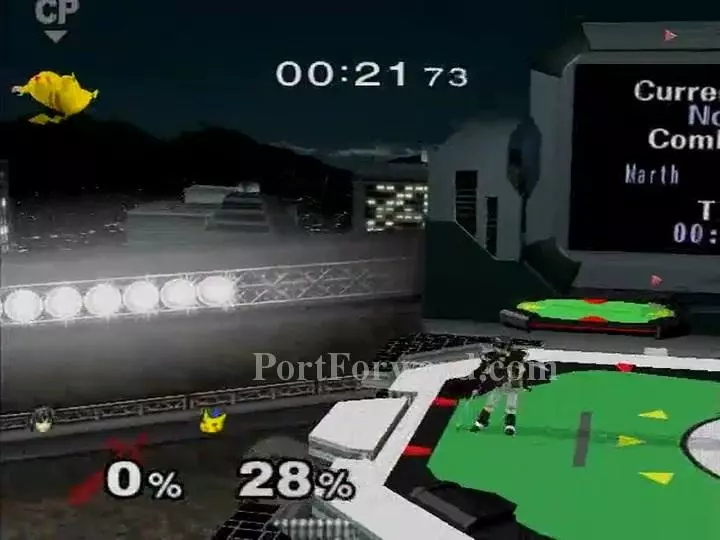
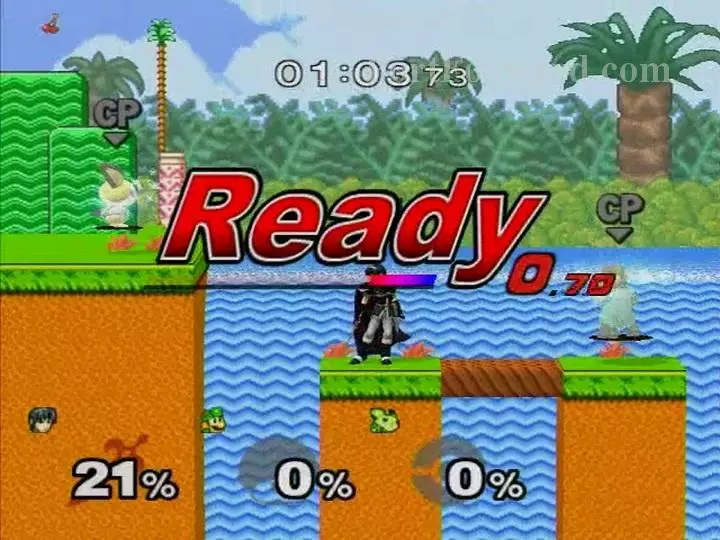
Stage 8: The first level is basically just another Race to the Finish, except with periodic assaults by the F-Zero racers. Run to the right and find a safe spot when the alarm sounds for approaching cars. At the end, stand just shy of the finish line and let the cars launch you over it.
Again, a picture is worth a thousand words. Do this until Falcon dies. When the platform rises, Falcon will have to either Up-B in a predictable arc or fall to his death, so you can charge up Smash attacks to hit him where he lands.
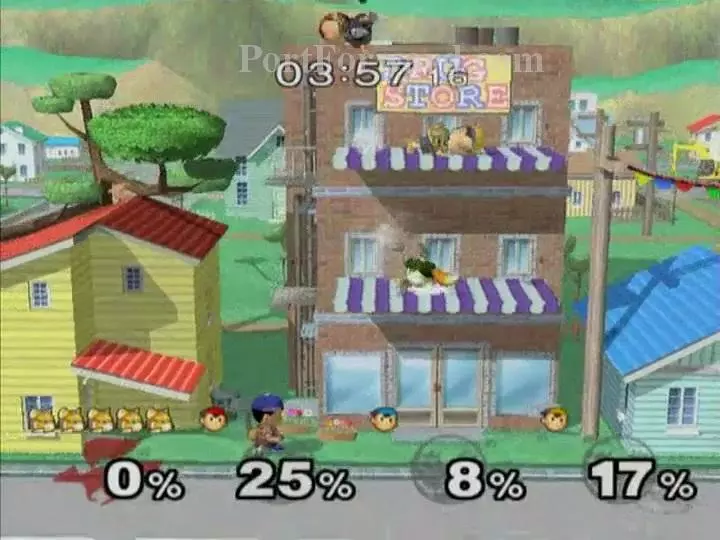
Stage 9: This stage is a deathtrap. It has two nearby, walk-off edges, a low ceiling, and an enclosed middle area where bad drivers do hit-and-runs on small children all day long. The CPUs won't know how to avoid said cars. It's overall easiest to kill Ness of the top here, or to hit him toward one of the sides and charge a Forward-Smash as he moves back toward the middle.
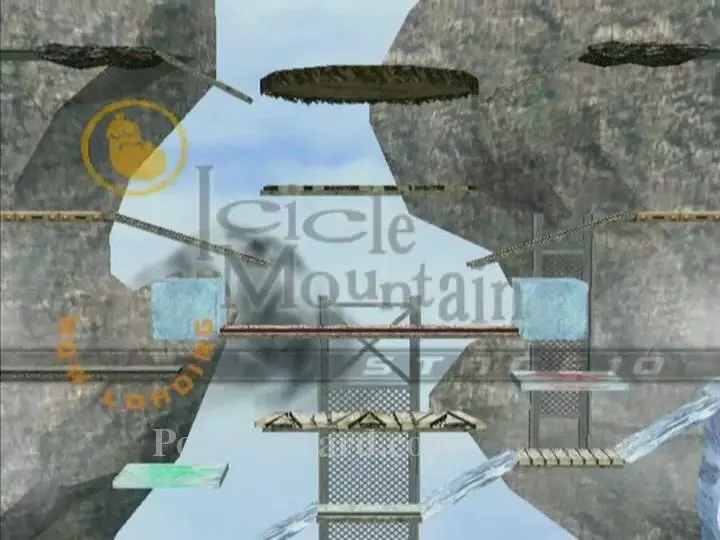
Stage 10: The Ice Climbers don't appear until you ascend the mountain. Either double jump and airdodge upward, or use Up-B, repeatedly to gain height and speed up the process. Once the Ice Climbers appear, keep them separated and/or hit them upward to finish them off quickly.
Stage 11: Up-Tilt. What else is new.
Again, metal characters are most vulnerable in recovery situations, so continually hit Mario off the stage until he can't get back anymore. Forward-Smash is a good choice, and throws work well once you've racked up his percentage a bit.
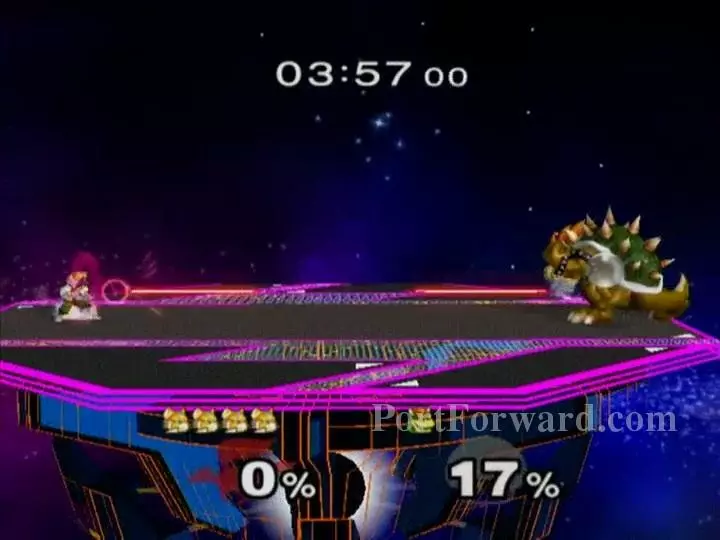
Stage 12: If you mash B to continually shoot lasers, Bowser will hold his shield until it breaks, letting you shoot even more lasers. Also, Up-Tilt will combo into itself, if you're generous enough to attack Bowser head on. You'll need to damage him a bit before you can get the kill, but doing so is laughably easy.
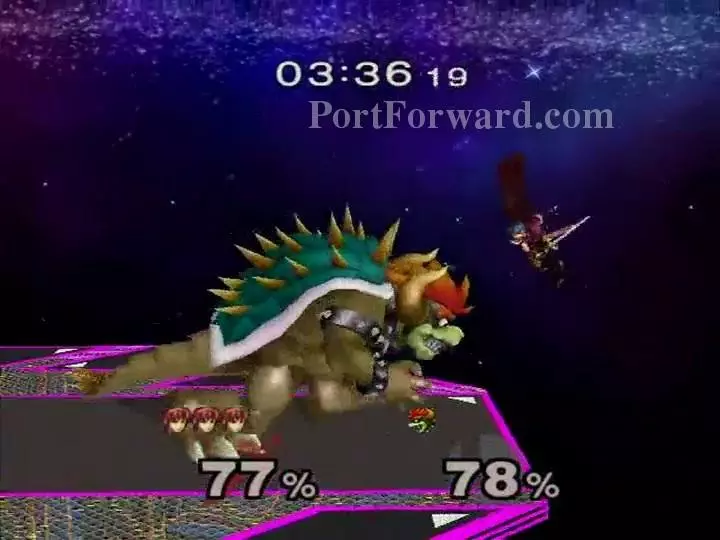
Giga Bowser: On Normal and higher difficulties, Adventure Mode ends with a fight against Giga Bowser after the normal Bowser fight. The strategy here is basically the same as with the regular heavy Bowser: rack up damage with lasers, combo him endlessly with weak upward-hitting moves, and knock him offstage eventually. In this case I used Marth mostly because I was getting bored of Fox, but he's also a great character for any of the 1-Player Modes. In fact...
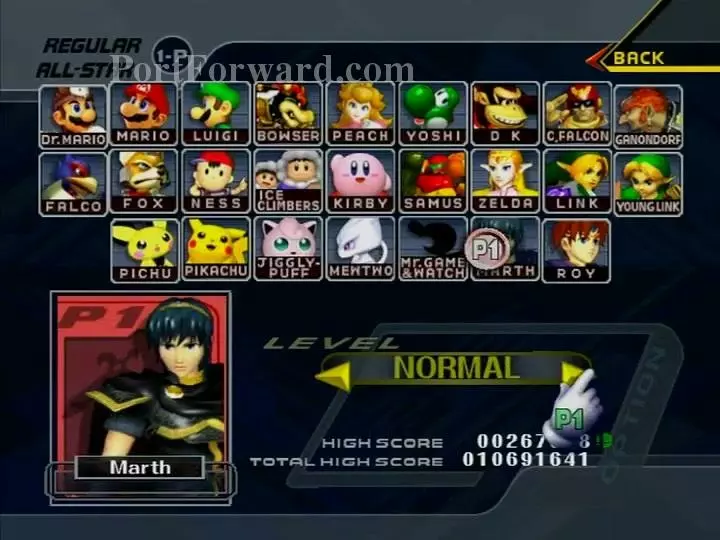
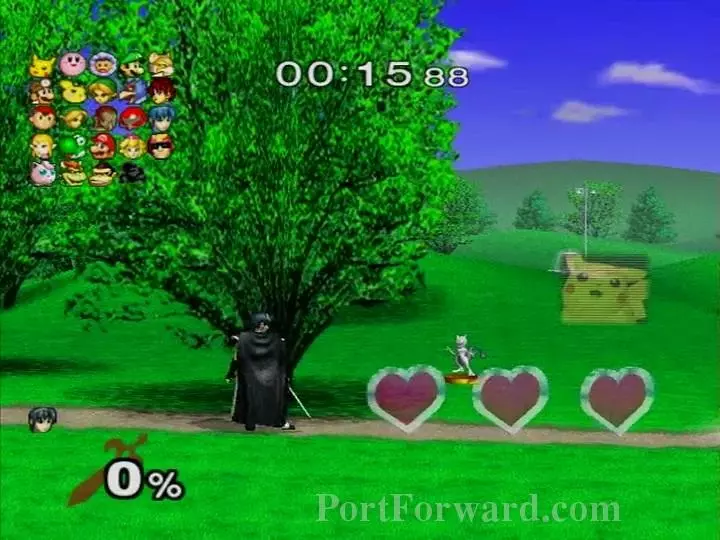
All-Star Mode: This is a gauntlet much like the Arena Mode in Kirby Superstar (also made by HAL Laboratory). You must defeat all the other characters, arranged randomly into groups, with only one stock and 3 Heart items to heal with between battles. Completing it on Very Easy will still unlock the Battlefield stage, but I chose Normal just for fun. The same strategies with Marth apply to all difficulties.
Again, All-Star Mode is random, and the later battles will involve fighting two or three characters at once, so general advice is more valuable than specifics here. Marth is one of the best characters in All-Star Mode, mostly because the range and strength of his Forward Smash help him brute force his way through without taking many hits himself. He also has a great Down-Aerial spike for stealing quick kills.
Hit enemies toward the edge, then punish their predictable recovery choices (because they're dumb CPUs) with more Forward Smashes. Marth's Forward Smash is arguably one of the reasons that Sakurai made "stale" moves a bigger deal in Brawl; by comparison, the strength of attacks in Melee depletes much less with consecutive use.
Trophies appear over time as rewards.
Here, I used Marth's Down-Throw to toss Kirby offstage, then began charging a Forward Smash, which he of course jumped right into.
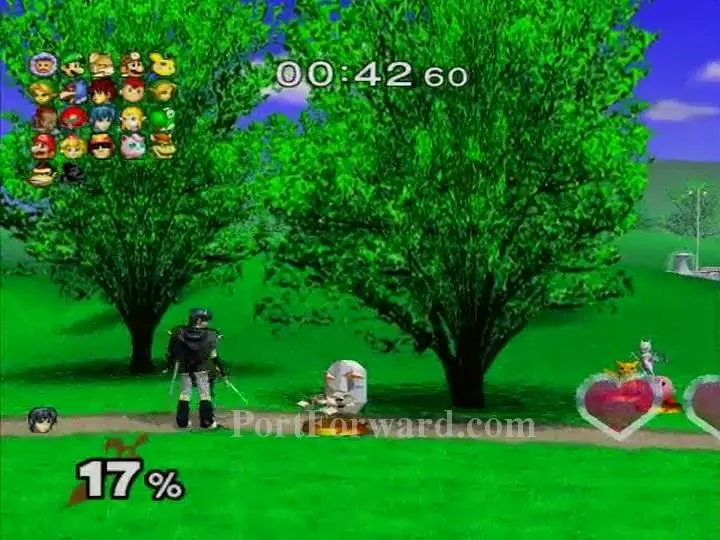
The fifth battle will be the first with two enemies at once. Make sure to keep them away from each other, as the computers become much more dangerous when they're both randomly throwing out moves in your direction. On the Mushroom Kingdom stage, it's easiest to kill them off the sides.
On Mushroom Kingdom II, you can either use Forward-Smash to push characters toward the edges, or spike them down through these gaps in the stage.
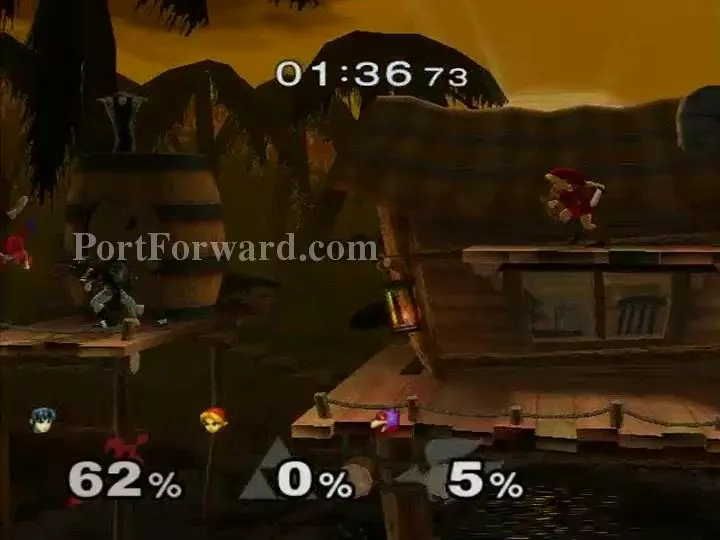
And on Jungle Japes, knocking enemies into the rushing water is almost a guaranteed kill. Just hang out on a side platform and Back-Throw or Down-Throw them behind you, then use almost any move to knock them out of their impending double jump.
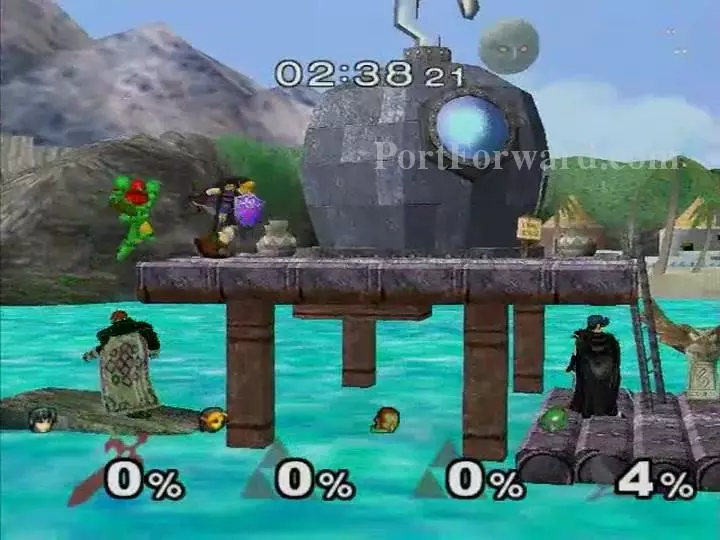
Sooner or later, you'll have to fight three at once. This a good spot to camp: everyone will walk across the top toward you, Marth's Up-Tilt will hit through the stage, and once they finally get to you, you can throw them behind you to bounce them off the underside of the stage. If two or more reach you at the same time, run away and regroup. Basically, play defensively here.
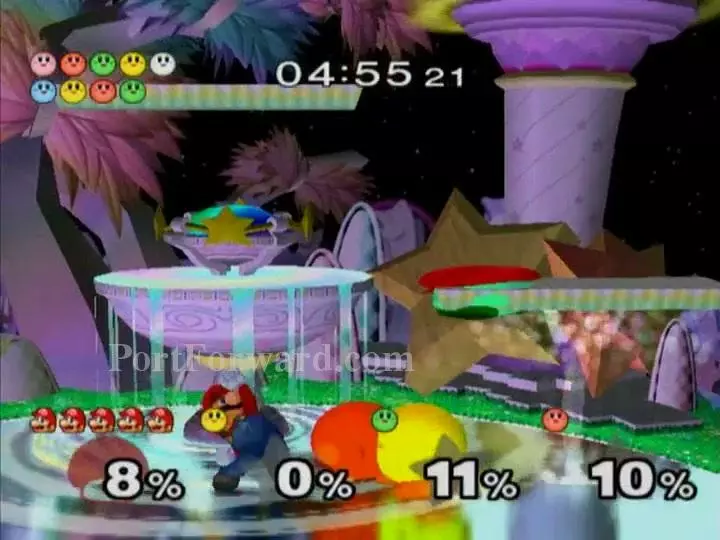
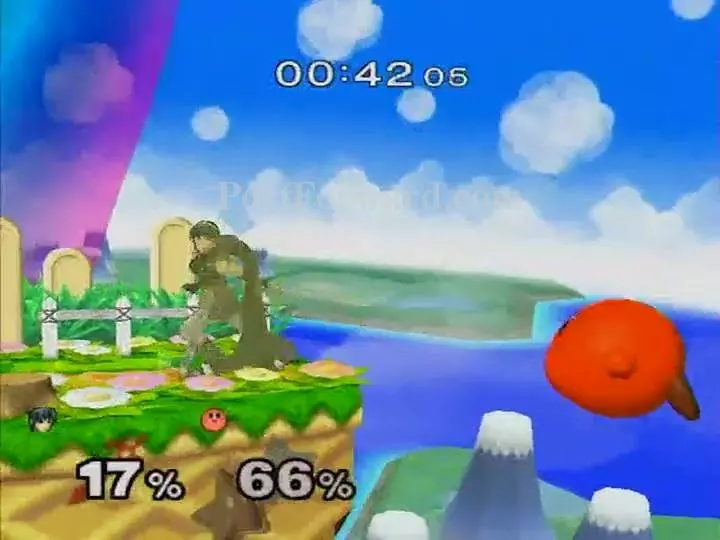
On Fountain of Dreams, Forward-Smash becomes your best friend again. Keep hitting all three of the other characters away, then walking toward them and doing it again. Down-Tilt is also useful for keeping enemies offstage.
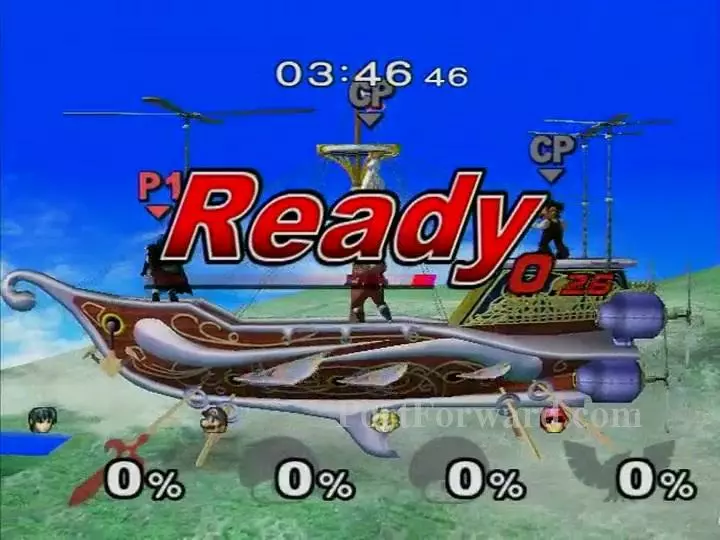
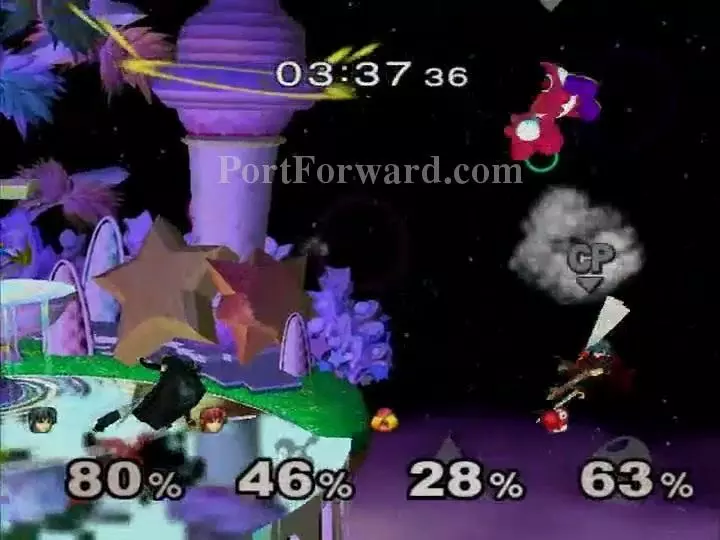
Rainbow Cruise is a bit cramped. Run to one side, then Forward-Smash and Up-Tilt to keep everyone away from you. Once the stage expands, keep moving across the platforms to get away from them. Like Obi-Wan, you have the advantage on higher ground.
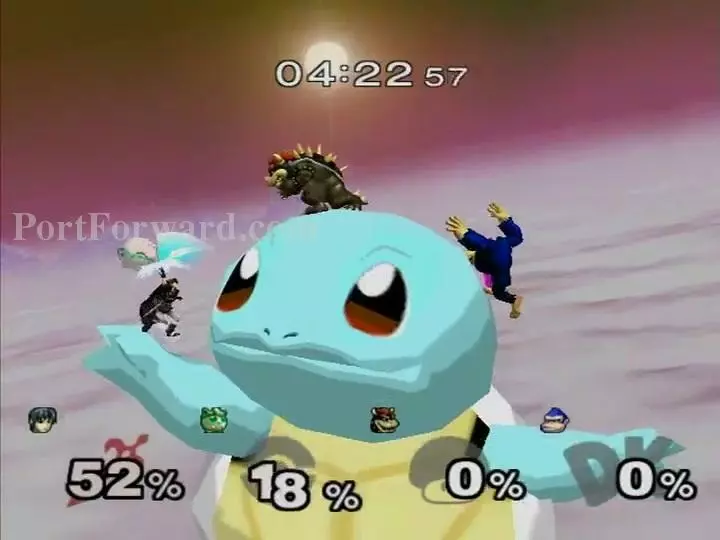
Pokefloats is the most crowded of all, at least at the beginning. However, you will start in this spot, and your Up-Tilt will form an impenetrable barrier above your head if you just keep using it. And then, when your enemies end up on your left side...yup, Forward-Smash.
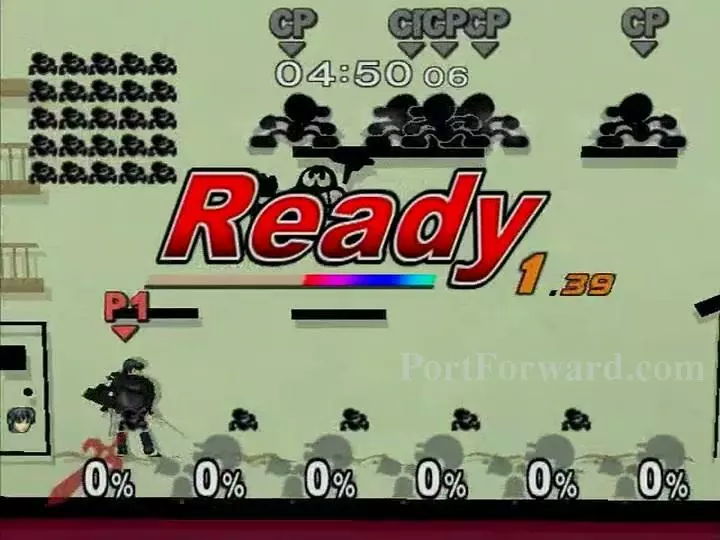
The final stage is the only one that's not random. 25 Mr. Game & Watch clones will fall from the sky to attack you. However, this stage is tiny and they are very lightweight, so Up-Tilting repeatedly should defeat them all with little effort. Watch out for Game&Watch's Side-B move which can randomly hit a #9 and probably kill you. But the scariest part is really the stage itself: falling tools deal lots of damage, and can sometimes chain you all the way off the top. Fortunately, they're easy to dodge.
Credits: These are the same for all three 1-Player Modes. There's a Starfox-like minigame that involves shooting the credits, or you can press Start to rush to the end.
More Super Smash Bros Melee Walkthroughs
This Super Smash Bros Melee walkthrough is divided into 6 total pages.


