
This The Legend of Zelda: The Wind Waker walkthrough is divided into 47 total pages.
You can jump to nearby pages of the game using the links above.
13.8 Overlook Island

Our next Triforce Shard is located at the far northeastern corner of the Great Sea at Overlook Island.

Sail on over and then walk onto the base of the island. The island has a series of pillars that get taller and taller.

Use the Hookshot and latch onto the tree on the shortest of the island pillars.
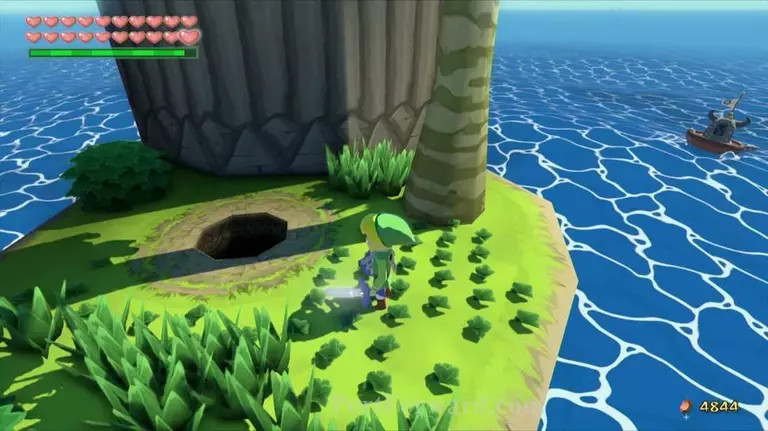
From there, make your way from pillar to pillar. At the second to last one, there is a secret hole that Link can drop down.

The inside of Overlook Island is almost identical to that of Stone Watcher Island.
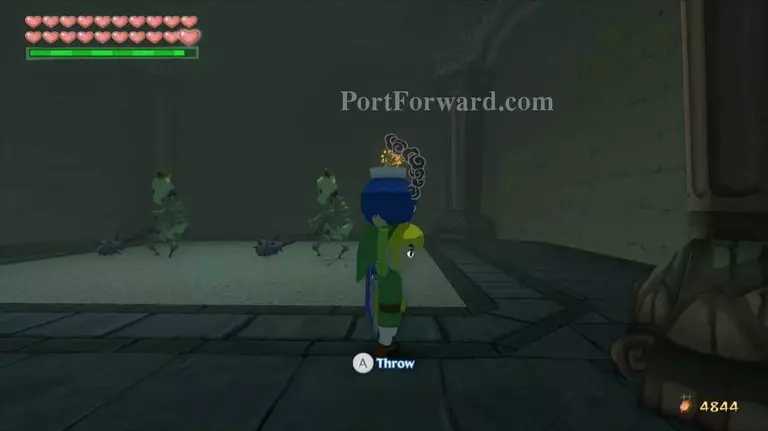
The only difference is that there are different enemies in the various rooms.

Just like before, you'll have to fight enemies in the four different rooms, and then finish off the enemies in the central room.
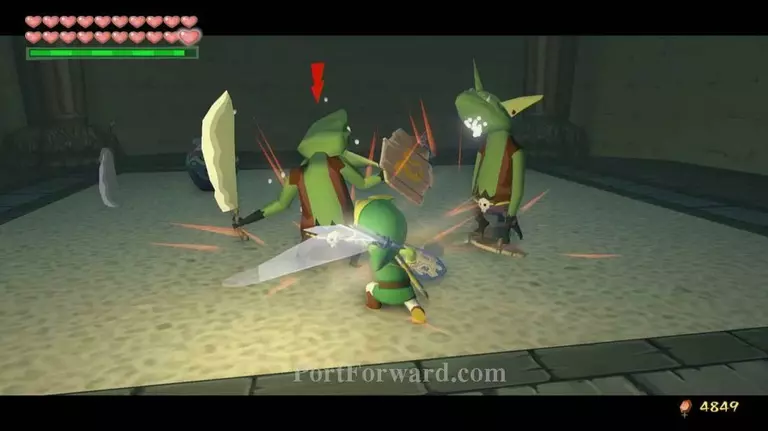
-Room 1 - Three Armos Knights -Room 2 - Two Stalfos -Room 3 - Two Wizzrobes -Room 4 - Five Green Bokoblins -Room 5 - Four Darknuts

Once you've defeated enemies in all five rooms, head through the door that opens up.
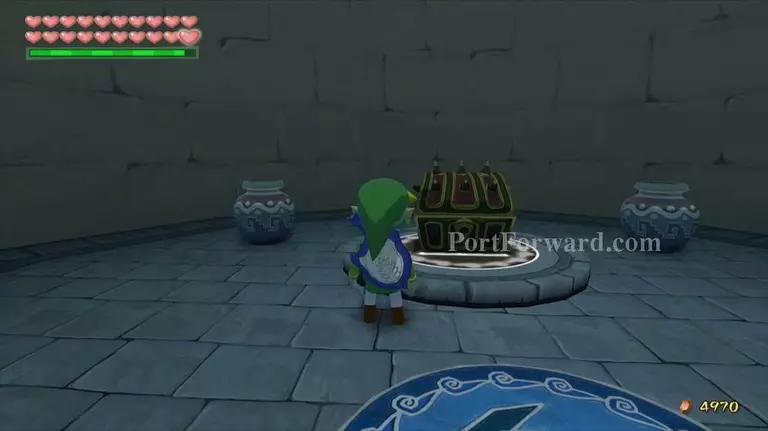
Play the Wind's Requiem to cause a treasure chest to appear. Open it up to get the Triforce Shard.
More The Legend of Zelda: The Wind Waker Walkthroughs
This The Legend of Zelda: The Wind Waker walkthrough is divided into 47 total pages.


