
This The Legend of Zelda: The Wind Waker walkthrough is divided into 47 total pages.
You can jump to nearby pages of the game using the links above.
13.9 Savage Labyrinth

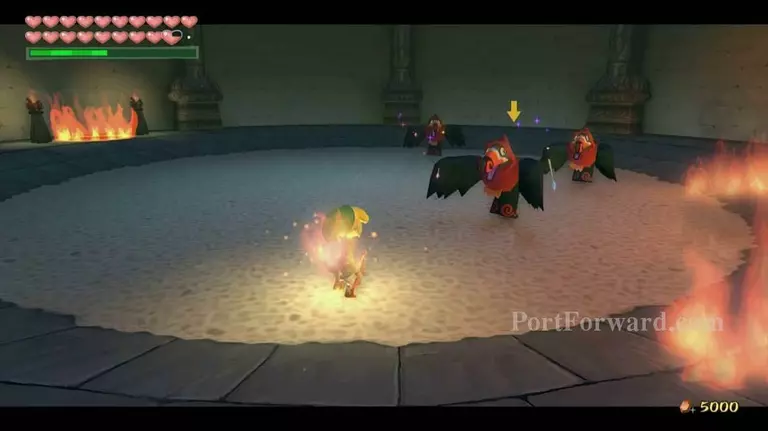
There is one more Triforce Shard that we can collect at the moment and it is back at Outset Island. Warp over to Outset Island and follow the pathway towards Grandma's house. Before you reach the house, look to the left where the path diverges and you'll see a small area of trees along the rock wall. To the right of these trees there is a small platform that you can climb onto. Do so and pull out the Hookshot. At the very top of this wall is a palm tree that you can grab onto. This will pull you up to a higher area of the island. Lift the large stone statue to the right and jump into the hole to enter the Savage Labyrinth.

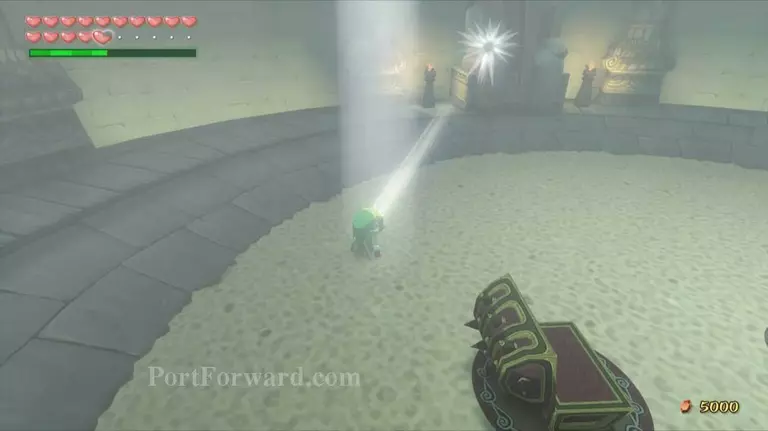
The Savage Labyrinth is a 50-floor gauntlet, facing enemies that Link has previously fought in the various dungeons of the game. The first 10 floors have enemies from the Dragon Roost Cavern, floors 11-20 have enemies from the Forest Haven, and floors 21-30 have enemies from the Tower of the Gods. The main reward we need is the found within a treasure chest on floor 30 and it is one of the Triforce Shards.
You can continue down the remaining 20 floors to get a special reward. Floors 31-40 consist of enemies from the Earth and Wind Temple, with the final 10 floors consisting of a variety of enemies from the entire game, often appearing in large quantities.

01 Keese x10 02 Miniblin x6 03 Bokoblin x4 04 Red ChuChu x6 05 Magtail x4 06 Keese x4, Miniblin x4 07 Fire Keese x4, Magtail x2 08 Bokoblin x4, Fire Keese x2 09 Moblin x2 10 Hearts, Rupees, Warp to Entrance
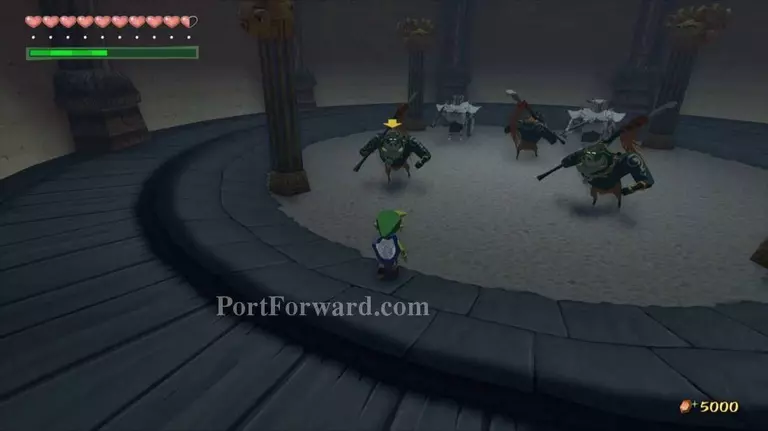
11 Peahat x6 12 Green ChuChu x4 13 Boko Baba x5 14 Green Bokoblin x4 15 Mothula x5 16 Boko Baba x3, Peahat x3 17 Blue Bokoblin x4, Green ChuChu x4 18 Mothula x3, Green Bokoblin x2 19 Winged Mothula x2 20 Hearts, Rupees, Warp to Entrance
21 Wizzrobe x3 22 Armos x4 23 Armos Knight x2 24 Yellow ChuChu x6 25 Red Bubble x4 26 Green Bokoblin x2, Darknut x1 27 Armos x3, Wizzrobe x1 28 Armos Knight x2, Red Bubble x2 29 Darknut x2 30 Triforce Shard, Warp to Entrance 31 ReDead x6 32 Blue Bubble x5 33 Dark ChuChu x6 34 Poe x5 35 Winged Mothula x3 36 ReDead x3, Moblin x2 37 Dark ChuChu x5, Winged Mothula x1 38 Poe x5, Moblin x2 39 Blue Bubble x4, Stalfos x2 40 Hearts, Rupees, Warp to Entrance
41 Miniblin x24 42 Red ChuChu x10, Green ChuChu x10, Yellow ChuChu x10 43 Wizzrobe x5 44 Bokoblin x16 45 ReDead x4, Stalfos x2 46 Moblin x3, Darknut x2 47 Wizzrobe x3, Darknut x2 48 Stalfos x3 49 Darknut x4 50 Hero's Charm, Warp to Entrance
More The Legend of Zelda: The Wind Waker Walkthroughs
This The Legend of Zelda: The Wind Waker walkthrough is divided into 47 total pages.


