
This The Legend of Zelda: The Wind Waker walkthrough is divided into 47 total pages.
You can jump to nearby pages of the game using the links above.
13.7 Stone Watcher Island

The next Triforce Shard is located over at Stone Watcher Island. Warp over to Greatfish Isle and sail southwest to reach the island.

Climb to the top of the island and use the Power Bracelets to lift the large headstone. Drop down the hole to find a secret underground cavern.

This one isn't as simple as the previous Triforce pieces. There are five rooms of enemies that Link will need to battle against before he can progress forward.

Walk forward and then walk into any of the four open doors. Each of these four rooms has a variety of enemies.

Once you have completed the four rooms, return to the main chamber and you'll take on a fifth room full of enemies.

Listed below are the enemies within the five rooms, with the first four being in no particular order.
-Room 1 - Four Armos -Room 2 - Two Moblins -Room 3 - Three Wizzrobes -Room 4 - Five Bokoblins -Room 5 - Two Darknuts

Once all five rooms of enemies have been defeated, one of the doors will unlock.
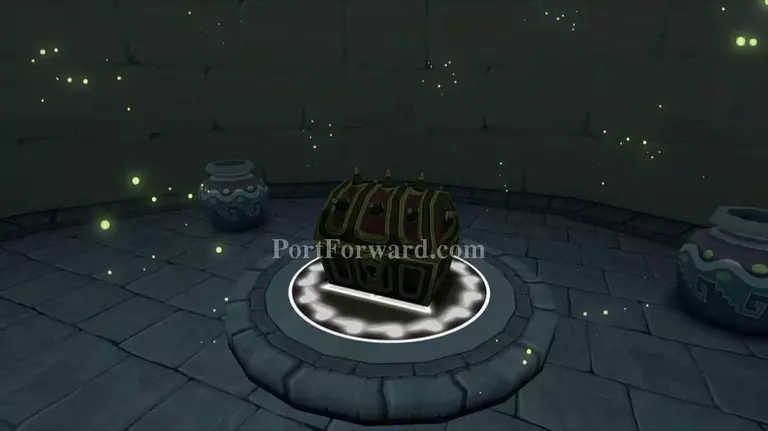
Walk inside and play the Wind's Requiem on the circle to cause a treasure chest to appear. Open it up to get the Triforce Shard.
More The Legend of Zelda: The Wind Waker Walkthroughs
This The Legend of Zelda: The Wind Waker walkthrough is divided into 47 total pages.


