
This The Legend of Zelda: The Wind Waker walkthrough is divided into 47 total pages.
You can jump to nearby pages of the game using the links above.
14.2 Inside Ganon's Tower
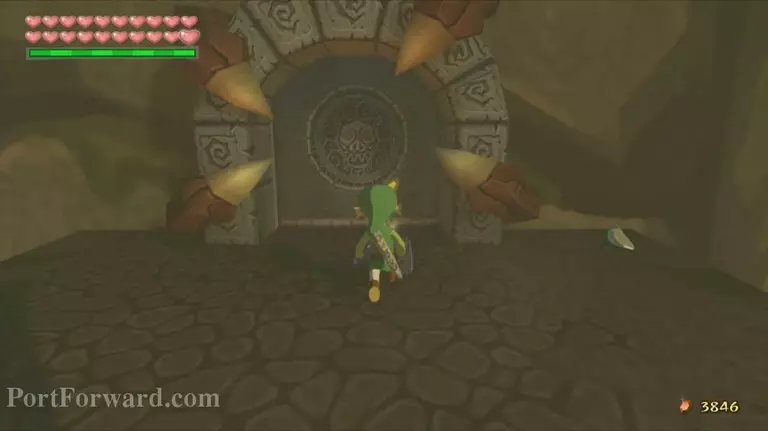
In order to pass through the door on the opposite side of this room we will need to follow each of the four side bridges in this room. Each door will lead to the four bosses we've faced before, and we must defeat them once again to continue. Start off by walking down the path and taking the first bridge on the left. Defeat the Bokoblin here and enter through the door.
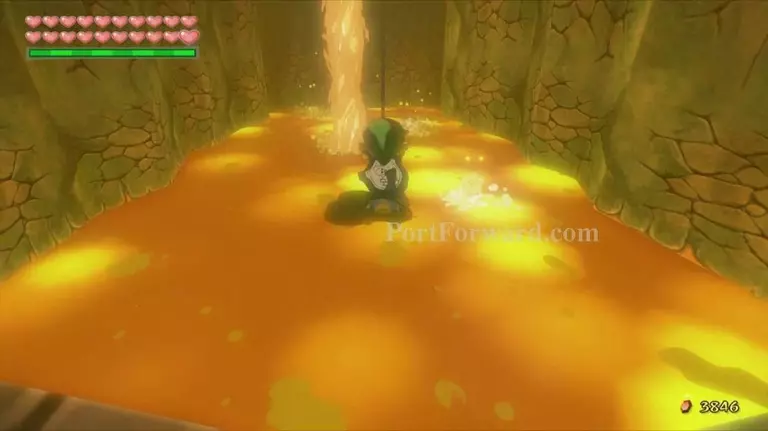
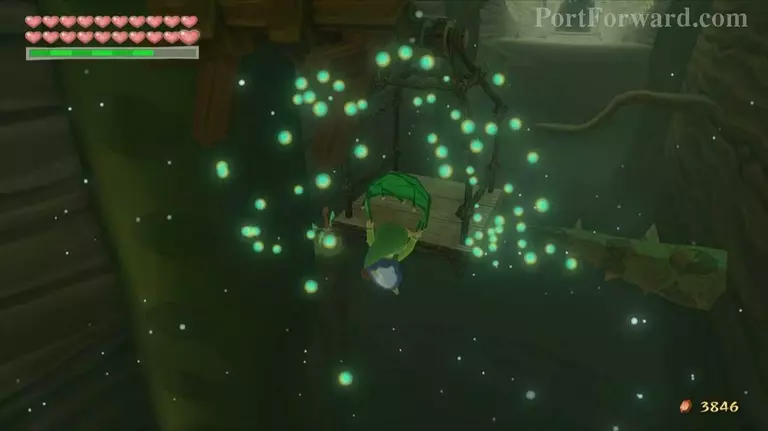
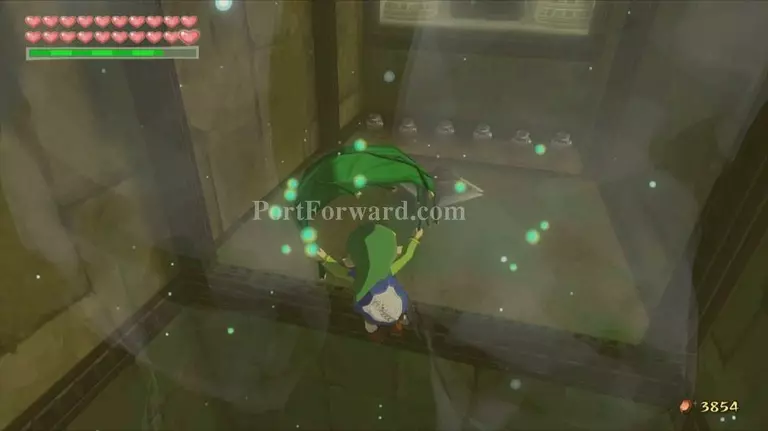
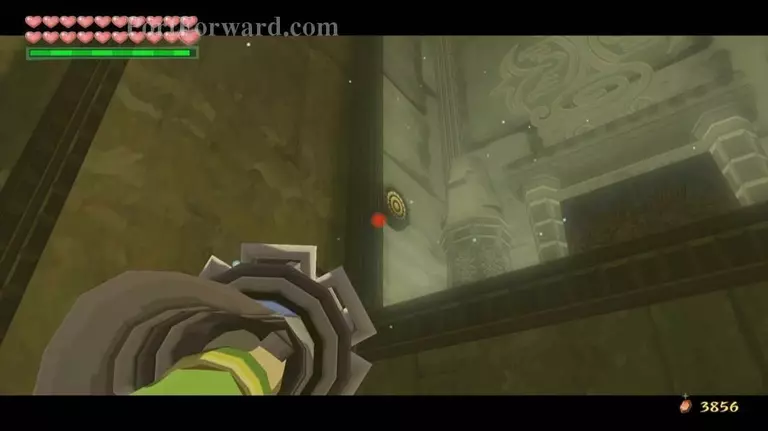
The easiest way to approach this room is to first use your bow to shoot all the skulls off of the top of the spiked vines to kill all the Red Bubbles before they become a threat. Pull out your Grappling Hook and use it to latch onto the first spiked vine above. Swing off and use the Deku Leaf to float across to last hardened lava spot below and land on it. Make sure you adjust the camera so you can see what is below you.
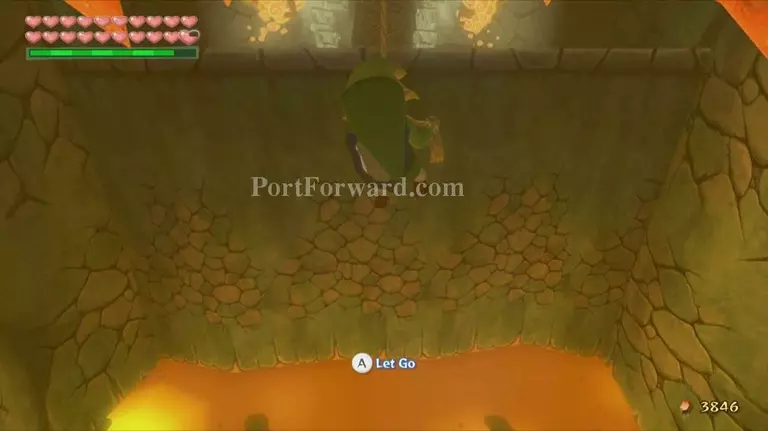
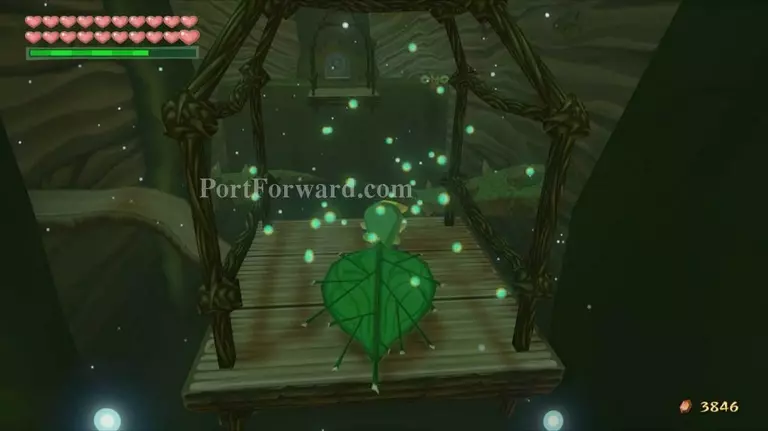
Once you've made it to the lava platform, use the Grappling Hook again to grapple onto the last spiked vine above. Climb all the way up the rope onto the small platform and then use the Deku Leaf to float over to the last platform where the two Red Bubbles are located.
Defeat them if you wish, then head through the black and white door to face Gohma.
Inside Gohma's boss room you be left with only the items from when you faced Gohma the first time, plus any bottles that you've obtained.
Defeat the monster the same way you did before and you will be transported back to the main room. Gohma's image will illuminate on the door, meaning that one part of removing the door is completed.

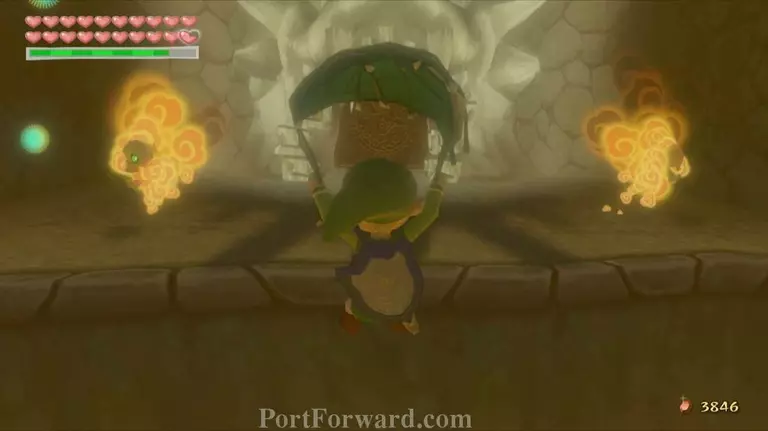
Now walk across the second bridge on the left side and enter through the next door. Break the nuts to the left and right for some more magic if you need it, and then blow the propeller to bring a cart over.
Hop onto the cart and blow a gust of wind at the door to move partially across the gap.
Jump onto the moving platform here and wait until it moves down to a lower area. Use the Deku Leaf to hit the propeller located nearby and another cart will move over.
Jump onto this cart and blow your way across the gap to the next set of platforms.
Hop onto the platform on the right side first, and then jump onto the left one when you are able. Once the left platform rises higher, use the Deku Leaf to float across to the boss door.
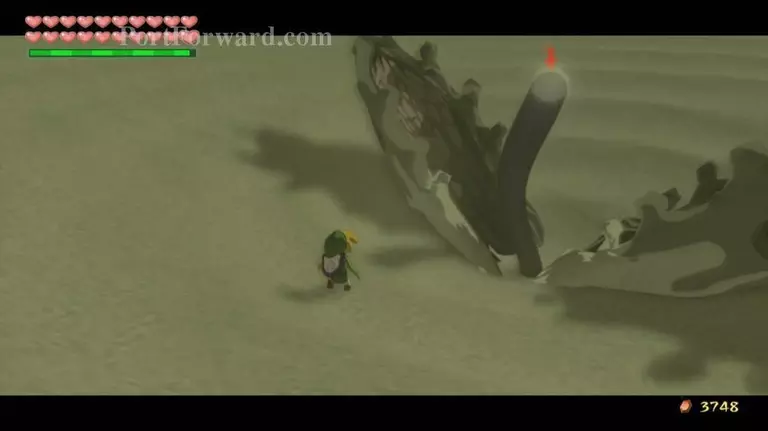
Defeat the Peahats if you'd like and then head through the boss door to fight Kalle Demos once again.
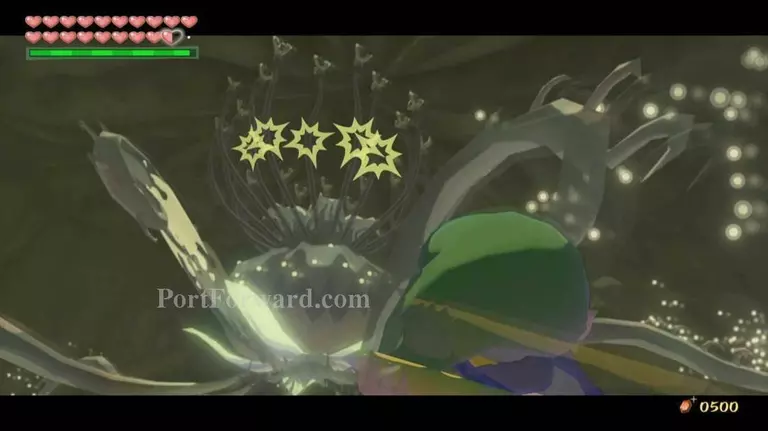
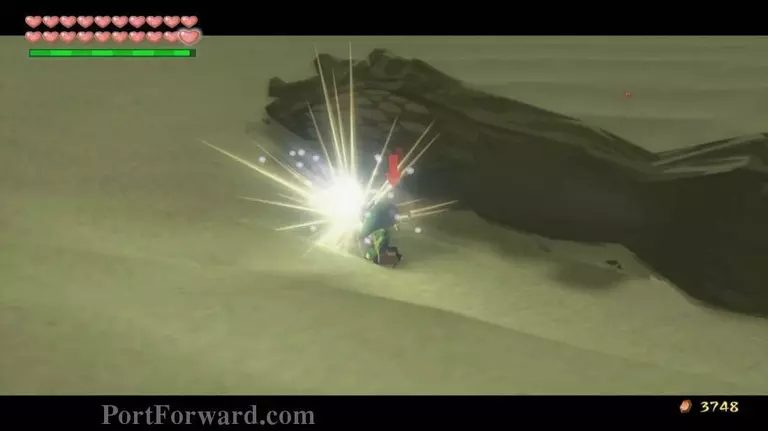
The process of defeating Kalle Demos is exactly the same as before, although he is much less difficult now and can be defeated in only a couple of sword slashes with the Master Sword.
Once he is defeated you will be warped back to the main room once again, and the image of Kalle Demos will light up on the door.
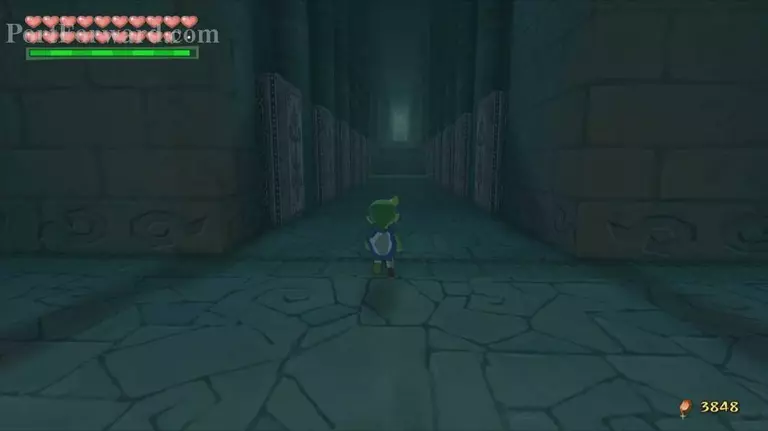
Next, head across the northern bridge on the right side and enter through the door to reach the Earth Temple area. This area is by far the most annoying, and can be quite damaging.

There are coffins lining the walls ahead that will most likely damage you as you pass, but you can quickly roll past them to avoid it if you are fast enough.
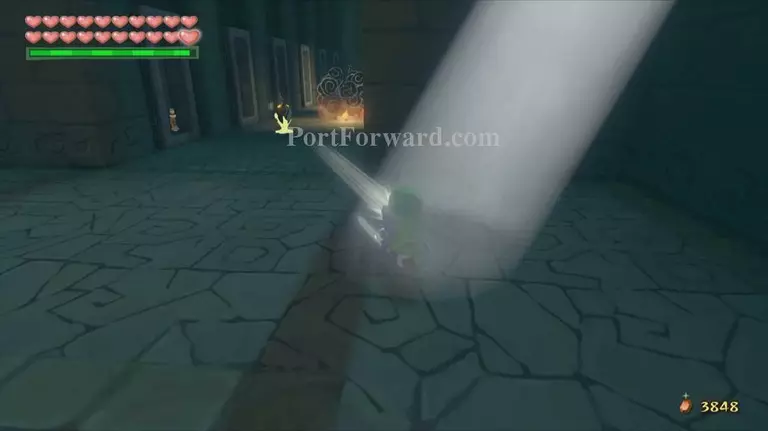
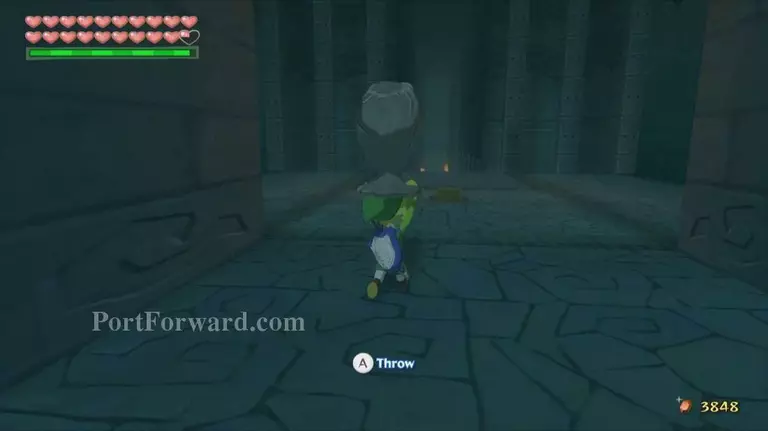
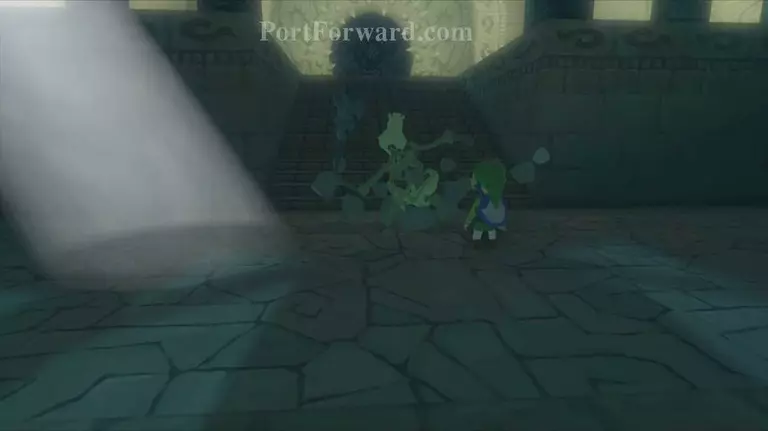
Go up the stairs at the end and roll down the next hallway, making sure to open all the coffins along the walls. Run back past and the coffins and use the light coming through the ceilings to turn a Purple ChuChu into stone.
Set him on the switch here and roll back down the hallway as fast as you can. If you're fast enough you can reach the stairs; if not, run back and try again.
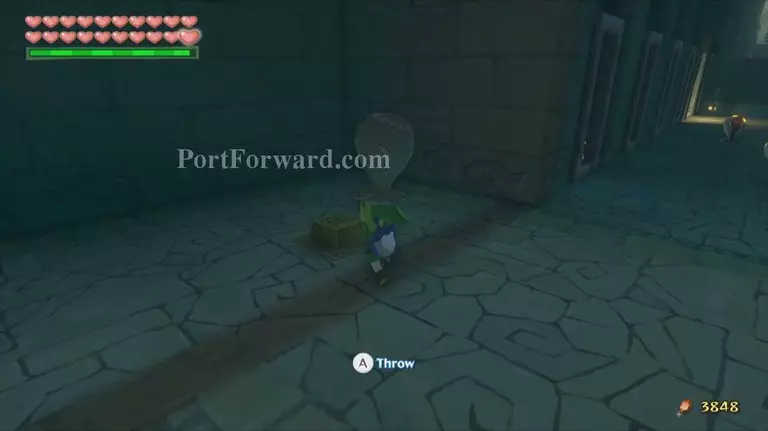
Run down the hall here and drop all of these coffins as well. Turn another Purple ChuChu to stone; preferably the one on the far side of the room, near the switch on the other side. Set him on the switch and roll back to the stairs
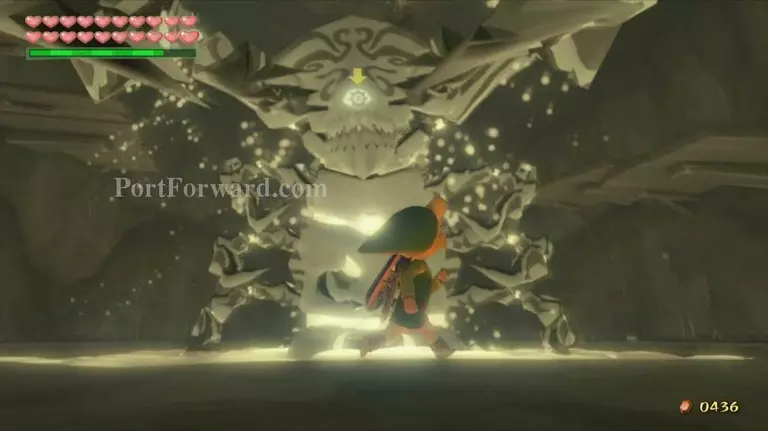
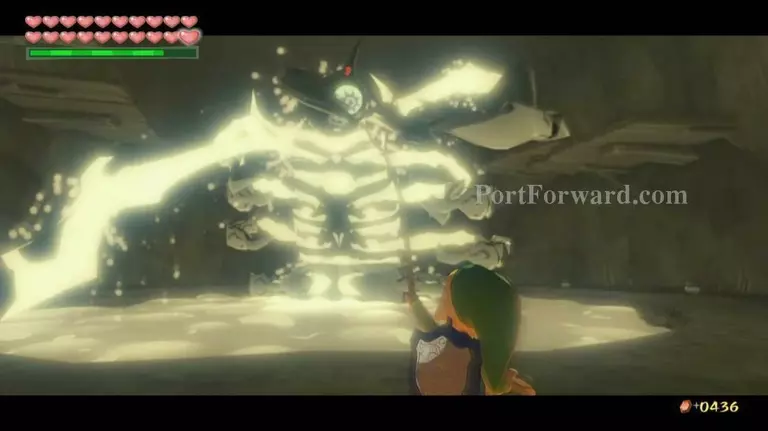
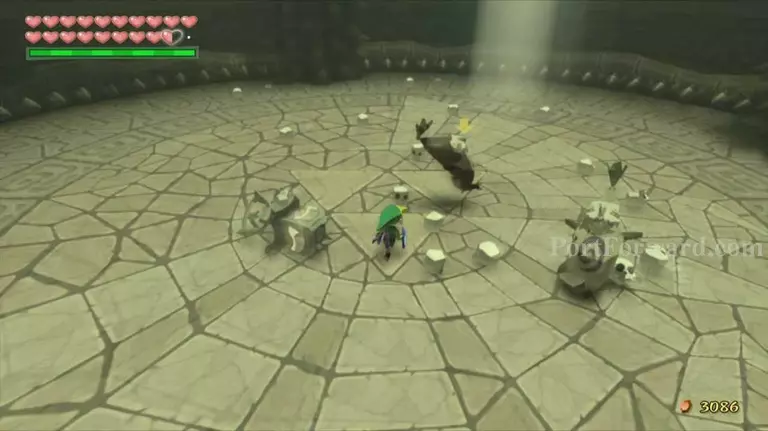
A Stalfos will pop up out of the ground, but if you are quick enough you can hop onto the stairs and avoid him. If not, defeat him, place the ChuChu on the switch again, and head through the boss door to face Jalhalla.
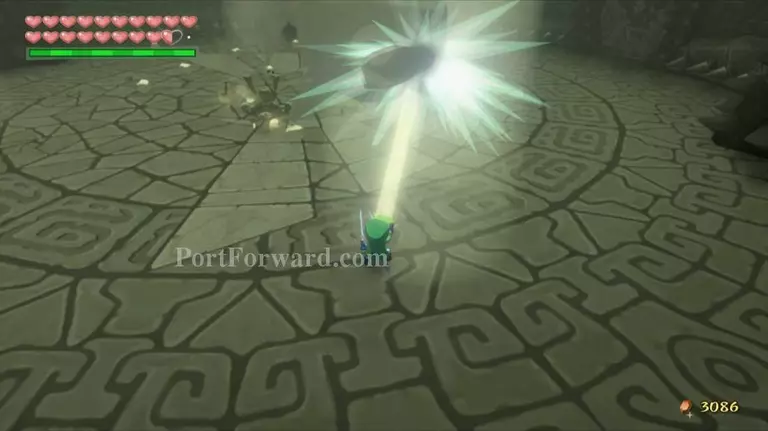
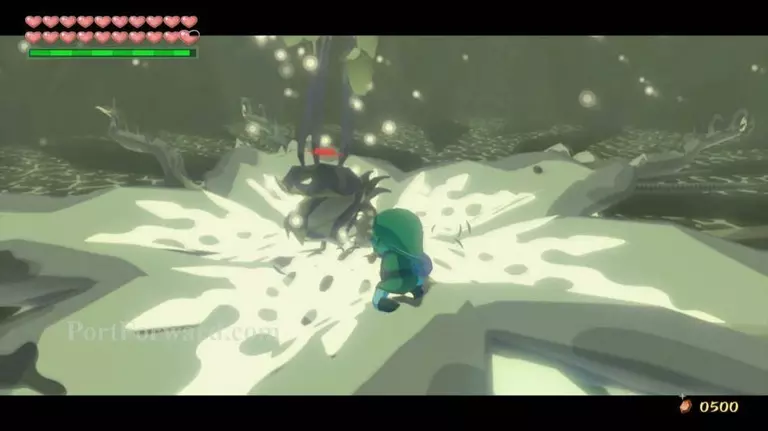
Defeat him the same way as in the Earth Temple, and you will be transported back to the main room once again.
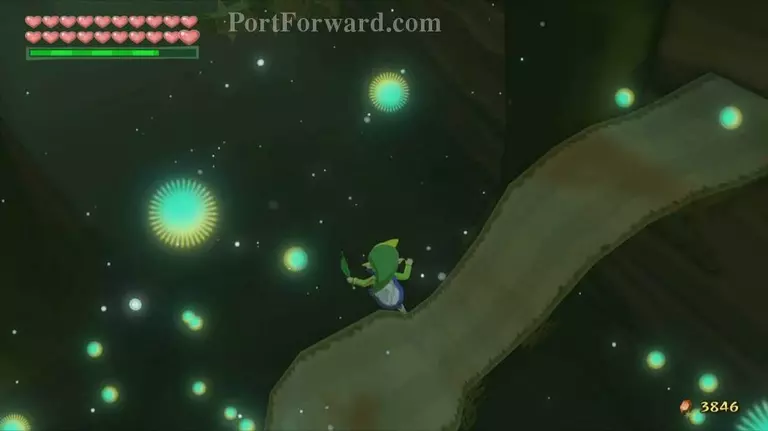
Take the last bridge and enter through the door to reach the wind area. Kill the Wizzrobe that appears here and then hop onto the spring pad.
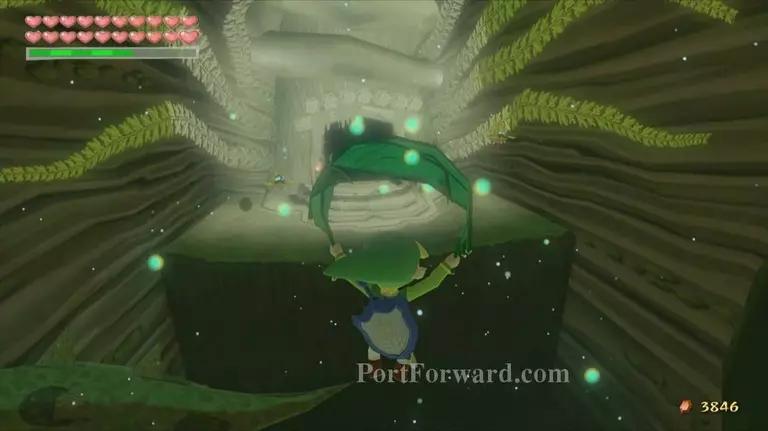
Use the Iron Boots and the Deku Leaf to float into the air, then float across the room.
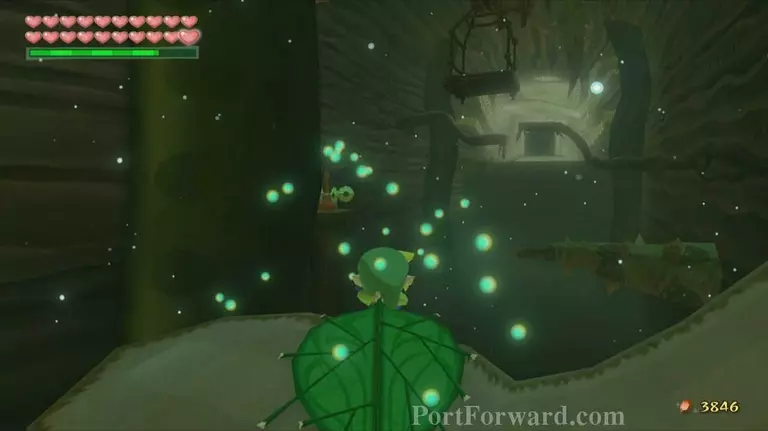
Float between the two cyclones in the middle and land on the other side.
Defeat the two Green Bokoblins that jump out of the pots and then use the Hookshot to reach the higher platform.
Head through the door and defeat Molgera. You will be transported to the main room for the last time, causing the boss door to crumble away, allowing you to progress. Walk north and head through the pathway.
More The Legend of Zelda: The Wind Waker Walkthroughs
This The Legend of Zelda: The Wind Waker walkthrough is divided into 47 total pages.


