
This The Legend of Zelda walkthrough is divided into 18 total pages.
You can jump to nearby pages of the game using the links above.
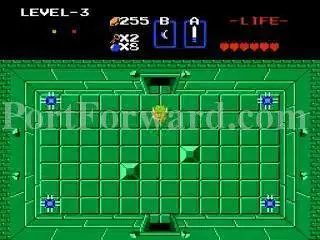
Dungeon 3 (Quest 1) and Journey to Dungeon 4.
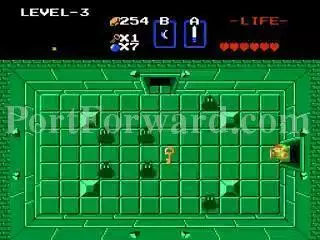
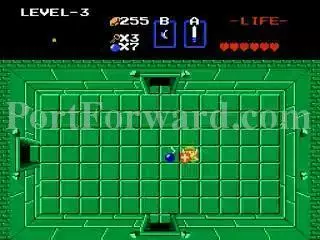
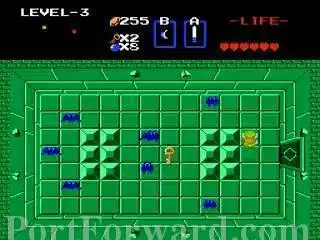
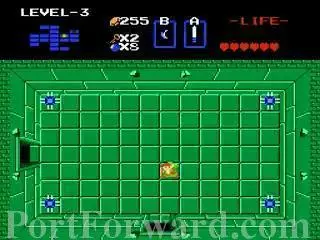
Enter this room on the left and get the Key. The Zols die in one hit if you have the White or Master Sword. The Wooden Sword turns them into two Gels.
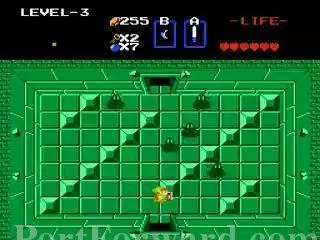
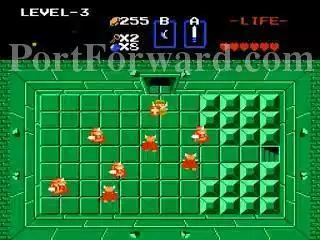
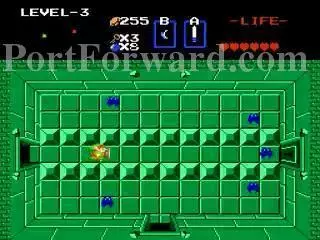
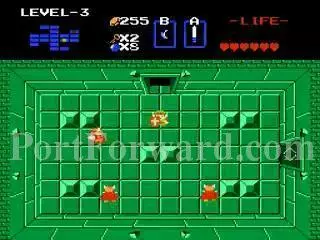
More Zols to defeat in this room.
You get a key when they all die.
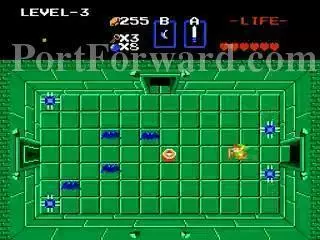
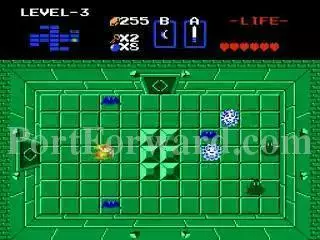
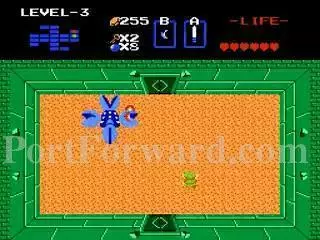
The Darknuts move in random patterns and are invincible to frontal attacks. The blue ones take more damage than the red ones.
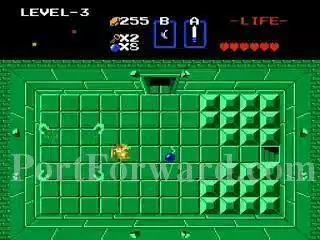
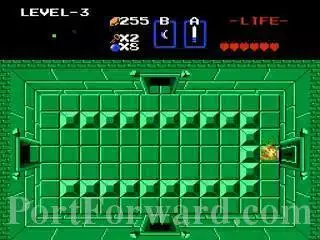
You get a bomb afterwards.
In the left room is the compass.
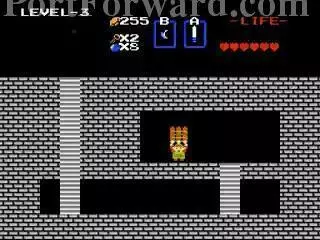
Avoid the spike traps as you go into the left door.
Defeat the Darknuts to open the lower door.
Defeat more Darknuts before entering the staircase.
You get a Bomb but you don't need it if you got 8 bombs already.
You get a raft. You'll need it to reach the 4th Dungeon.
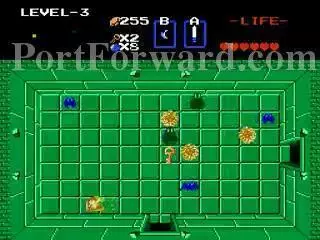
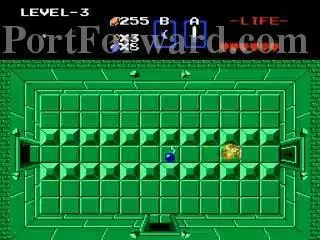
Get the key and watch out for the Bubbles. Getting hit will do no damage but it disables your sword attack for a few seconds.
Kill the Keese.
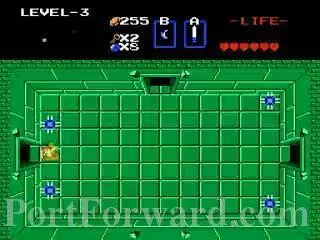
You get a bomb when they are all dead.

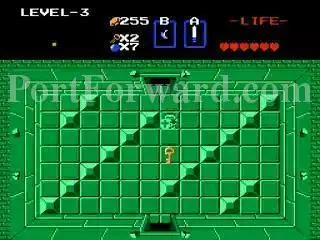
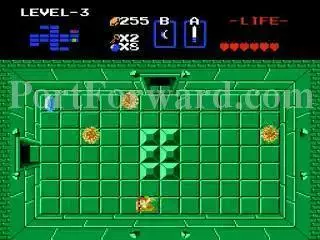
After entering the door. Kill all Zols.

You will get a key.
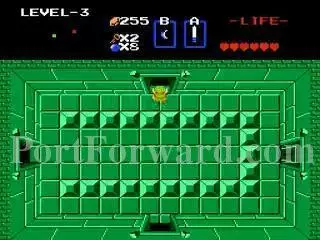
Go through the upper door.
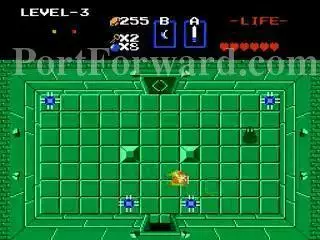
Kill the Zols first.
Push the left block aside to open the door above.
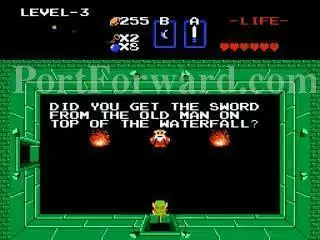
You get a hint about where the white sword is if you didn't have it already.
In the room on the left is a key. You must kill all Keese to get out.
Go back to the room that had the two locked doors earlier.

Go into the right door and there is a map.
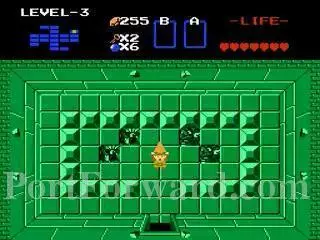
"No it is not a Nazi symbol. It is a Japanese sign that means peace and it was used long before Hitler adopted it and made it a sign of hatred.
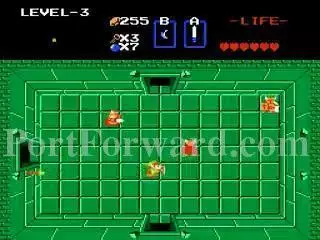
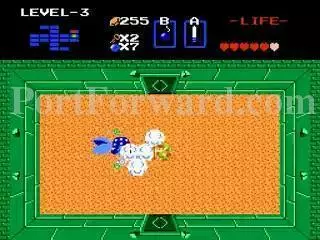
More Darknuts in this room. You must kill them to go into the right door.
Everyone must be killed to go into the above door.
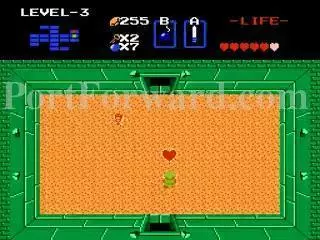
You get a 5 rupy reward.
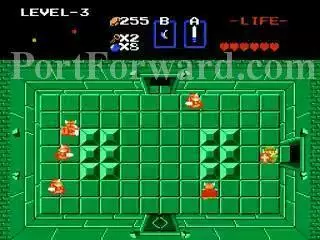
Manhandla is the boss of the 3rd dungeon.
Just one well planted bomb will kill it off in one blast.
Another Heart Container to make your heart total seven.
If you had bombed the wall in the spiked trap room earlier, this room is where you would have ended up.
Dungeon 3 Completed.
E5: If you need arrows, this is one of the shops that has them but you need your rupies for the next screen.
E4: Get rid of these blue Leevers first.
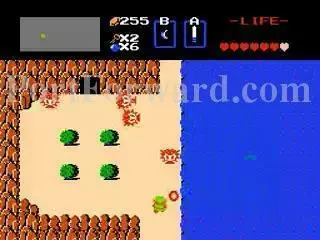
Touch the top middle Armos to reveal a secret shop. In Quest 2 this is the entrance to Dungeon 2.
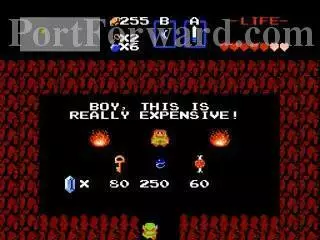
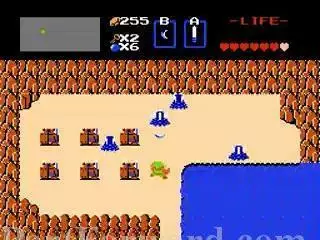
Buy the Blue Ring.
The Blue Ring halves all the damage you take and turns your clothes blue. It won't take effect until you leave the shop.

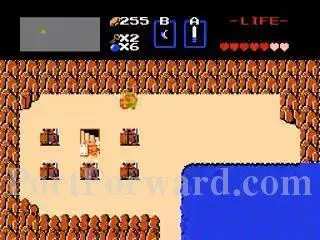
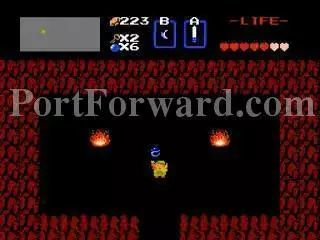
E6: Nothing special here. Just showing off the new blue clothes.

F6: Cross the bridge in F7 and go up to F6.
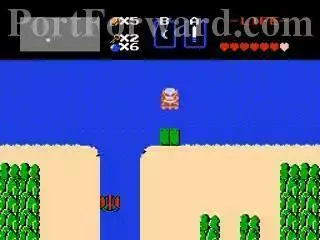
Walk up the dook to ride the raft.
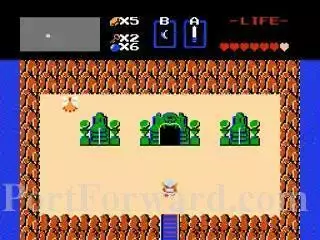
You are at the entrance of Dungeon 4. In Quest 2, this is the entrance to Dungeon 5.
More The Legend of Zelda Walkthroughs
This The Legend of Zelda walkthrough is divided into 18 total pages.


