
This The Legend of Zelda walkthrough is divided into 18 total pages.
You can jump to nearby pages of the game using the links above.
Dungeon 4 (Quest 1) and Journey to Dungeon 5.
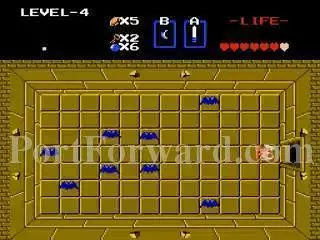
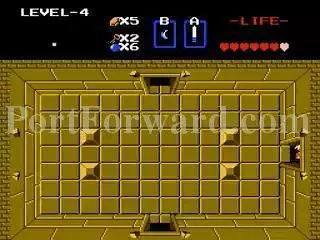
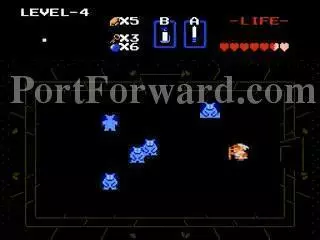
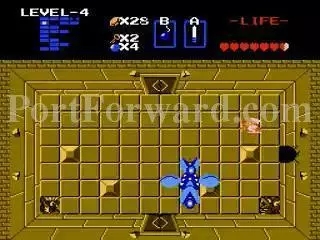
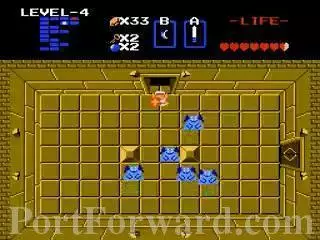
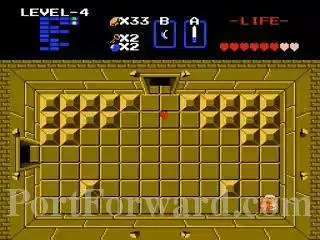
Kill all the Keese in this room.
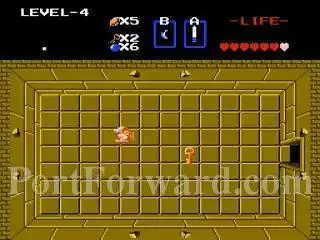
You will get a key.
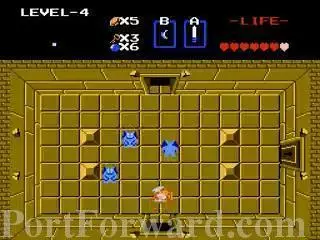
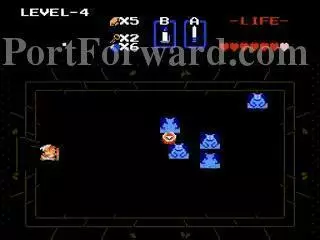
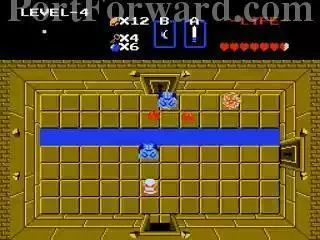
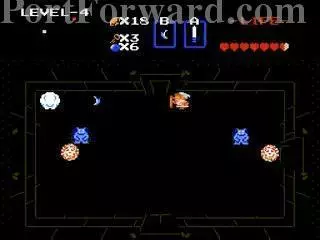
Since you don't have the Master Sword yet, Hitting a Vire will turn it into two red Keese.
as seen in this screenshot here.
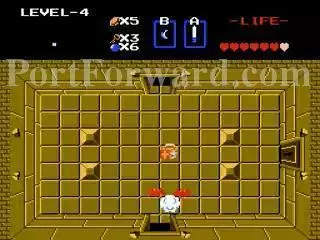
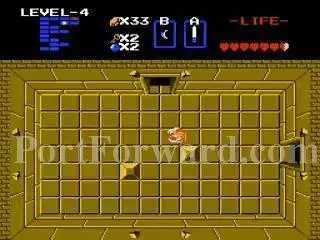
Go into the right door.
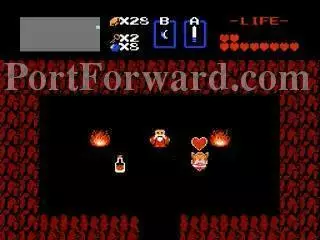
It dark in there and there is the compass.
Use the candle to light up the room and see where you are going.
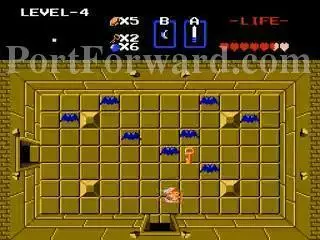
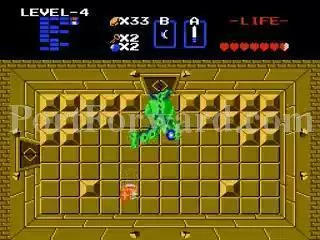
Get the key from this room. The Keese are optional to kill.
Light up this room.
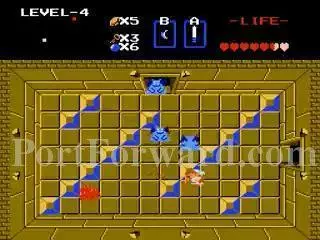
Shows you where to go from here.

The Zols are two dark to see except for their eyes.Go get the key.
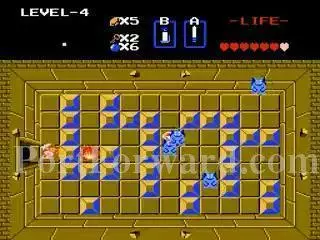
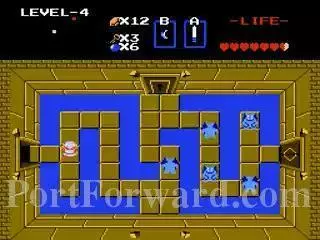
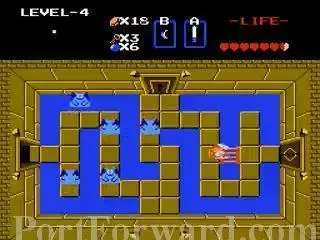
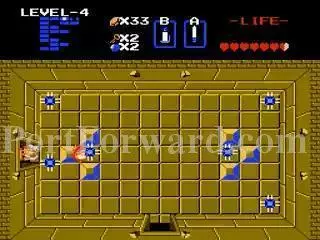
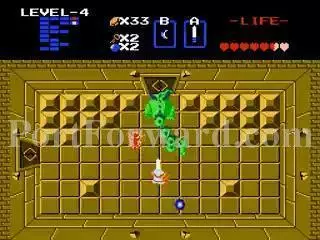
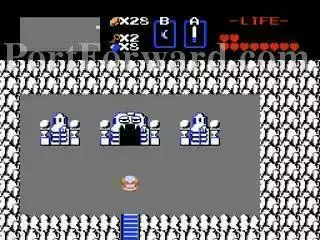
This is what the room looks like lit up.
Light this room up to for a surprise.
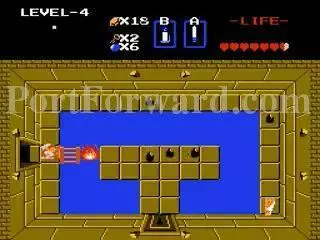
You notice you can cross that blue line. Fret not because you will soon enough. Go through the door on the right.
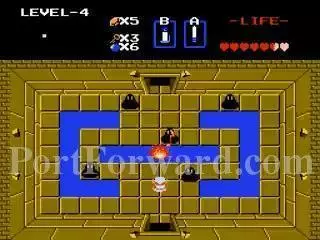
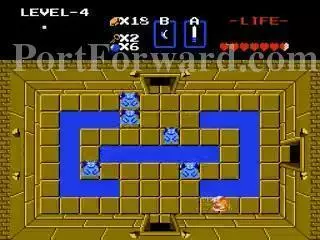
Kill all the Vires in this room to open the door on the right. Never go throught the locked door on top. It's a waste of a key.
Avoid the Bubbles and kill the Zols and a new enemy called the Like Like. They will eat your Magic Shield and you will end up having to get a new one at a store.
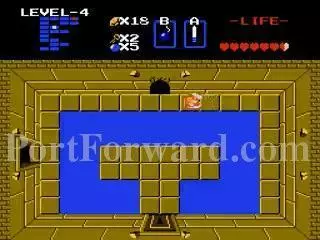
Push the left block aside and enter the stairs.
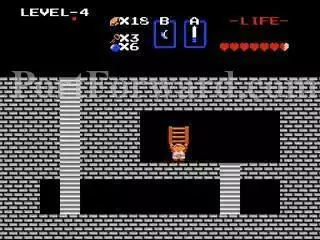
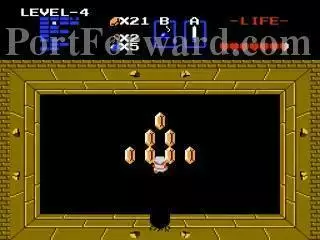
You got a Ladder.
Now you can skip over single gaps.
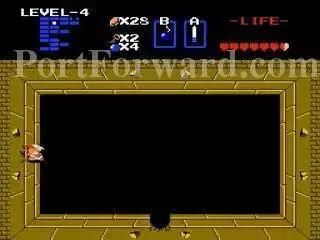
Forget lighting up the room. Just cross the gap and enter the locked door above.
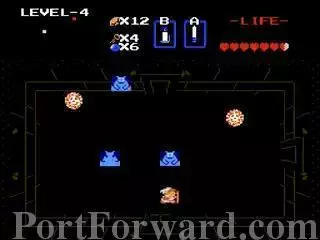
Kill the Vires here if you wish to do so.

Go into the right room for a map.
You might want to light up the room to see the Gels and you will also see why I said not to go into that locked door earlier.
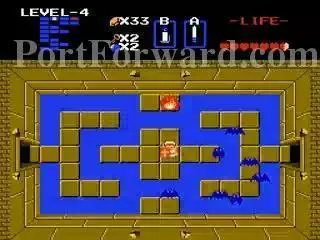
The map is that of a snake. Bomb the wall here and go up.
There are several orange Rupees here that is not shown on the map but hidden in the snake's eye.
Bomb the left wall and go in.
Defeat this Manhandla with a well place bomb.
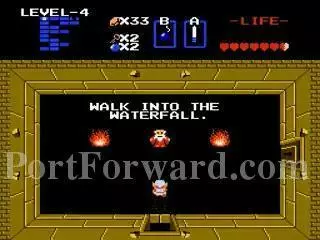
Go up and this old sage tells you to walk into the Waterfall. The woman in that waterfall gives a hint to reach Dungeon 5 if you pay her the right amount of money.
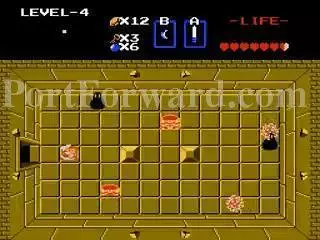
In the right room is another dark room with more Keese.
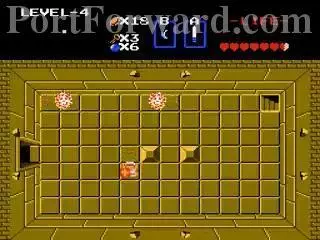
This room here is also dark and the spike traps are in unusual spots and tricky to avoid.
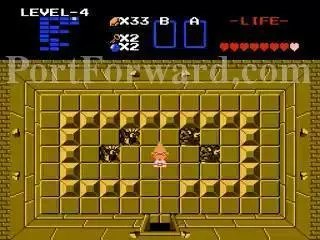
Defeat these Vires first.
Push the left block aside to open the door.
You fight a 2-headed Gleeok. Slash at the heads and avoid his fireballs as much as possible.
When one head dies, it will fly around and still be a nuisance.
Destroy the other head for a Heart Container and bring the total to eight.
Dungeon 4 completed.
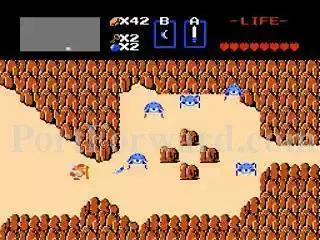
J8 and K8: The blue Tektrites are not really more powerful than the orange ones. They give out more blue rupies.
L8: Bomb this wall here.

Get the Heart Container to bring your total to nine.
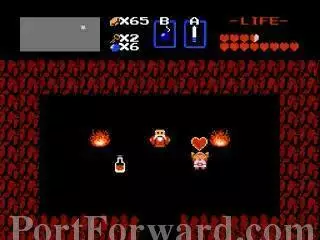
M8: Bomb this wall right here.
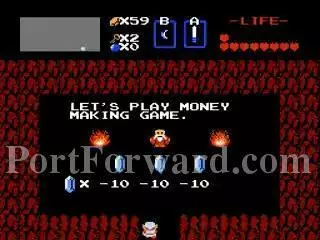
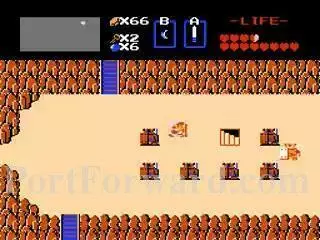
Choose a random rupee to try to win some more rupies.
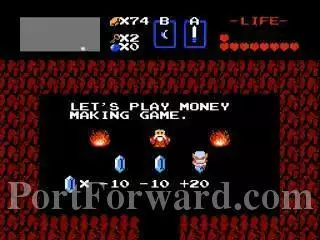
I won 20 here.
N8: Do not bomb this wall. If you do, don't go inside.
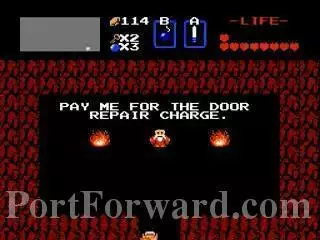
The old sage will charge you 20 rupees for ruining his entrance.
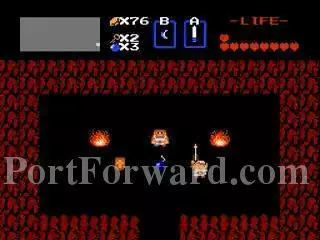
P7: Enter this shop here.
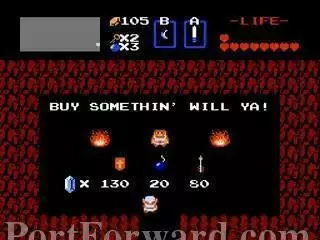
You should have enough to buy the arrows.
Shooting an arrow costs a rupee.
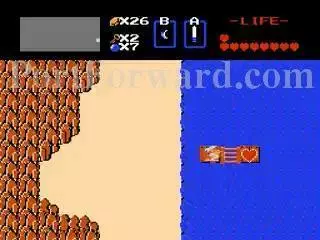
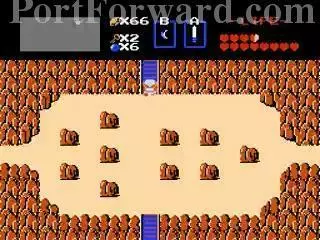
P6: Use the Ladder to reach this Heart Container to bring the total to 10 hearts max.
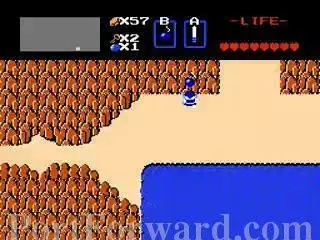
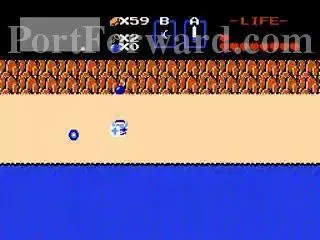
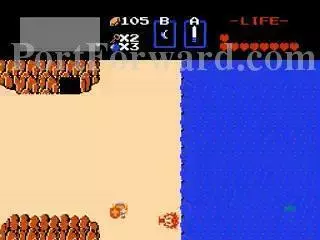
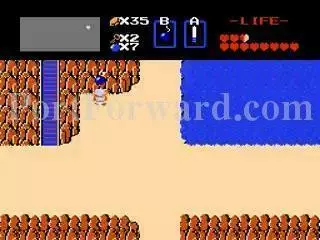
P4: Get on the dock here.
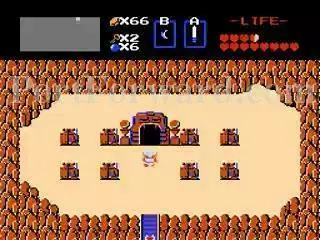
P3: This is not a dungeon but...
You can get another Heart Container and bring the toal to 11.
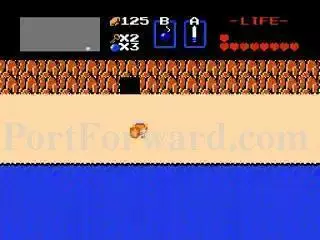
N3: Bomb this wall here.
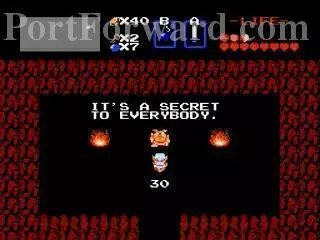
Get 30 rupees.
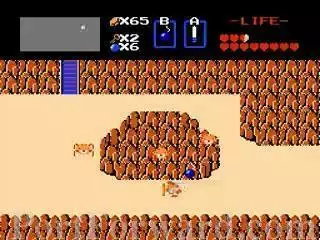
M3: Bomb this piece of the rock.
Get the final field Heart Container. This brings the max hearts to 12. Now you are eligible for the Master Sword but lets worry about that after Dungeon 5 is done.
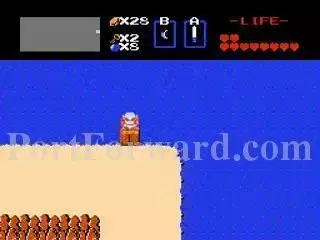
M2: Touch the top 3rd Armos to get in the stairs.
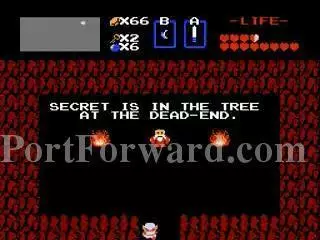
You get a hint of a gambling area in the tree in P2.
L2: Keep going up the stairs as until it stops repeating.
This is the entrance to Dungeon 5.
More The Legend of Zelda Walkthroughs
This The Legend of Zelda walkthrough is divided into 18 total pages.


