
This The Legend of Zelda walkthrough is divided into 18 total pages.
You can jump to nearby pages of the game using the links above.
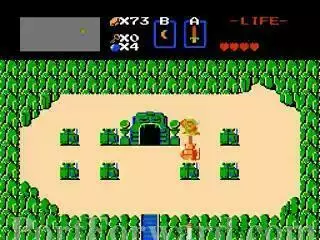
Dungeon 1 (Quest 1) and Journey to Dungeon 2.

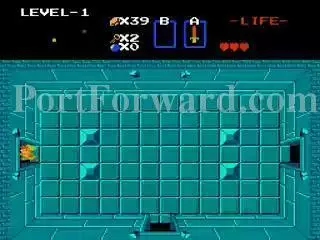
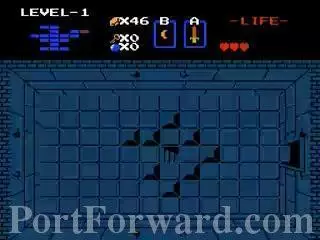
Start off by going into the left door.
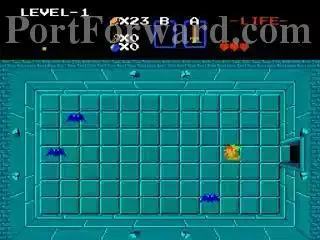
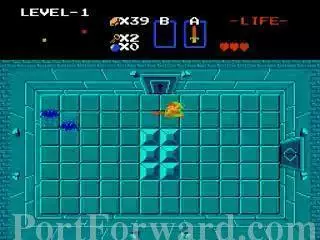
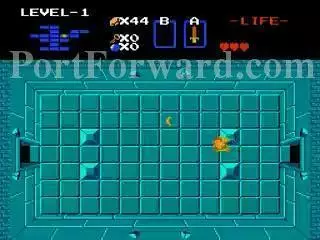
Keese are blue bats that fly around everywhere. They are one of two enemies that can be killed by a Boomerang but you don't have that just yet.

You get a key from killing them all.
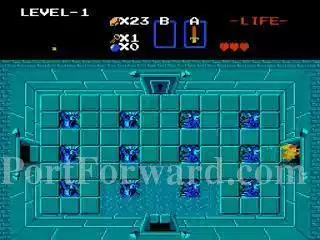
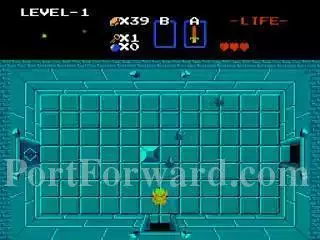
Exit the room and go into the other door.
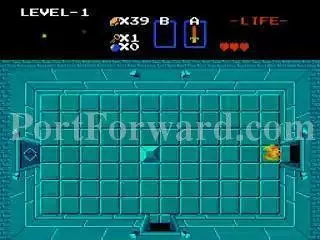
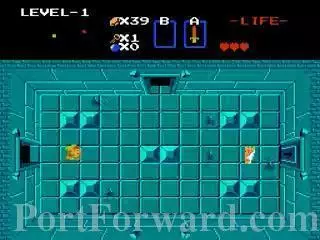
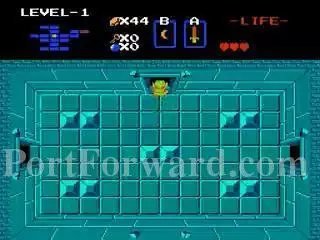
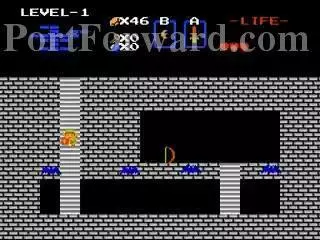
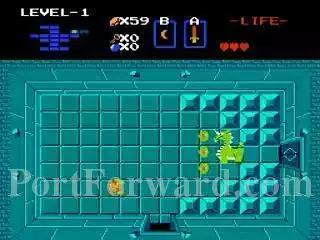
Stalfos walk towards where you are standing. One of them contains a key within them which you can see through it.
Exit and enter this locked door.
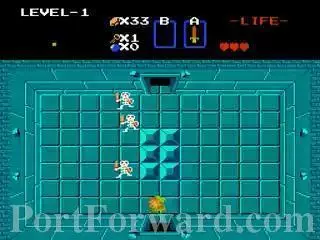
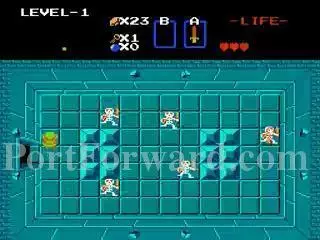
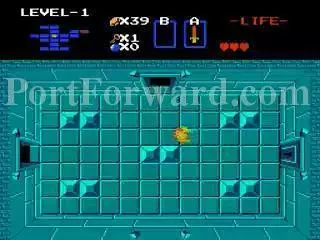
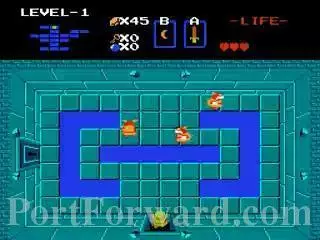
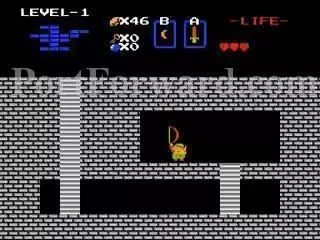
Defeat three Stalfos here.
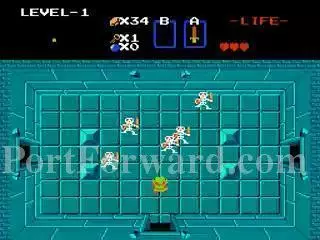
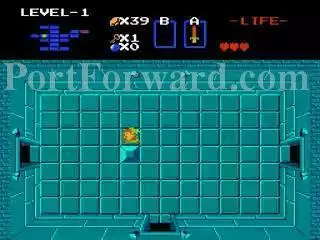
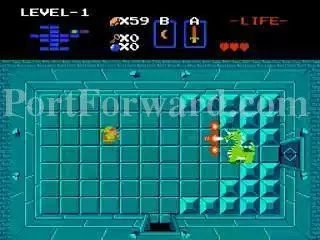
In the next room are five more Stalfos.
You get a key as a reward.
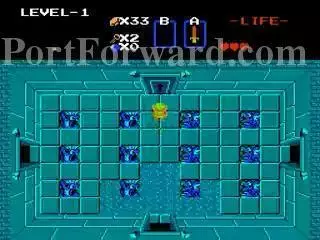
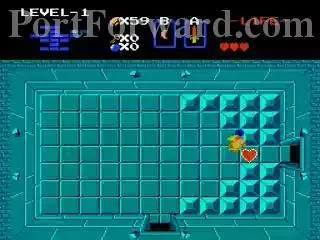
In the room to the right is the Compass. It just tells you which room the Triforce is located.
Exit and go to the left room.
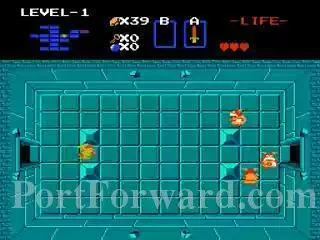
Defeat the Keese to make the right door open but there is no need to go back. Enter the locked door instead.
Gel is the other enemy that can be killed with a Boomerang which you still don't have.
Go into the right door.
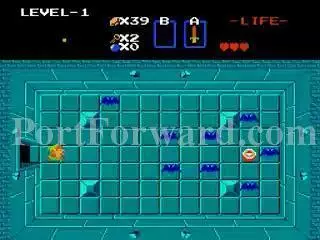
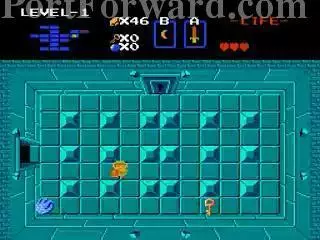
This is the map that shows the diagram of the dungeoun.
You will notice that the maps in this game are shaped like certain objects. This one is an eagle.
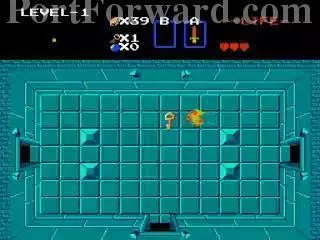
Go back to the previous room and push the lone block aside to open the door.

"Eastmost Penninsula is the secret.
Go back two rooms through the locked room. Defeat these Goriyas who throw wooden boomerangs at you.
You get the Wooden Boomerang. Use them to freeze some enemies in place.
Go to the room on the left then go up.
Defeat these Goriya if you prefer to do so.
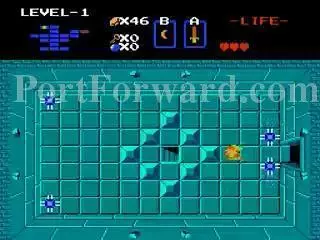
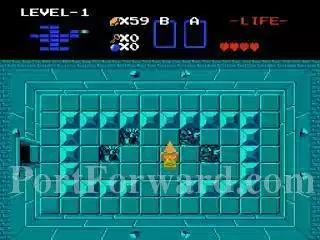
In the room to the left. Watch out for these traps. They close in on you if you are within their line of sight.
Push the left block upward to enter the stairway.
Kill these Keese.
You got the Bow. Now you just need to buy the arrows and you are all set.
Go back to the room to the right of where you got the Wooden Boomerang. Get the Key and you can choose to fight the Wallmasters for rupies and hearts but don't let one catch you or you will be sent back to the main entrance.
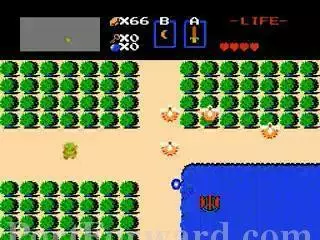
The first boss you face in the game if you decide to take the dungeons in order is Aquamentus. He fires three fireballs at a time.
If you have full power, stand far away and fire your sword beam to defeat it. Otherwise, carefully get close and slash away. If you are low on energy, wait for him to fire then avoid it and slash him then back off.
You get a Container Heart that increase your maximum hearts by 1.
Dungeon 1 (1st Quest) complete.
J6: Peahats are invincible to sword attacks while moving. Slash them when they stop moving.
M6: Moblins launch arrows at you but they bounce off your shield. Blue ones take more damage than the orange ones.
This bomb allows you to blow up walls in dungeouns and the overworld.

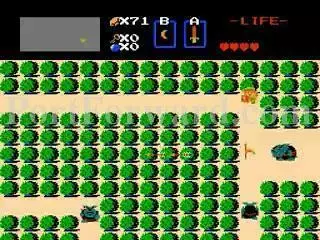
M5: The entrance to Dungeon 2 is above.
"M4: The entrance to Dungeon 2. Now let's recap your journey. You left Dungeon one which was located in H4. From there you traveled in this order:
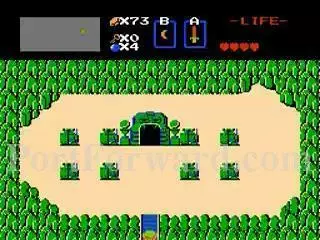
Before going in, touch the Armos from behind to avoid being damaged on touch then kill them as you like. In Quest 2, the entrance to Dungeon 3 is in this spot.
More The Legend of Zelda Walkthroughs
This The Legend of Zelda walkthrough is divided into 18 total pages.


