
This The Legend of Zelda walkthrough is divided into 18 total pages.
You can jump to nearby pages of the game using the links above.
The Journey Begins and preparing for Level 1.

You start off in H8. Enter the cave to meet this old man.
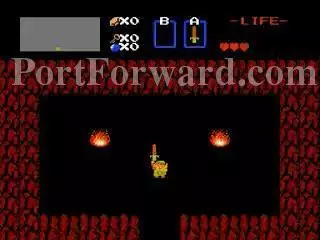
You have obtained the Wooden Sword.
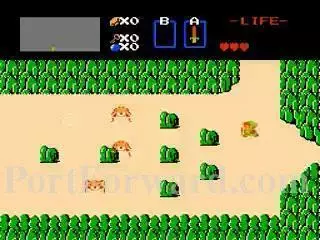
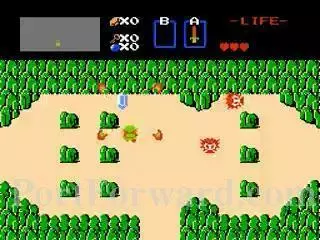
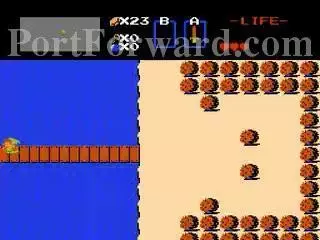
H7: These are Tektrites. They hop around in various places. When you obtain the bombs. Bomb the wall above where the top Tektrite in this picture for a money making game.
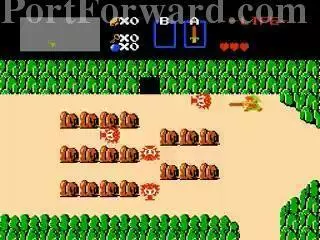
G7: The Octorocks are some of the more common enemies in the game. Blue ones take more damage than the red ones with the wooden sword. The shop contains a Shield, Key, and Candle.
G8: When you get the bombs, come back and bomb the wall above next to the crevice.
Solid blue rupies are worth 5 rupies.
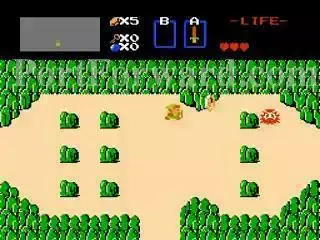
The flashing ones are worth 1.
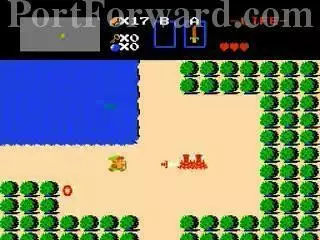
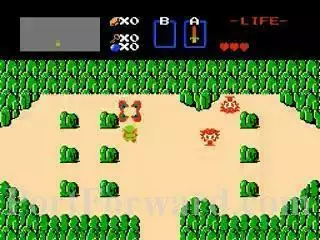
I5: Leevers are sandworms that pop out of the ground and home in on you. After a while they will sink back into the ground. Blue ones take more damage than the red ones and also cause more damage.
Zora: They can't be killed with a Wooden Sword. They pop out of the sea and spit a bullet at you that can't be blocked by a normal shield. You need a magical shield for that.
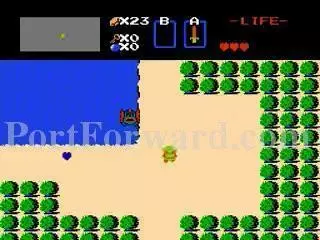
I4: This bridge leads to the entrance of the first Dungeon. This is also the same location for Quest 2.
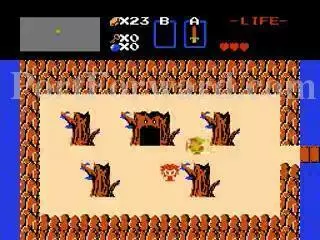
H4: The entrance is inside this stump.
More The Legend of Zelda Walkthroughs
This The Legend of Zelda walkthrough is divided into 18 total pages.


