
This The Walking Dead walkthrough is divided into 6 total pages.
You can jump to nearby pages of the game using the links above.
Episode One - A New Day
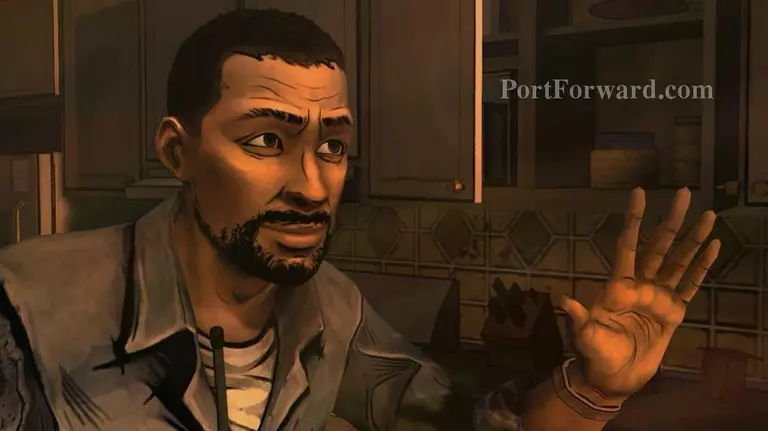
You, will be playing as Lee Everett until the end of this game. Your task is only to decide his actions, but the main point is to enjoy the story. :)
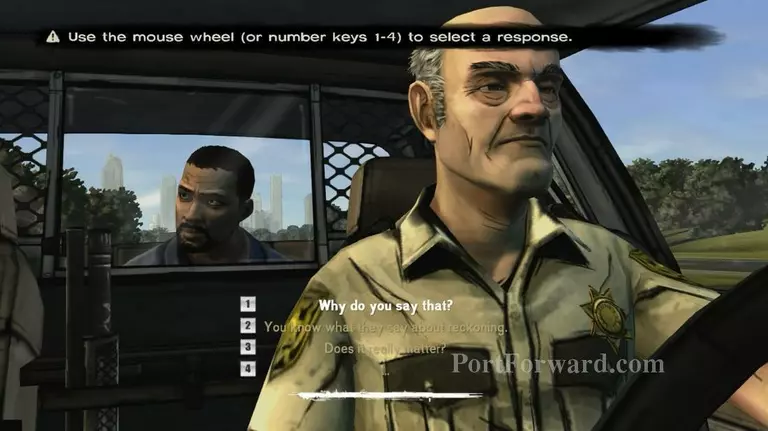
This is your first tutorial to decide what to respond. Select any response that you like. There is no wrong decision. :)
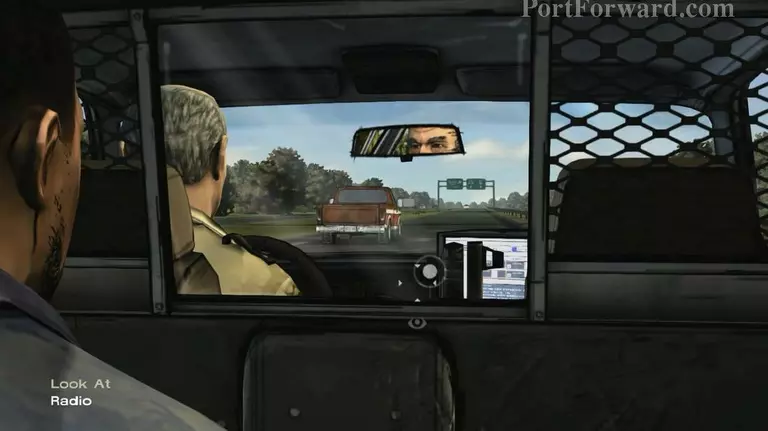
After a while, you will notice a small circle there which the action is to look at the radio. Click that to proceed.
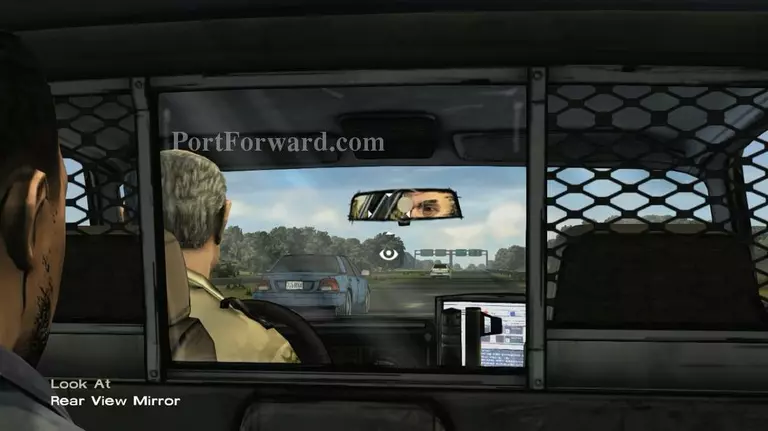
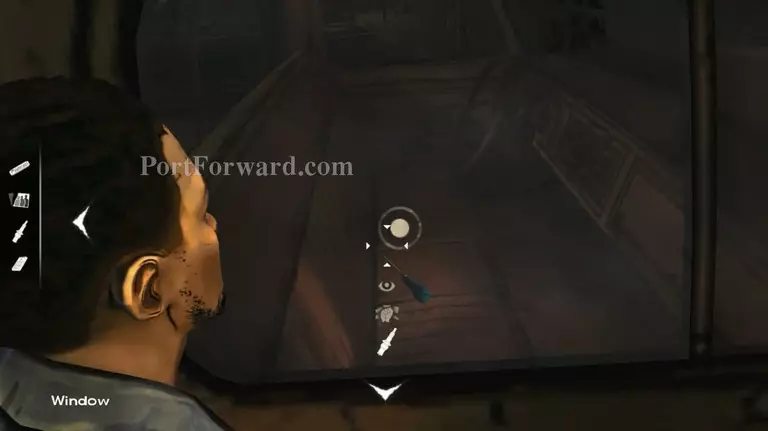
Now, look at the mirror to continue.
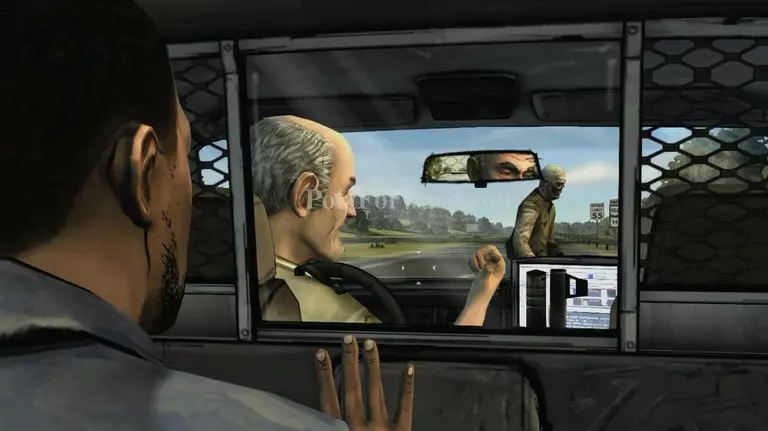
This is where the zombie thing started. :)
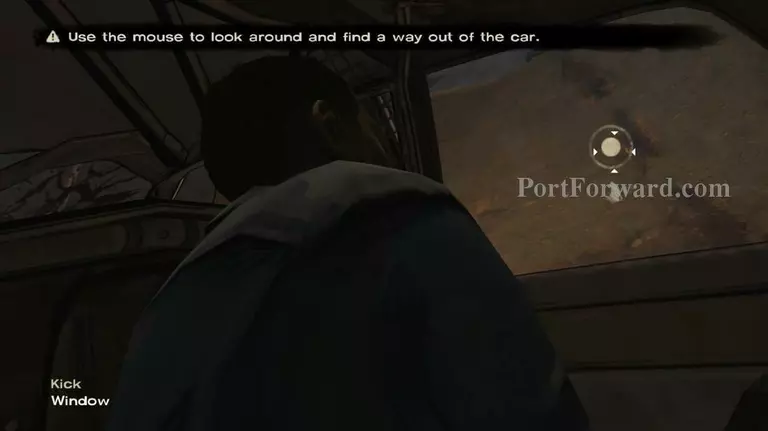
Once you awake from the car accident, kick the window four times to get out.
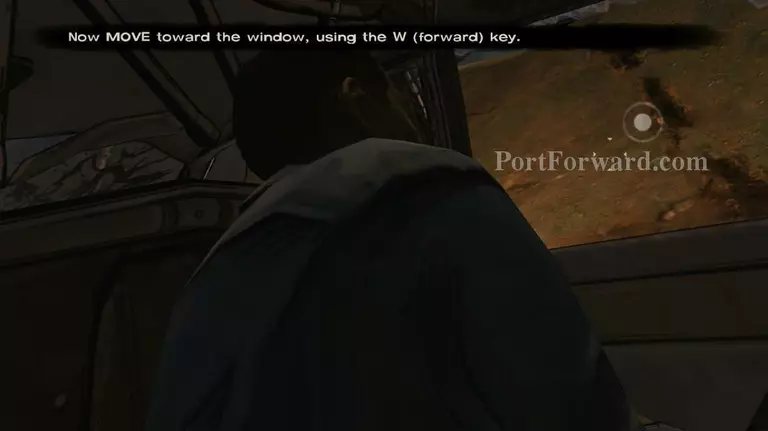
Move forward towards the car door to get out from the window.
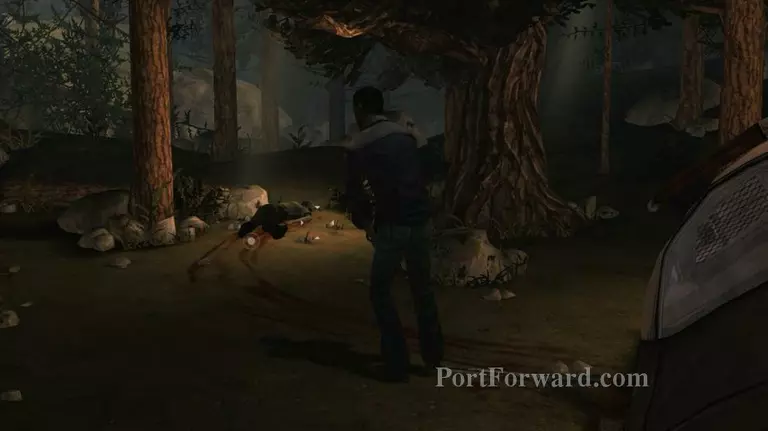
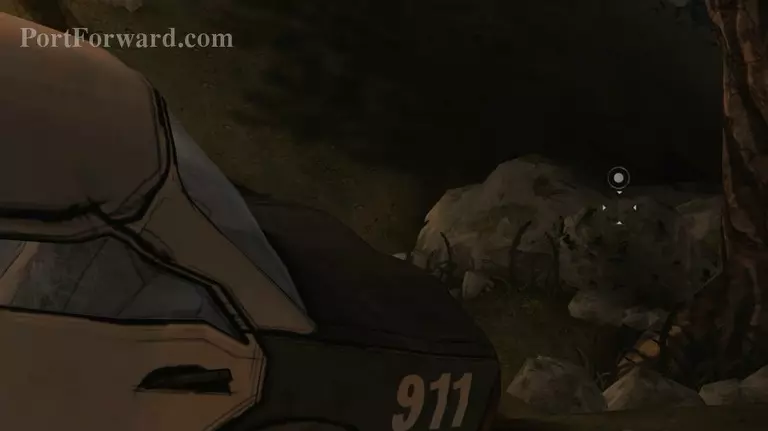
Then, just walk to the dead police over there. Go beside him, no need to click at the circle.
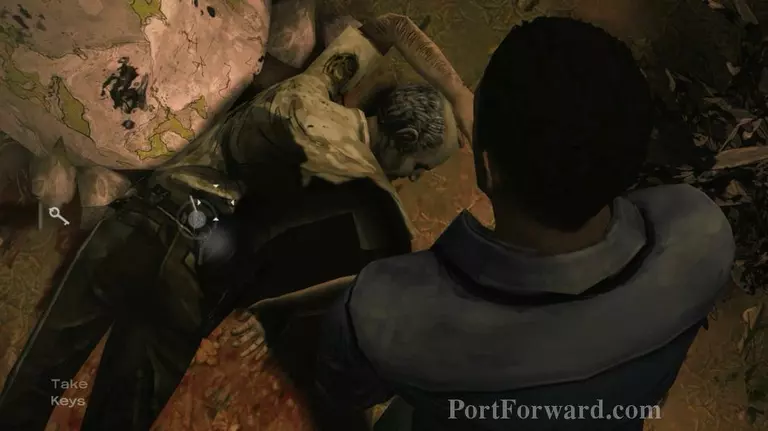
Take his keys and open the handcuff.
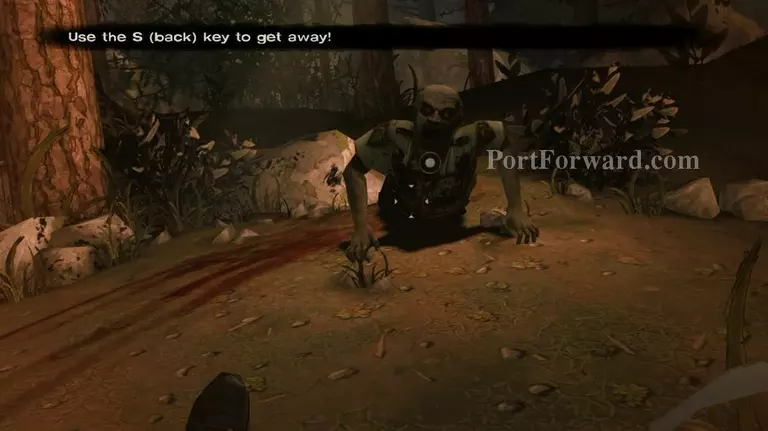
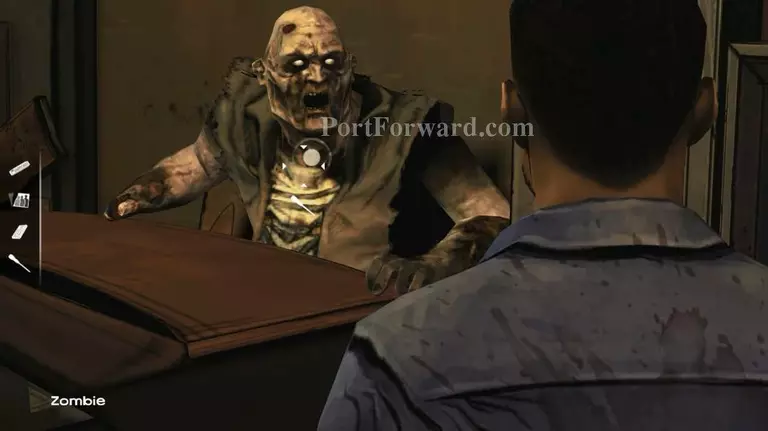
When this happens, dont panic. Slowly move behind.
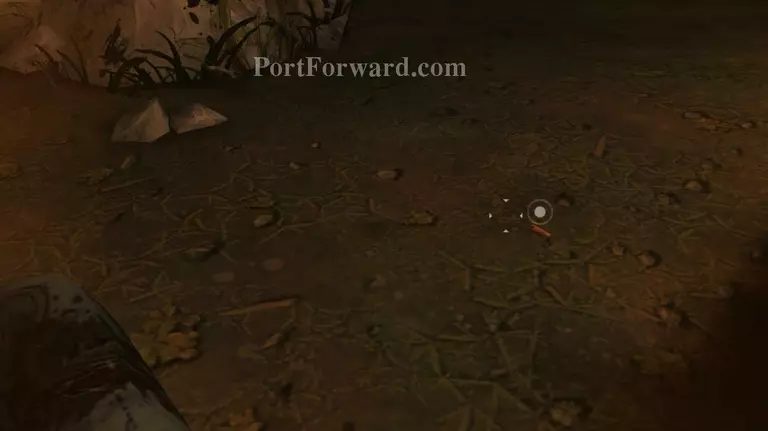
At your right side, there is a shotgun shell while at the left side there is a shotgun. Take both and shoot the zombie's head.
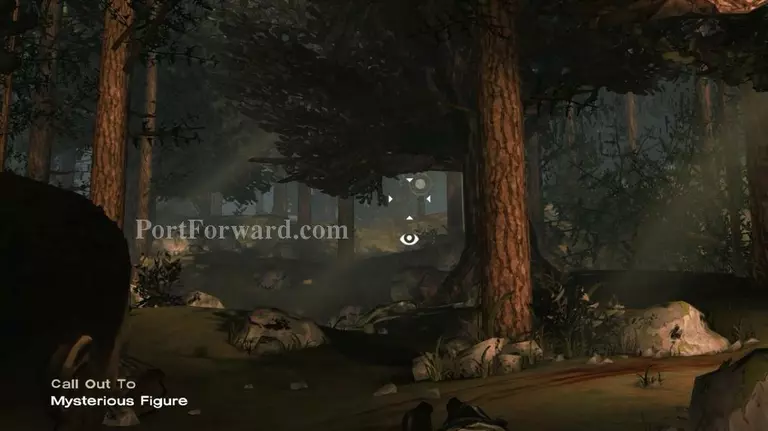
After that, look closely and you will notice someone looking at you. Click to call for help.
Then, look behind. Zombies getting nearer. Lee will start running which continue to the next chapter.
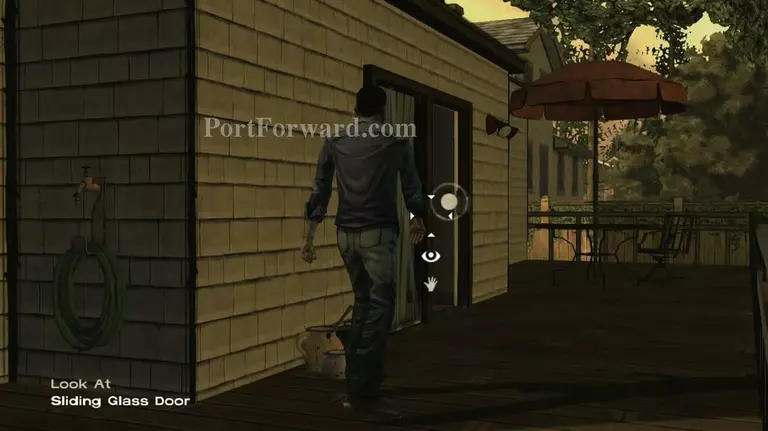
Now, open the door. There's nobody home.

Go to the kitchen.
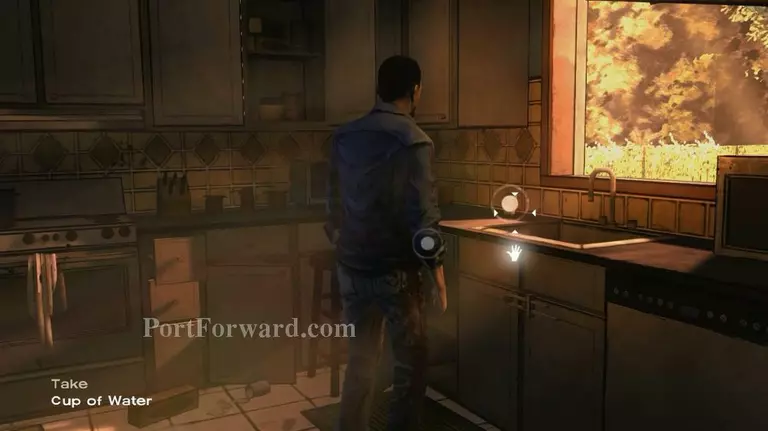
Drink some liquid.
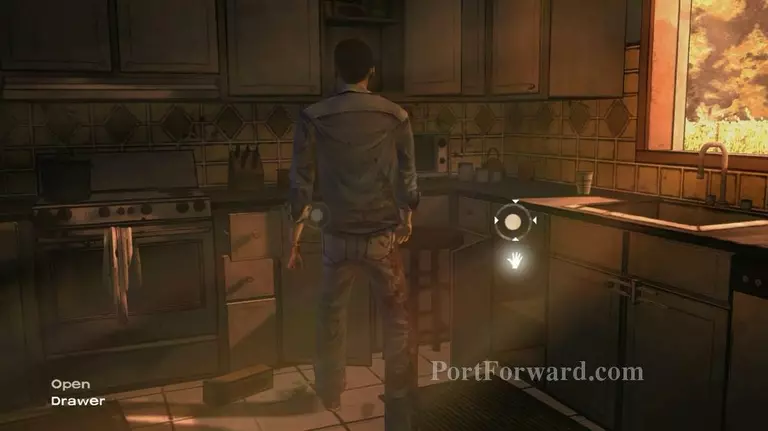
Search all drawers until you find a walkie talkie.

Go back and use the answering machine.
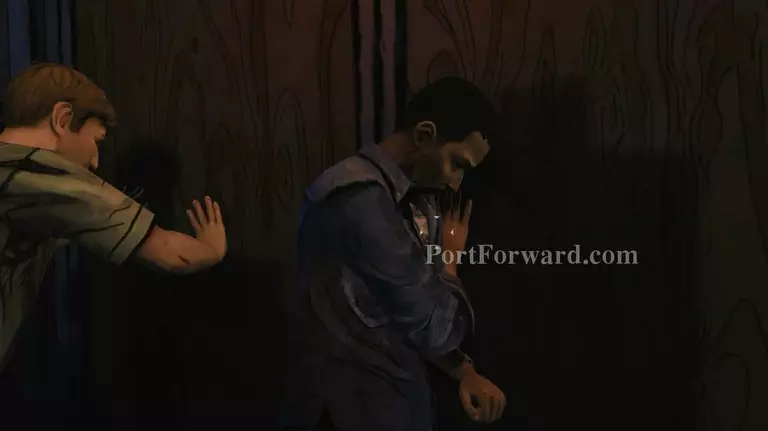
During talk to Clementine, her zombie babysitter will attack you! Be prepared.

Defend yourself.

Let her taste your shoe.
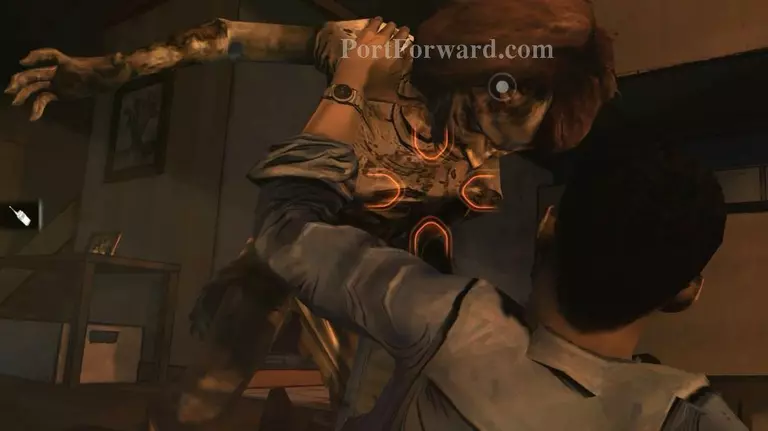
She's really a die hard fan of yours. Give her a punch to her skull.
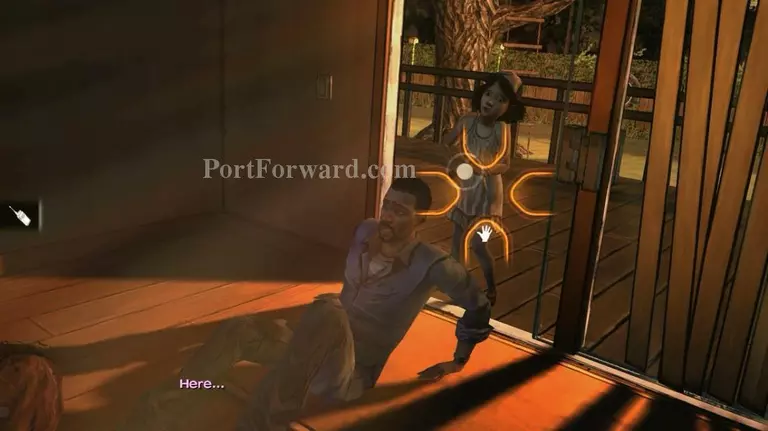
When Clementine appeared, take her hammer and smash the zombie's brain.
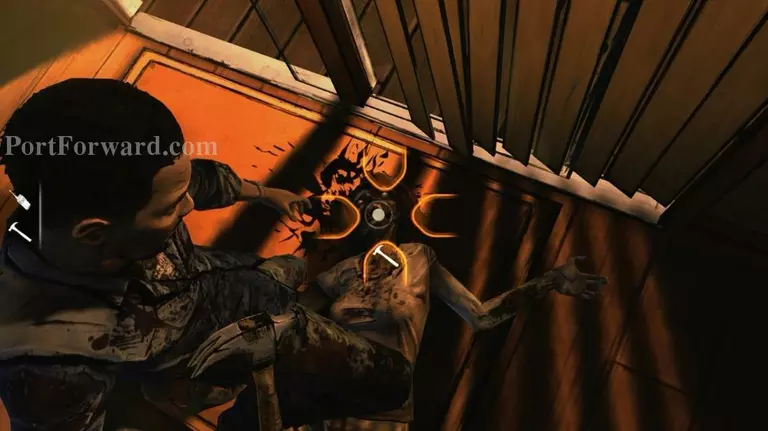
Do this until you her head flat. Or.. at least until no more action to do. :)
Now select which one you prefer. Both will make you reach to the same place later. Only the story to the place is different.
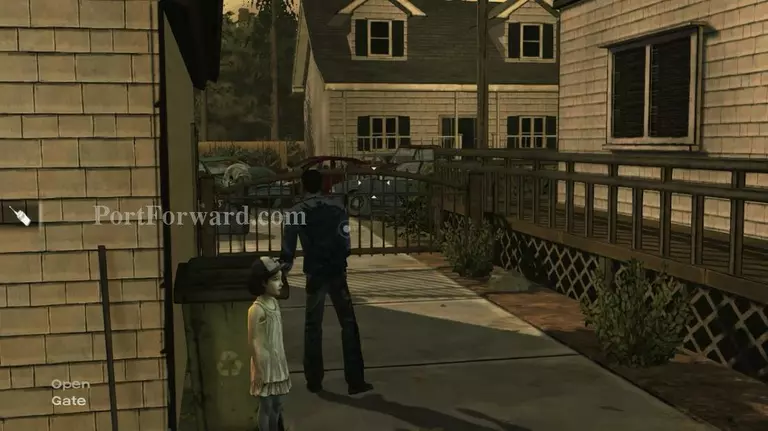
It's the best to find help during day. Now, walk to the gate and get outside.
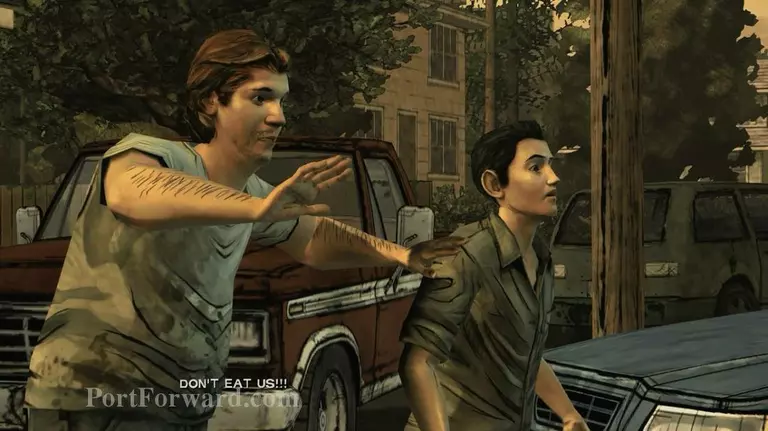
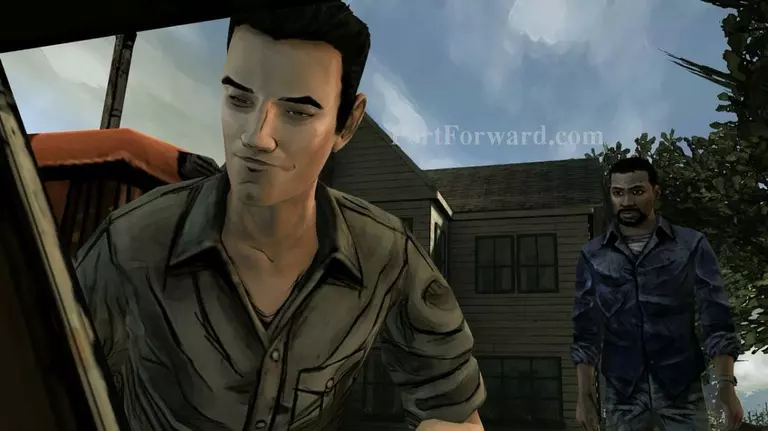
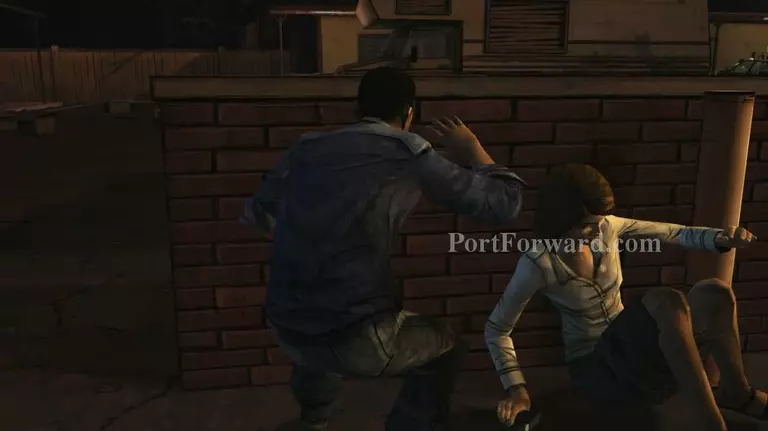
These two people are nice, you should trust them.
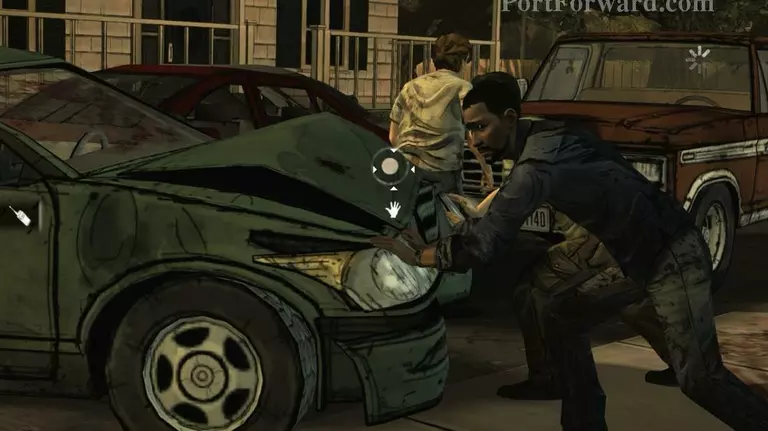
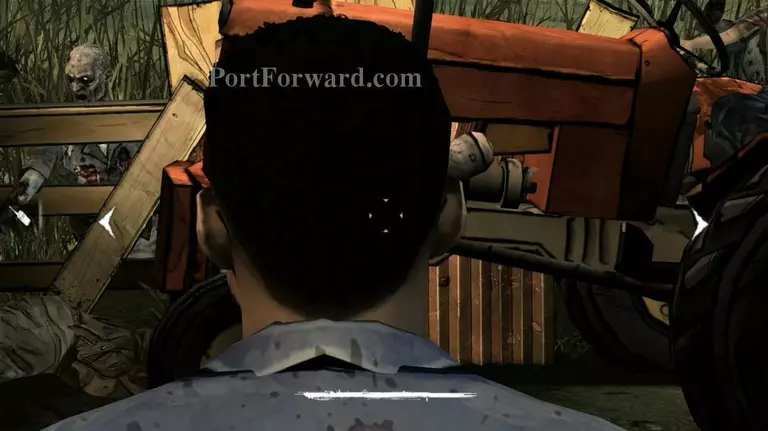
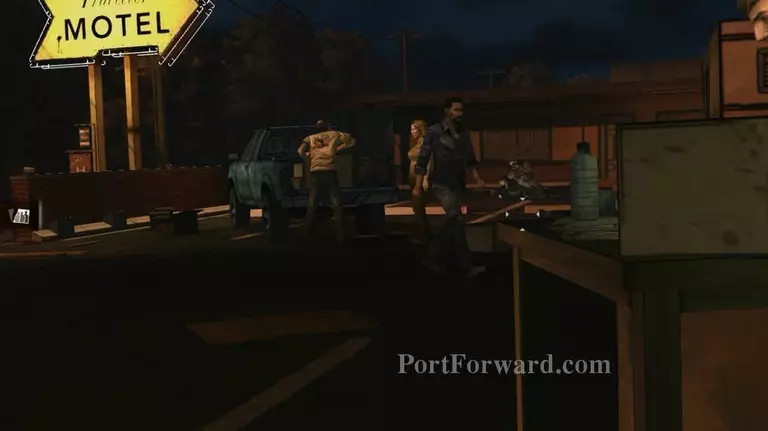
Few moments later, zombies found you. Quickly, push aside the car and run.
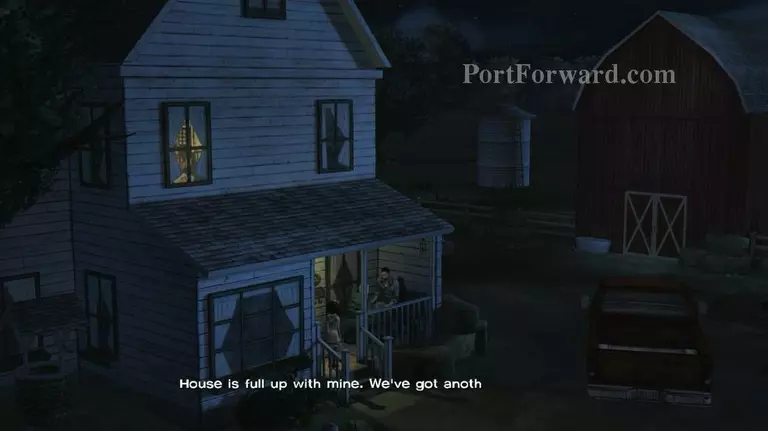
Looks like this is the place you stay for the night.
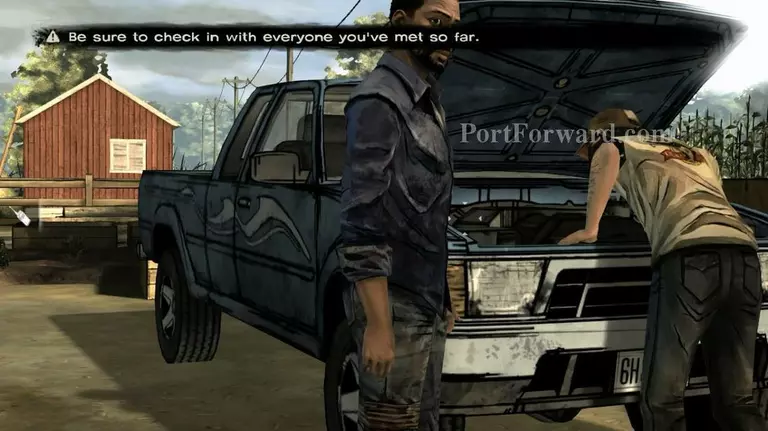
The next morning, you'll find Kenny and his family. To proceed, talk to everyone.
After you talk to him, go to the barn and talk to his father.
During talking, something bad will happen. This is your first tough decision. Decide which one you have to save. No matter what you do, that guy will be dead. So why bother dead man? It's better save Duck. :P
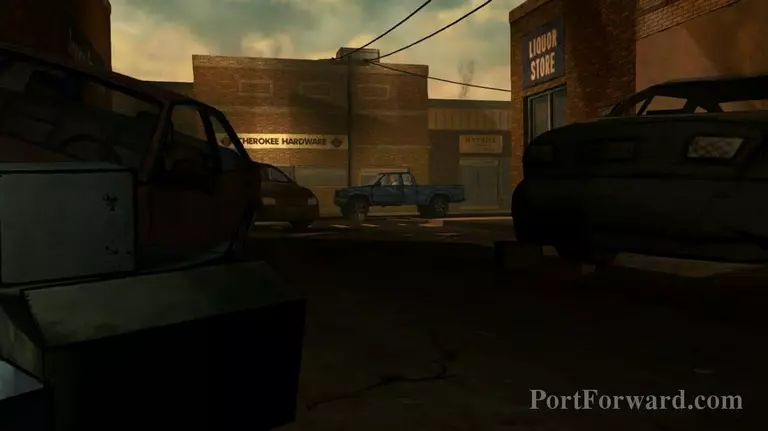
Finally, you reached Macon. Your hometown.
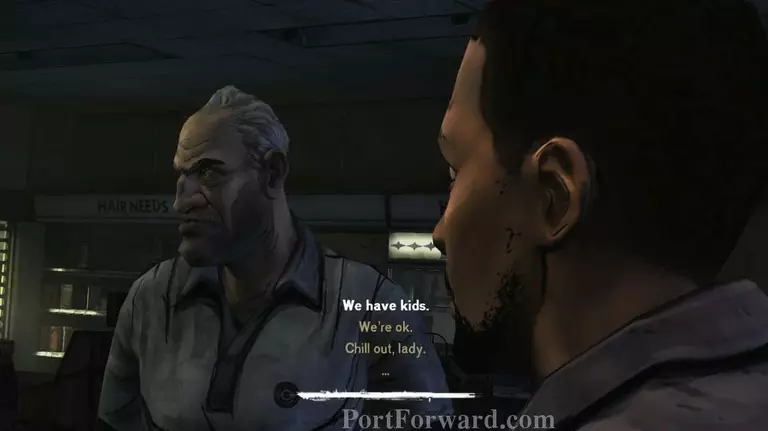
This old man such an *** . Whatever you do, he will not be nice to you. It's you to decide what you gonna do with him. Side with Kenny or this old fart. :)
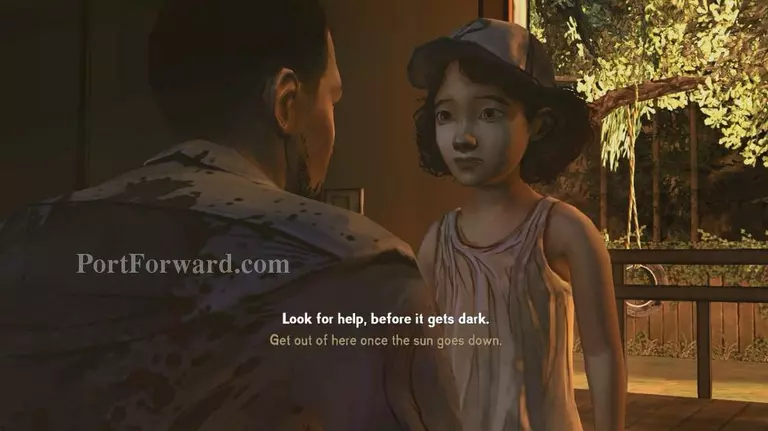
Clementine will be attacked by the zombie. Then, it's time for you take rest. Being a babysitter is not an easy job. :P
Quickly, click the circle when it appeared near Clementine. By doing this, Clementine will remember that you saved her. Also, when the relationship with Clem getting better, it will change the dialogs and scene a bit.
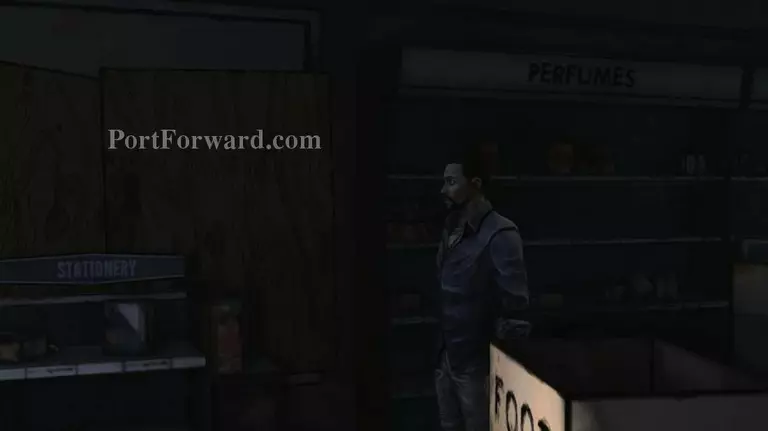
Now, you are free to go.. Well at least in this place. You have few task to do here. The main task is three, save your friend, find pharmacy key and get the med from the pharmacy.
Firstly, how about checking this radio. You need two batteries to power it.
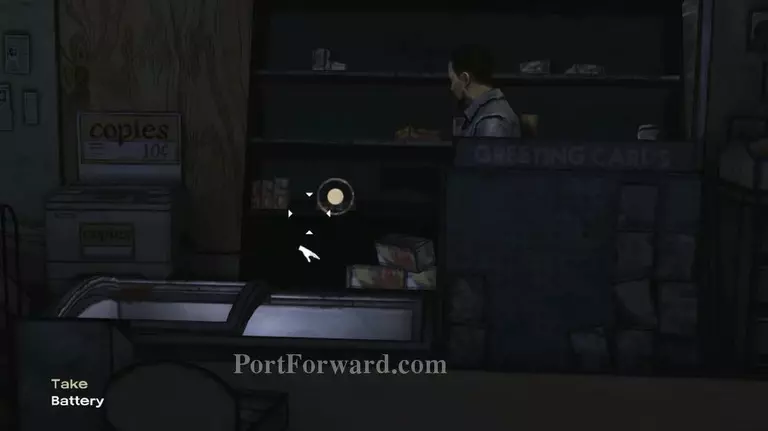
The first one is here.
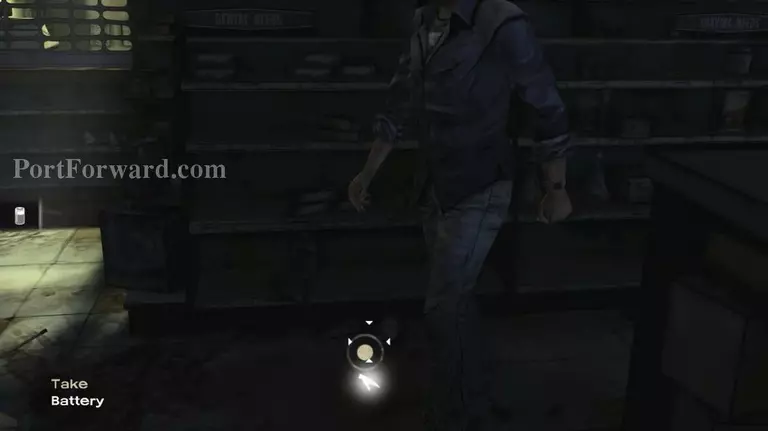
While the second battery at the back, keep going to the left and you will find this place.
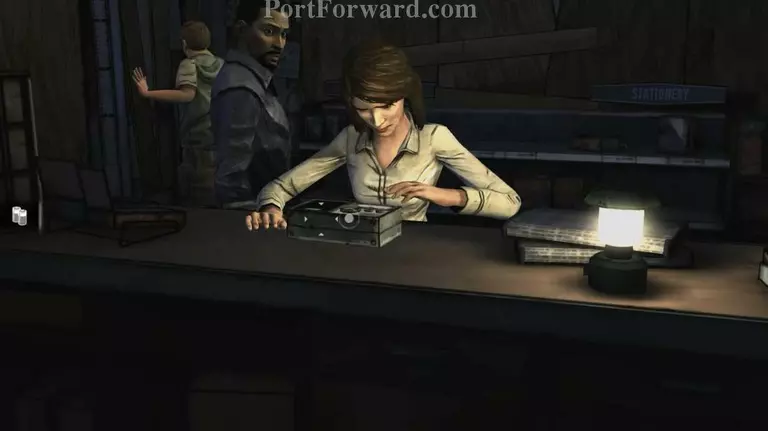
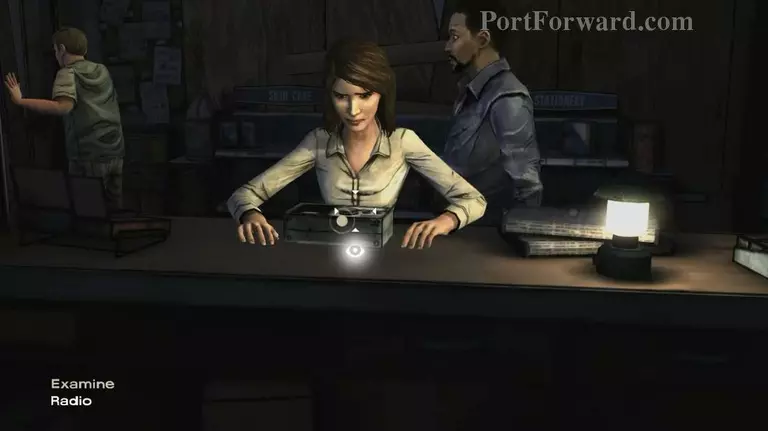
Give the batteries to this girl. But the radio wont work. You have to check again by youself.
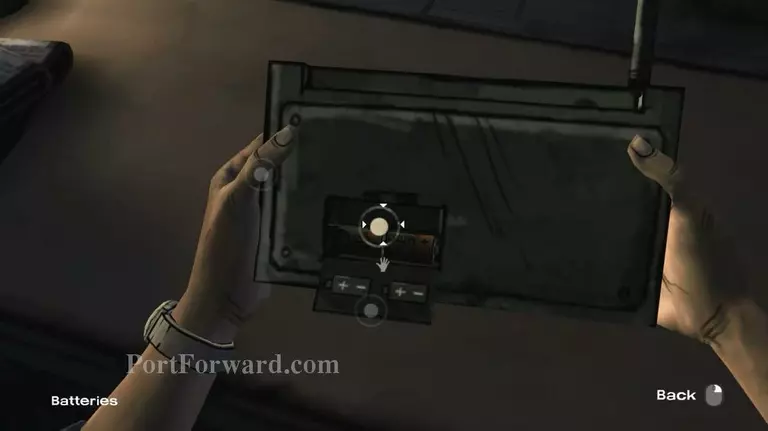
Turn the radio and fix the position of the batteries. Then turn it on. It will work now. :)
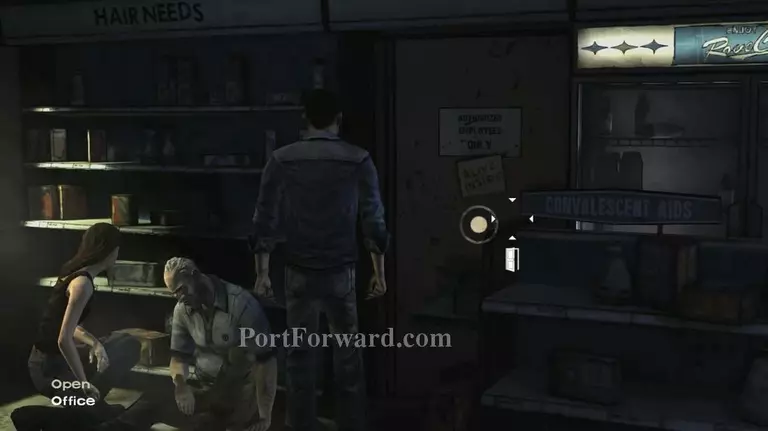
Now go to the Office.
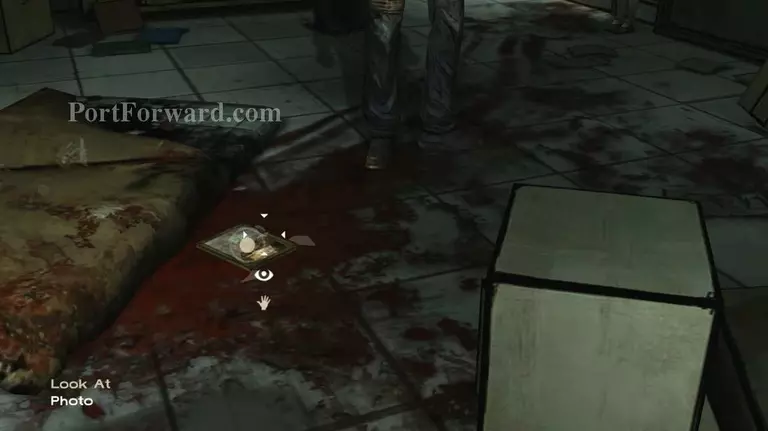
Take this picture and have a little chit chat.
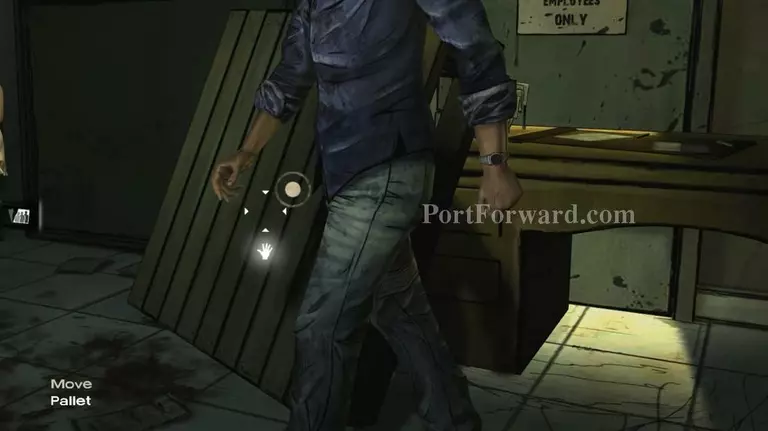
Next, move this pallet.
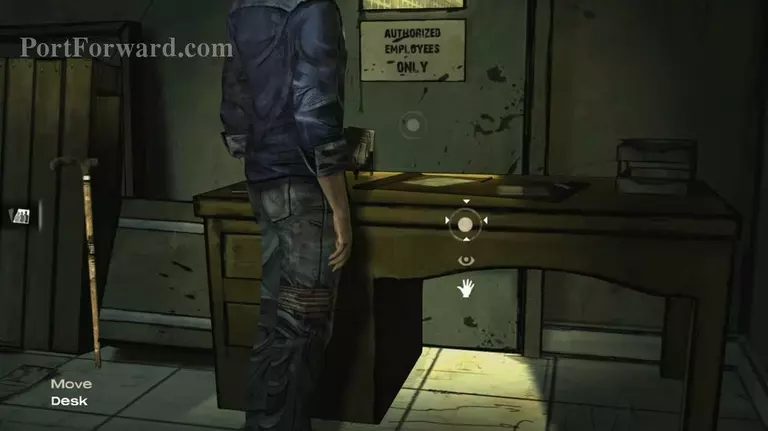
Move this Desk.

Take bandage from this First Aid Kit and use it at Clementine.
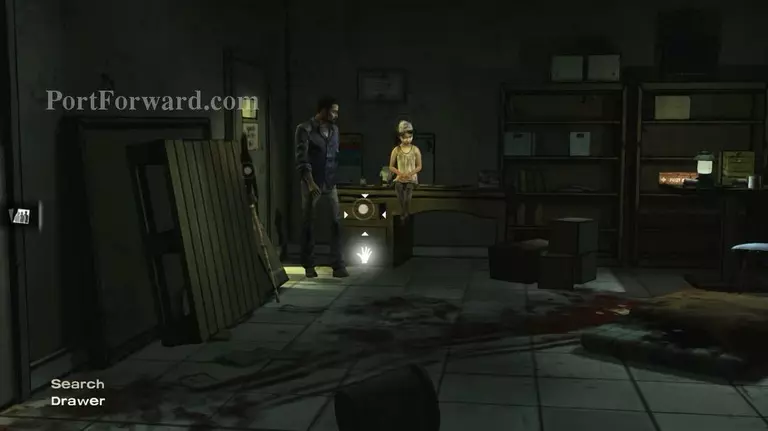
Search in the Drawer for a remote control. Take it. Then Get out from the room.

Take the energy bar in this area. There are few in here. Give it to people you wants especially Clementine.
After she get the snack, you will obtained your first main task which is save your friend.
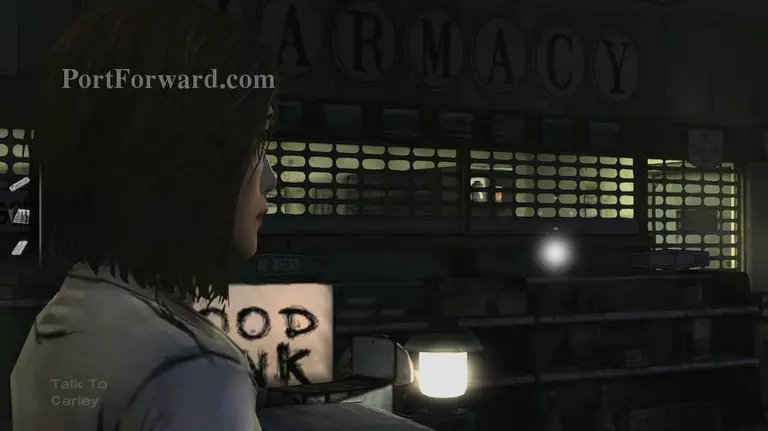
To start you task, talk to Carley.
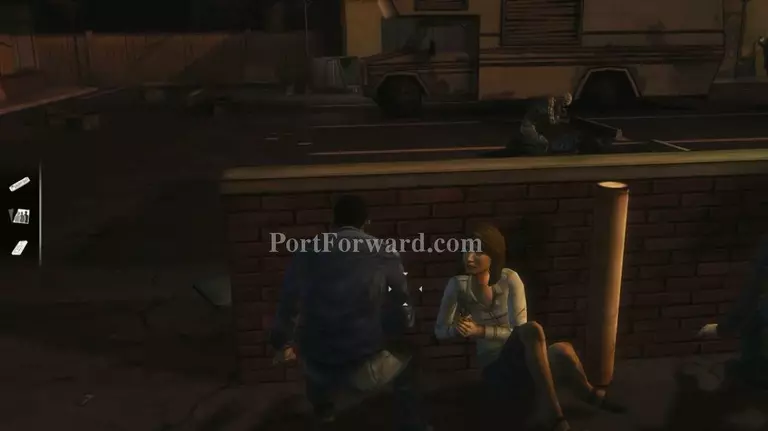
Now, it's time to save a stranger. Which is really a bad idea and Carley was right. :D But here, there are few steps to get the work done.
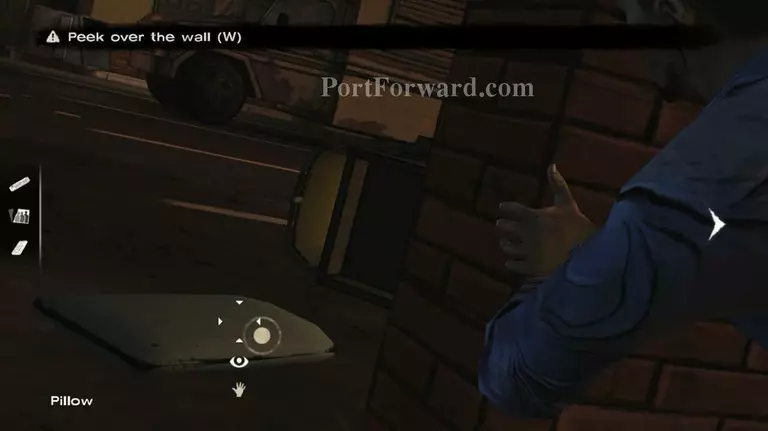
First, take pillow.
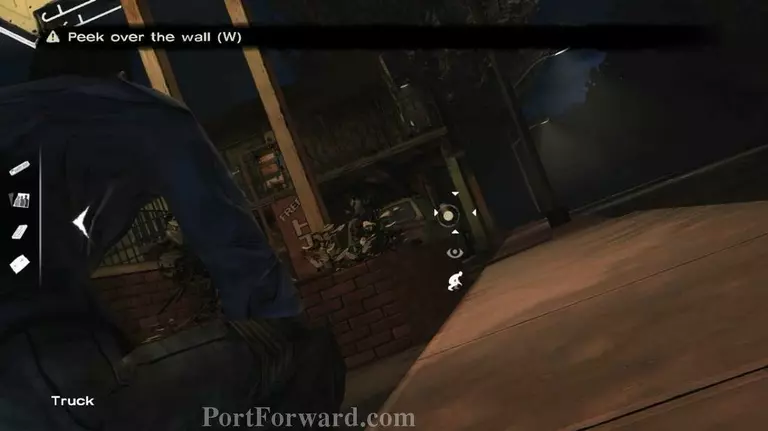
Then, slowly move to truck at the other side.
Kill this zombie with the pillow you take before.

Next, open this door and ...
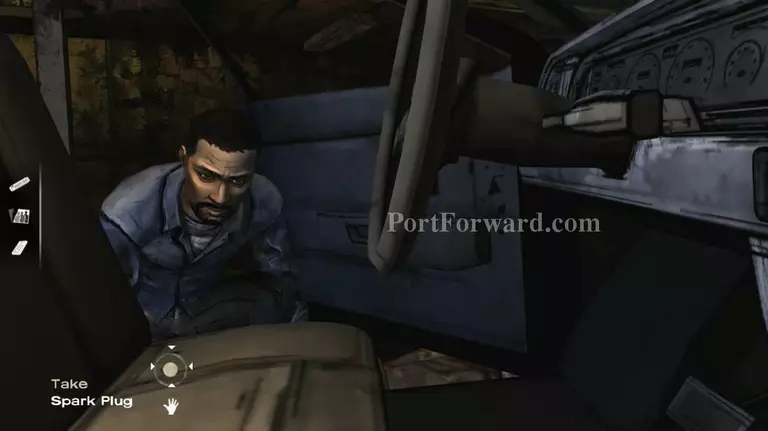
Take spark plug and ...
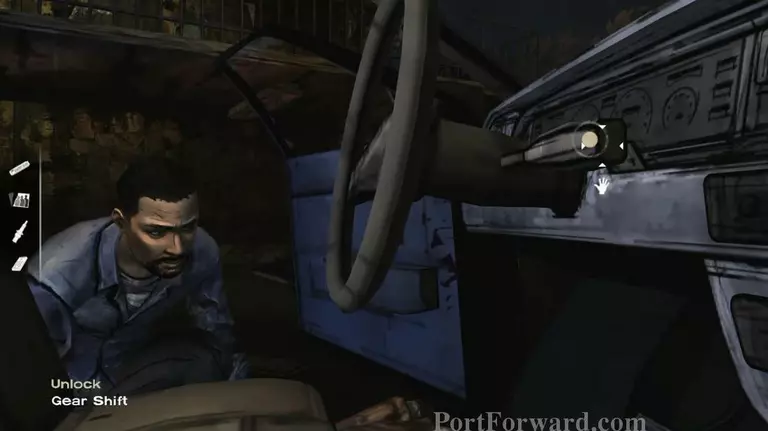
Unlock gear shift.
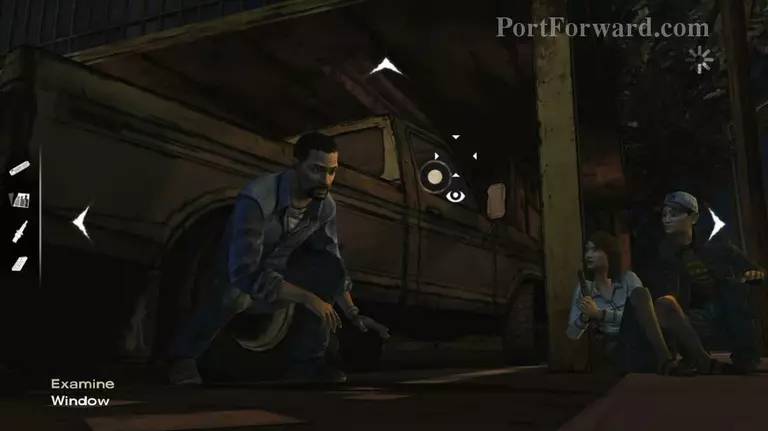
Back to the truck before, click to examine window.
Use spark plug to break the car window and take the awl.
Get back here.
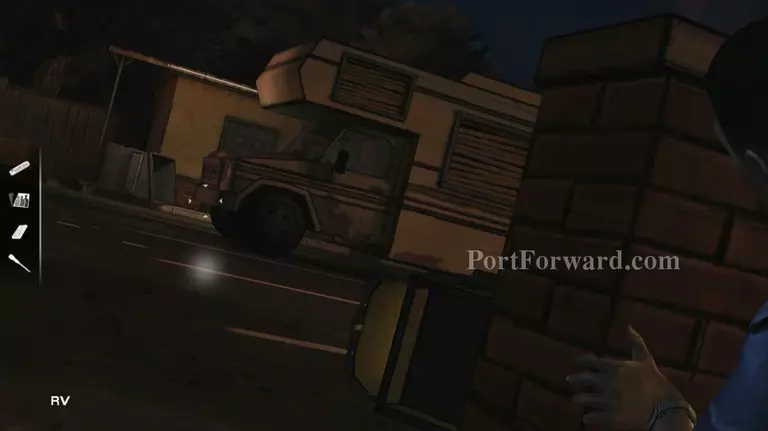
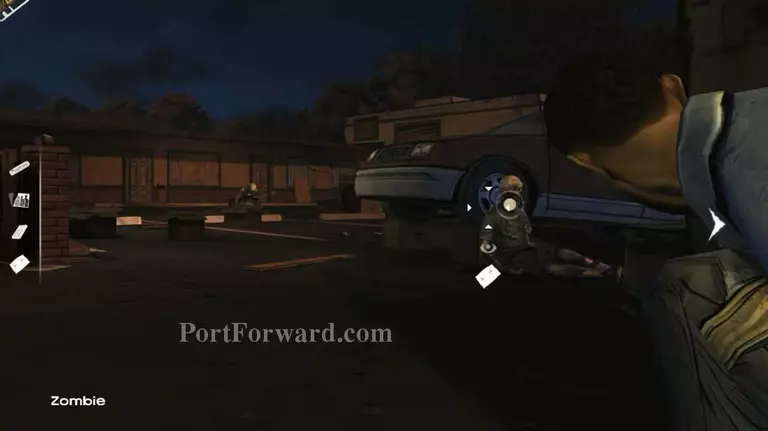
Move to the RV.
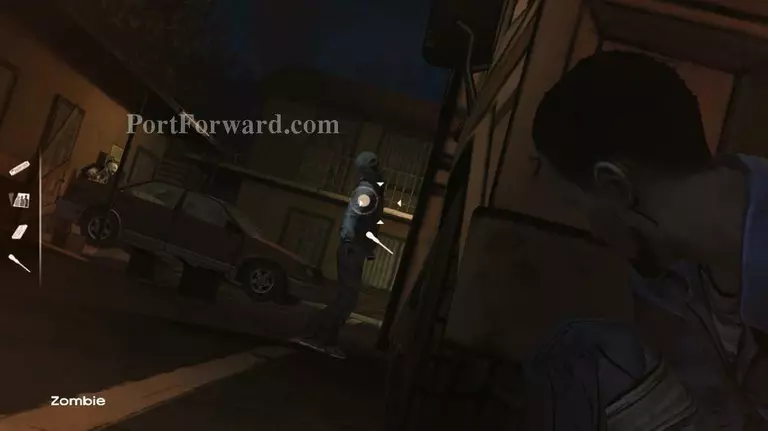
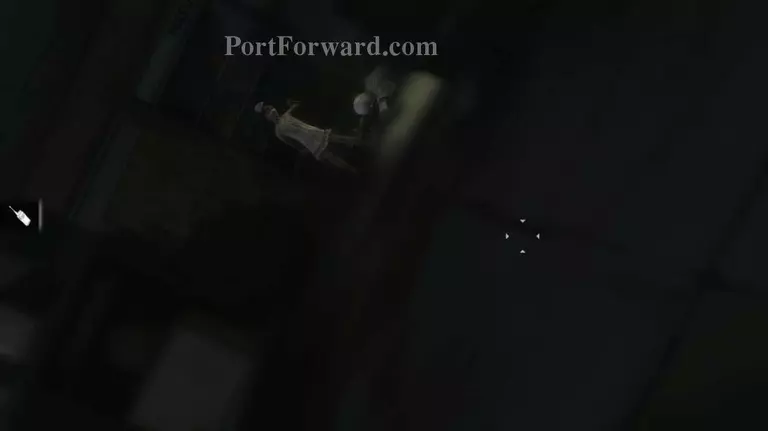
Look at the zombie to the left and use the awl to make a hole to his head. :P
Opps... This one havent died yet. Finish him with your fatality technique. Then take the axe beside him.
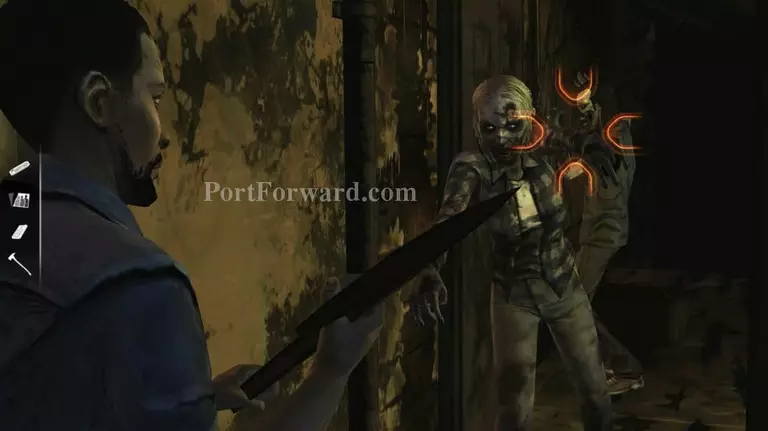
Now, kill the remaining zombies with style. Remember to attack when a circle appeared at the zombie. Just spam click near the zombie head to ease your job.
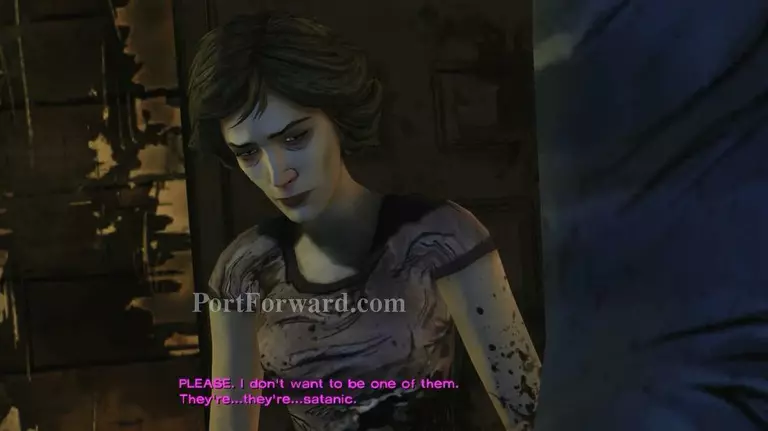
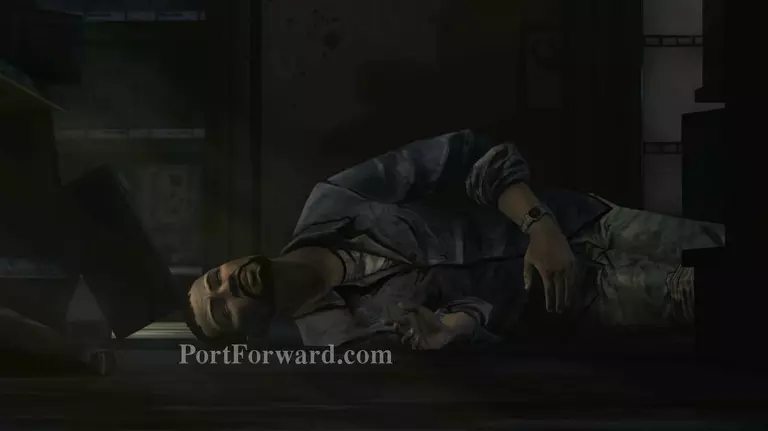
This poor girl you saved actually has been bitten. Too bad she's gonna die soon. It's your decision to give her death from a bullet or drop her to the ground. :D
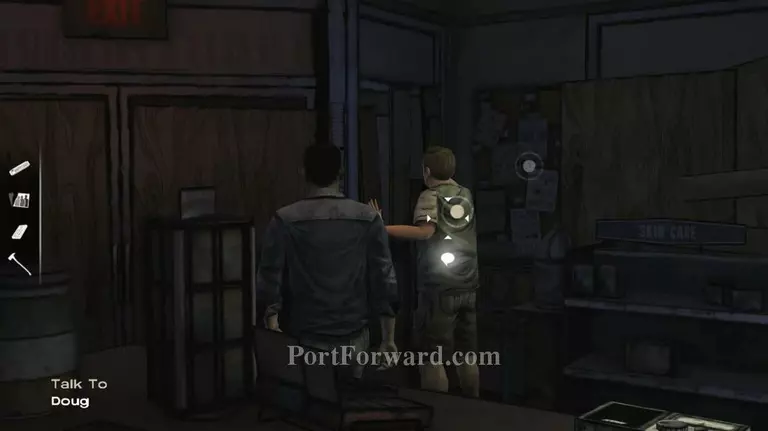
When you back, talk to Doug.
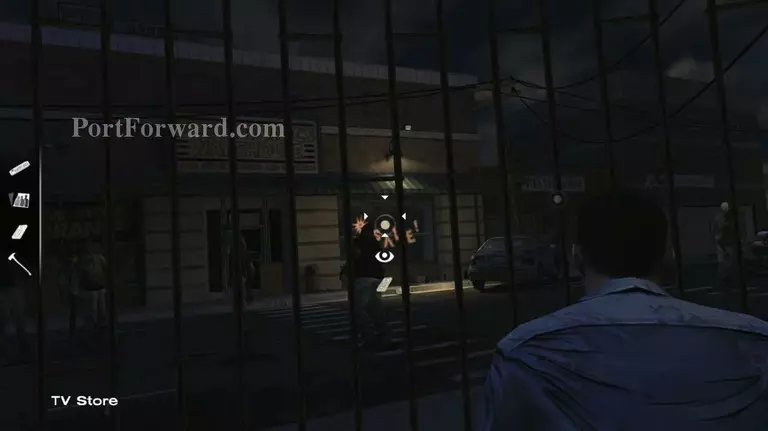
This time, use the remote control to turn on all the TVs.
Look across the street, there is a zombie. Use the picture you taken before to confirm it to Doug.
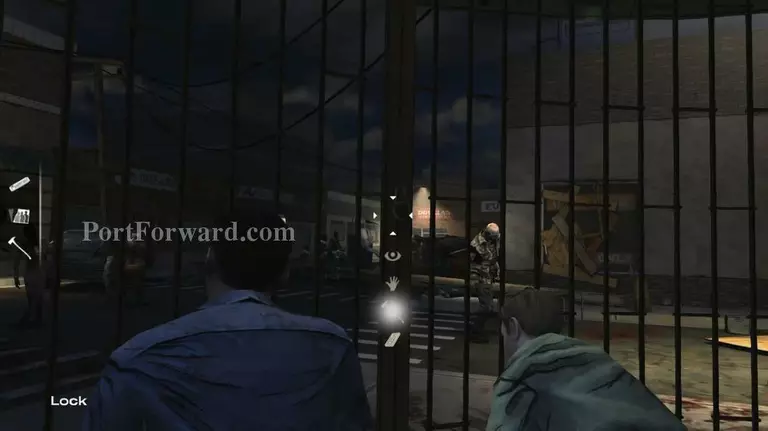
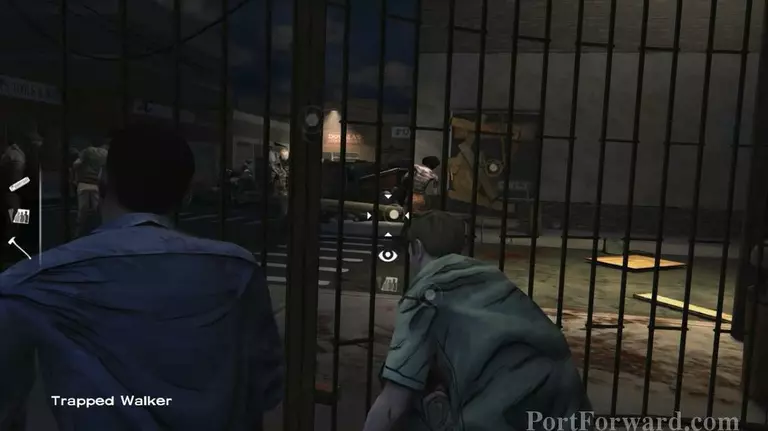
Then, break the lock with the axe.
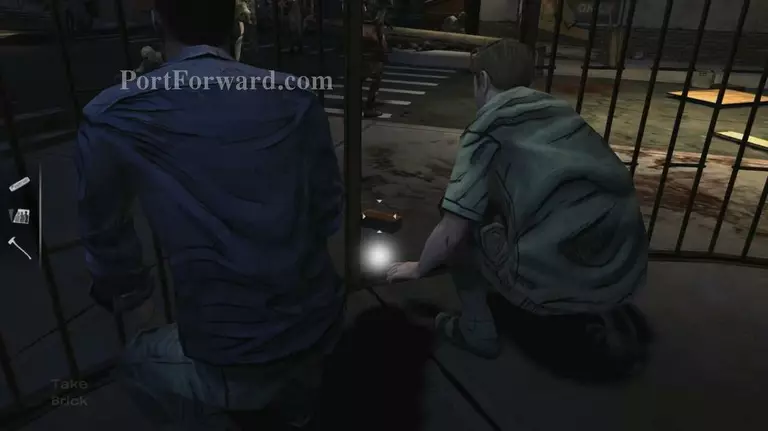
Take this brick and ...
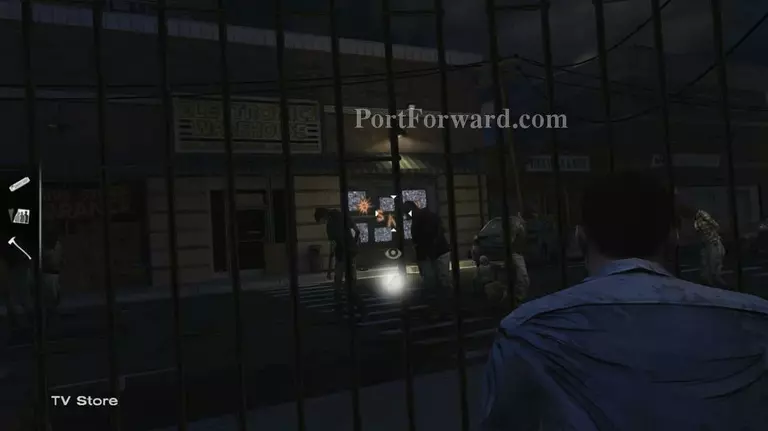
Throw it to the TV store window.
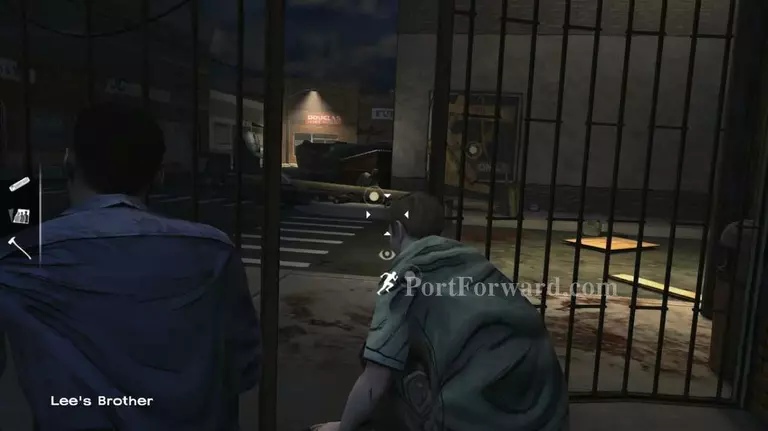
Quickly grab the keys from the trapped zombie. This end the second task.
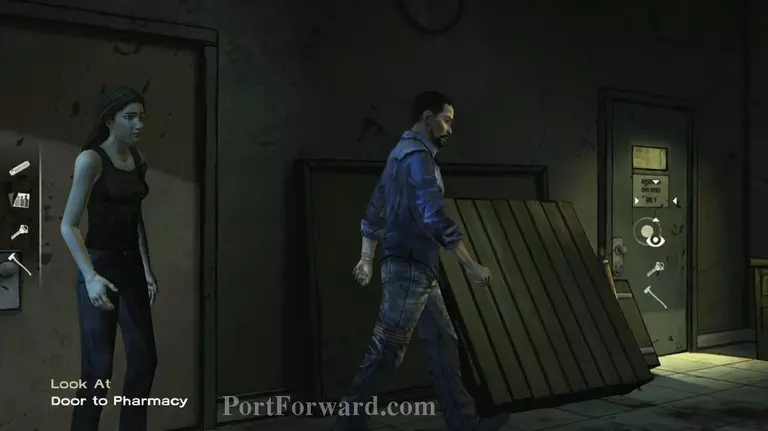
You have the key now, it's time to open the door to the pharmacy.
Too bad the alarm still work. :D Now, just go straight.
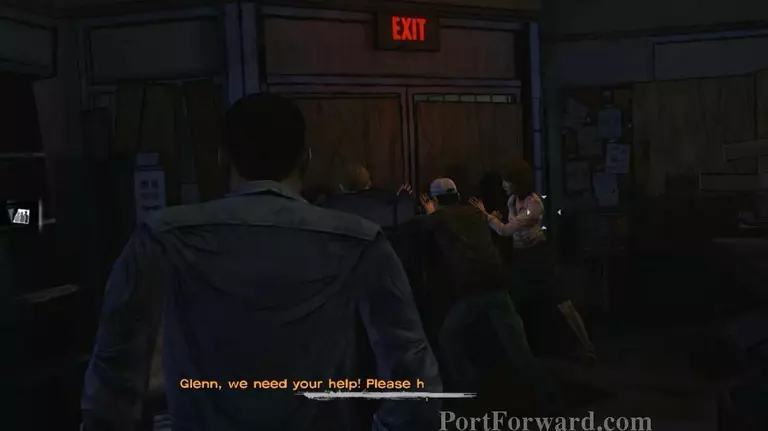
Hold this door for a moment.
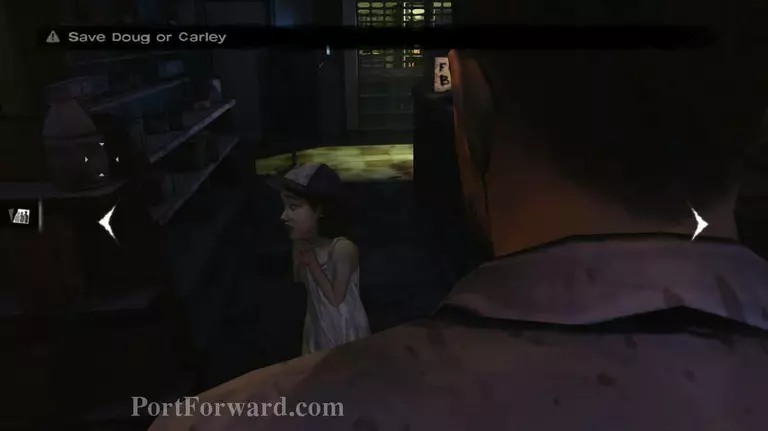
Second tough decision. This time, only the one you save will be alive. If you like the girl, save her or else save that geek guy. Most people save the girl.

Clementine also wants to be saved. :D
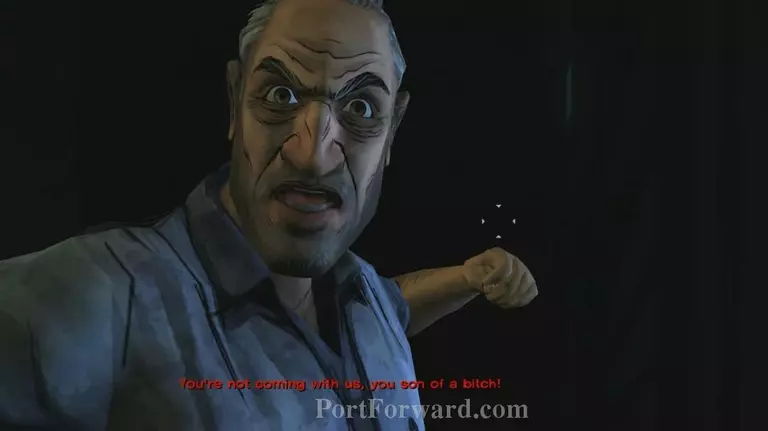
This old fart really keep his revenge in his dark old sick heart. Accept it as you cant do anything about it. It is your fate in this game. :P
Just let him go. You doesn't need him anymore. You can continue play his own story in 400 Days DLC.
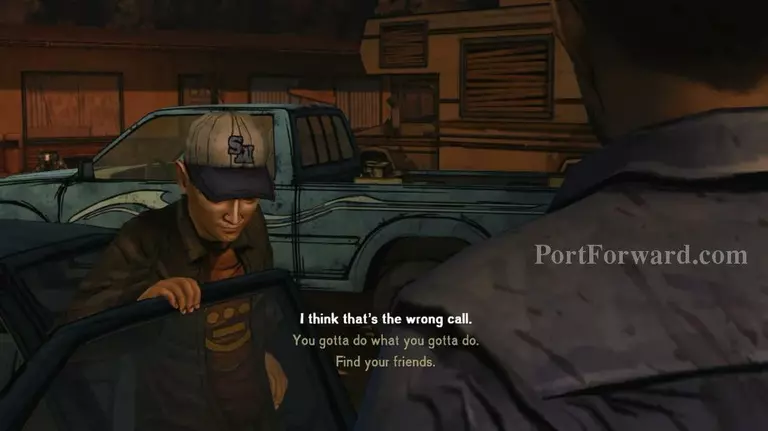
Now, have a conversations with all. When all done, this episode ends. [END OF EPISODE 1]
More The Walking Dead Walkthroughs
This The Walking Dead walkthrough is divided into 6 total pages.


