
This The Walking Dead walkthrough is divided into 6 total pages.
You can jump to nearby pages of the game using the links above.
Episode Three - Long Road Ahead
In this episode, there are severals tricky part that you have to go through. No worry. It's easy as long you follow the steps given. :) Click "Next Page" to proceed.
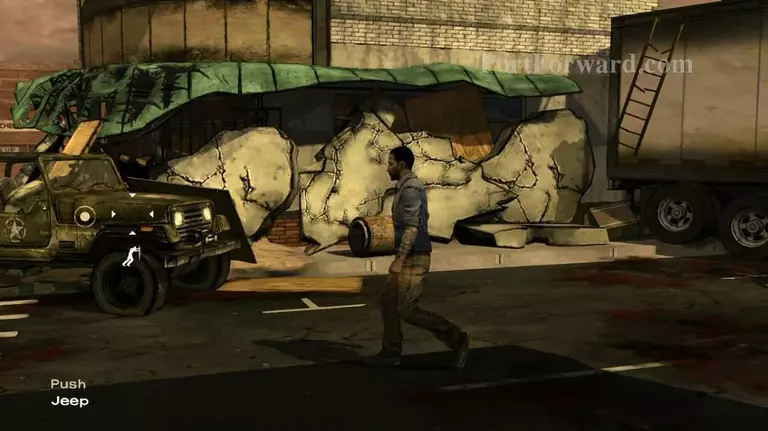
Firstly, go to the jeep. Walk near to it.
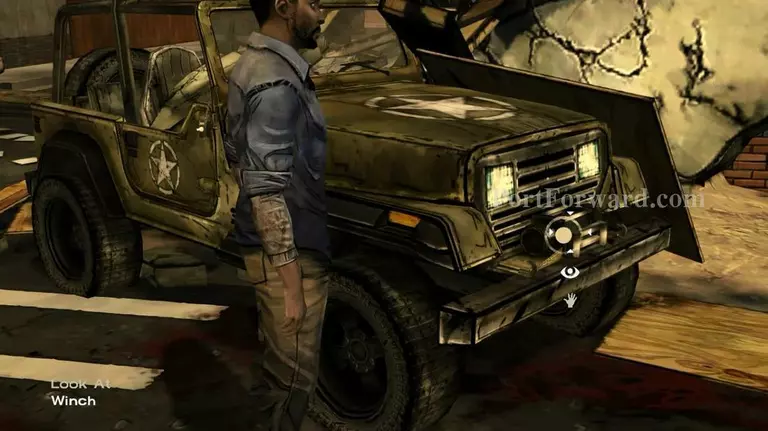
Once you near enough. The camera changes and also another option appeared at the winch. Look carefully and use the winch.
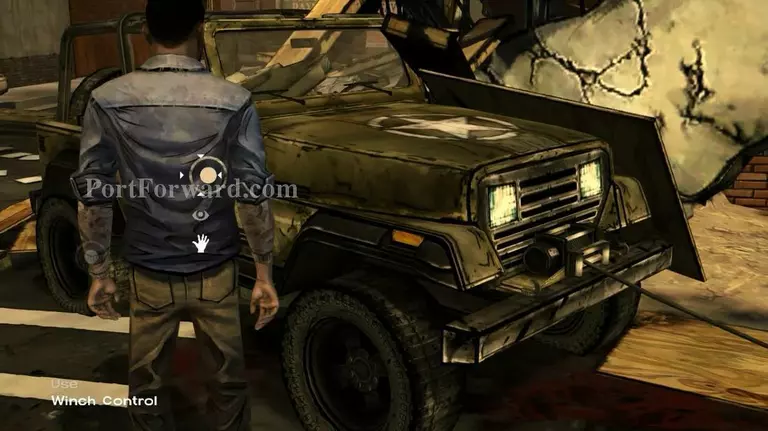
Then, go back to jeep and use the winch control.
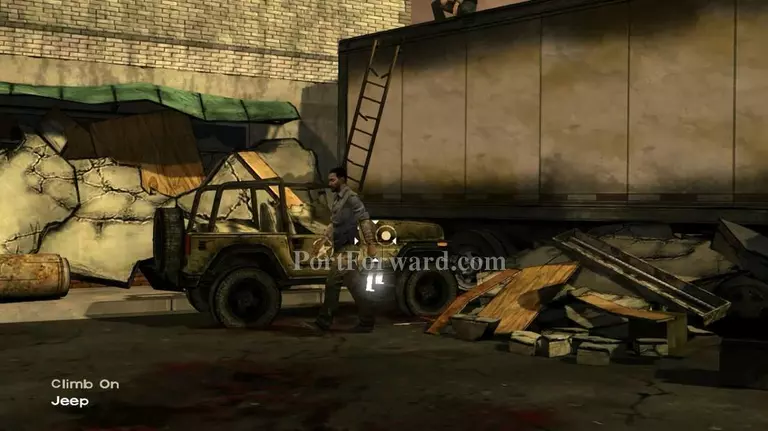
Climb on the jeep.

Suddenly, a random girl appeared. Decide whether to kill her or leave it to the zombies.
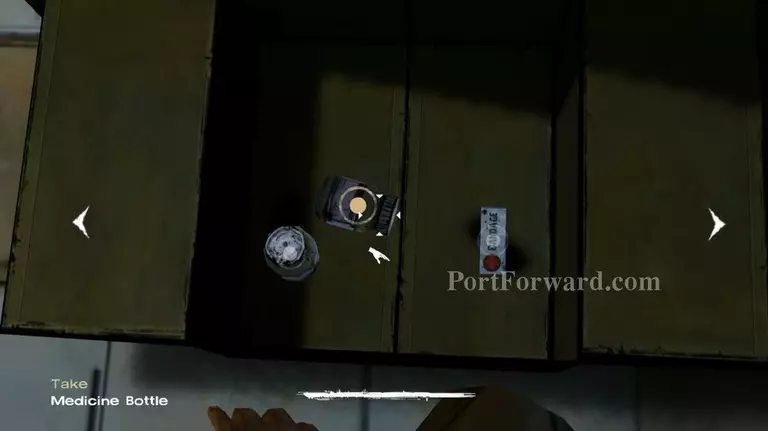
Take as many items as possible. It doesn't matter what you take.
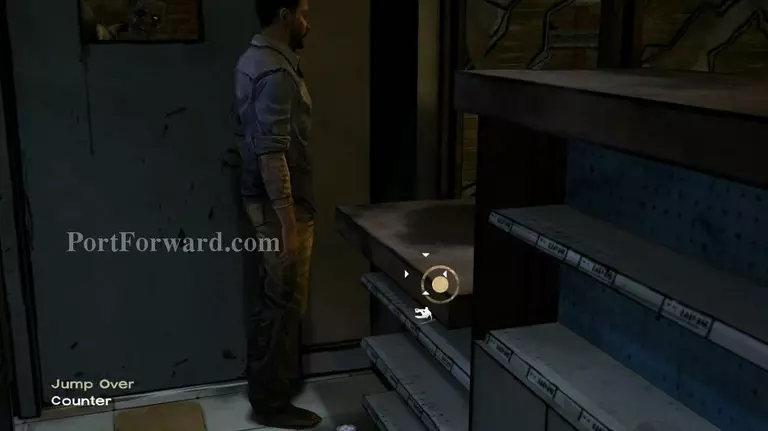
Now, jump over the counter. Be prepared for the zombies attack just after you jump over it. After the second attack, you are safe.
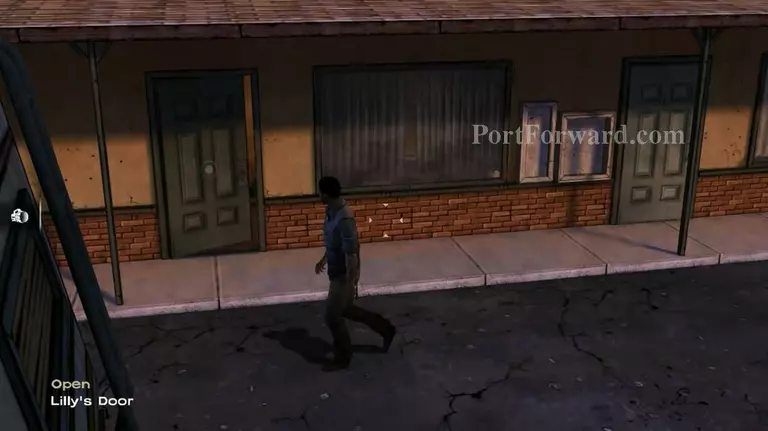
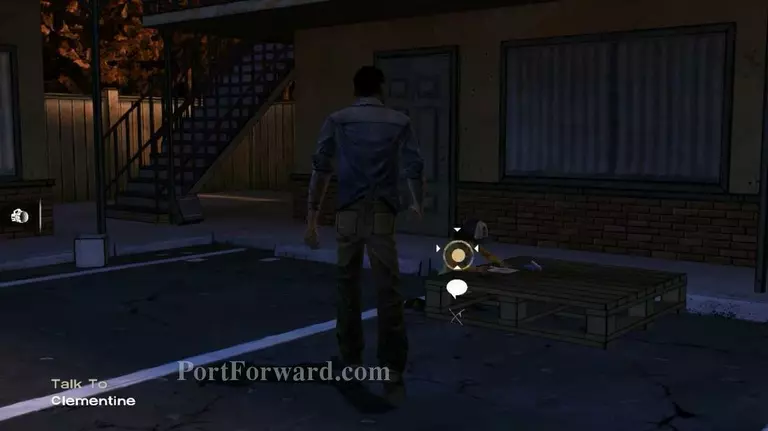
When you can control Lee again. To proceed, get inside Lily room. Talk to her. She will start talking about someone stealing items among them.
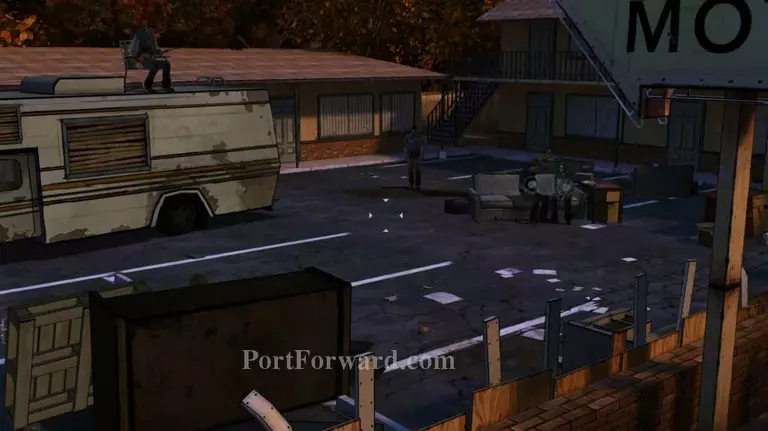
You have to walk to the left. But it was blocked by some things. You have to get around the RV.
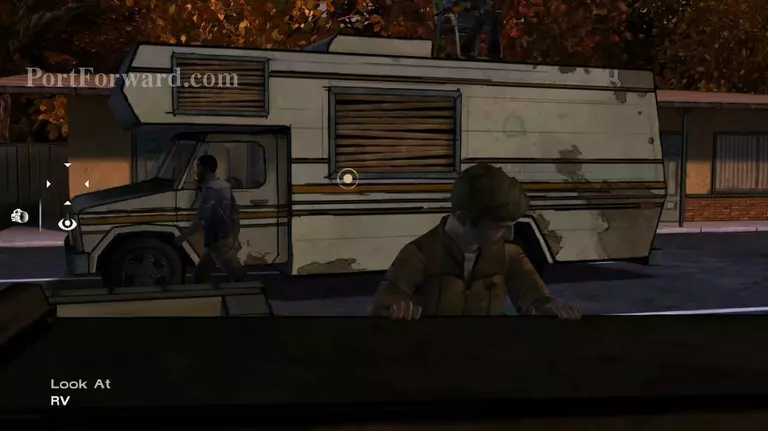
Go to the left and walk up trough the small path in front of the RV.
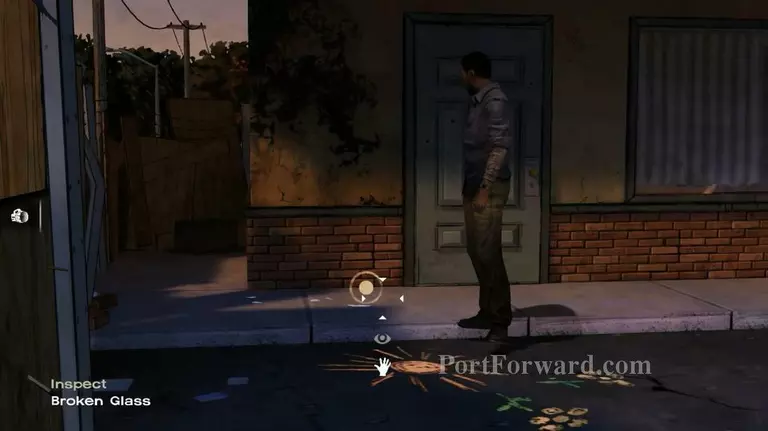
When you reached here, inspect the broken glass on the floor.
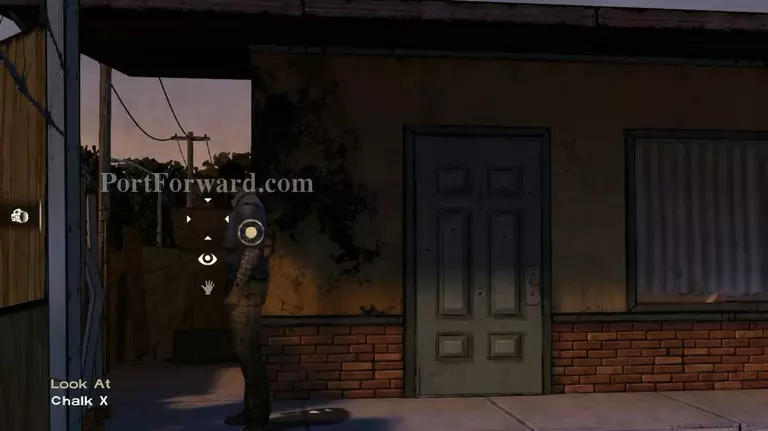
Then, inspect the Chalk X.
Go talk to others about the chalk.
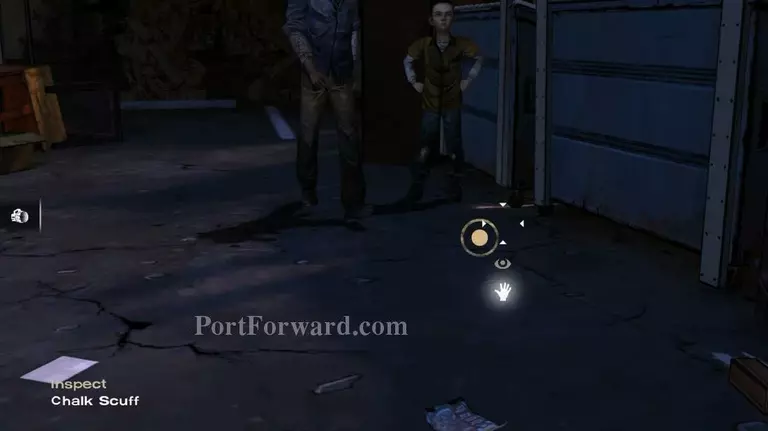
Now, go to the gate at the right side. There, you have to inspect the chalk scuff.
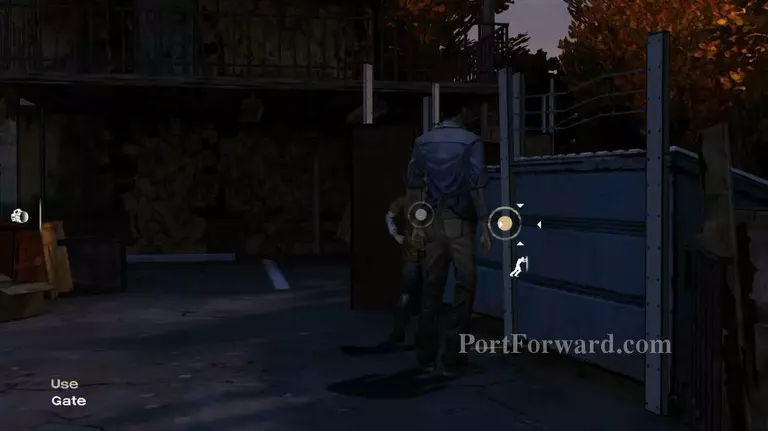
Push the gate and go outside.
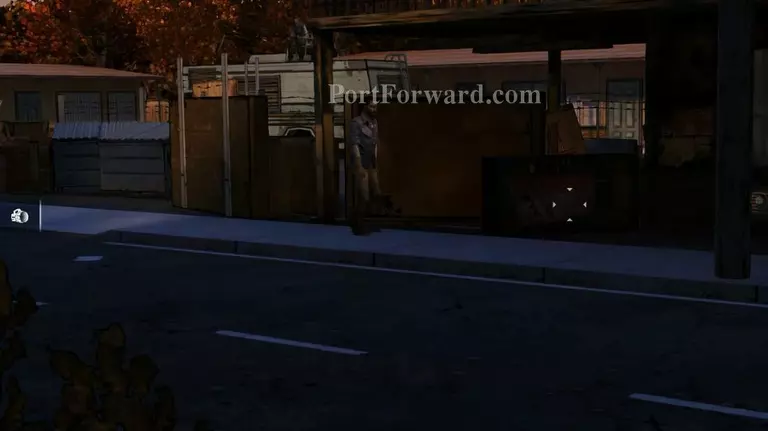
Continue to walk to the right.

You have and will find this. Open the grate and take the bag there. A cutscene will be played.
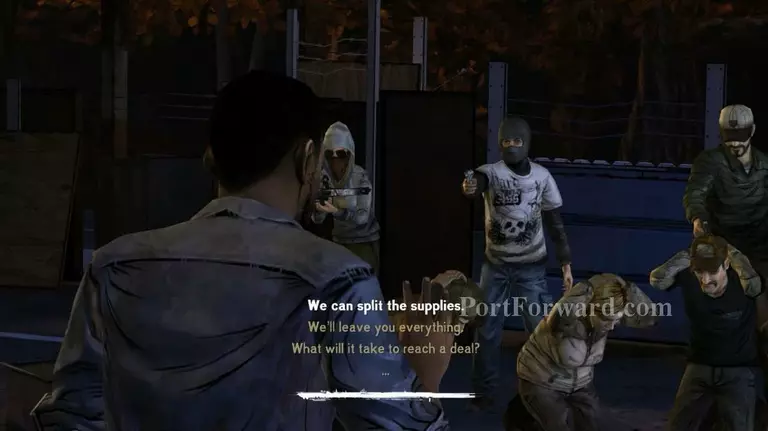
Choose your words carefully.
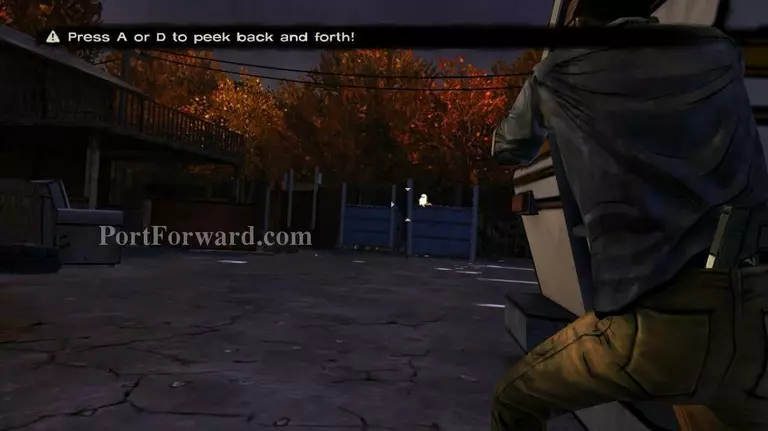
It will be two bandits here. Headshot them.
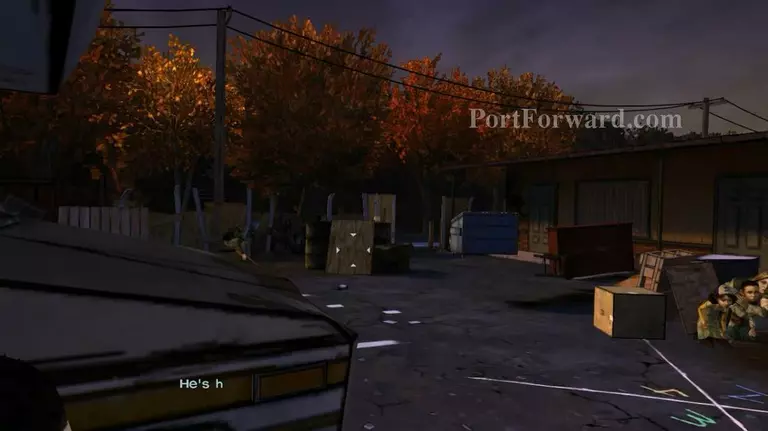
Next, at the right side. Shoot another three bandits.

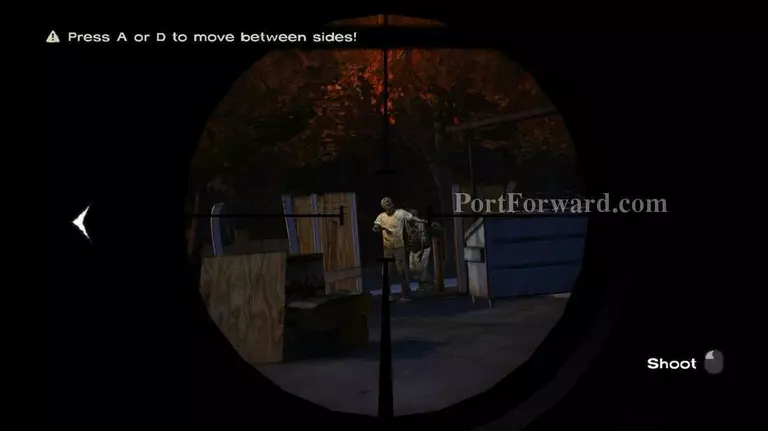
Decide to shoot it or not. :)
This time, you have to be fast. Aim for the zombies head and shoot. When few zombies were killed, quickly turn to the left. Do the same for both right and left side and do not stay too long at the same side.
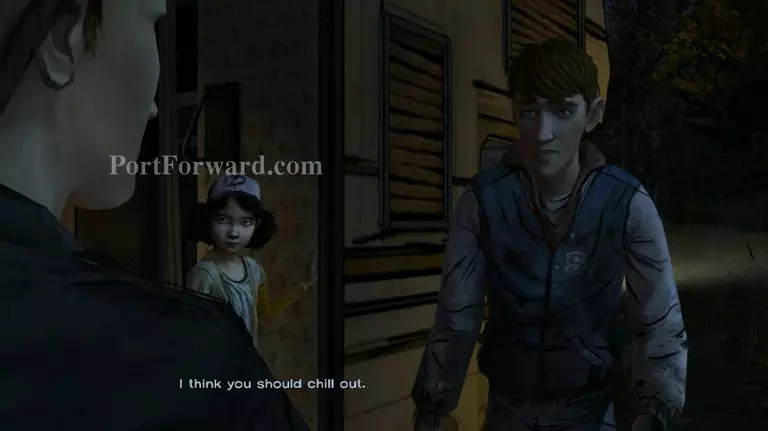
On the road, Lily start to accuse people about the problem before. It's actually this dumb Ben who do it but you can't get rid of him now.

This one is funny part. No need to defend yourself. Just let Clementine bite you. You'll wake up instantly.
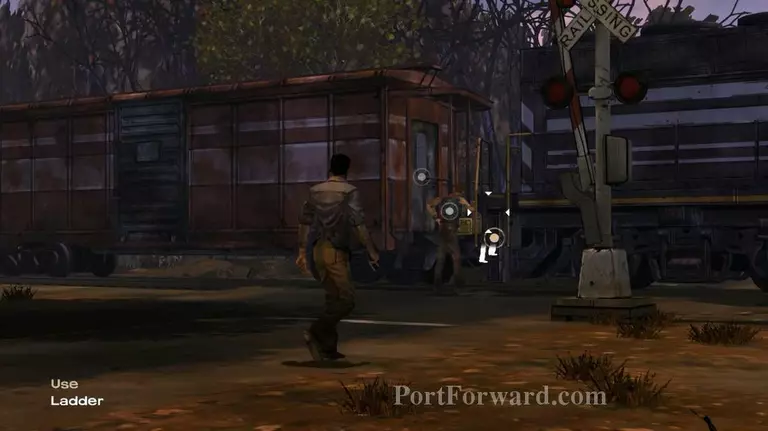
This prob can be easily solved. Firstly, use the ladder here.
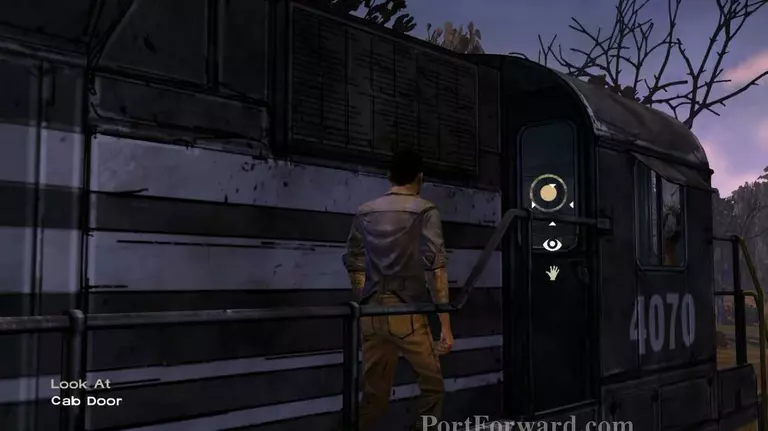
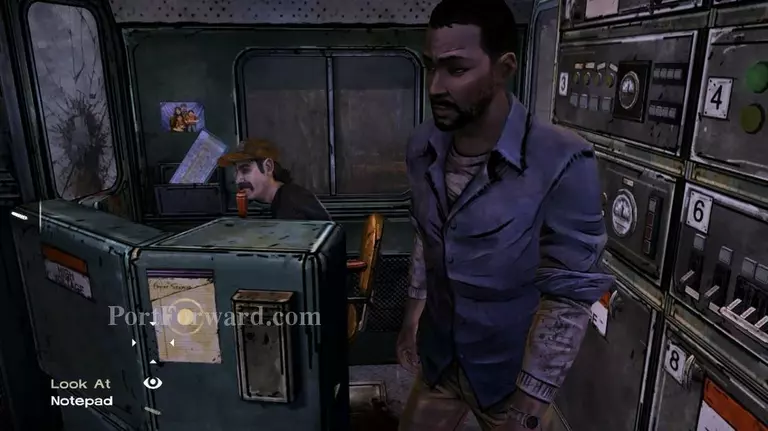
Get inside the cab.
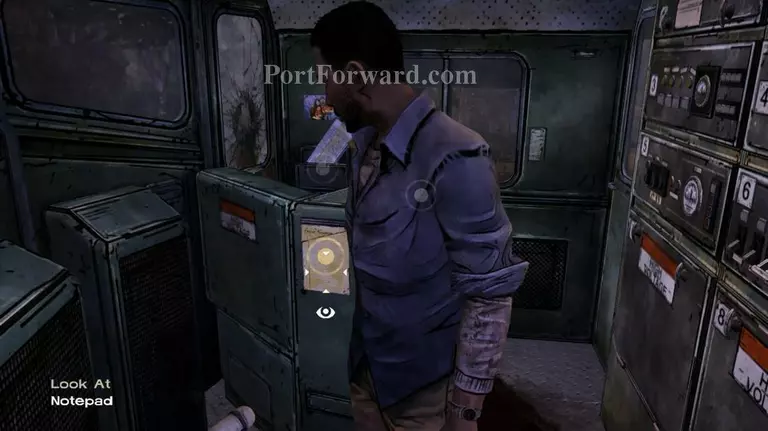
Look at the notepad.

Talk to Clementine about the pencil. When she said in the RV, go there and take it.
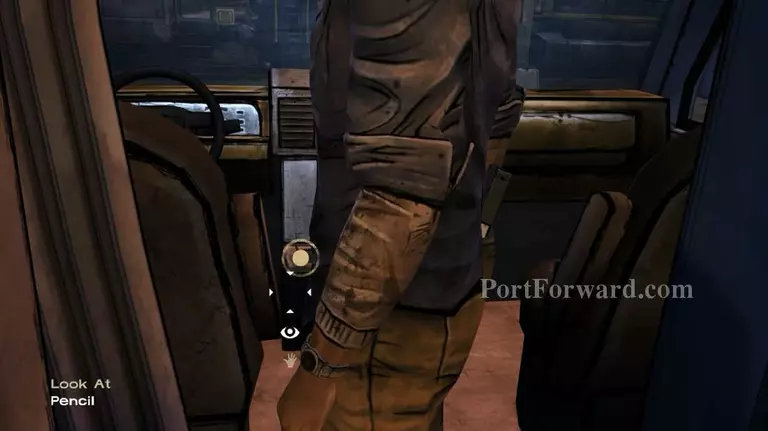
Take this pencil near the driver seat.
Return again to the cab and use the pencil at the notepad.
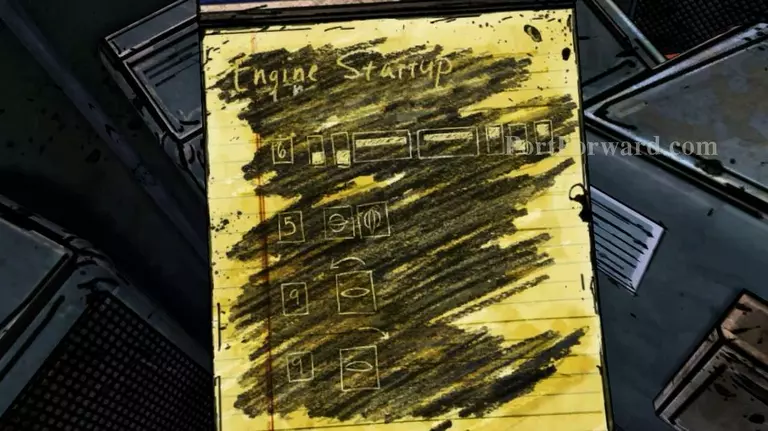
This instruction is pretty straightforward. You have to start with 6th panel first. Keep this notepad and look around the cab for 6th panel.
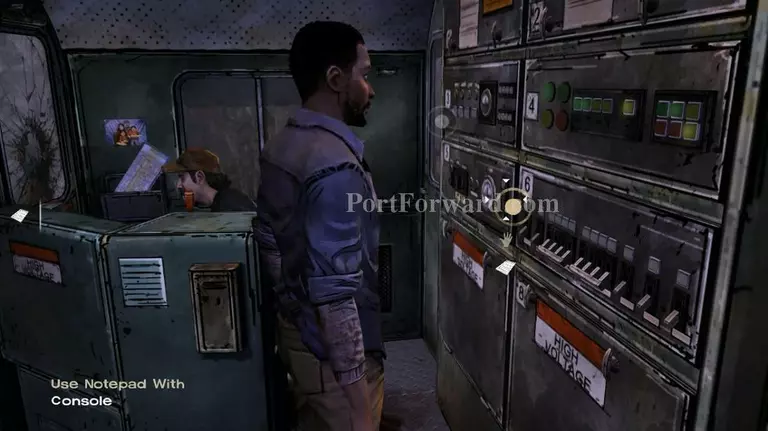
This is it. Use the switches to match that inside the notepad.
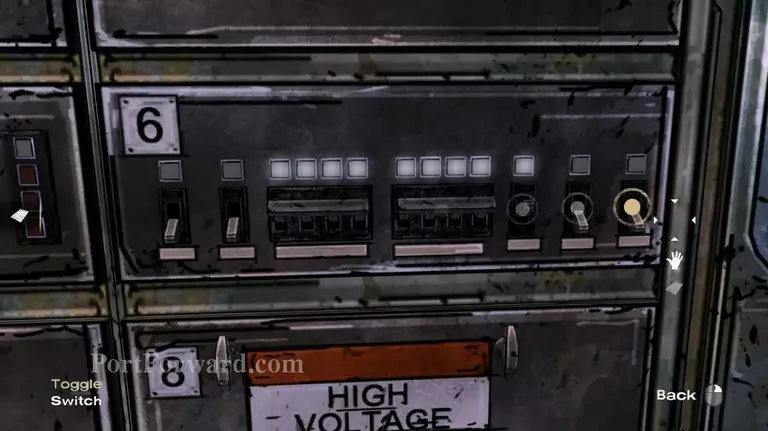
Down, down, up, up, up, down, up.

For number 5, just turn the left dial.
For the 9, go to the first door from the left. Open it.
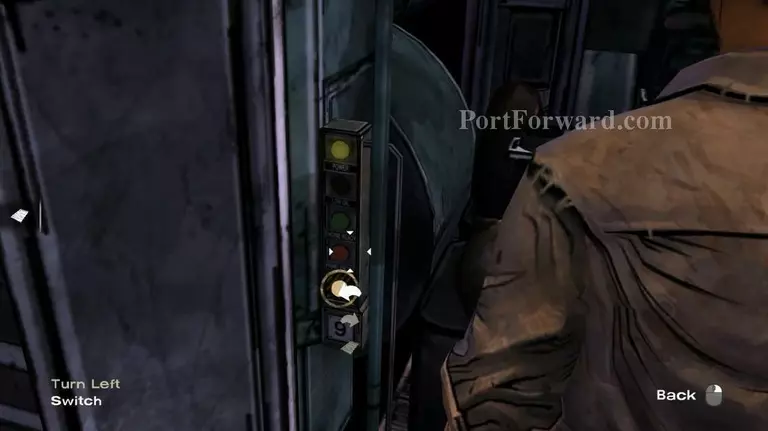
Turn left and then turn right. It will work now but this train attached to wrecked boxcar. You have to get rid of it.
Now, open the door next to the door before (2nd from left).
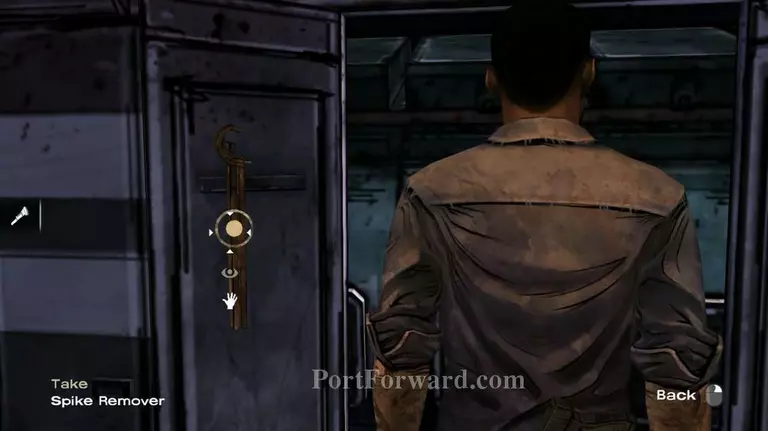
Take spike remover.
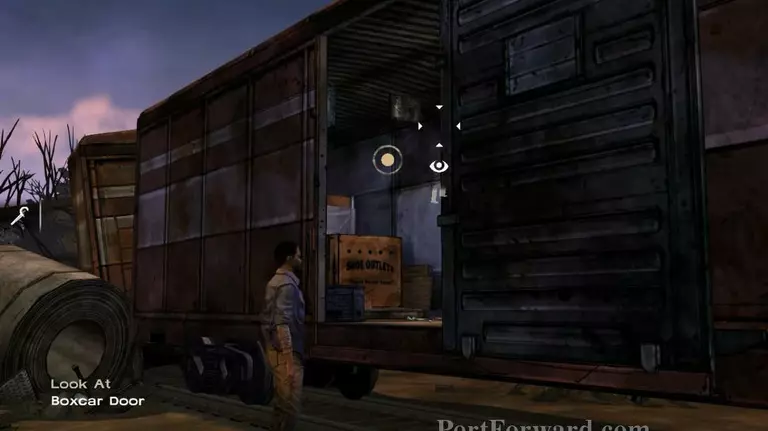
Enter this boxcar.
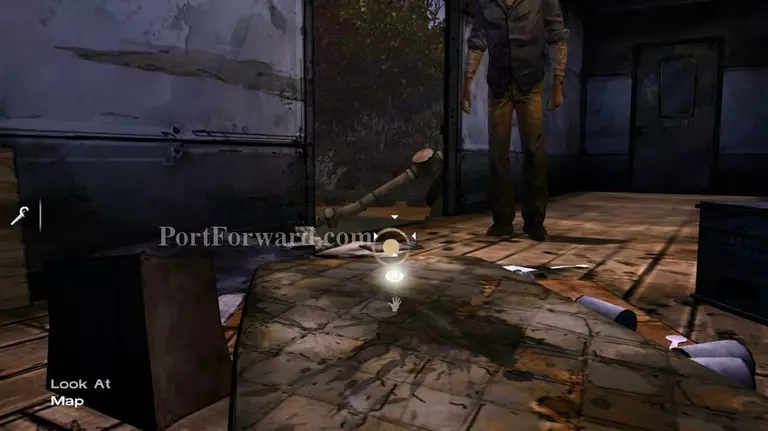
Take this map and a bottled water to the right. Give it to Duck.
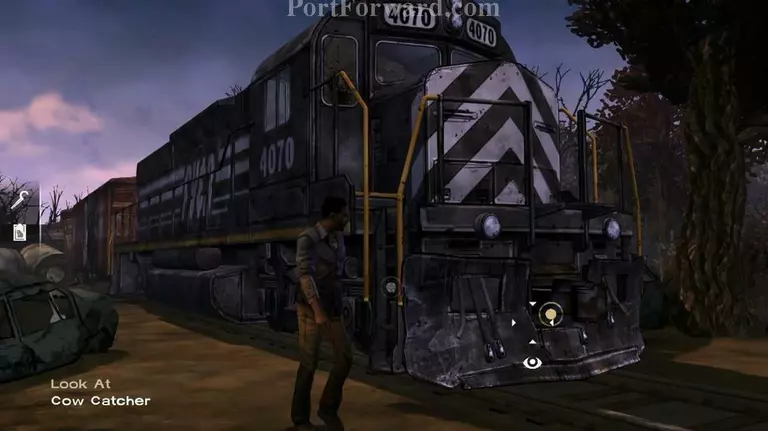
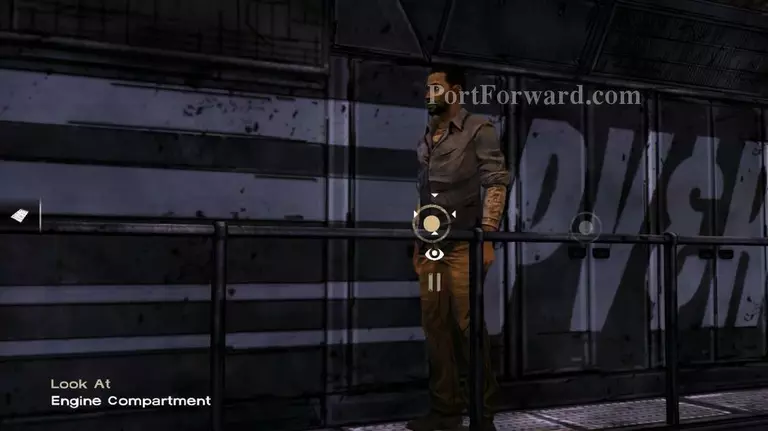
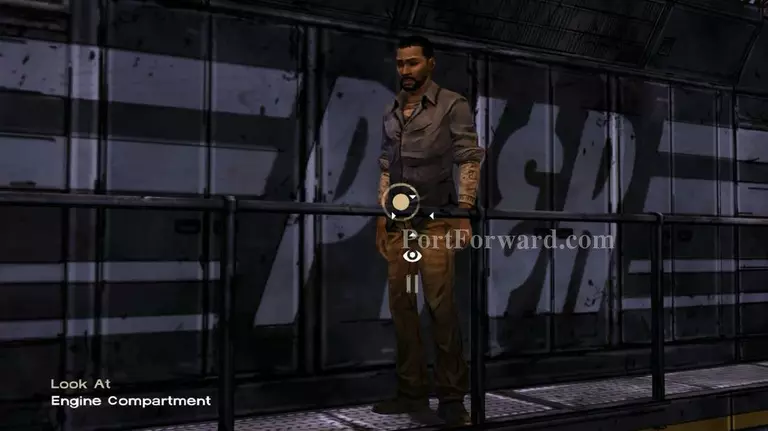
Now walk around the train. There is a car.
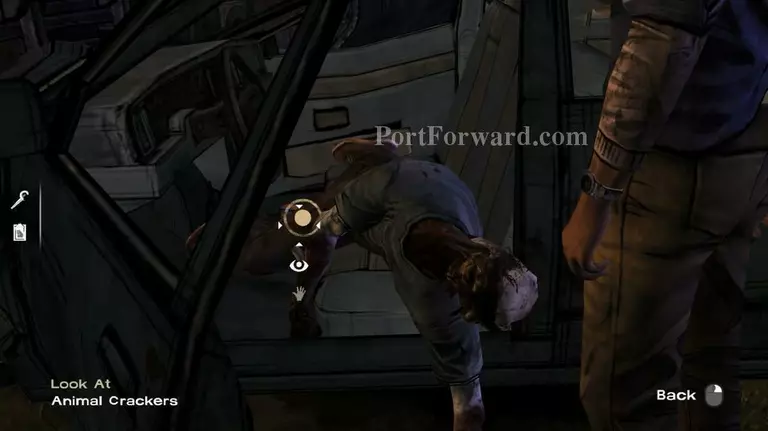
Hmm animal crackers? Maybe someone needs it.
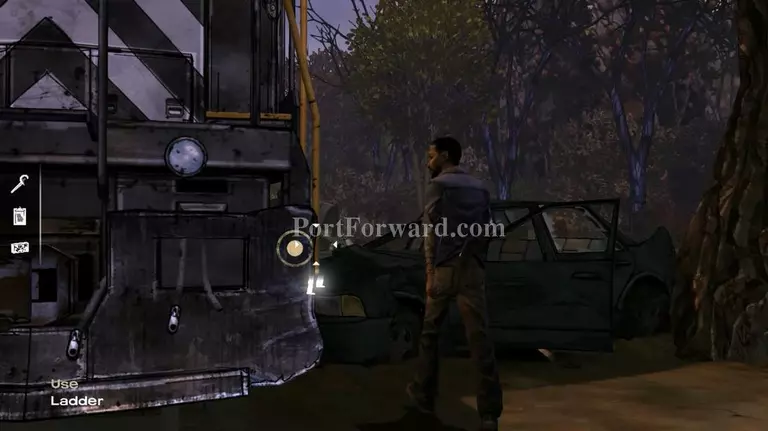
Use the ladder and get inside the cab
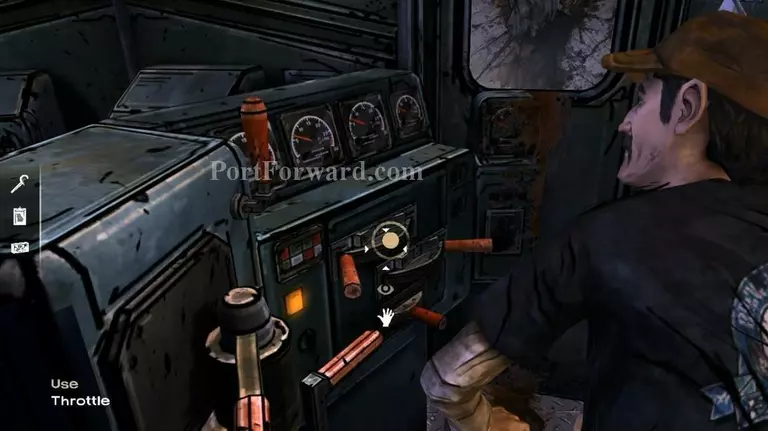
Use this throttle. It will unlock the next action.
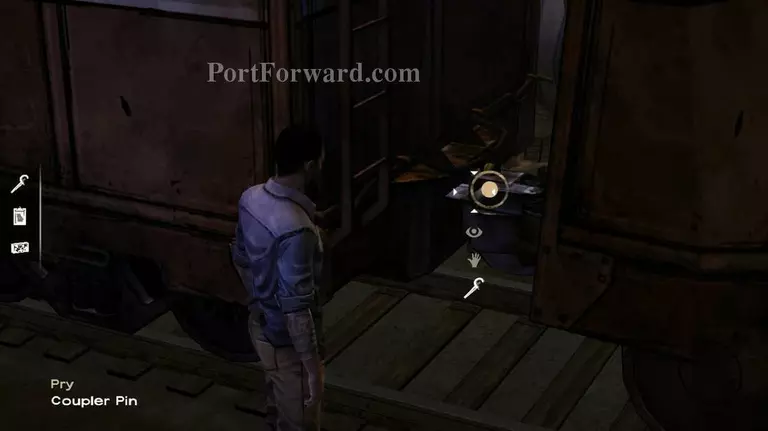
Go here through the boxcar. And use you tools before to pry the coupler pin. It will works now.

After the conversation here, just walk to the train ladder. A scene will automatically started.
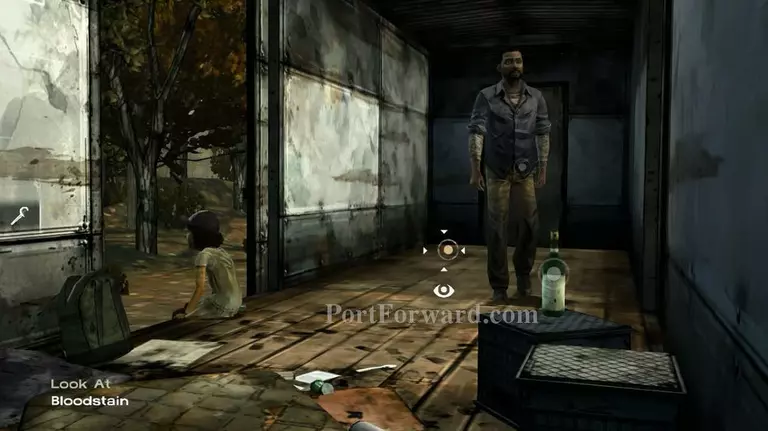
After all things about Katjaa and Duck finished and you already talked to Chuck about Clementine, now you have to teach Clementine how to shoot and trim her hair. But first, take the bottle of whiskey. You'll need it later. Then talk to Clementine and do what you've to do.
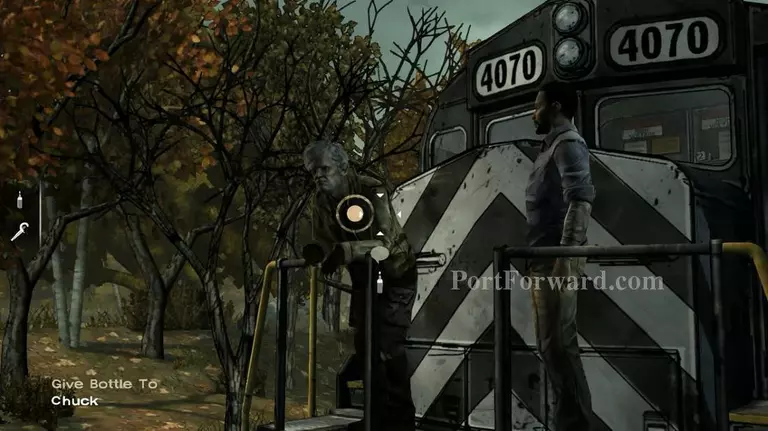
Give the bottle to Chuck.
Talk to Kenny and select the first option.

Now you can take the map here.
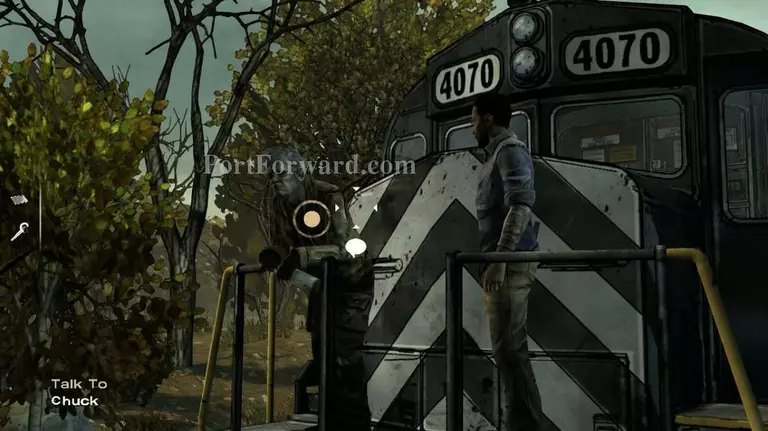
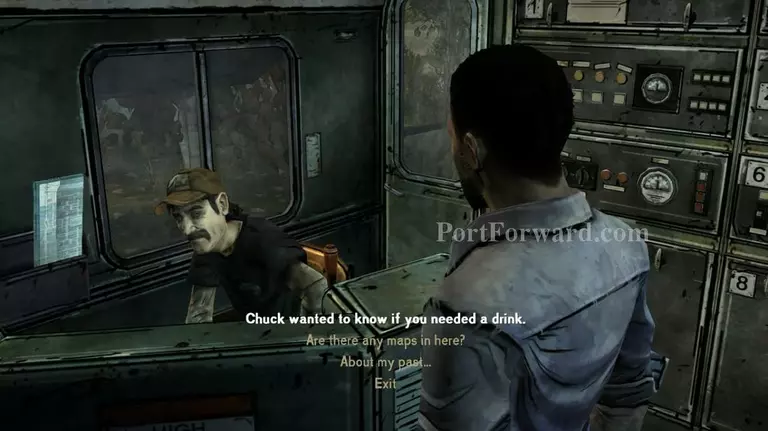
Then talk to Chuck again about the map you found before.
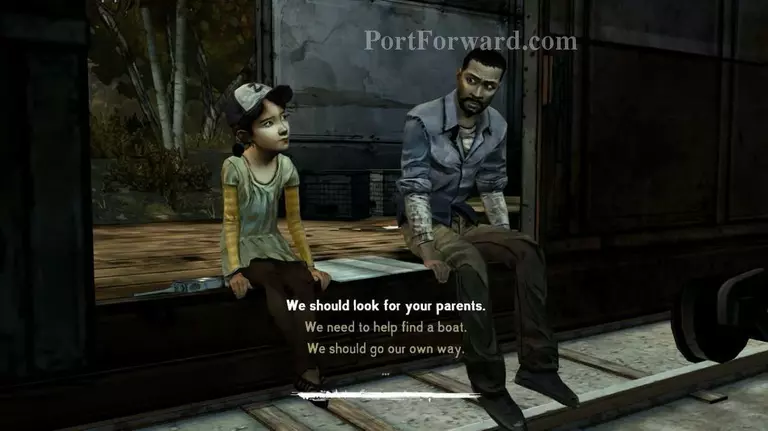
Talk to Clementine again and decide what to do when you reach Savannah.
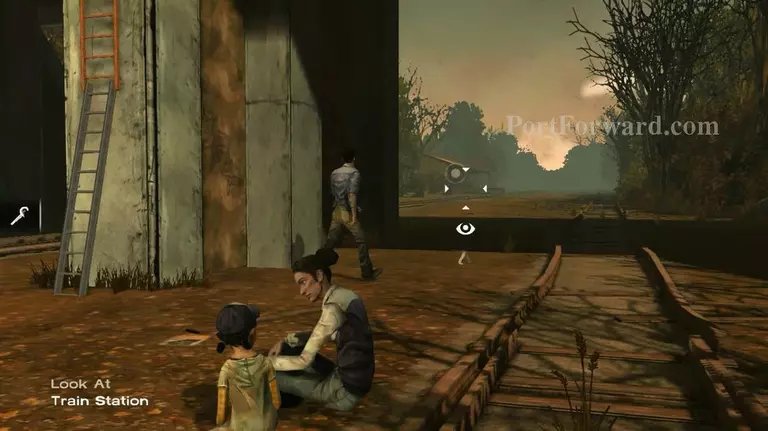
Two new people will join your group. To move on, this time go to the train station at the far back there.
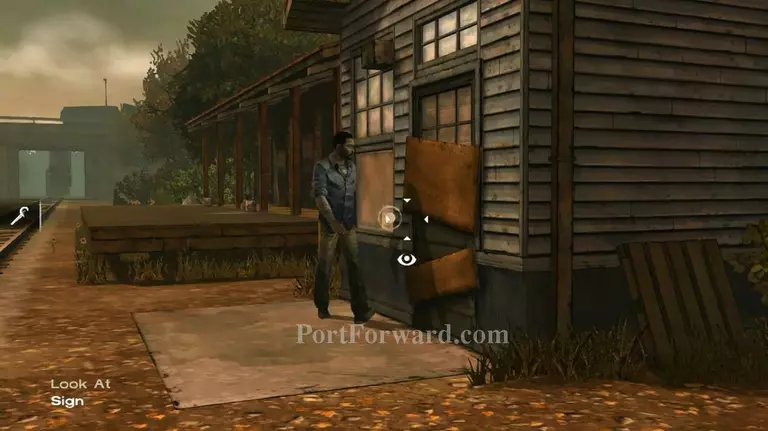
Keep going and you'll find a door.
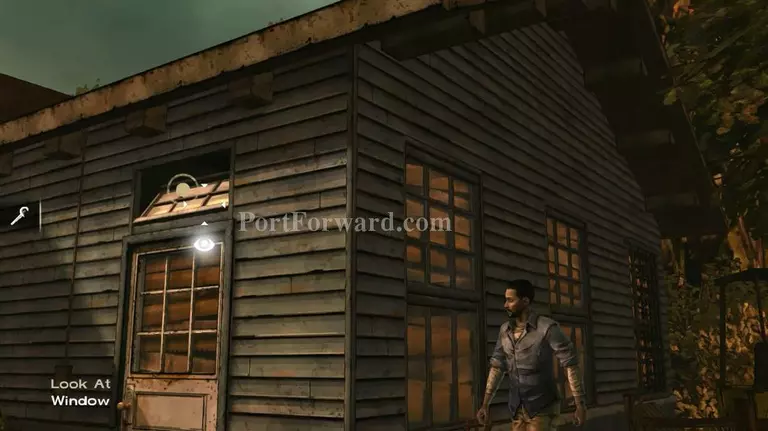
Look at the top window.
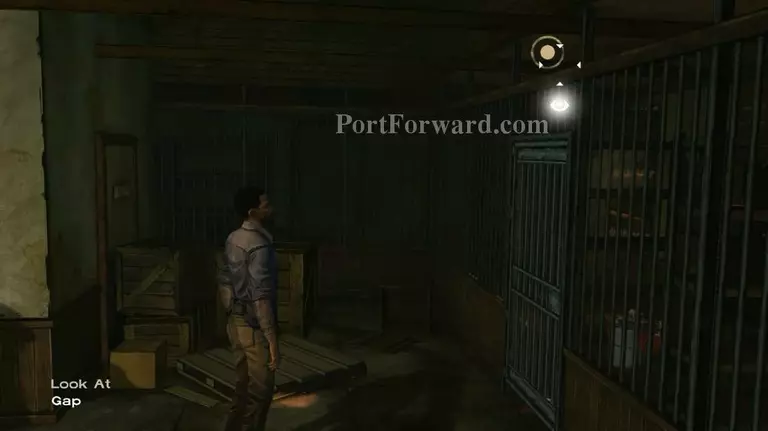
Look at the gap.
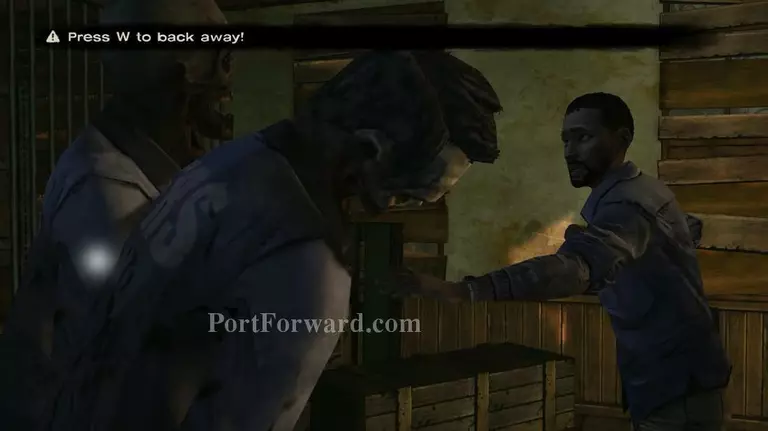
Two zombies from nowhere coming to have a bite. Walk back while keep punching both of them.
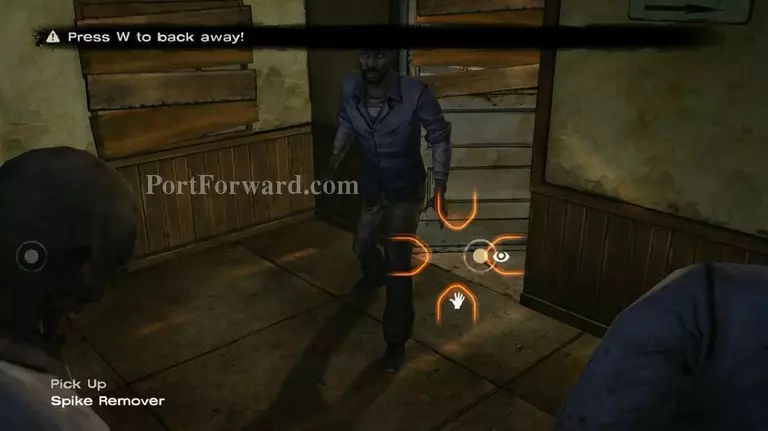
When you in range to take the tools, take it and use to kill both zombies.
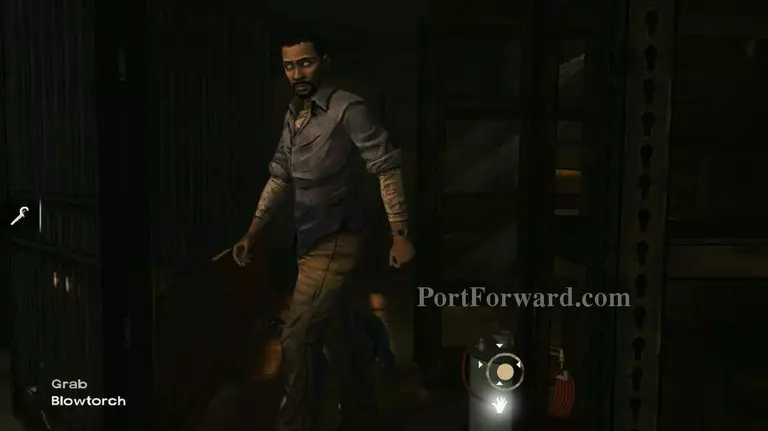
Now grab the blowtorch.
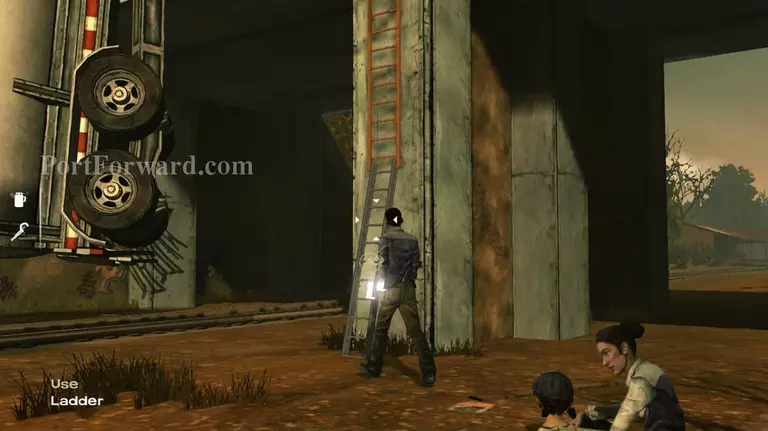
Go here. Use the ladder.
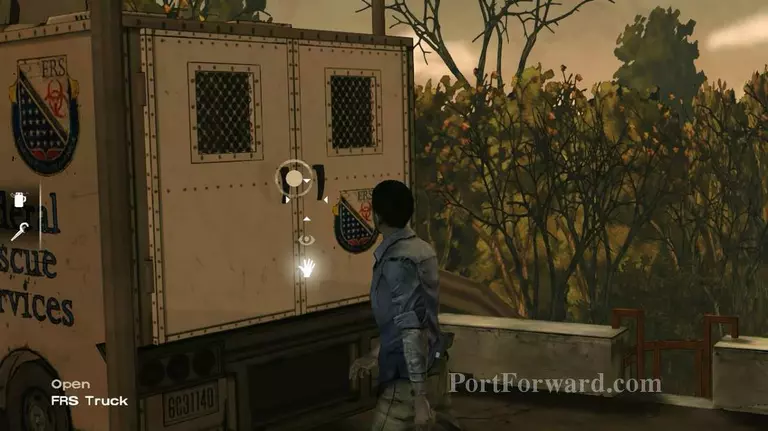
Open FRS truck.
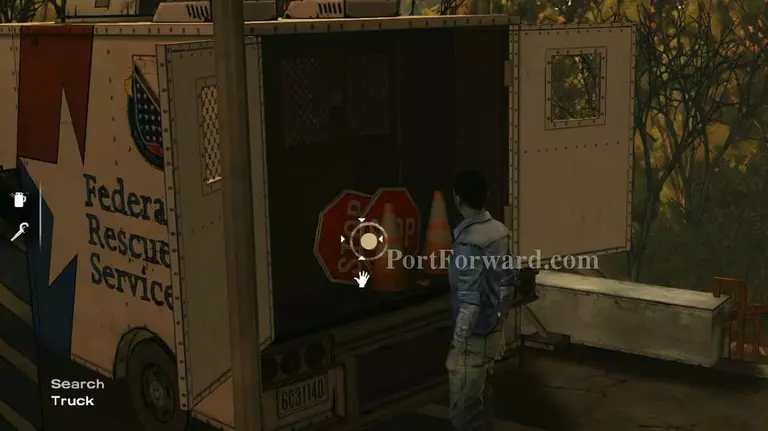
Search the truck.
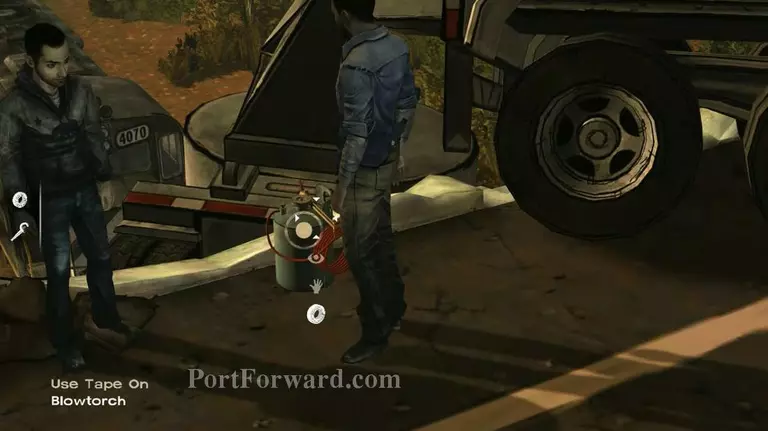
Start cutting the metal. Use the tape to fix it.
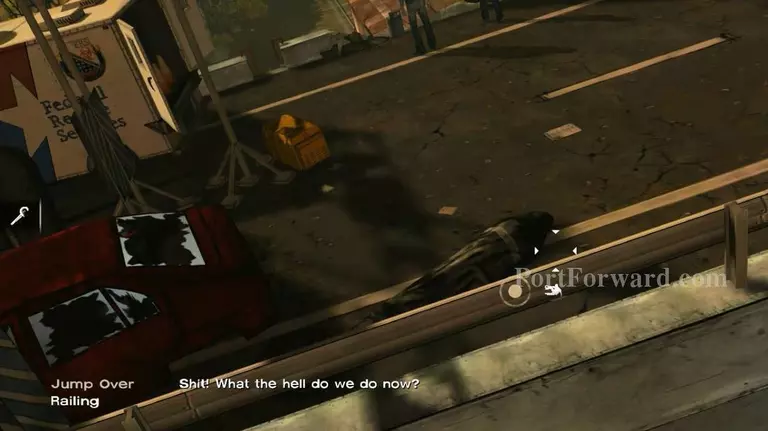
Zombies are coming! Quick jump over the rail. [END OF CHAPTER 3]
More The Walking Dead Walkthroughs
This The Walking Dead walkthrough is divided into 6 total pages.


