
This The Walking Dead walkthrough is divided into 6 total pages.
You can jump to nearby pages of the game using the links above.
Episode Four - Around Every Corner
This episode is the longest among other episodes if you noticed. The fastest you can end this mission is about 2 hours. So, let's have fun and enjoy the game. :)
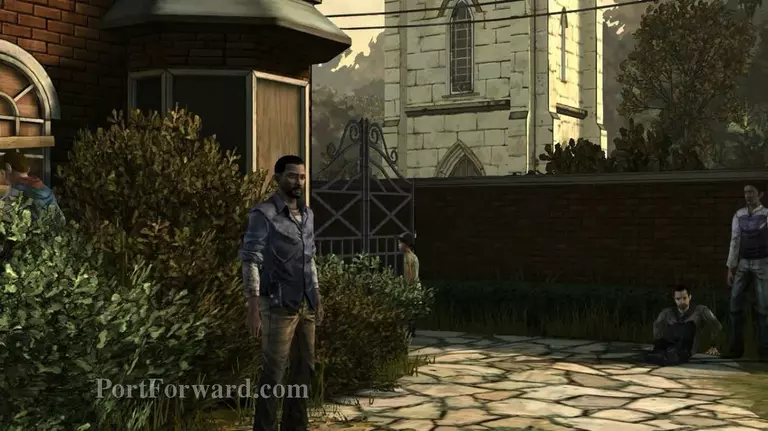
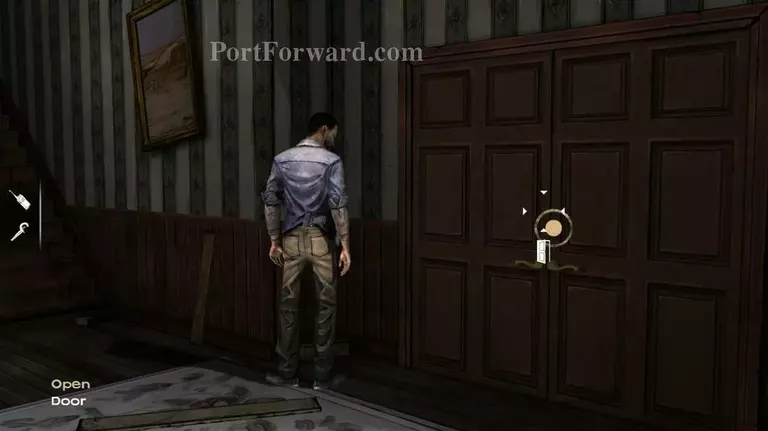
Chuck, was a goner. Poor that old man. Now, walk around here and check the surrounding.
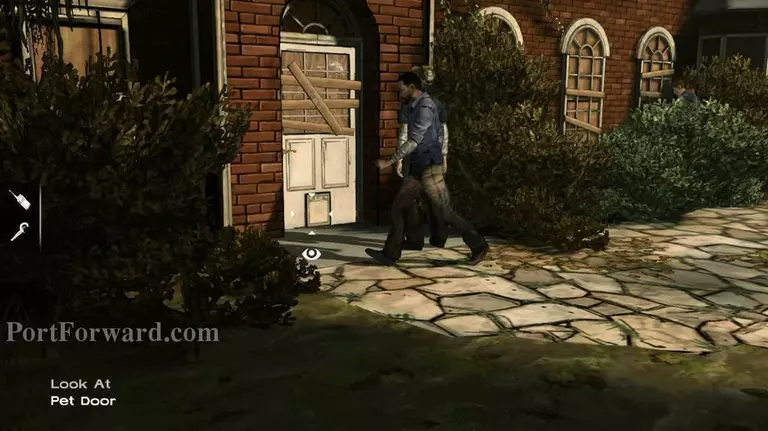
The pet door is the way to unlock the door. All you need is find a dog collar to unlock the automated pet door.
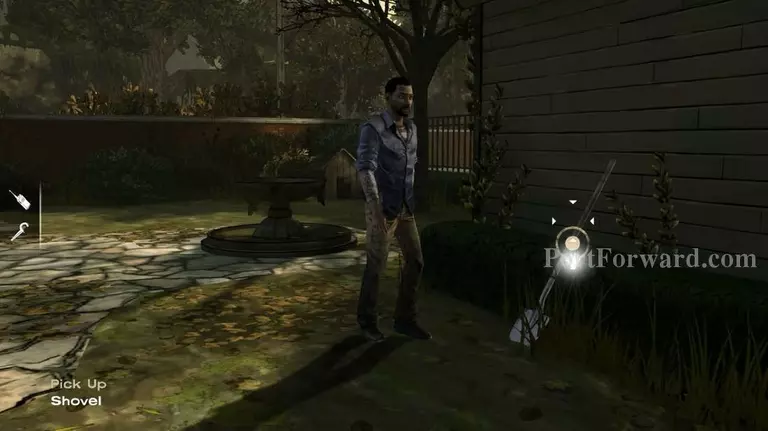
Next, take this shovel.
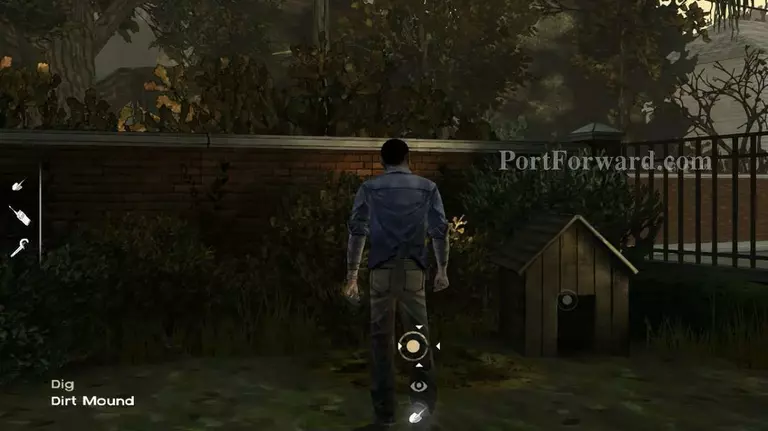
Yeahh. Start digging..
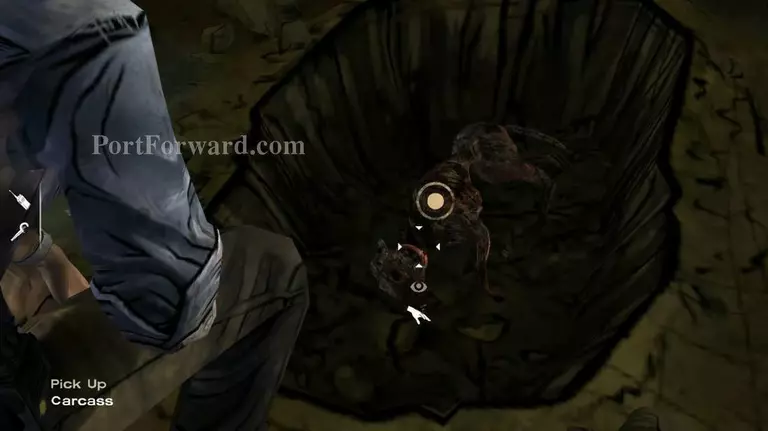
Pick the carcass.
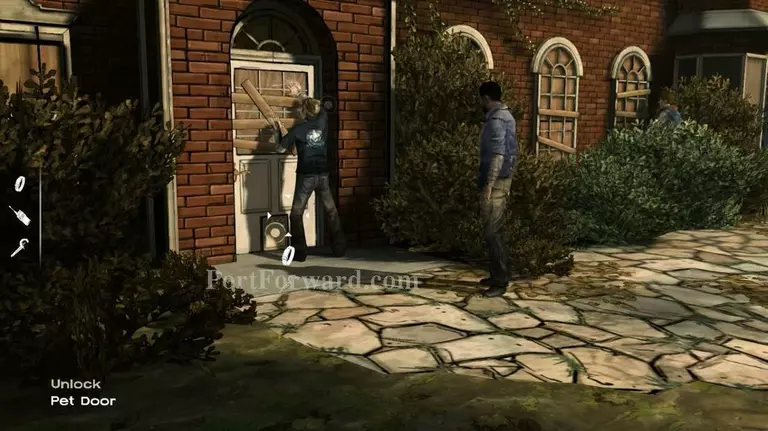
Use it to unlock the door.

At the ground floor, there are three rooms you have to check. The first one is here.
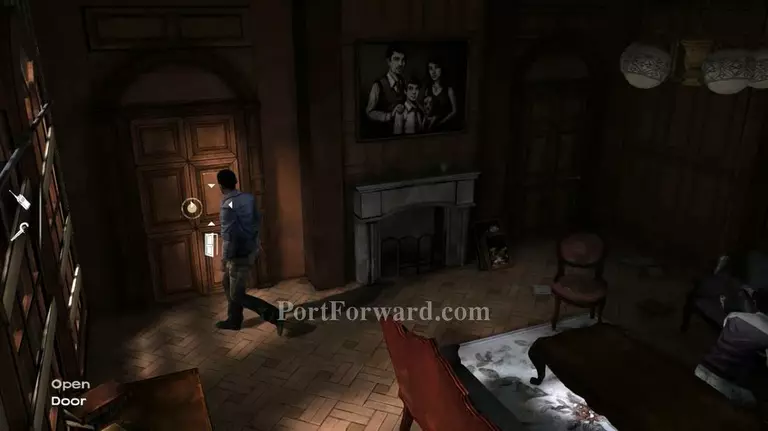
Second room.
Third / last room to be checked.
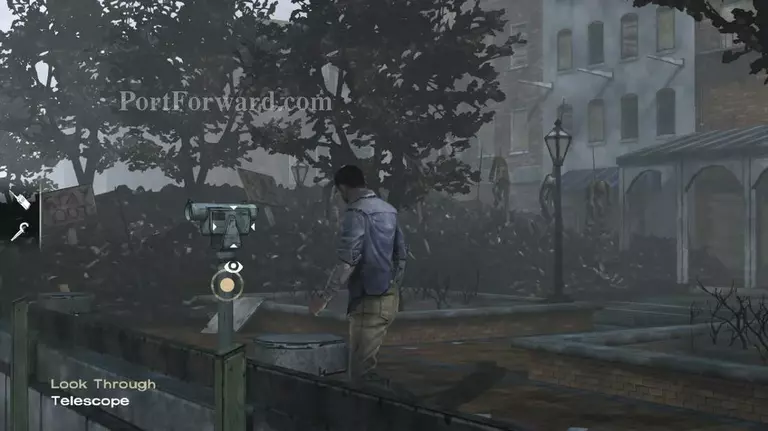
You and Kenny take action to find a boat. Too bad they left the wrecked boat for you. Now Kenny checking the boat while you just wandering around here looking for something. The point is, you have too look through the telescope.
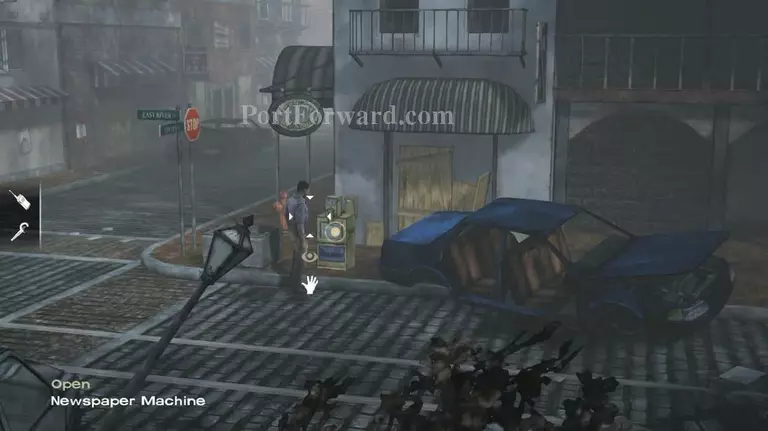
But to use the telescope, you need a coin. To get the coin, hit this newspaper machine with your weapon. A magical coin will drop out from this machine. How lucky is that..

Use the telescope again but now, insert the coin first.
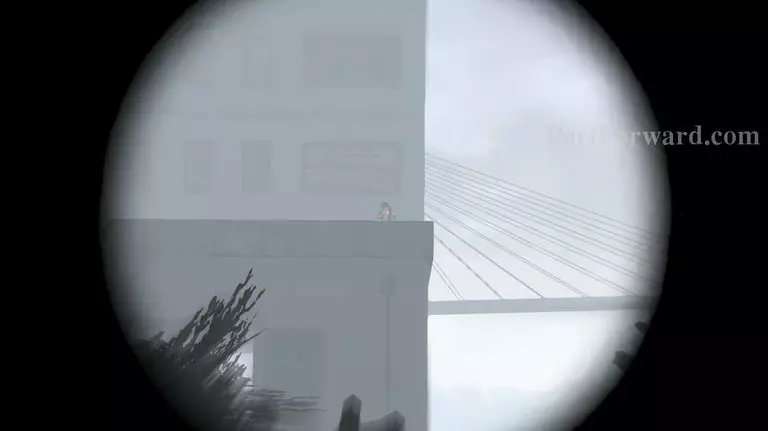
Just move to the left until you see this.
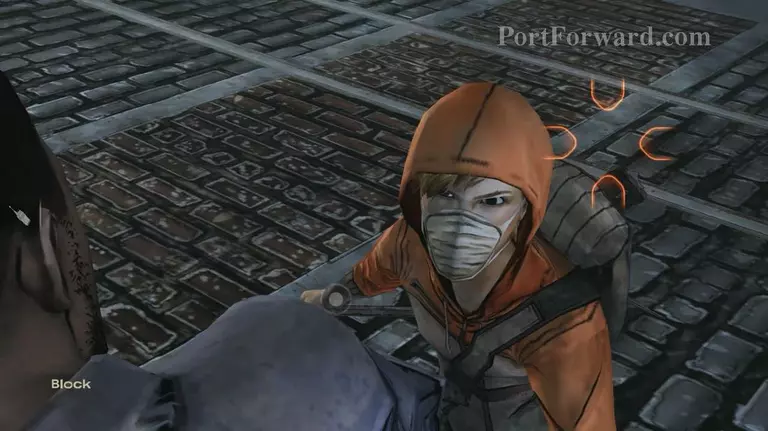
She's a nice girl. Don't hurt her.
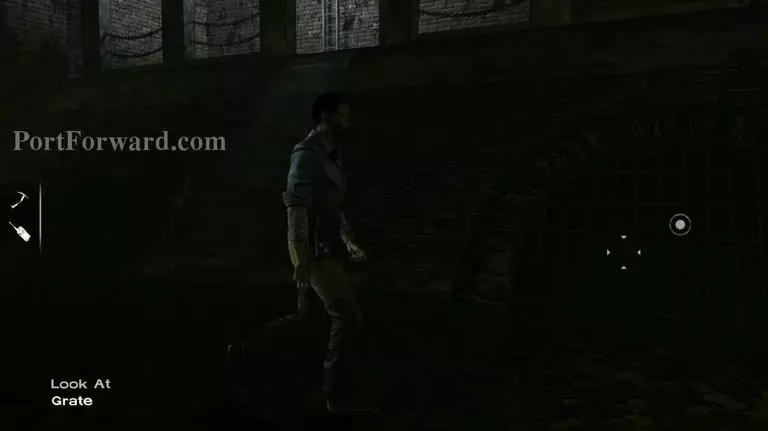
That old Kenny is really useless. He dropped you again. Dayum! Now you gotta find a way to out from this place. Walk to the right...
Walk down here...
When you reached here, enter the passage way.
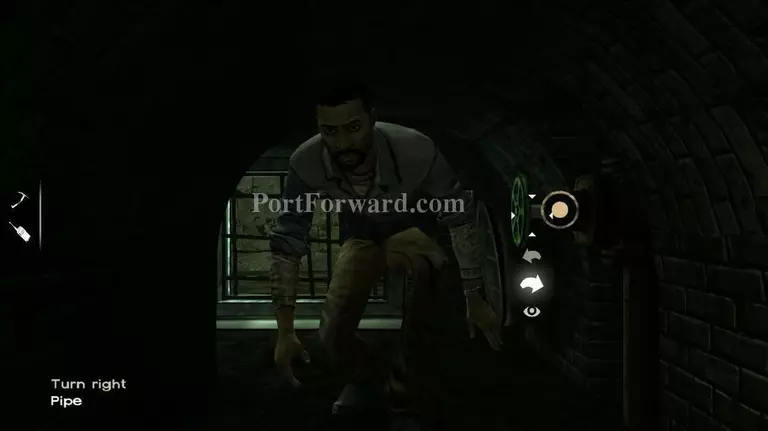
Turn this pipe to the right.
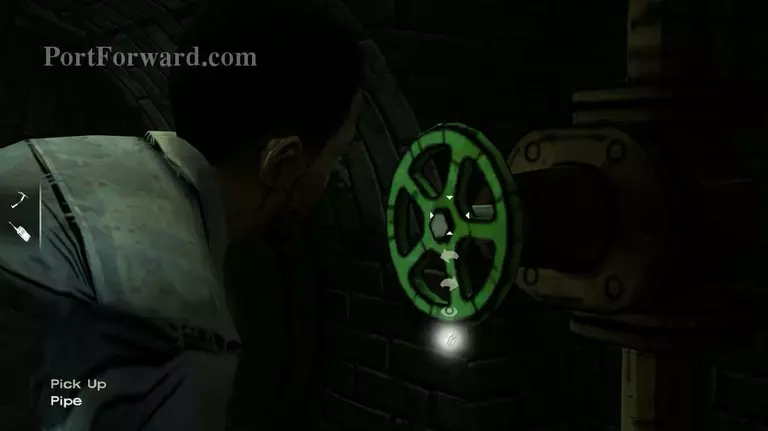
Now take out the pipe.
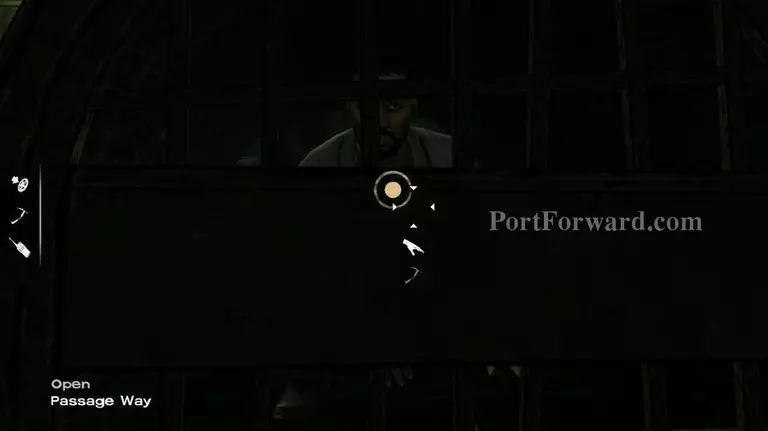
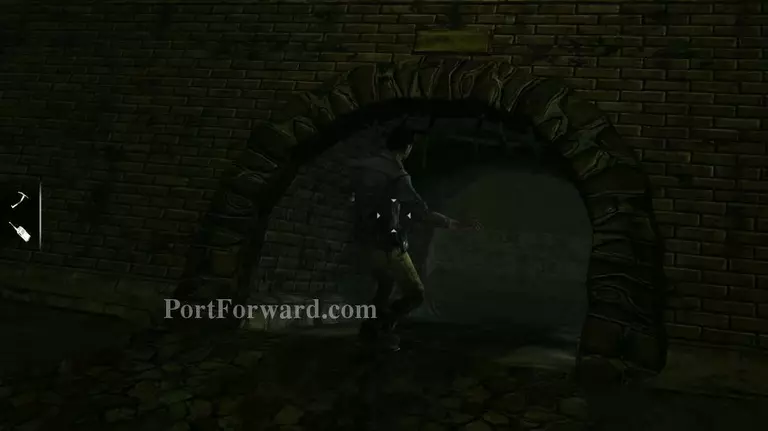
Leave the passage way from the other end, not the way you enter. Then, you'll find this place. Open it using your tool.
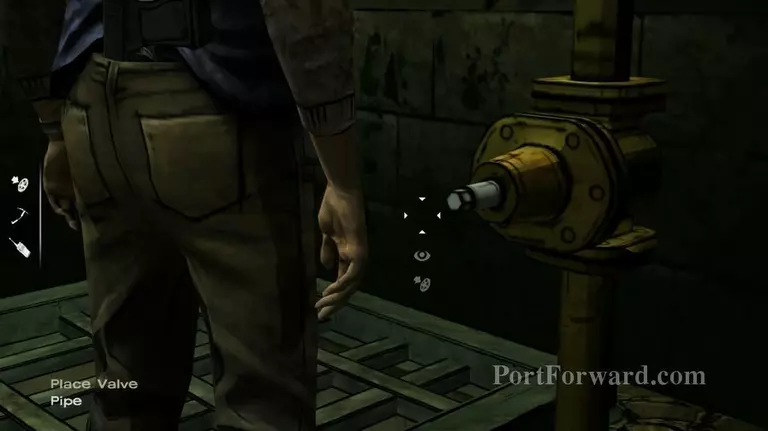
Place the pipe and turn it to the right.
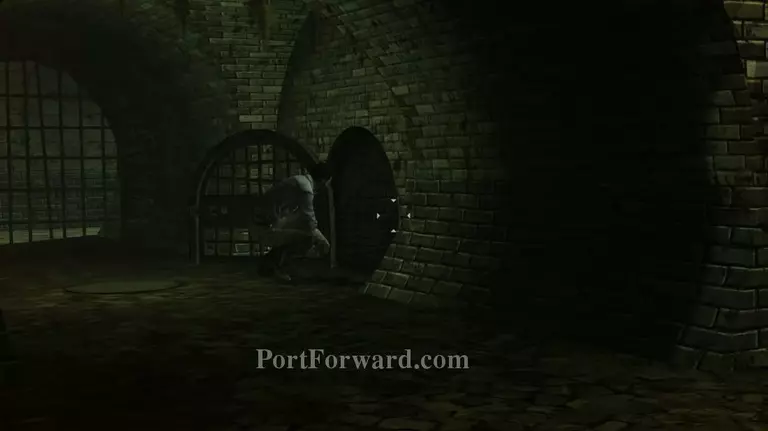
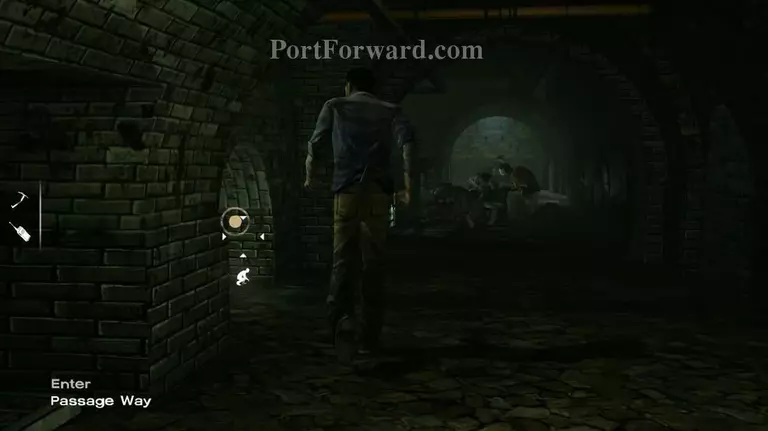
Get back to the passage way you leave before. Wait until all zombies walk away.
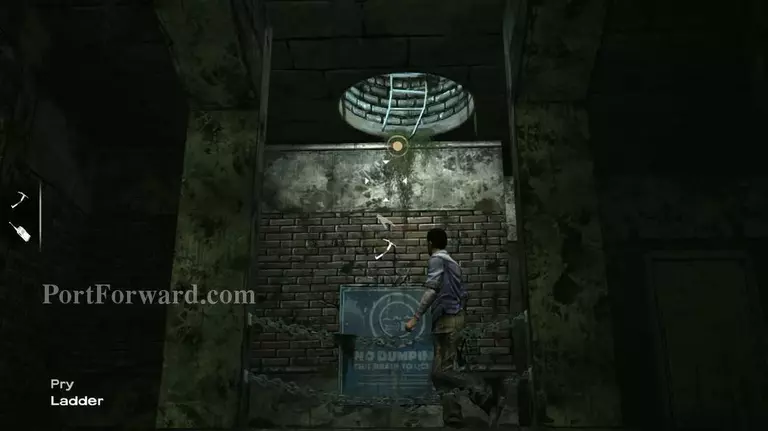
To get out, pry the ladder. You'll unlock a new secret location.

Finally, home sweet home. But where's Clementine? She's actually outside, at the backyard.

Go downstairs and use the door to the backyard.

Look at this vent.
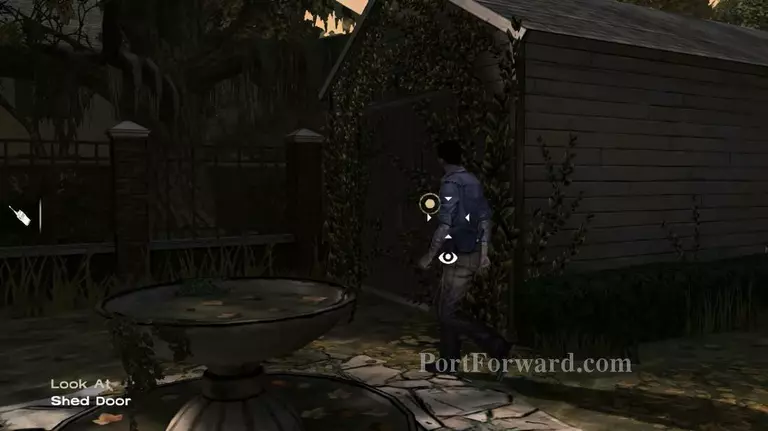
Now look at the shed door. She's inside here.
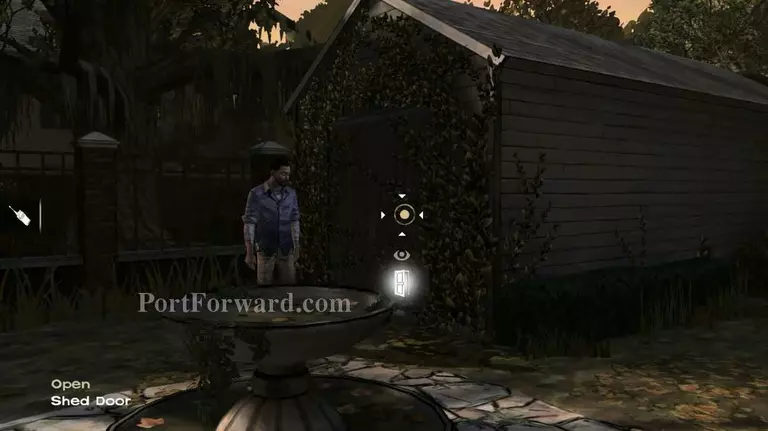
Open this door. You'll find her. After several conversations, your group decide to take the missing items at the Crowford.
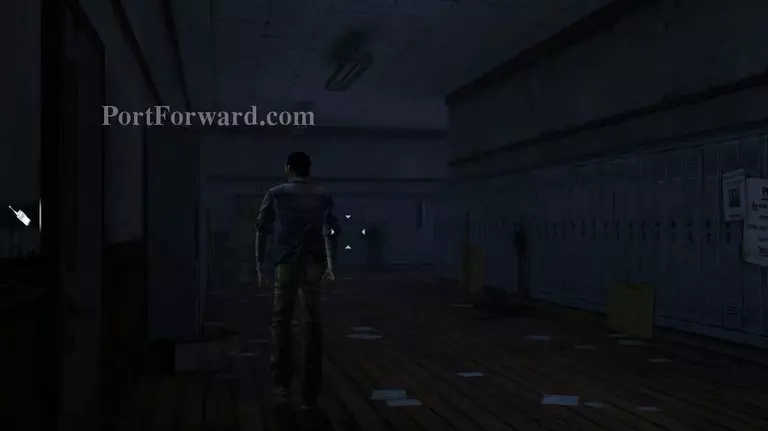
When reached here, now you free again to walk anywhere. Just go straight along the path and follow Molly.
Turn right and exit.
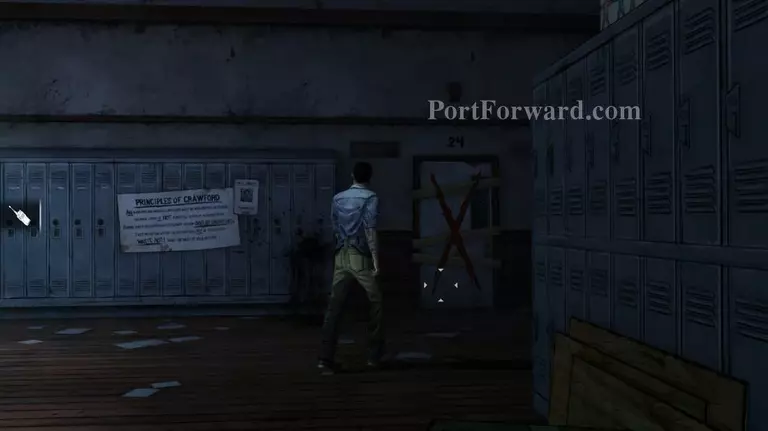
Walk into this...
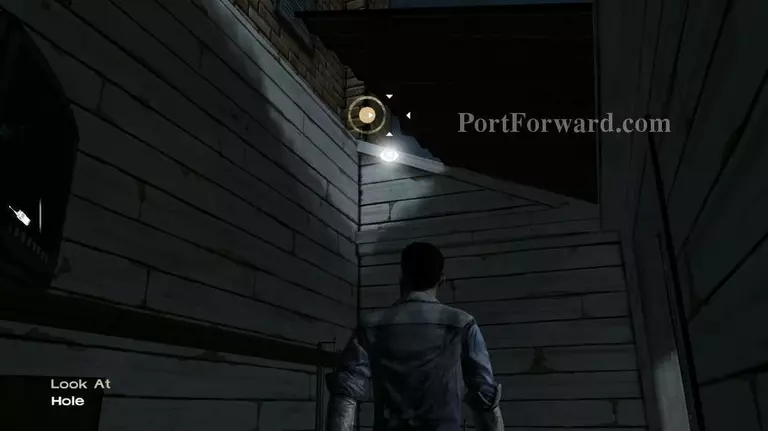
Look at this hole here...

So that it will trigger the next action. Now, climb the shelf.
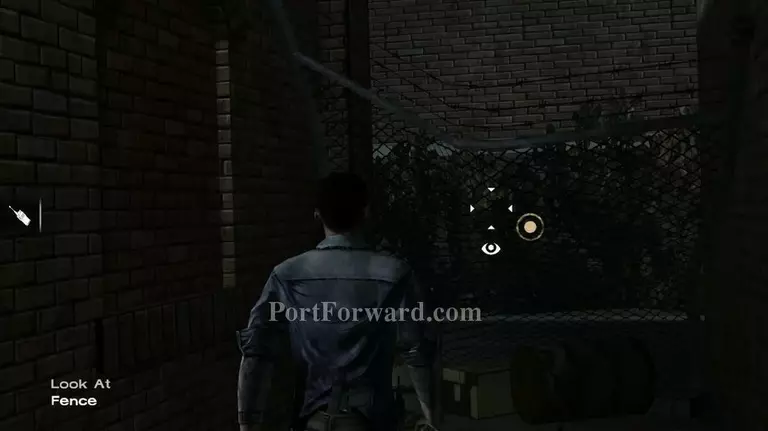
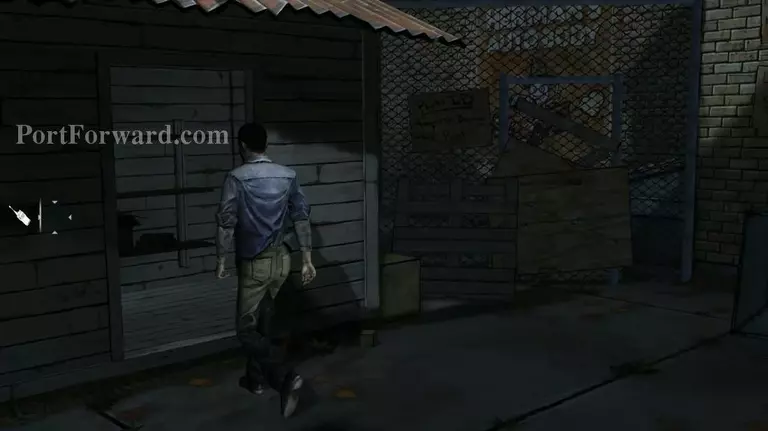
You cant move the door. But you can go here and look at the fence. Nothing you can do here. Then get back to the door. You'll meet Molly again and enter the garage.
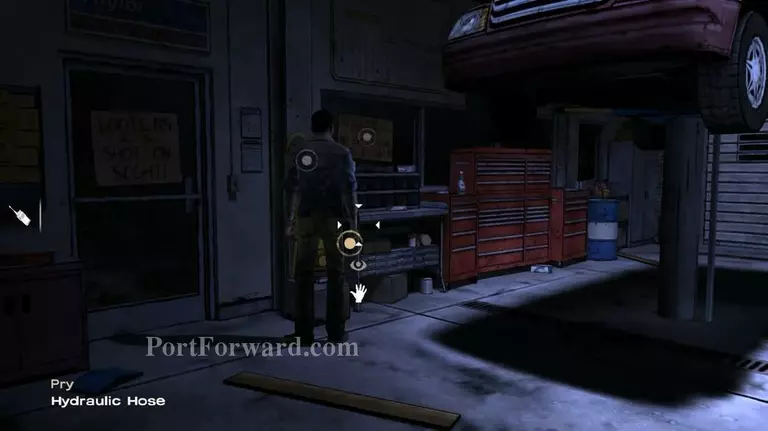
The car above you contain battery inside it. To get it lowered, pry the hydraulic hose with Molly tool. Click this first, then ask her to get her tool and then click this again.
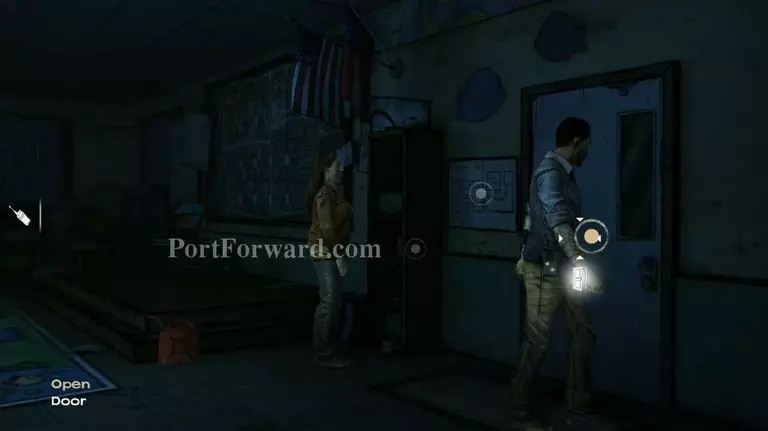
When you reached here again. Walk to the room where Clementine and Ben stayed.
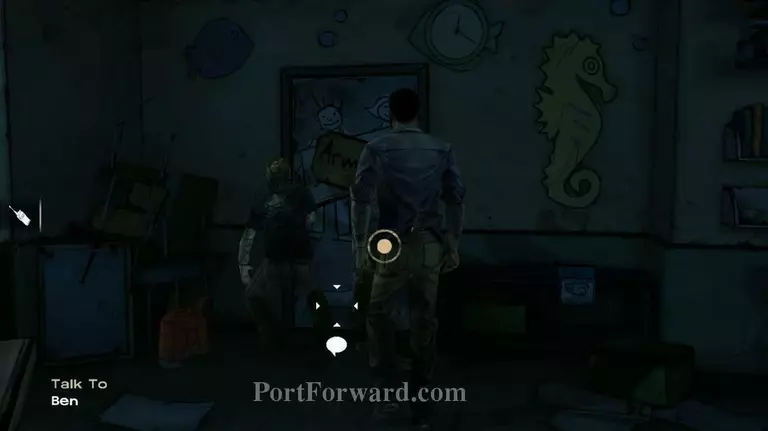
During this time, talk to Ben. He will start becoming nuts. Just go with the flow.
Then get out from here.
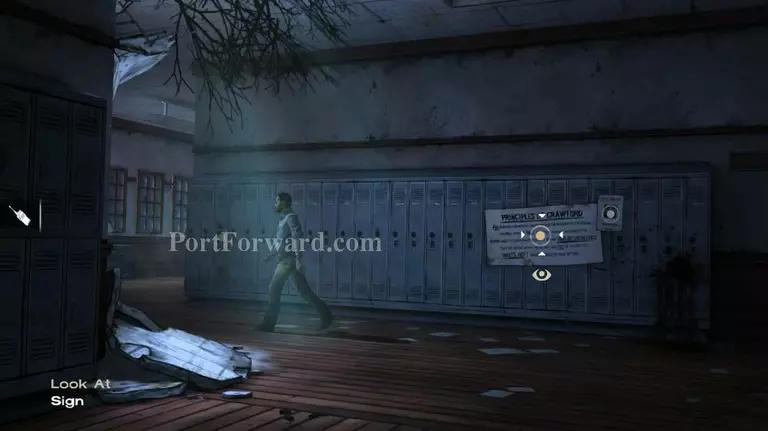
Now turn left and walk along the path. Beware of zombies.
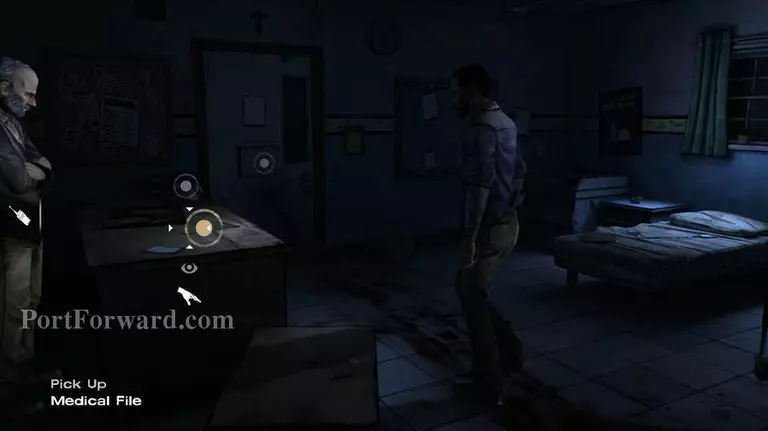
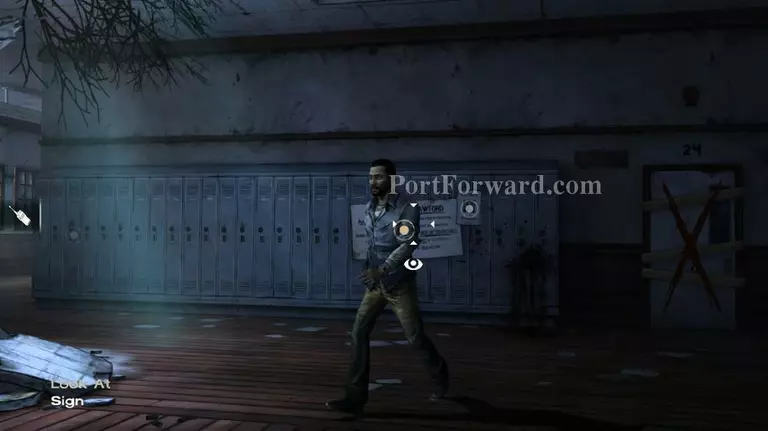
Then, inside the room.. Pick up medical file over there.

Inside the file, there is a tape. Use it in the camcorder.
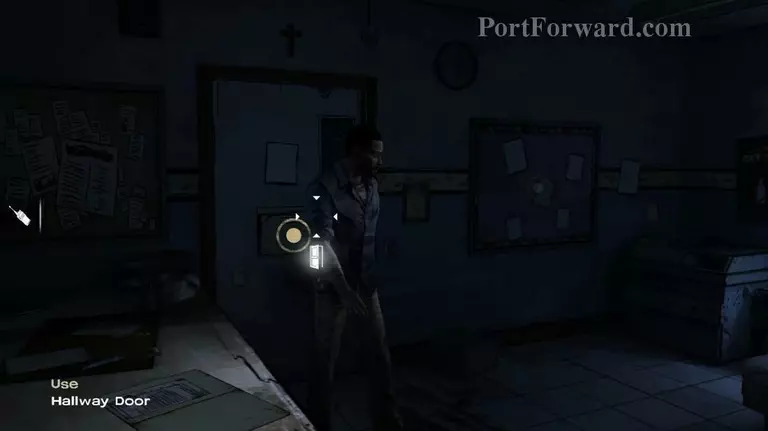
Now, get out from this room. And head back to the place where you take the car battery.
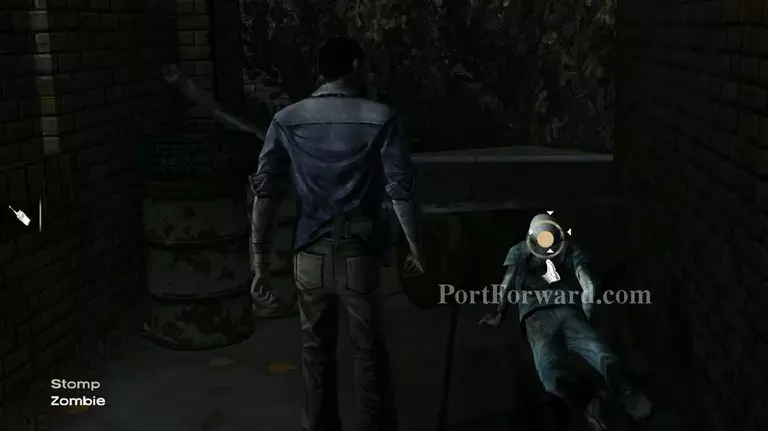
The zombie doctor is still alive. Molly actually hit his body very badly but not his head. So clever Molly! Then, take the tape which the doctor keep inside his pocket.
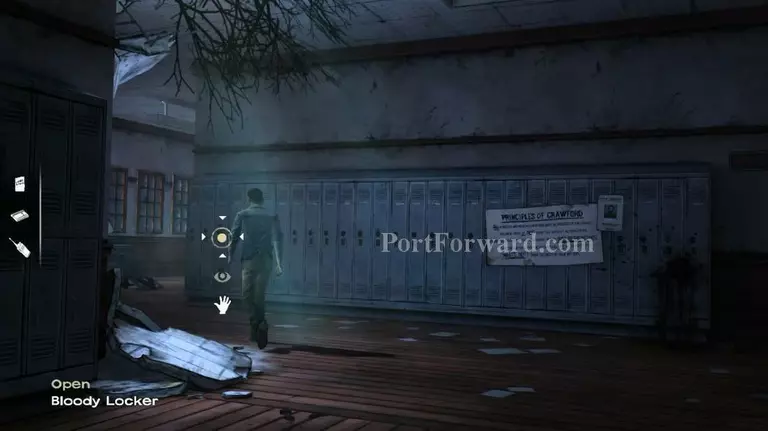
You can now able to unlock the bloody locker and take another tape.

Now, play all the tapes you have and enjoy the videos. Proceed with all the story till the end of this episodes. No more tricky part yet.
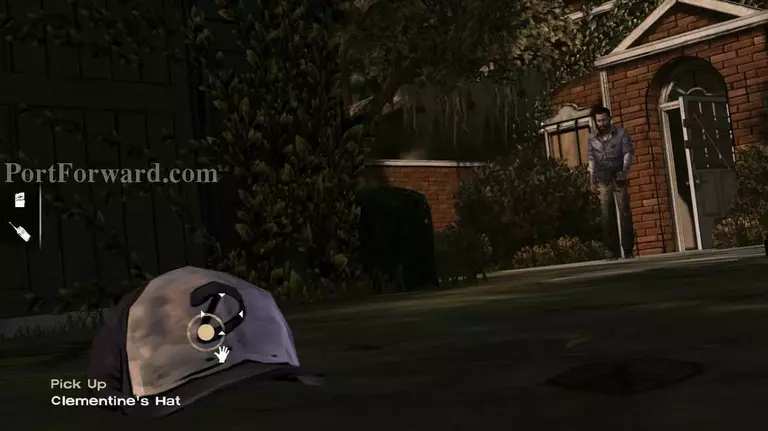
Clementine missing! It's resque time. Lee Everett the Hero will find you Clementine...
More The Walking Dead Walkthroughs
This The Walking Dead walkthrough is divided into 6 total pages.


