
This The Walking Dead walkthrough is divided into 6 total pages.
You can jump to nearby pages of the game using the links above.
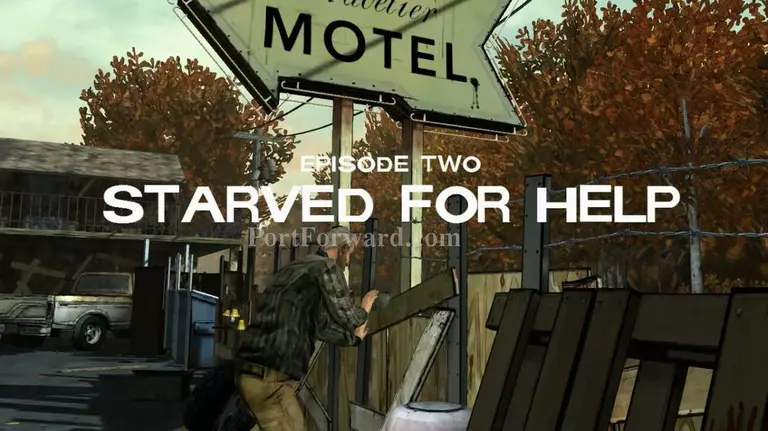
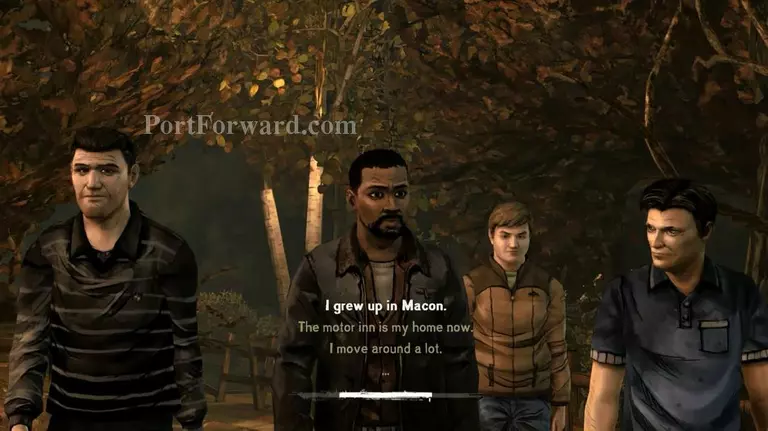
Episode Two - Starved For Help
What's interesting in this episode is you can actually get a revenge for that badass old guy. You can continue to let him suffer before his death. :P
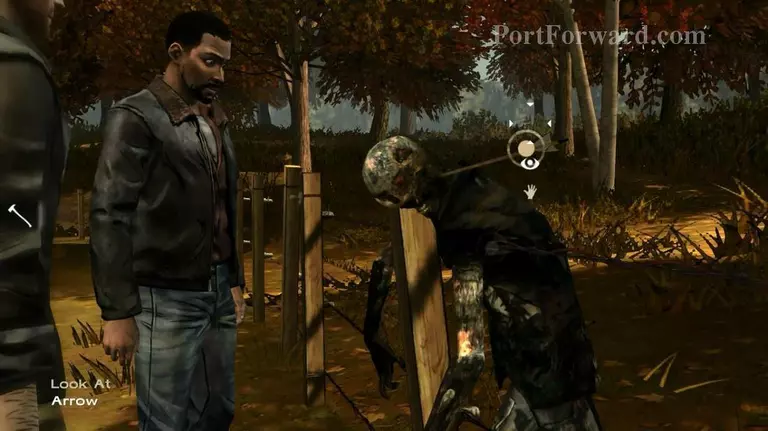
Firstly, hit the zombie head.
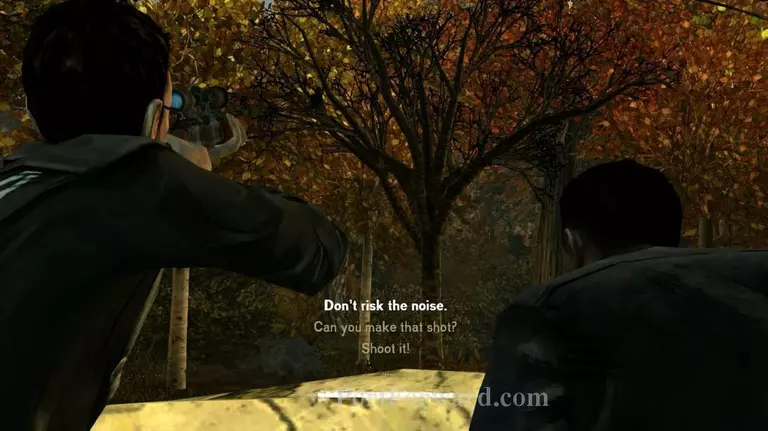
A small bird doesn't worth the shot and its noise. :)
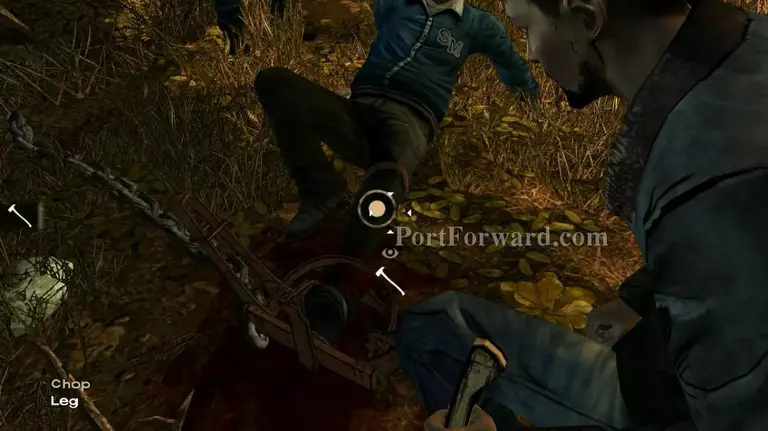
Now, cut the leg or leave it. Most people cut.
Just enjoy the show. >,>
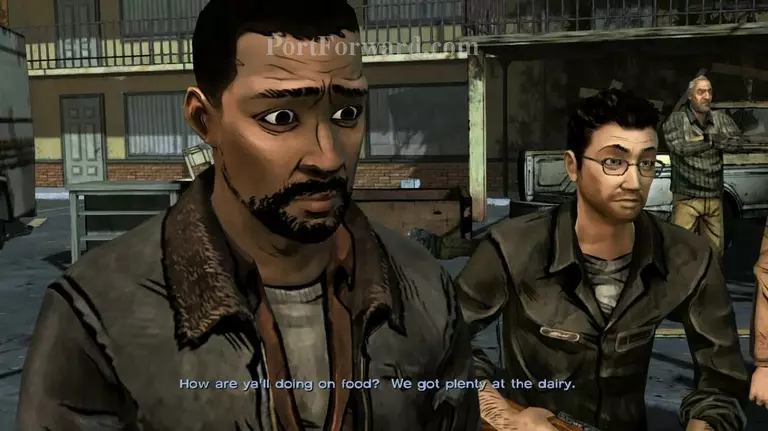
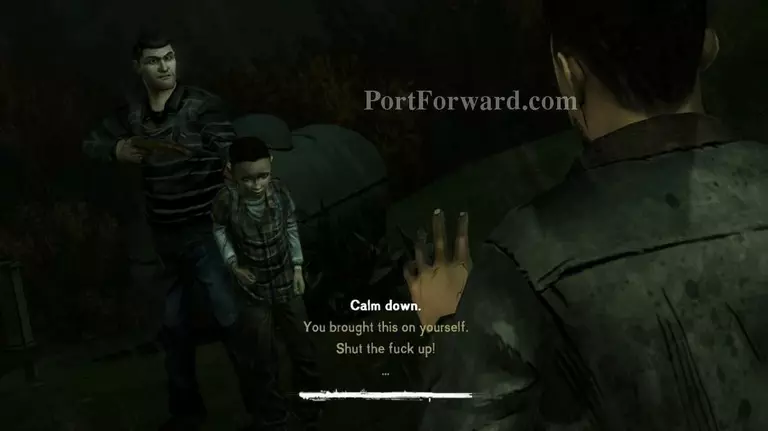
That lazy women give her job to you. Unacceptable! :P Now, just give the foods to anyone you wants. Hint: Give food to that old fart doesnt change anything, he will hate you forever and that permenant till his last breath.
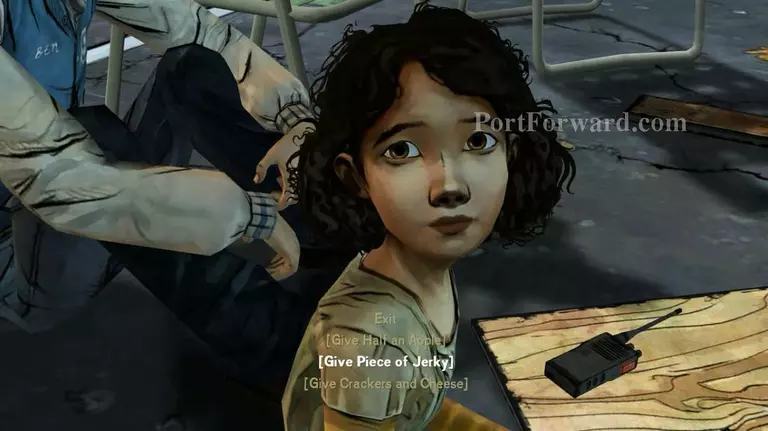
Give food to her maybe? She's like apple. :)
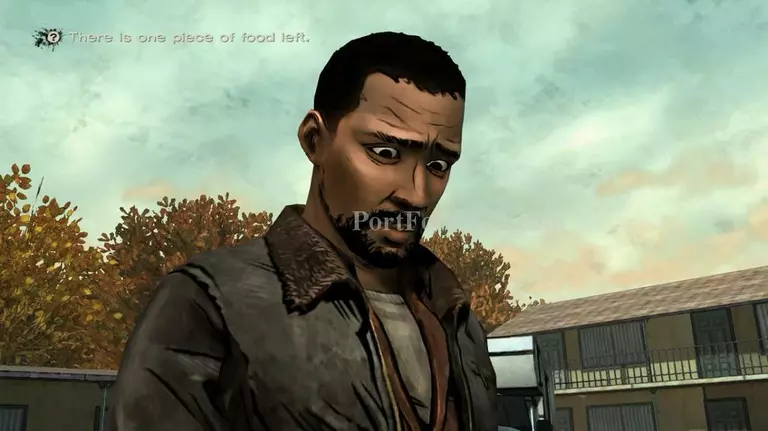
Another food, just give to anyone you think deserved it. The last one you can keep for you or give it away. It's your decision. This food things just a filler, ony changes the dialogs a bit.
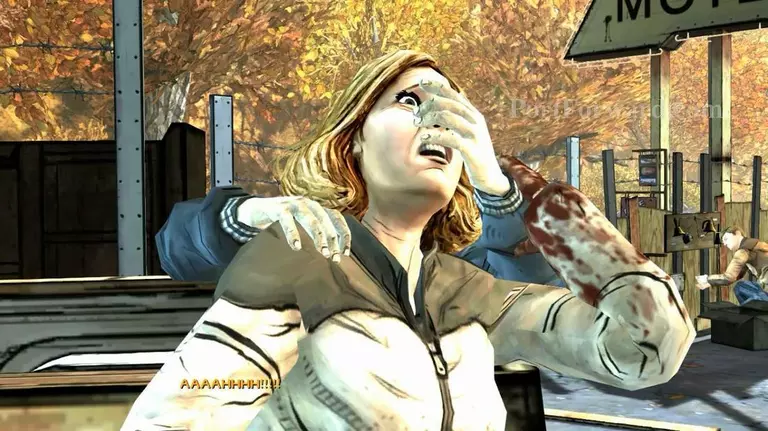
Try to save her.
And save yourself too. Aim his head and kick him hard. Keep aiming to his head and repeatedly click. Slow act could lead to your death.
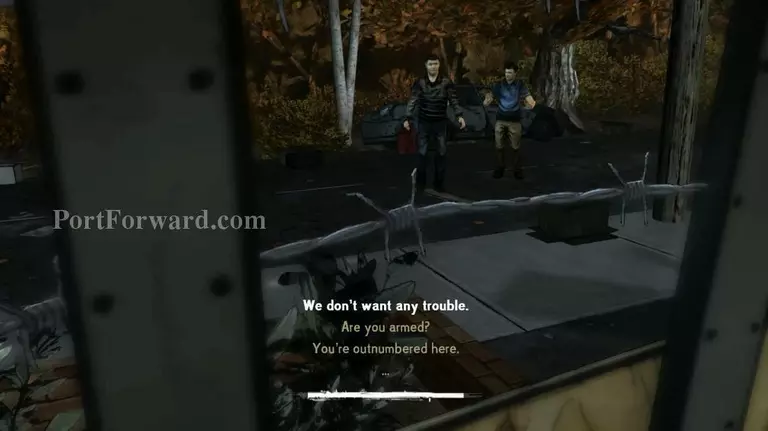
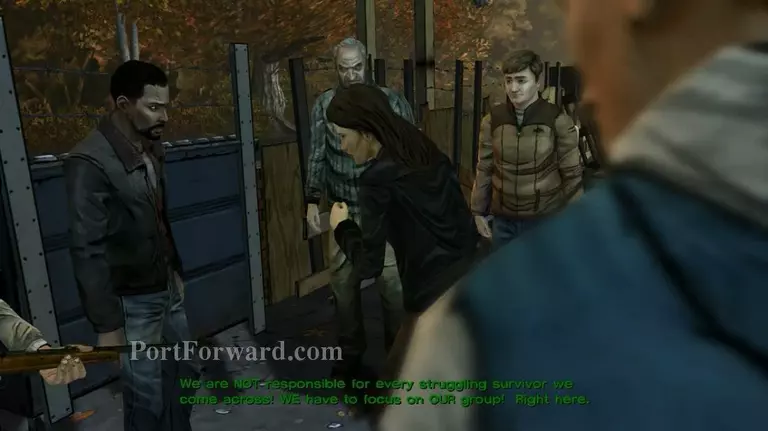
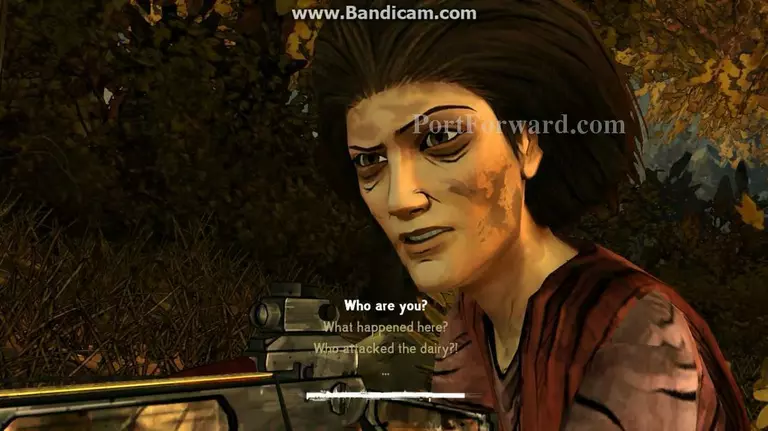
Those two are human cannibals. Don't trust them.
Just agree to go to the dairy.
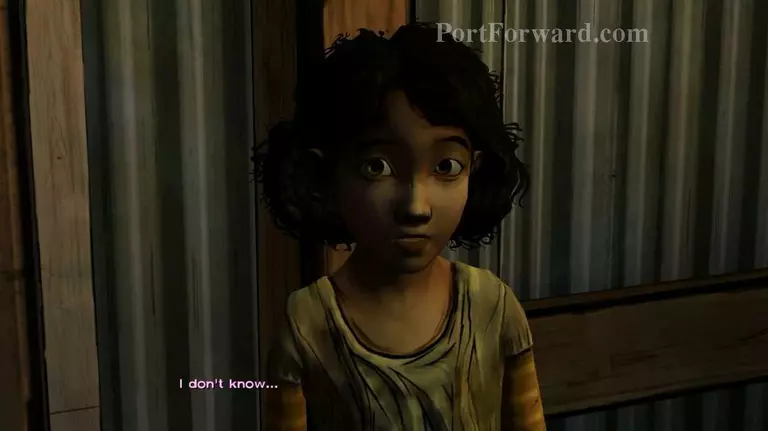
This conversation is not more than that. Select whichever you wants.
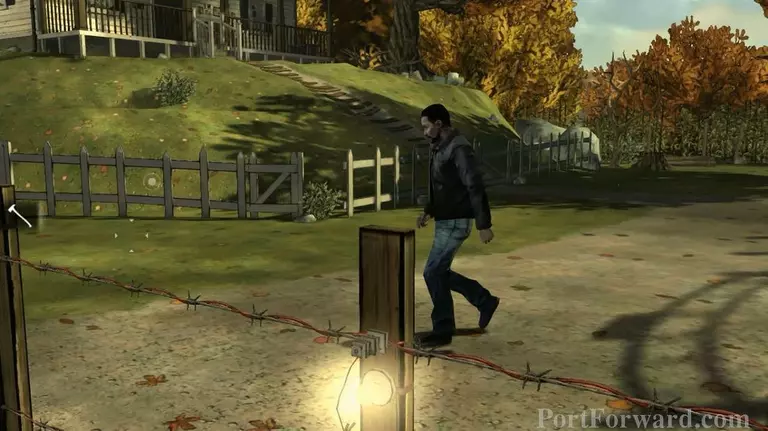
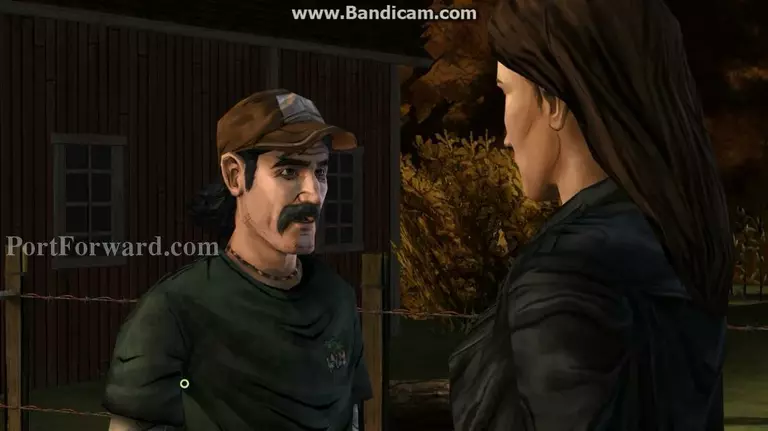
Now, walk to the left and start talking with that guy. Choose to check the fence.
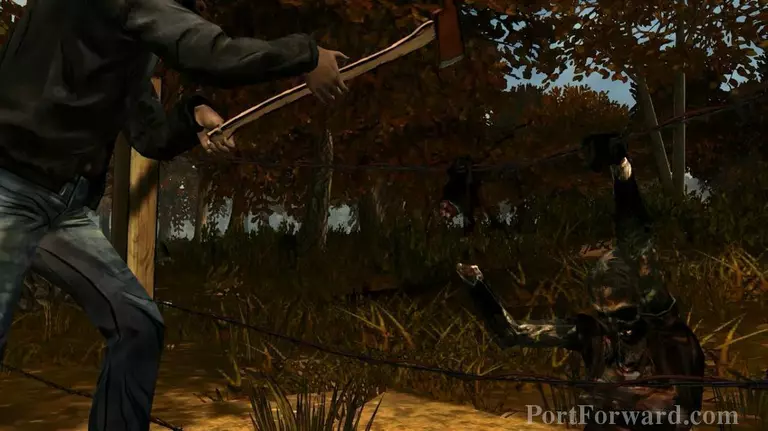
Pull the arrow and push him away.
Chop down her hands.
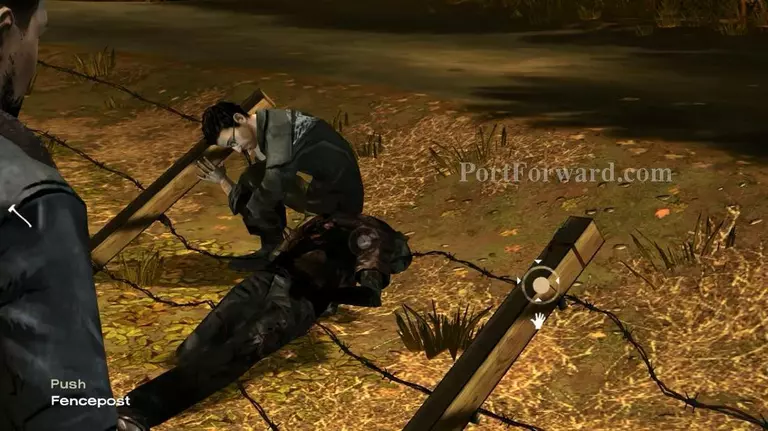
Click to push the fencepost. Just to inform, this is a bad idea.
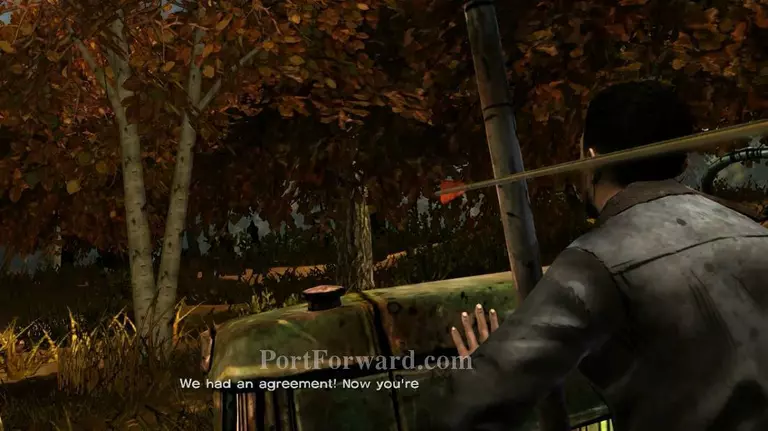
Dammit bandits. It's time to run.
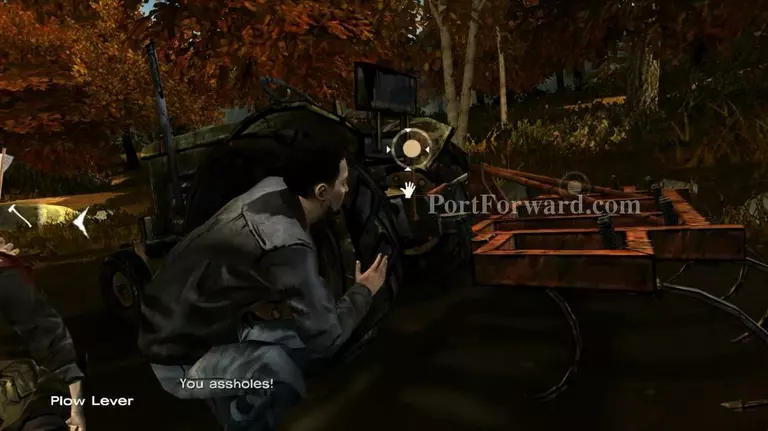
Look to the right and plow lever.
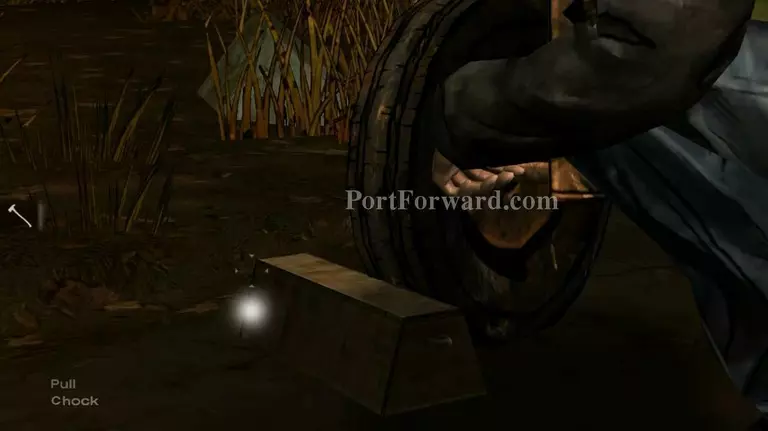
Then, look to the left and pull chock.
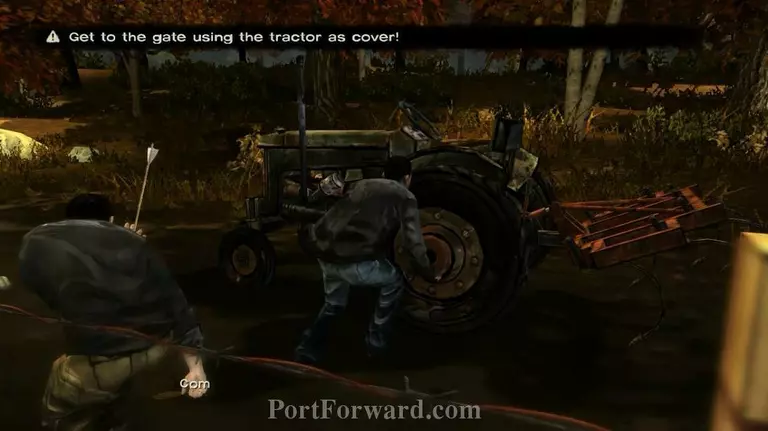
Just follow the moving tractor. Stay behind its shadow.
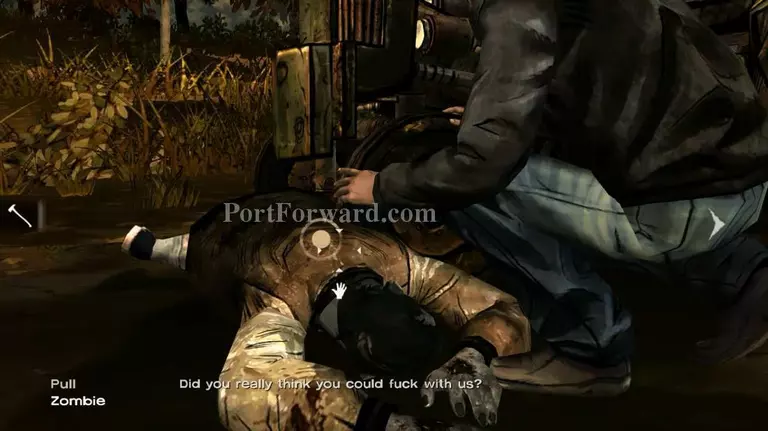
Two zombies blocking the tractor way. Pull them aside. There is another one, just do the same but be careful he's alive. After that, you're safe and enjoy the conversations.
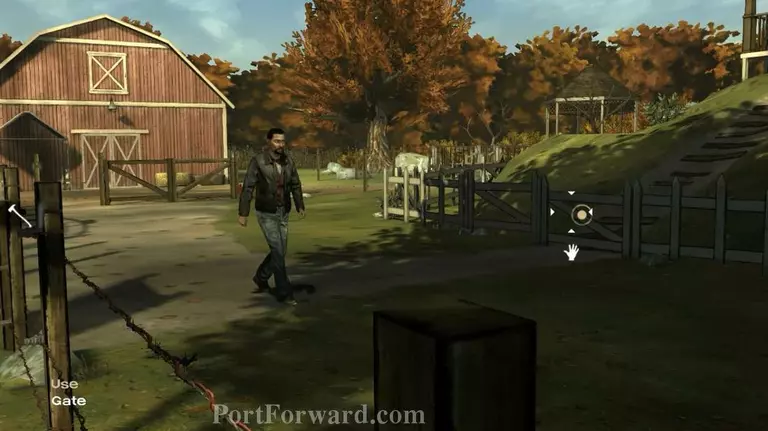
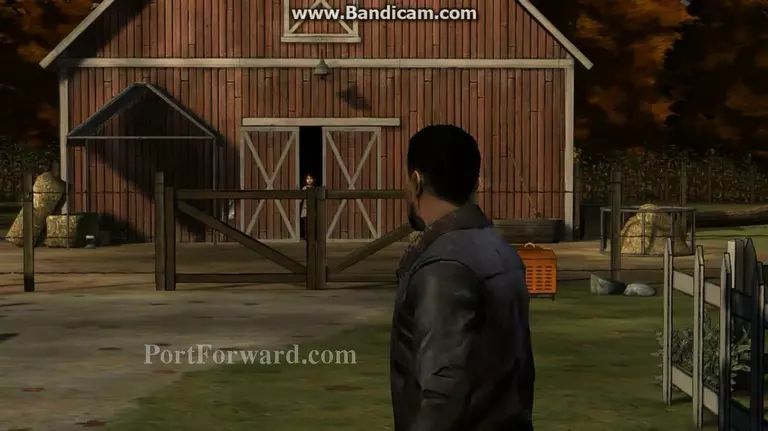
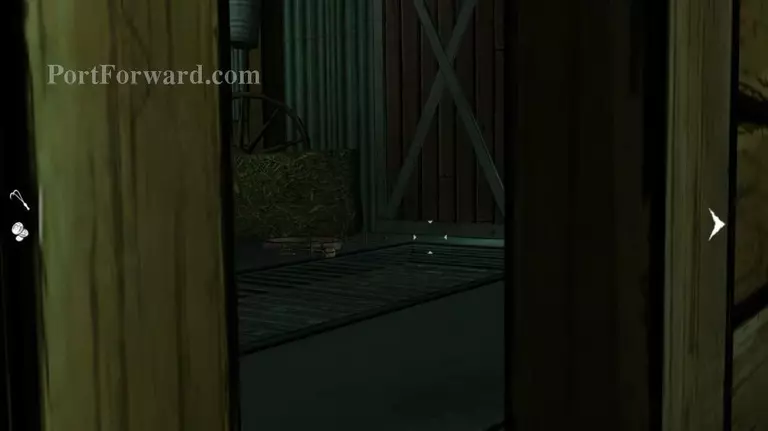
To move on, click on the gate and go scout the bandits.
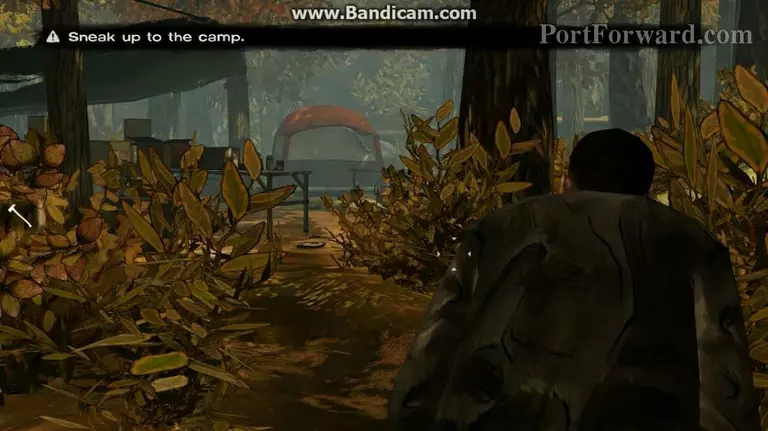
When you reached here, no need to worry. No one here yet.

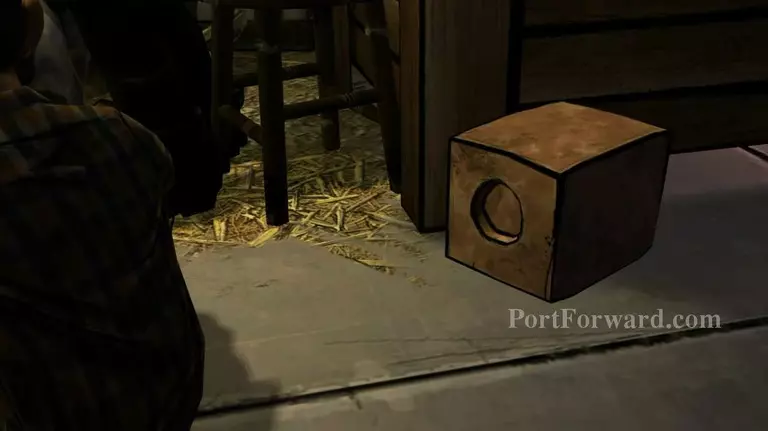
Find this box and examine it. This trigger checkpoint. Another one is ...
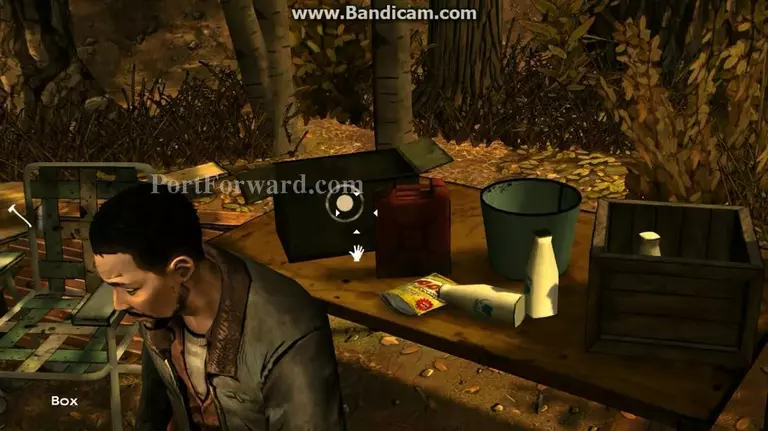
This box. Click it and take the camera.
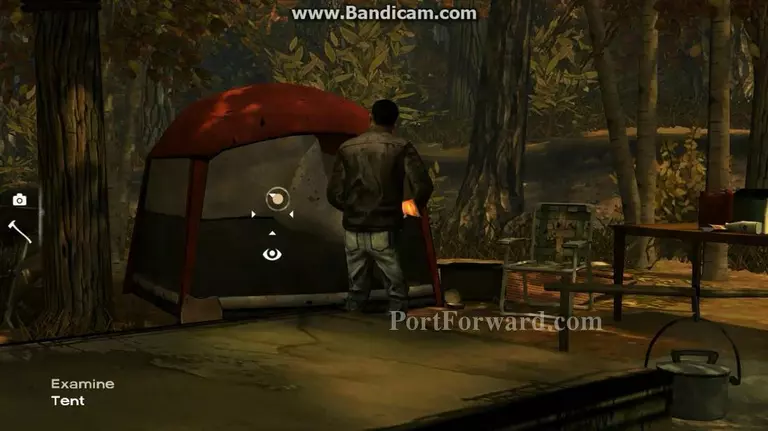
Click to examine the tent.
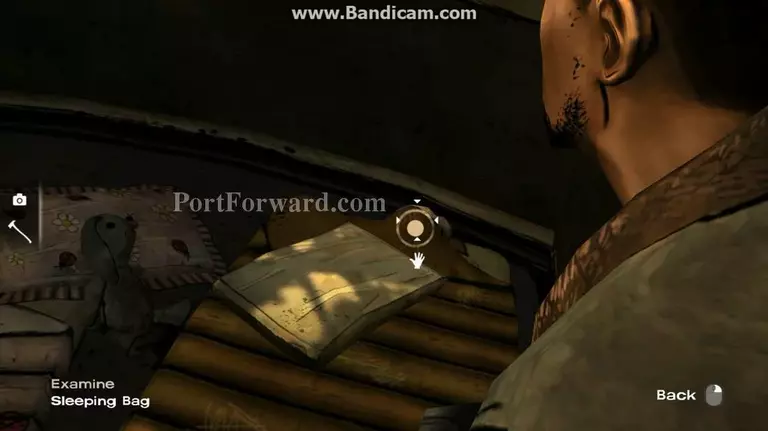
Then, examing the sleeping bag. You'll find Clementine's hat there.
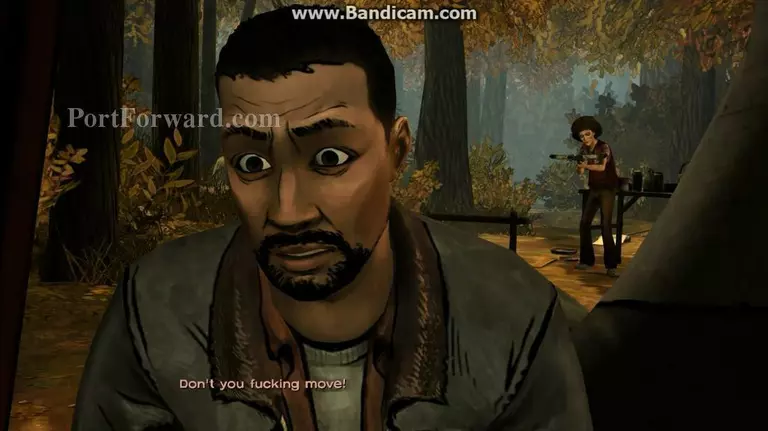
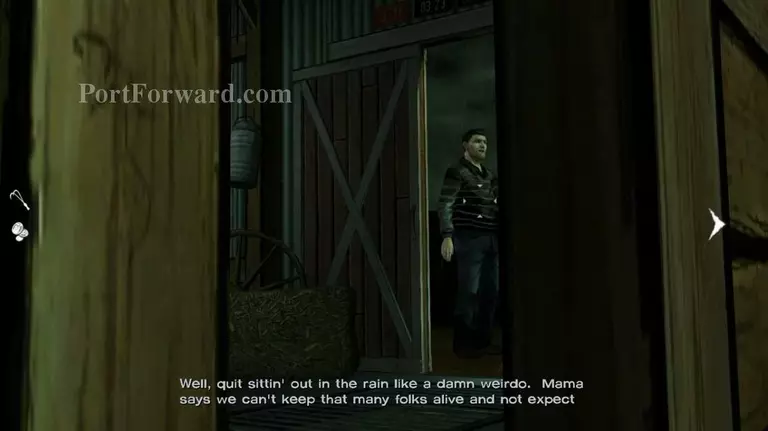
Owh man. This crazy woman already back! :D
Just be nice to her. To avoid getting shot. When there's a chance, shoot her or wait for the other guy do it for you.

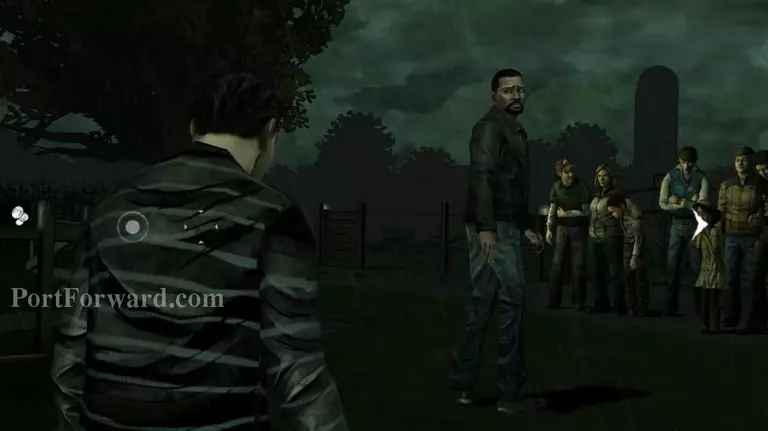
Be a good or bad guy? You decide!
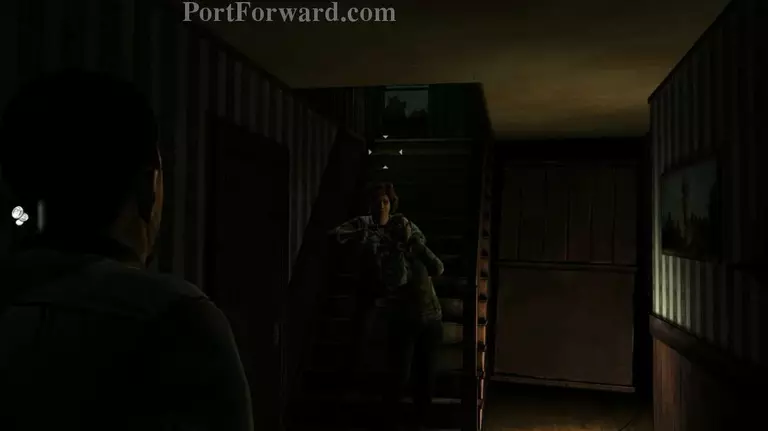
When you back to the dairy, you'll have a small conversation while both of them start to argue things.
There's Clementine. Go to her. :)
Salt lick. What is this actually? Maybe used to break people's head?? You'll know later
I'm sure Clementine tasted the salt lick. :D
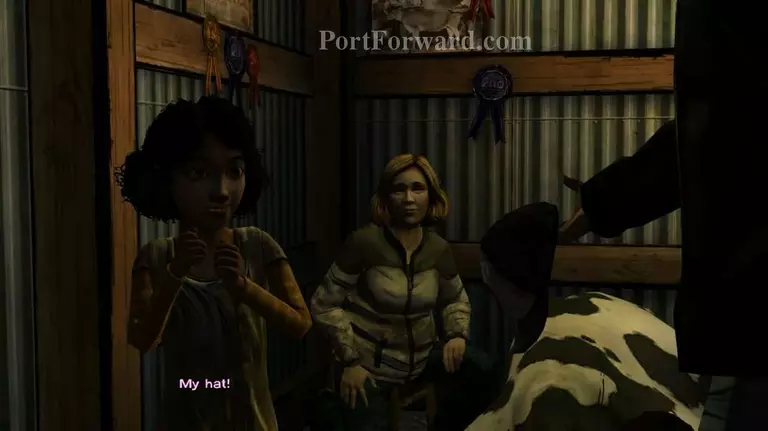
Let's continue then. Talk to Clementine and give back her hat.
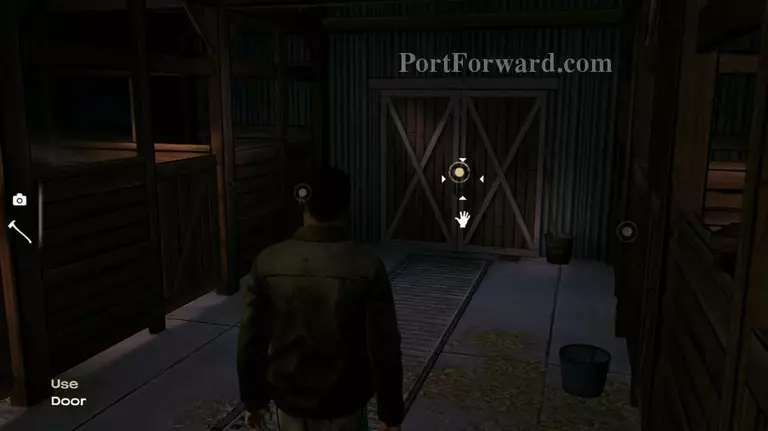
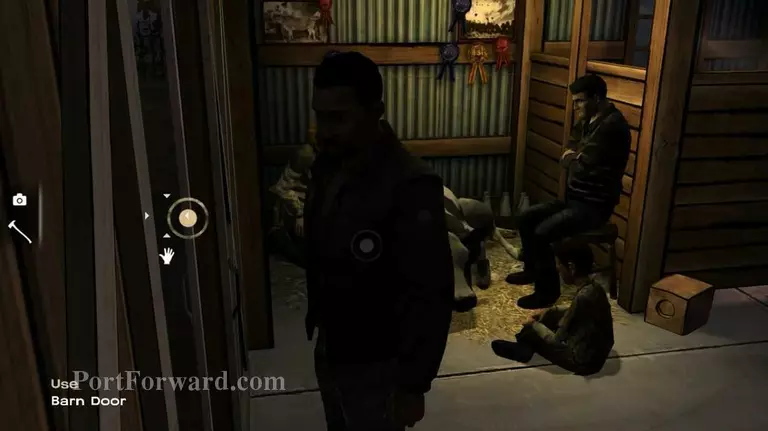
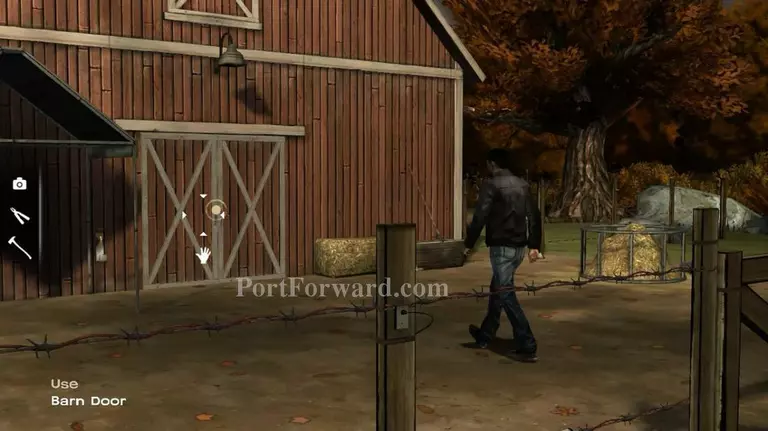
After that, go to this door and click it.
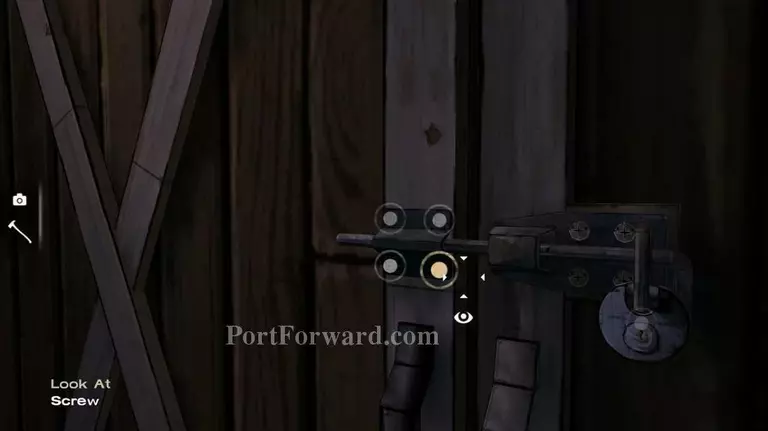
Now, if you click at the screw, Kenny will talk like you a stupid guy. But this is the correct way to get in. You loosen the screw and open the door. :)
Go outside.
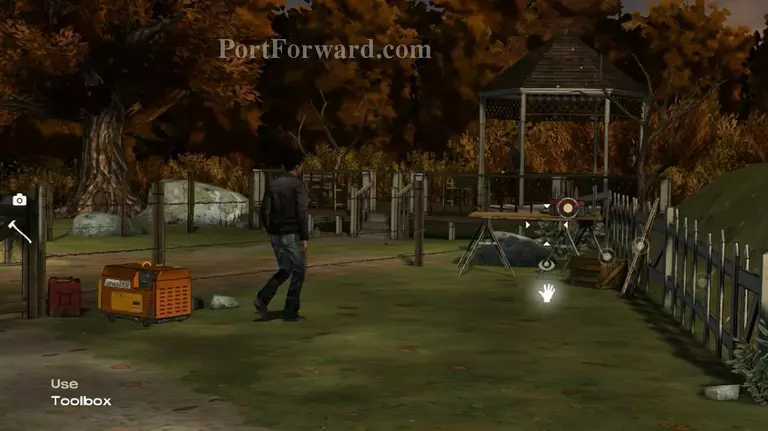
Use this toolbox. Take a multi-tool.
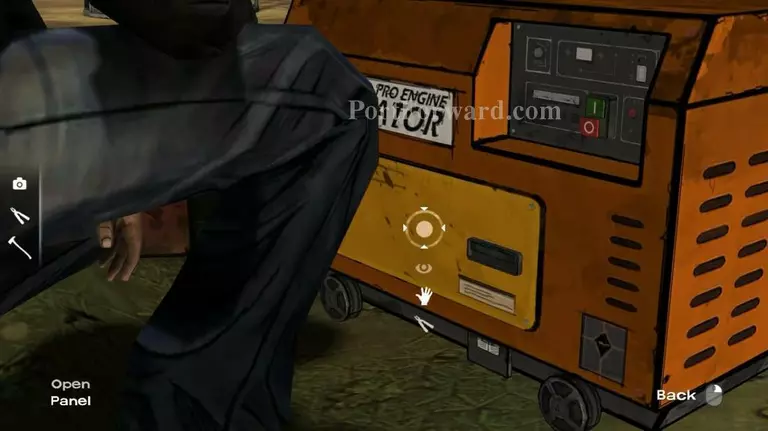
Go to power generator. Turn off, open the panel and ...
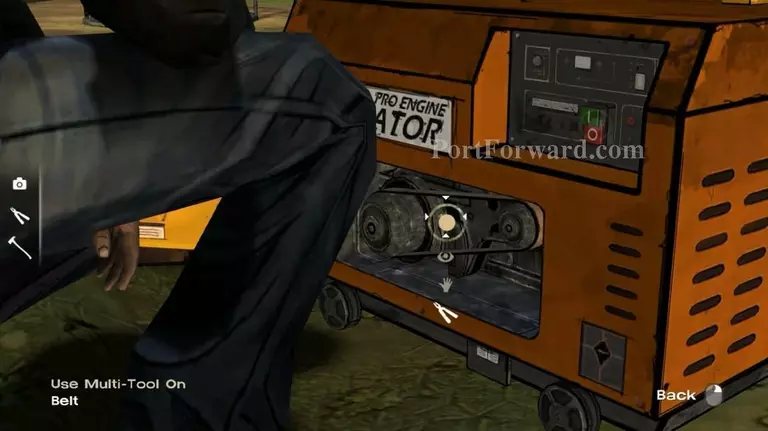
Take out the belt. :)
Now go inside the barn again.
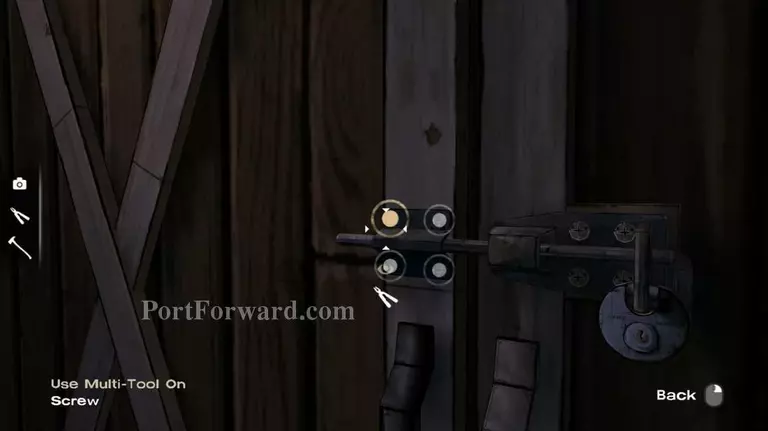
Go to the locked door. Use multi-tool on each screws until you able to open the door.
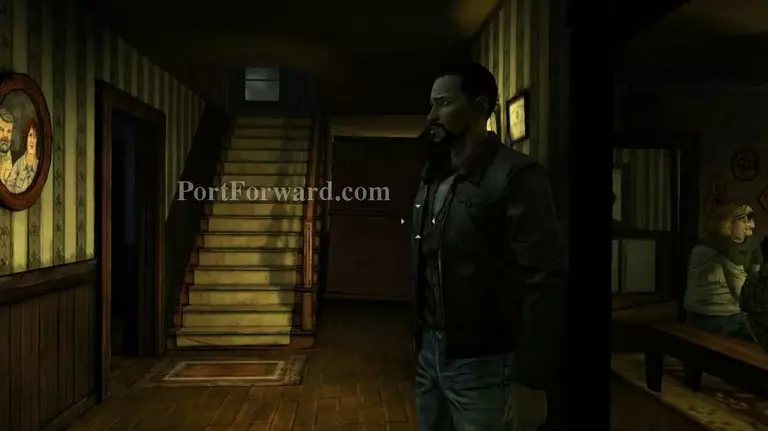
Then, go upstairs.
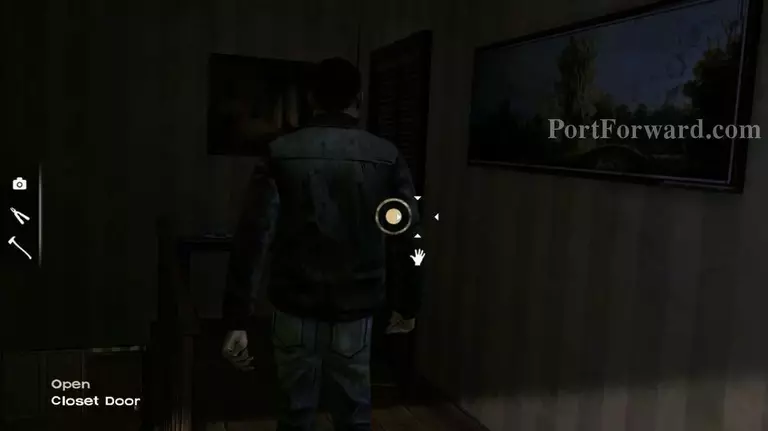
Open the closet door.
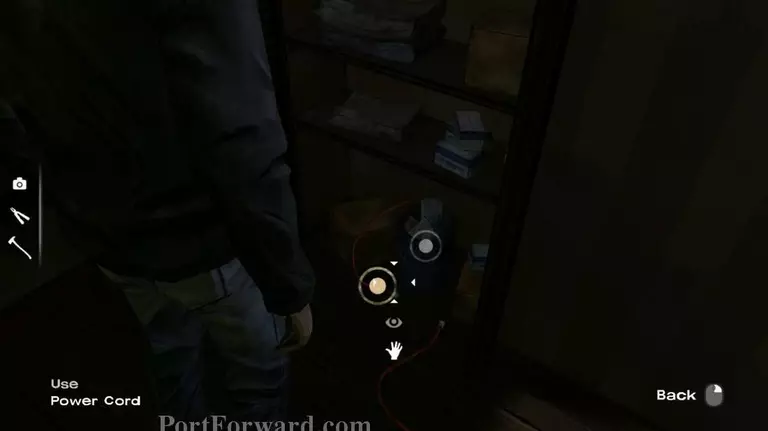
Connect the power cord.
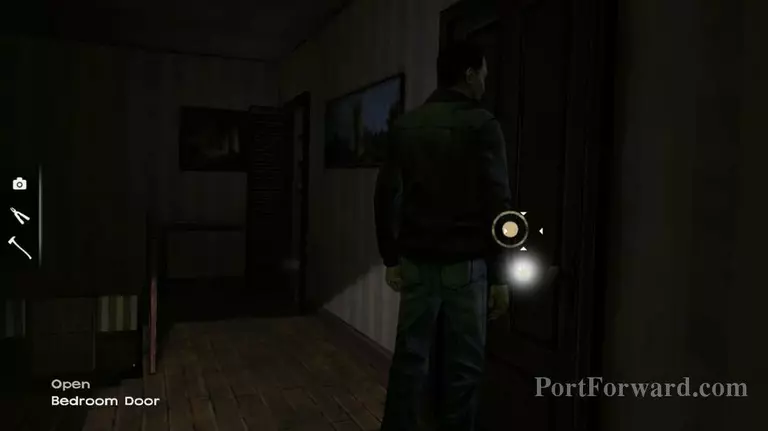
Get into the bedroom.
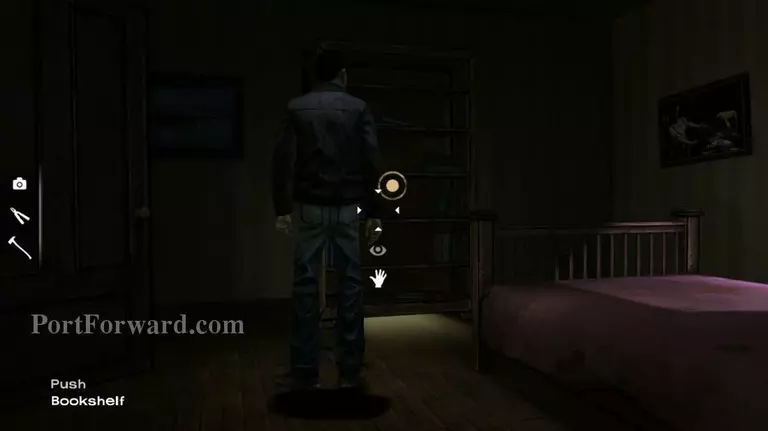
Push aside the bookshelf.
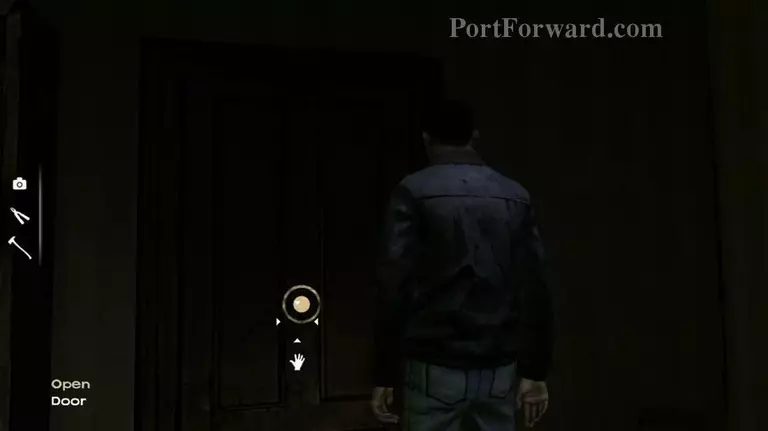
Open the door and say hello to your friend. :)
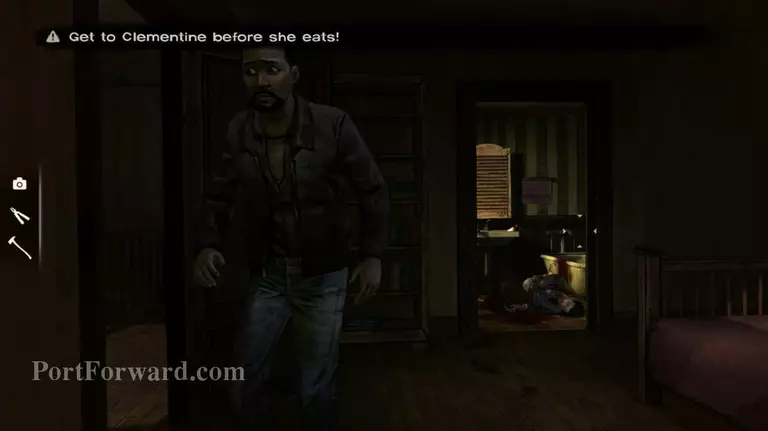
Now, go downstairs quickly. Late doing so, Clementine will eat the human meat!
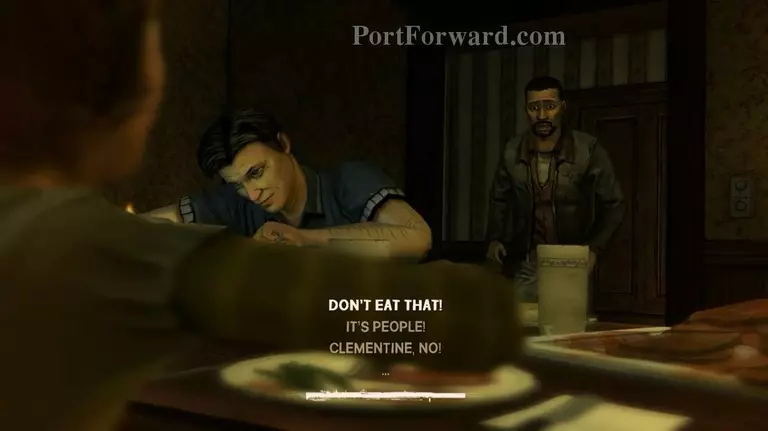
Say what you gotta do. If you wants to get some revenge for that old fart. Do like this. Select the first one.

Select number 3.
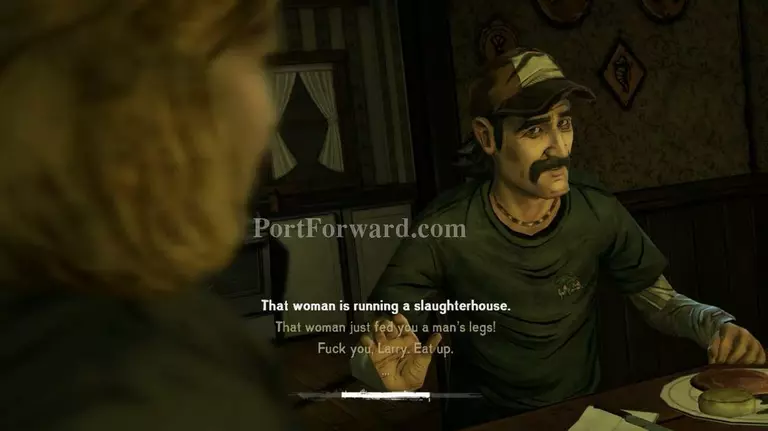
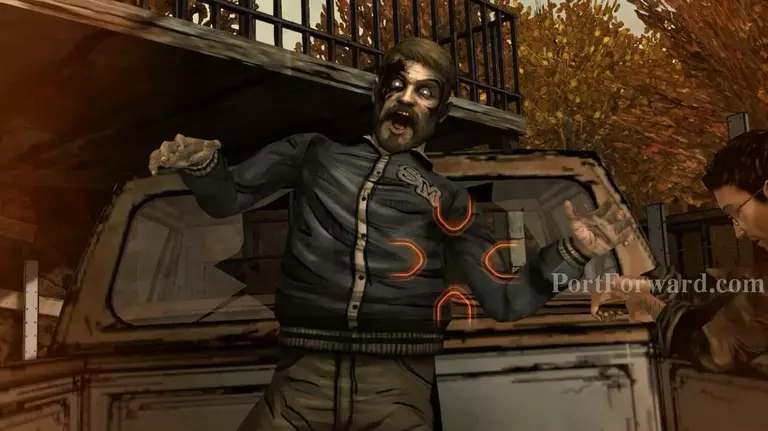
Again, select 3. Larry will eats and enjoys the human meat. See his reaction after this. :D
Just continue. You'll end up the same in ...
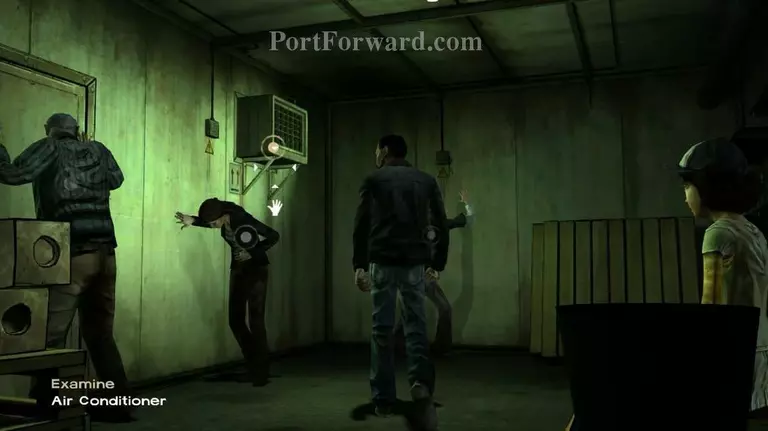
Here. Now, examine the air conditioner.
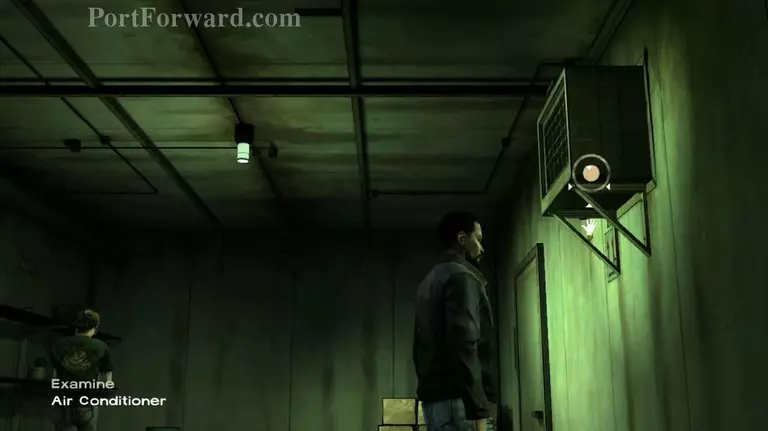
When the old man dead, again, examine the air conditioner.
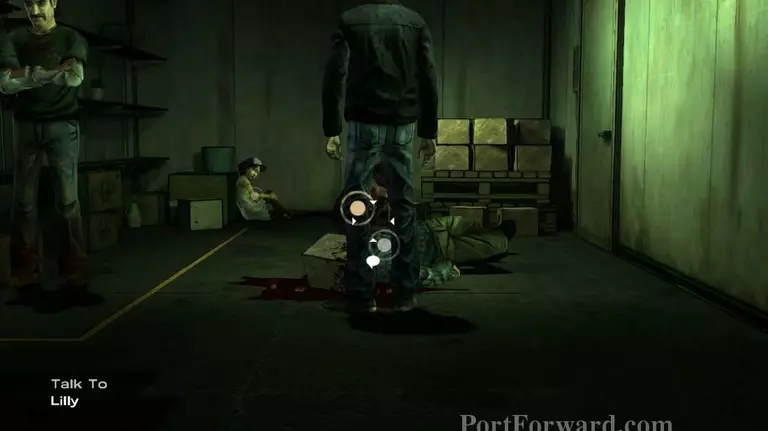
Talk to Lily and ask to take his father coins.
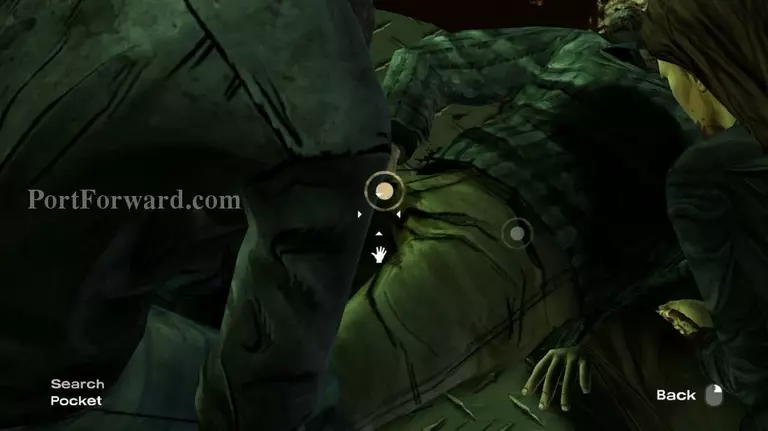
Search at this pocket. You'll get few coins. Now get back to the air conditioner and take out the screws.
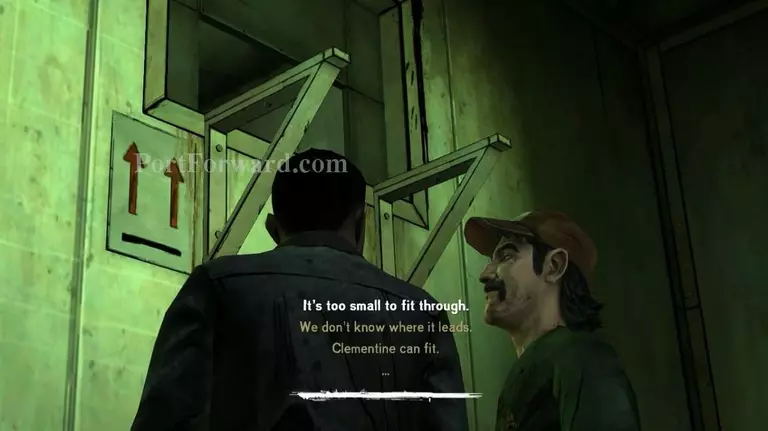
Yep, Clementine can fit. Ask her to go through and open the doors.
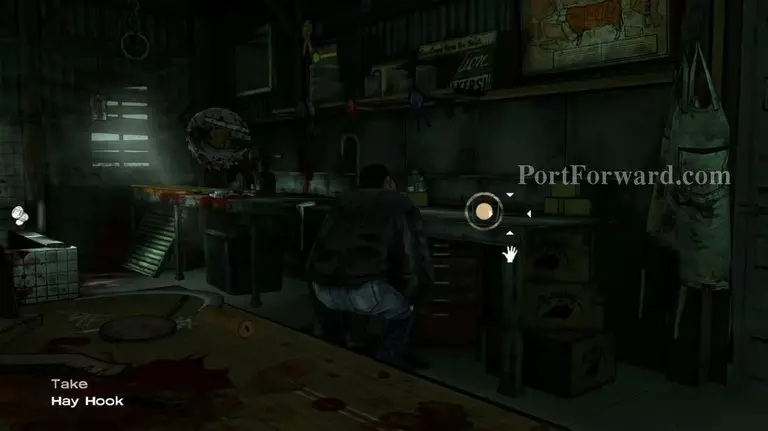
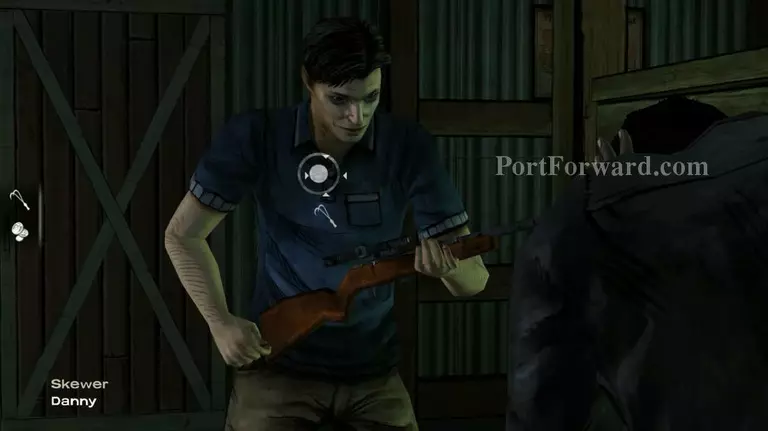
When you get out from the room, take a weapon. There are three weapons available. You can only carry one. After that, talk to Kenny to get out.
You're hiding here. Wait for it...
When the door closed and no one here. Get back to Kenny and look again. Be prepared!
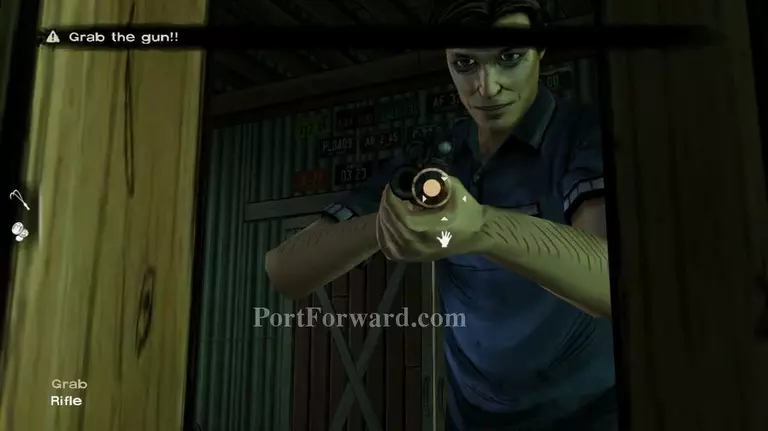
WIth a speed of light, grab the gun!
Now aim and click at his chest. Someone will save you.

Decide to kill him or not. Take note that Clementine is watching you.
She's actually knows it is you outside. Select 1 to pretend as him. XD
Now, keep going forward when she's not pointing her gun to you. Then select the first dialog each conversations. Zombie will do the job for you.
Starting from this moment, you'll fight this guy. Pick any dialog and be prepared.
Now, click at him to end his life or walks away.
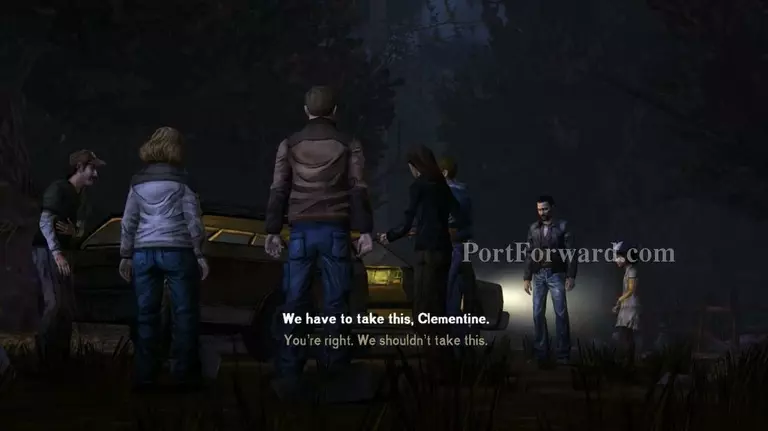
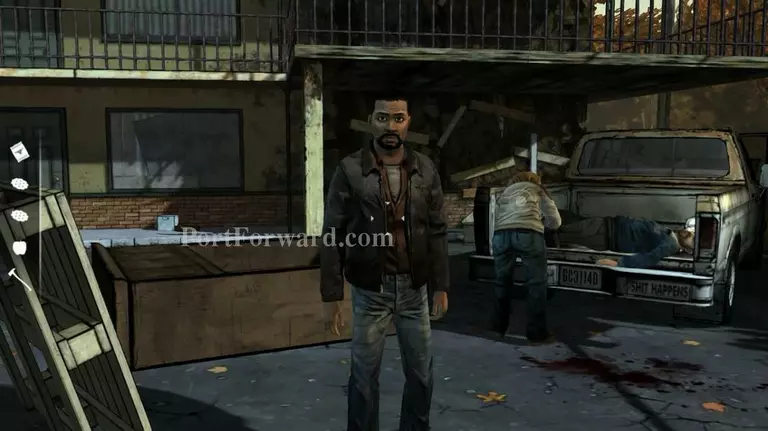
During walking back home, you'll find abandoned car. It's your decision to take the items (which Clementine doesnt like it) or just look those people take it for you. :P [END OF EPISODE 2]
More The Walking Dead Walkthroughs
This The Walking Dead walkthrough is divided into 6 total pages.


